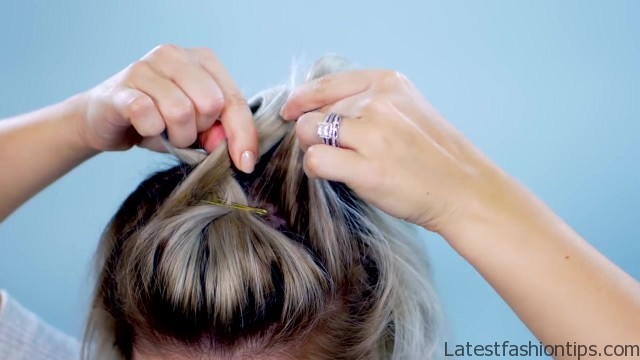
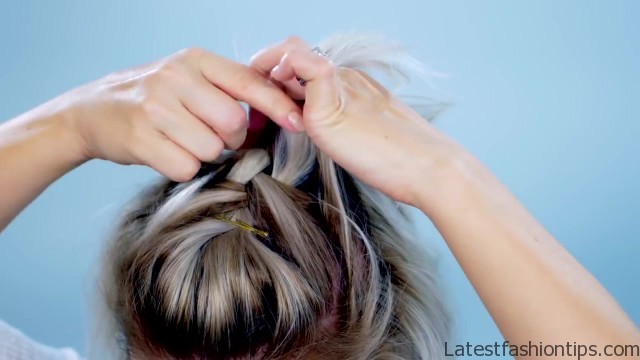
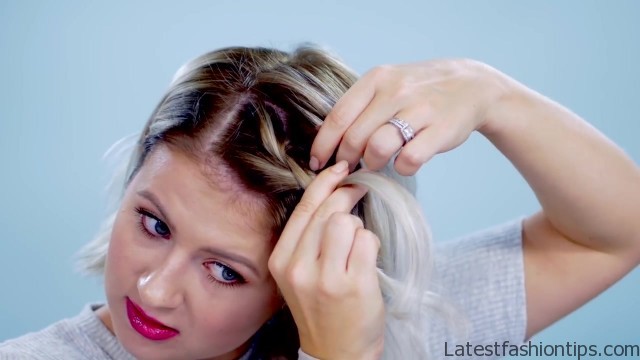
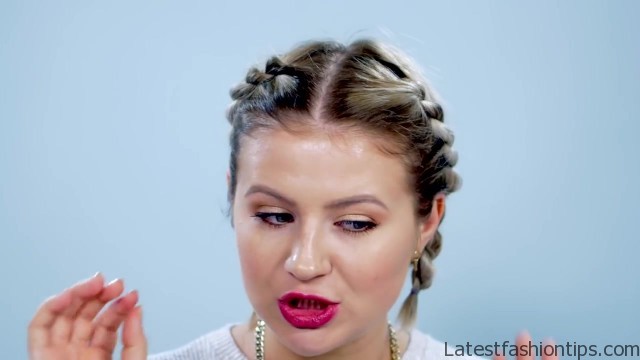
Who wants to learn or it get inspired on how to braid your short hair or any type of hair you have ten different ways the braids head dance moves that would be mine what’s yours one thing that I have learned throughout the years is mr. clean is not your friend when braiding your hair you want that grit you want that texture basically you want to be a dirty girl no that just went somewhere way way wrong. But basically you want some kind of texture in your hair. If you are going to braid on the first day add some texture spray like, I did today this is the Oribe and, I love this stuff it is super easy to use, and it is great let’s start off with the number one braid and that’s probably one of the most post braids out there it is the French braid my hair is part in the middle and I’m going to take a small section and then take some bobby pins and then pin it back. So I’m going to grab right below and then just meet my fingers in the middle behind the little bump and then divide into three sections taking my right section I’m going to put it over the middle and tighten it down just like that and then going to the other side to my left section I’m going to bring it over to the new middle section once, I get over to the other side I’m going to place the right section down and I’m going to start adding hair I’m going to start adding here once, I get to the middle I’m going to stop take this section and cross it over the middle with the added hair hold it down place the section down the left section now I’m going to slide it towards the middle and bring it over the middle with the new hair and then continue doing this again once you have no more hair to braid just tie off the ends with a clear elastic before, I finish off the hairstyle.
10 EASY BRAIDS FOR SHORT HAIR TUTORIAL Photo Gallery

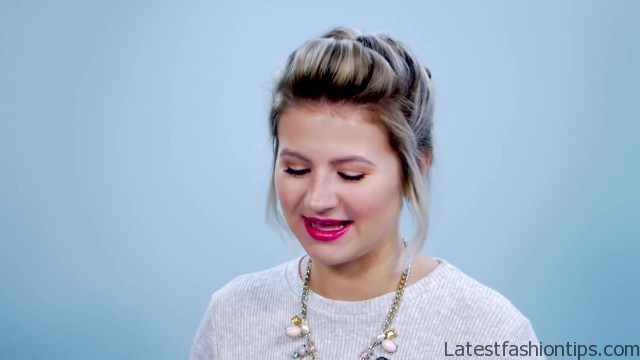
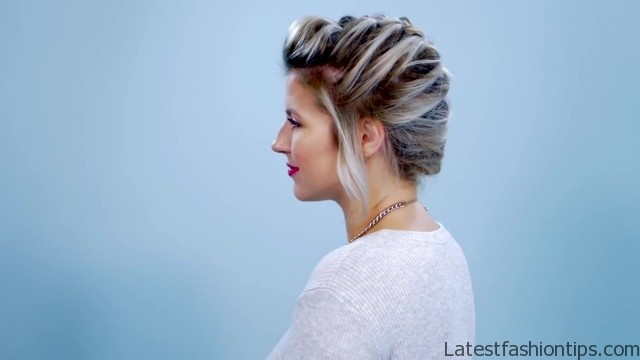
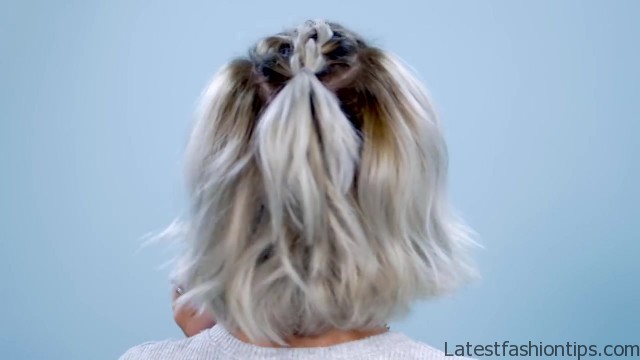
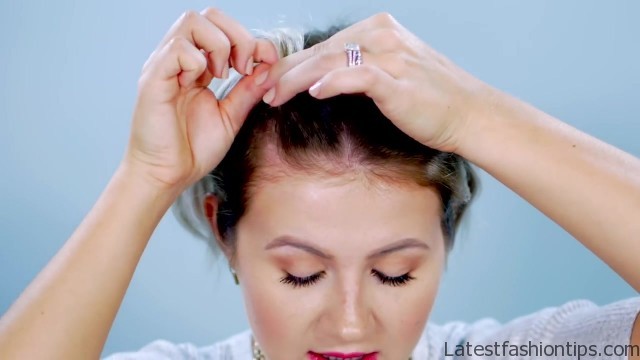
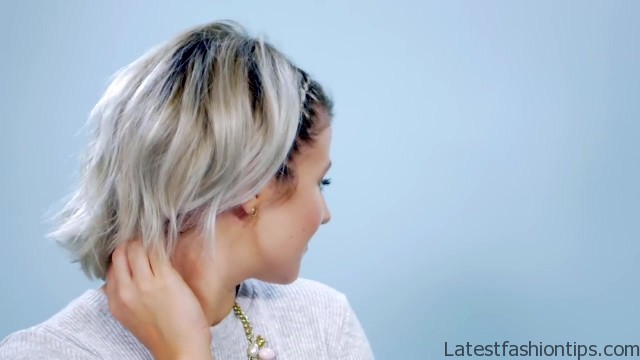

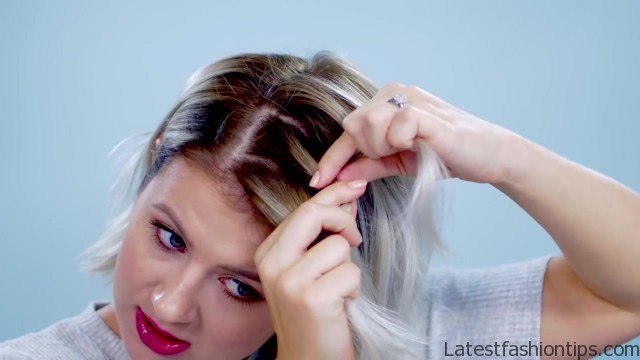
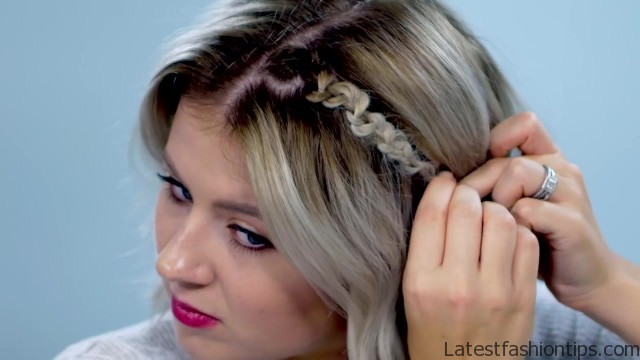


I’m going to go back in and pull apart the braid to make it a little bit more bigger and add more volume to the hair enjoy now I’m making fun of my little rat tail right now it is so bad alright let’s do something about that. So I’m going to take the little hair and I’m gonna roll it underneath and tuck it and pin it away with my mini bobby pins and Rajai said the rat tail is being a good doggy put its tail away obviously you guys thought that my hair did fall out in the front. Because it is too short and, I like to keep it this way, I think it is really pretty it frames the face very well with the braid and this is my take and that really beautiful classic French braid number three that’s number two in Dutch and, I did just Google Translate that this is the Dutch braid is basically an inverted French braid instead of the strands going over the middle they are going underneath starting with my two pointer fingers they are like my best friends when it comes to braiding grab a nice section it does not have to be perfect and split that into threes grab in my right outer section I’m going to tuck it underneath the middle bring this one to the other side take my left outer section I’m going to bring it right underneath as well and this is where I’m going to start adding hair.
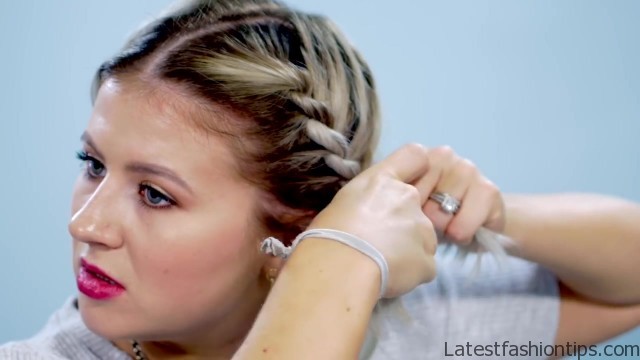
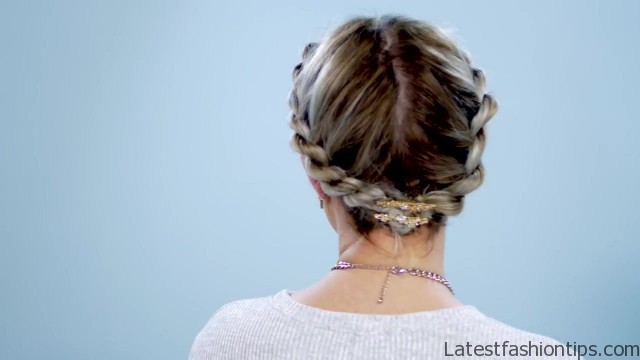
So taking my pointer finger drop the section down grab it we are going to tuck it underneath going to the other side grab some hair drop the outer left section and then bring it underneath the middle section continue braiding your hair until you reach the crown portion of your head and then stop braiding there. So once you reach the crown I’m not going to braid the little portion that’s left you can. If you want to, I do not prefer. But when, I tie it off, I grab hair in the back underneath the ponytail that’s left and, I just tie it off closely to my scalp that way the little ponytail won’t be hanging loose, and it is going to be nice flat to the head I’m gonna go back in and I’m going to loosen up the braid to give it a more voluminous bigger look. So, I start in the front and I’m gonna start gently pulling the braid you can leave it like this without doing anything extra to your hair you can do look a little messy bun right here at the very end of the braid or you can add a little beret number my three little shields you can add it right on top with a ponytail that we did to hide the clear elastic. If you want this hairstyle will consist of two fishtail braids. So I’m going to divide the hair created section kind of mimicking a mohawk making sure it is pretty even that looks good and I’m just going to clip this away for now and then grab the rest of the hair and pin it away we are going to let this section go and I’m going to divide it right in half to create two sections.
So from the front I’m going to grab a small section of hair and then the fishtail braid is consisting of only two strands. So split it right in half I’m going to take off a small section on the outer portion of the braid and I’m going to tuck it underneath add in it to the other side like that and do the same thing to the other side take a small section off bring it underneath and add it over to the other section just like that this is where I’m gonna start adding here take a little section from the braid you can add small or large does not matter how big and I’m going to drop it and then grab a hair from underneath and add it underneath to the other side take some hair off grab some hair to create a little bit bigger and bring it over to the other side. So this braid does take a little bit extra work. But it is easy to work with. Because it is only two strands once, I had no more hair to braid, I just braid another inch to two inches and then, I just going to tie it off with a clear elastic and keep another two inches of my hair unbraided go on to the other side and repeat the same exact steps you can leave it like this with just the little ponytails in the back or what, I like to do with this hairstyle the ends I’m going to cross them over each other I’m going to place them down I’m going to take this little hair clip and I’m going to clip it right on top of it. So there you have it this is my, I style for the fishtail braid you can also add a little mini bun and the top just like with a Dutch braid. But you could leave it like this braid number four is going to be a lace braid I’m going to section off my hair for the hair that, I only want to grab in the front I’m going to grab a section from the top and I’m going to divide it into three sections a lace braid is basically where you add hair to only one side instead of both left and right without adding any hair I’m going to take this front section and I’m going to cross it over the middle and then just repeat on the other side take the section cross it over the middle.
So this is where I’m going to start adding hair to only the front section of the braid place this braid down when, I take my finger my pointer finger again my best friend then I’m going to add the hair all the way from where the section ends where we section it off grab the hair and bring it over the middle like. So take this section right here without adding here I’m going to bring it over the middle place the section down the one that’s closest to my face index finger grab the section all the way over to the section where, I parted it and bring it over the middle towards the back take this section bring it over the middle this braid is super easy. Because you only have to concentrate on one side where you add the hair I’m going to continue braiding this hair until, I have no more hair left to add repeat on the other side once I’m done braiding, I might take these little rat tails and I’m just gonna bring them towards the back of my head in the middle and I’m just gonna pin them away with a little bobby pin check the hair that’s clipped away and unclip it and there you have it it is a legit tiny miniature lace headband on both sides braid number five is going to be a Waterfall twist. So it is basically like a waterfall braid. But it has a twist in the braid. So I’m going to make my part a little bit more to the right not too crazy deep I’m gonna grab a nice section of hair starting from the front. But with this braid I’m going to start working from the back making my way down.
So I’m going to take this hair and I’m going to cross it over like. So over the middle and then under the front portion like. So I’m going to drop this section and then I’m going to take this section right here and I’m going to twist it over the middle. So that’s where the twist comes in hold these two sections down and this is we are going to start grabbing hair. So I’m going to grab smaller sections and I’m going to take this hair and I’m going to bring it over like. So and then take this section and I’m going to bring it over. So basically this one’s going under like that now, I can just pull that see going back to the outer section I’m going to cross it over the middle and stop go back up grab a smaller section and we are going to bring this over the middle and then under the outer and drop.
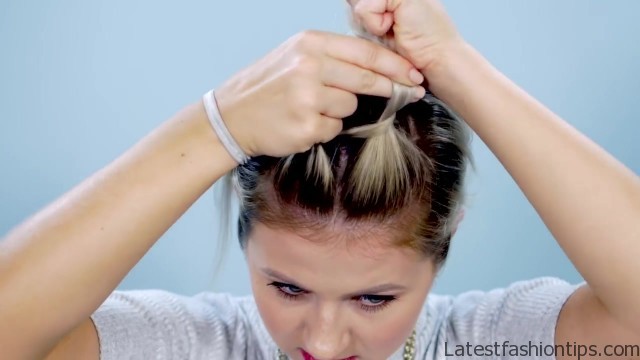
So I’m going to take these two pieces I’m not going to take the little waterfall portion I’m going to take these two pieces and tie it off with a clear elastic. So you can leave it like this or what, I like to do to add a little bit more glam and sparkle into my life is, I love these little bobby pins from Francesca’s and they always have different kind I’m going to take the bobby pin and secure right on top of the little hairs hair time that, I just did right to the hair and that’s my take on the Waterfall twist braid. So you guys love the whole idea of waterfall braids. But you still can’t really grasp the technique the whole pulling through grabbing the right step this is my faux waterfall braid it is. So easy Oh she’ll grab a section in the front divide the section into threes and just braid like a regular three strand braid over under over under once, I reach the end, I have about like an inch to half an inch left and braided I’m just going to tie it off with a clear elastic. So you see how the braid is positioned going towards the back you see these bottom portions the little bumps that it makes this is where I’m going to pull it apart and create this hole just like that create the hole from underneath and I’m going to start grabbing smaller sections of hair from the top to pull through and just pull it through just like that exactly put it in the hole that’s what you move on right to the next one make the hole and grab a section of hair and pull it through and we are pulling the hair through the top. So do you see how it is doing that super simple.
So once you have pulled majority of your braid through you say, I have two little sections left the reason why I’m not going to pull through more hair is. Because if, I pull any more just my braid is going to fall apart, and it is too thin. So I’m going to leave these few pieces left undone. But majority of a braid is complete it is. So easy guys you have to try this out you can leave it like this just like, I said with the waterfall braid or you can add the same thing a cute little piece of some kind of glamorized pin and just make it pretty and this takes us to number seven this is going to be the four strand braid I’m going to start on the left side first and I’m going to leave some of this hair hanging down to kind of frame my face a little bit and I’m going to grab a nice healthy section from the top and I’m going to divide it into four. So this creates two outer sections and two intersections. So I’m going to start off first on the front side closest to my face taking this outer section I’m going to tuck it underneath the first inner underneath and then go over the second intersection like.
So and stop and then taking the outer farthest section I’m going to bring it over the second inner and under the first intersection like. So and stop. So taking the front outer section I’m going to do under the front middle and then over the other outer section and then just continuing this. So you see this second section right here. So you have one two three four I’m going to take two of these I’m going to cross this middle this outer section over the second middle and I’m going to hold all three of them together and just hold this one on its own I’m going to take the brain I’m going to pull it up when you pull apart the braid concentrate on the outer portions only leave the center alone. So and then, I when, I finish pulling it apart, I just tied off the clear elastic once your the second braid done and you see how the brain is not laying flat to my head I’m going to take a small mini bobby pin and I’m just gonna pin it to my hair underneath. So there you have it this is my four strand braid braid number eight is a macrame braid and it sounds really fancy and really hard to do.
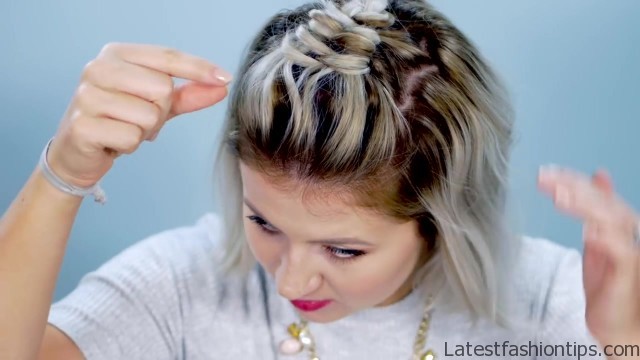
But it is really simple. So with this braid. Because my hair is. So short and, I have short layers I’m going to take a smaller section of hair to begin with. So I’m going to grab a small section of hair from the top and I’m gonna divide it into three like a regular three strand braid when you do this braid do not go too tight when, I start it from the front over under over under over and under and continue doing this until you have about like an inch or. So left of all three strands. So you see you have three strands you have outer inner and another outer section we are going to take these two outer sections put them together and pull the braid up.
So we are going to keep this middle section hanging straight down. So do you see how that creates kind of like this macro made wave and kind of pull it down keep pulling up and then pull it back down kind of separate the pieces. So. Because this braid is. So tiny and thin I’m not gonna use a clear elastic I’m just going to take a mini bobby pin, I get these either on Amazon or Sally’s I will have it linked up below and then I’m just gonna take some hair pick it up and then just hide this braid. But I’m not going to pull it I’m gonna leave it pretty loose take the mini bobby pin and just secure it you can leave it like this just one braid. But I’m going to show you on the other side as well what it looks like with two.
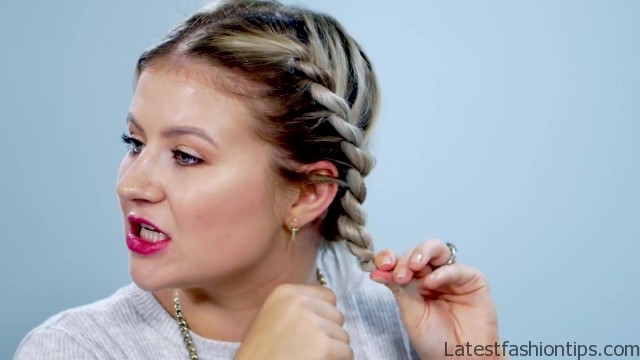
So, I want to show you guys a quick difference on the right side, I grabbed a little bit smaller section of hair and, I made it a little bit more polished, I do not pull it apart as much and you get like that really beautiful defined like kind of like the macrame braids and then the other side it is a little bit thicker, and it is a little bit more Messier. But you still get the same effect which one do you guys like better the center polished look or the little thicker Messier look, I think they are both. So pretty it looks. So intricate. But they’re. So easy that’s what, I love about this braid we are almost there you guys we are on braid number nine and this is the rope braid it is super easy is basically doing twists. But it does have a little bit of a technique to it.
So I will be doing two rope brace today and I’m going to section off my entire hat going from the front to the back and then pinning the rest of the hair that I’m not going to work on away I’m going to start grabbing a section from the front of the head split the section of hair in two I’m going to twist it going towards my face. But I’m going to go over towards the back grab some hair and twist going towards my face twice one two or going away from the face. So you see how it is creating that rope effect. So grabbing extra hair to the section that’s underneath twist towards the face twice and then away bring it over and I’m only adding hair to the bottom portion and you want to always keep it tight you do not want to let go at this point. Because it is not secure just yet take a clear elastic and just tie the end of your rope. So you see how it is staying in place, and it is not moving anywhere that’s where that technique comes you can actually leave like this, I think it is super pretty and edgy and this you can do with wet hair. Because you know all the flyaways will be perfect and it’ll be easier to twist, and it is actually really pretty once you have your hair all dry untwist and you have the most beautiful natural heatless waves.
If you want to make the hairstyle a little bit more fancy you can do something like this, I just connected the ends in the back Creedon like a halo effect and, I just bobby pin them down to my scalp and then put a really pretty like the bobby pins, I was using, I just kind of put it on top of the bobby pins that, I secured to give a more glam effect hairstyle number ten we made it you guys this one is a beautiful one. So, I’m just section of my hair exact same way as the Dutch braid and as the two fishtail braids I’m going to work with the section up on the top it is kind of like that Mohawk style and going to take the section down grab a section in the front and I’m going to split it right in half I’m going to take a smaller section from the right side and I’m going to start doing that infinity Dutch braid. So Dutch braid the section goes underneath at first and then over the middle and bring it to the other side I’m going to add a little bit of hair from the side to make it a little bit thicker and then I’m going to take this underneath the section right here and then we are going to take this section over like. So so basically under over under over. So I’m going to just tie it off finish it with a clear elastic and then grab some hair underneath to make sure it is nice and flat to my scalp once the braid is secure in the back I’m going to go to the front and this is where, I picked up the front pieces of hair. So there you have it this is my Dutch infinity like bigger retro braid for short hair you guys we did it. I’m so proud of us ten braids for short hair it is possible and just to make it easier on you guys, I will have the timestamps of each braid hairstyle.
So you can click on the time and it will take you straight to the braid that you want to look at thank you guys so much for reading this post spending some time with me and getting some more inspiration for your short hair and all the different braids that, I just did I will see you guys very soon and, I love you all very much bye.
Maybe You Like Them Too
- Tamar Braxton A Life in Music
- Sunny Hostin A Biography
- Steve Coogan A Life in Comedy
- Sterling K Brown A Biography
- Stephen A. Smith A Biography


