Hey all, Welcome back today, I bring you ten easy everyday half Abdul’s for short hair basically for all of these hairstyles you will need some type of elastics some texture spray. If you need it some hairspray and then maybe some bobby pins here and there alright my hair lovers the first one is going to be a twist unlike a little tiny ponytail on the back with kind of twists going into the ponytail it makes sense, I think it will. So you might be wondering. If you need to have your hair curled for these hairstyles and the answer is no you do not you can use your natural hair style. If it is curly straight wavy whatever it is it will work for any of these.
10 Easy Half Up Hairstyles for Short Hair Tutorial Photo Gallery
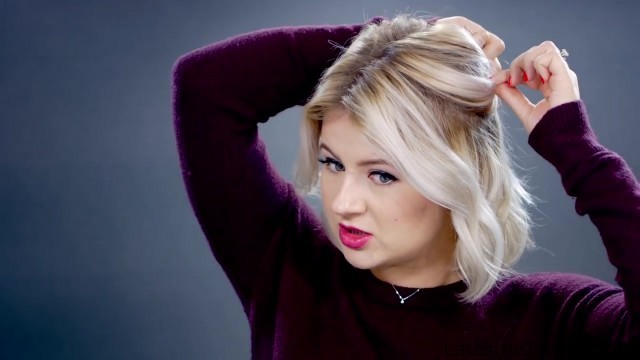

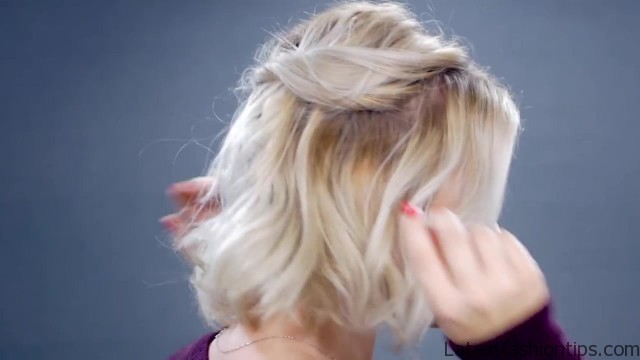

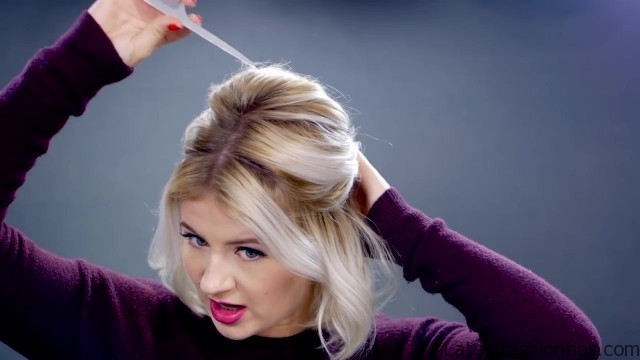
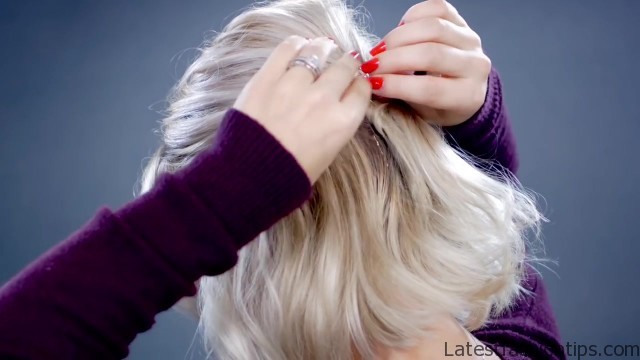
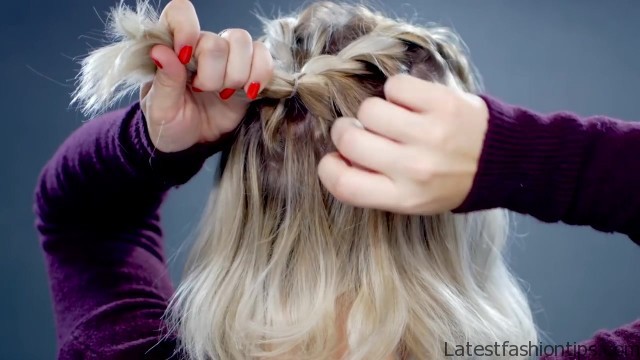


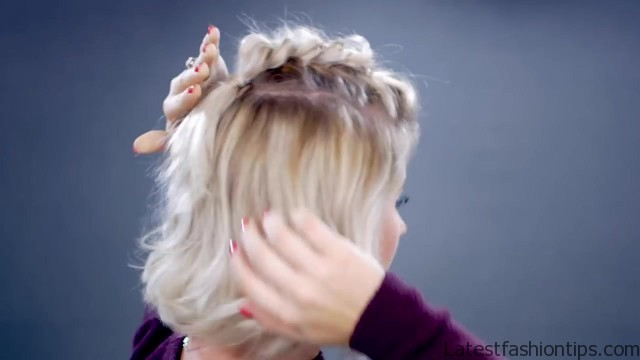
So I’m going to start off with the center part and I’m going to start about like two to three inches towards the back of my head into a small ponytail in the back. But I’m not going to connect the ponytail with all of the hair I’m just gonna take the hairs from the side. So I’m going to connect these two sections in the back and tie them off I’m gonna make a little twisty loop going towards the back of my head and then putting it underneath ok. So once, I made a little twist and the flip I’m going to go back up to this section we here that we put together and I’m going to take it apart just a little bit to give it a little bit more texture and volume on each side and then you see like these hairs right here going towards the front I’m going to start grabbing smaller sections like these little layers and I’m gonna do a little twist just once and then just bring it towards the back and then bring it through the actual little twist that we have. So I’m gonna keep doing this just grabbing smaller sections give it a little twist adding them into the twist in the back pulling them through to make sure they are nice and secure and then just go and kind of look around the twists that we did this just adds a little bit of texture and, I mentioned to the overall twist. So once you are done tucking the little pieces from the side of your head into the actual twist and loop I’m gonna take some hairspray and give it a quick spritz I’m gonna go to the front kind of give my curls a little bit more definition. But overall that’s it you guys it is.
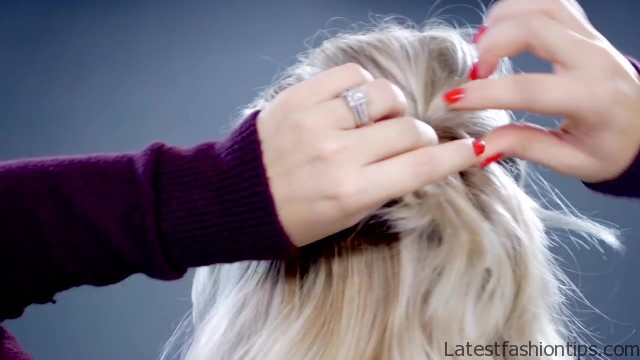
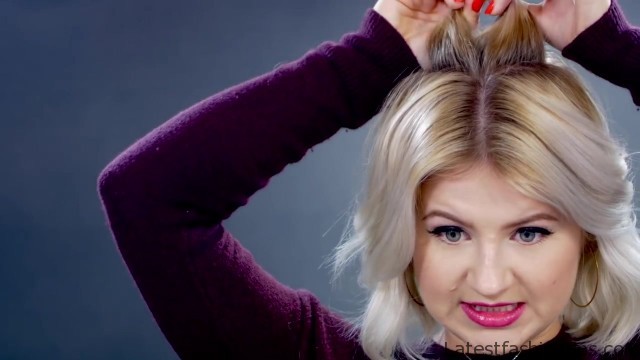
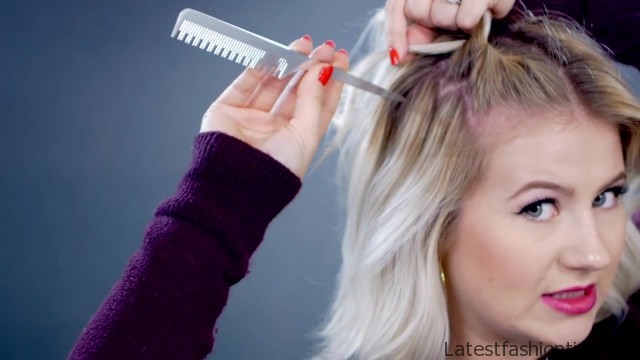
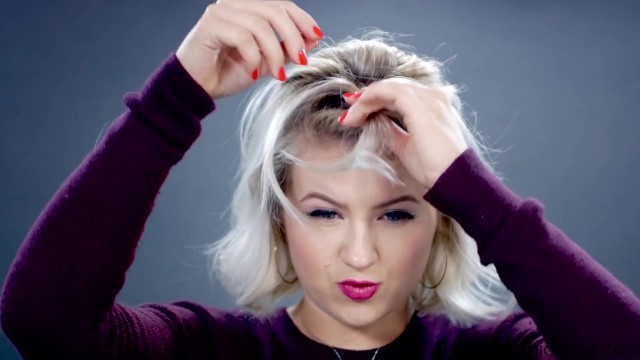
So quick and easy these are perfect for everyday. If you have like five minutes or less in the morning time to get ready number two let’s start with as a section from the crown and I’m going to teach this section to give a little bit more volume I’m going to start grabbing sections from each side of my middle part and I’m not going to take the front fringe. Because first of all too short and, I like when it is hanging down when, I do have updos it frames my face. So you see how I’m kind of taking it in diagonal and then, I take the same size section on the other side just clean up along the way alright. So this is where you want you have your bobby pins handy. So the first section that, I took on the left side I’m going to take it underneath the right section once my right section is on top of the left foot I’m going to take a bobby pin and I’m going to secure it down next up I’m going to take the same comb that, I used to tease I’m just going to gently hold the bobby pins and then gently like pull the hair from the top. So give a little bit more volume.
Because my hair is short I’m doing it very gently. So you can leave this pin a peristyle just like this without adding anything else to it give yourself a quick spritz of hairspray on top to let it set in place or what I’m going to do is I’m going to add this cute little hairpiece that, I found a torch drums has some pearls some little jewels and just to give it a little bit more pizazz and there you have it for hairstyle number two. But you guys think of this one alright for new Mennella today’s hairstyle you will need some clear elastics or different elastics for your hair depending on your hair color. So for the first section I’m going to start up toward the back of my head towards the crown let’s start grab a section in each side and then just meeting my fingers in the back to create one big section just split the ponytail right in half and then take the bottom of the portion of the ponytail and we are going to loop it towards the front and underneath I’m gonna tighten it towards my head and then I’m just going to loosen the sides to give it a little bit more volume. So starting with the second part of this hairstyle I’m gonna take a section right towards the front again keeping this fringe down. Because it is too short to take to the back and then do exactly the same thing on the other side before, I do anything else. So you see this hair right here how it is kind of going around this first section I’m going to take this hair and kind of put it on top of this first action should give a better transition take a clear elastic and then just tie it off.
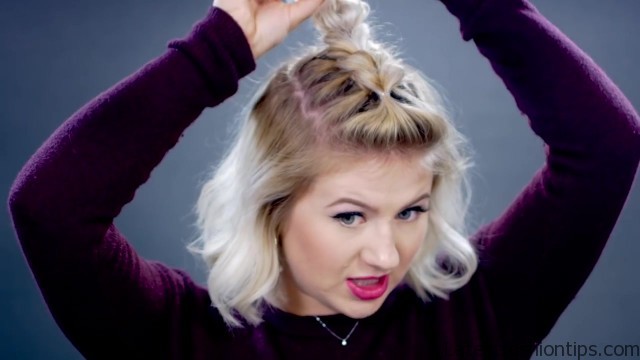
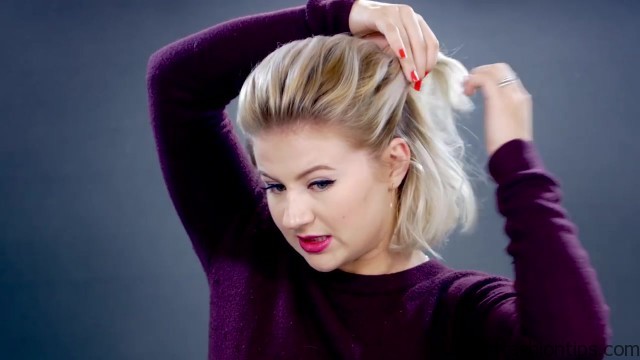
So I’m going to go back up and just loosen up some of the areas go back up to the first one and just give it a little bit more texture as well the reason why, I like this hairstyle is. Because it looks very intricate and different. But yeah it is super easy. So style number four is going to be a really high ponytail obviously half and then it is going to have a really big voluminous pompadour in the front. So I’m going to start off taking a section in the front right here this will include my fringes I’m going to take my dry texture in the spray and then take my teasing comb and tease it just a little bit to give a volume grabbing a section right behind the first one I’m going to do exactly the same thing from grabbing that section into a high ponytail just taking my fingers and I’m kind of running it through to give it a little bit more texture and dimension take a clear elastic and just tie it as high as you can once it is tied off I’m going to go back up and create a nice full pompadour right here in the front all right just give it a little bit more of an elegance to this hairstyle I’m going to take a straight rat tail comb I’m going to do it like right at the end of my eyebrow and at a diagonal I’m going to take the comb and bring it up to my ponytail to the light to the party line. So you see right there. So take this section that we just created I’m going to bring it towards the back of the ponytail and I’m going to wrap it around the clear elastic.
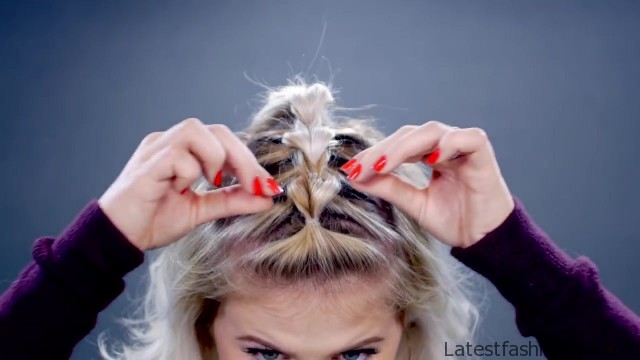
So the reason why, I add a little pompadour first and then, I go with the side sections to the ponytail is. Because, I can’t make this very voluminous without it falling apart. Because this kind of secure is the entire hairstyle that’s kind of why, I like to do it. So there you have it my textured high top ponytail. So here style number five, I call it the twisted ladder. Because it kind of looks like you are climbing the hair alright. So I’m going to start from one side first and I’m going to grab a section of hair split it right in half starting with a section that’s like on the bottom I’m going to take it over and do one twist.
So what we are going to do is we are going to start on the top portion of where we made that part we are going to make like a downwards diagonal and create like that V once you have that section just drop that apart and just make it into one section and then do it that twist. So start at the top again make a slight diagonal going slightly lower this time. Because we are going to go a little bit more towards the bottom and then go back up just a little bit drop that section to create a big one make a twist. So every time I’m going towards the back I’m going a little bit lower I’m just going to grab a little bit of hair from underneath this part or this twist and just secure it together just to kind of hold it down for now then go to the other side and repeat exactly what, I just did. So I’m going to let go of the first twist grab another clear elastic and then just tie these two together in the back. So you see those little sections that we have created I’m going to go back up and just kind of loosen them up to create them a little bit bigger this will add more dimension and texture and make sure you hold down the rest of the hairstyle when you do pull it apart once it tied off both sections and you pulled apart these little areas where we kind of sectioned it off to create that V I’m going to take it and baju it. So there you have it for a hairstyle number five it is super textured very dimensional, and it is very easy and super cute you guys know, I have to add in some red and a half updo.
So I’m going to split it off right in half my section and then I’m going to take a section I’m going to split this braid right into three and for this braid I’m going to do a French style braid. So French style braid is where you take this outer sections and you take them over the middle over the middle I’m going to come back down to the bottom I’m going to start adding hair bring this over the middle hold this grab a section over here and drop the outer section and then add it over at the middle and as you can see I’m going towards the side going a little bit down and then kind of helping this middle section guideline or where I’m grabbing the hair from the top. So going behind the ear and I’m going to start making my way towards the middle. So once, I get to the middle I’m going to add the last section tie it off with a clear elastic then just go to the other side and do exactly the same thing. So once both braids are tied up on the back I’m gonna inner loop them together into one of the braids I’m gonna secure both of the braids with bobby pins to my scalp. So now I’m going to go back up and I’m gonna loosen the French braid just a little bit just to give it more dimension. So there you have it for hairstyle number six it is kind of like a half-up half-down halo French braid.
So this next one, I call the bubbled half up half down hairstyle grab my section take my fingers just give it a quick comb through take a clear elastic give it a go once around twice and then we are gonna pull almost through. But not really then just kind of stretch it out and then pick up these hairs just a little bit more give it texture. So next I’m going to go right below it I’m gonna grab a section I’m going to try to bring this section as close as possible to the first section make sure we clean up the sides make sure you kind of bring up the hair there’s not a crazy hairline transition before, I tie off the second one I’m going to get this first one out of the way and bring it up as high as possible and for the final third I’m not going to start from the very front I’m going to start look towards the back like halfway towards the back grab a section and bring you look kind of towards the top at a diagonal I’m going to do exact same thing in the other side take some of your mini bobby pins or your regular bobby pins we are going to start from the top I’m going to start a little bit towards the middle grab these hairs and kind of loop it around towards the second one just grabbing some hairs along the way to secure that to the side and there you have it this is a super easy way of making a really pretty Bubble bun. But it kind of looks like a flower too does not it yeah super cute. So here style number eight is going to be one of my favorites to wear to the gym this is a Dutch braid faux hawk I’m just sectioning it off right now. So I’m just going on the other side as well hold this and I’m going to take the rest of the hair I’m going to bring it towards the back of my head. So, I do not touch it at all take the hair back and we are going to get a section right in the front divide it into three sections and we are gonna do a Dutch braid.
So a Dutch braid has a reverse French starting off on the right side I’m going to take this section right here and I’m holding and bring it right underneath go do exact same thing on the other outer side and right underneath. So I’m bringing this outer section over to the other side to my thumb hold it there and then you see where we sectioned it off I’m going to start grabbing hair and bringing this new section we are bringing it over to the thumb let go and you have that new section bring the underneath first the outer section hold it go over and bring the new section of hair over. So you see how I’m doing that I’m first bringing the outer section and then, I go over and grab the new section and bring it over to the other side and just continue braiding until you reach the crown of your head I’m going to grab some hair right underneath the braid. So the braid will be pretty down to my scalp I’m gonna go back up to the braid and just loosen it just where the actual braid is just to give it more dimension, I love this one for those active days it is textured it is pretty it is out of my face love it. So for this next one it is going to be almost the same went as the Dutch braid that, I just did. But instead of braiding we are gonna do the faux braid. So we are gonna grab the first section and we are going to tie the section off with a clear elastic.
So once you have your first initial section we are gonna make a second one right behind it take another clear elastic and tie the second section off as well make sure you try to keep them in the middle. So first what we do is we are going to split this first section right in half just like that then we are going to bring the second section right over take a hair clip and just pin the section away. So, I do not touch it bringing this section that’s split in half towards the back and then I’m going to get another section right behind it take this new section and tie it off with a clear elastic. So we are going to let this section go. So we just put the section in half we are going to put this new section we just did right to the front and pin it away and bring this section towards the back that’s going to be going with the new section and I’m just going to continue doing this until, I reach the crown of my head. So now I’m just going to finish this off, I let go of this section on the top and I’m going to combine these two down below and just tie them off together. So I’m going to go up to the top and I’m going to spread these sections apart alright.
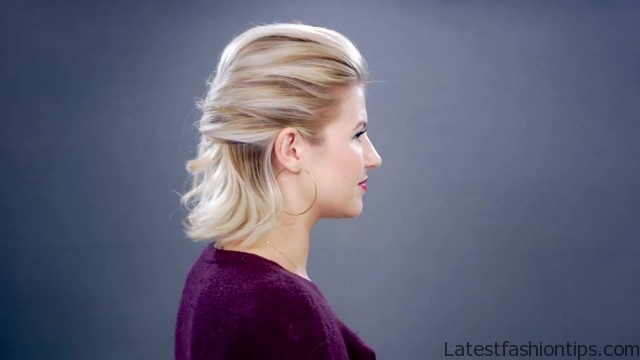
So now that I have pulled apart my full braid we are gonna I will fix this in the back. So I’m going to take some hair from underneath the little ponytail here I’m going to wrap it around that clear elastic take a bobby pin and take the hair right underneath it and secure the actual braid to my head. So this pull through full braid is a great alternative for the Dutch braid. Because you are just pulling your hair through you are tying it off you are pulling it through it is super easy you are golden it is done. So last. But not lease for the half-up half-down updos I’m going to do a more elegant one. So I’m going to start off with my hair the sections were here going towards the back of my head.
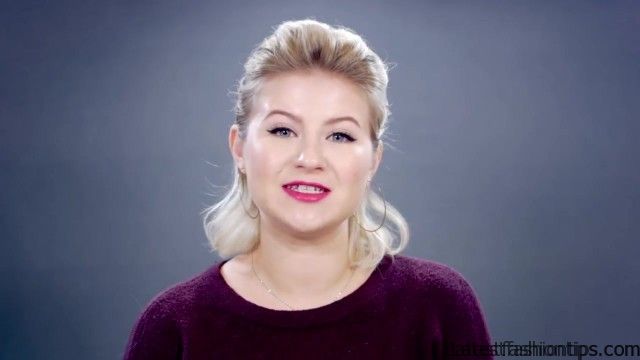
But I’m going to give them a quick tease to give them a little bit more volume and once your teased it it is kind of going to stay in place where you place it. So I’m not going to bobby pin it I’m just going to keep it towards the back and I’m gonna start grabbing sections right here from the sides and the front of my head and bring it in towards the back and we are going to place them on top of this little section right here secure with the bobby pin. So go to the other side in to exact same thing grab a section smooth it down and I’m going to bring it over on top of the other side creating like that crisscross effect and then secure on the other side with the bobby pin as well take some hairspray and quickly give it a quick spritz. So what eyes think of this crisscross half-up half-down look, I think it is super cute it is very easy it is very elegant sophisticated and you can wear it to a lot of places. So there you guys have it we made it to the very end those are my 10 everyday super easy half-up half-down looks for your short hair and of course thank you so much for reading this post spending some time with us do not forget to hit the thumbs up button. If you enjoy this post subscribe. If you have not already.
But for now, I will say my goodbyes and I will see you next time bye.
Maybe You Like Them Too
- Tamar Braxton A Life in Music
- Sunny Hostin A Biography
- Steve Coogan A Life in Comedy
- Sterling K Brown A Biography
- Stephen A. Smith A Biography

