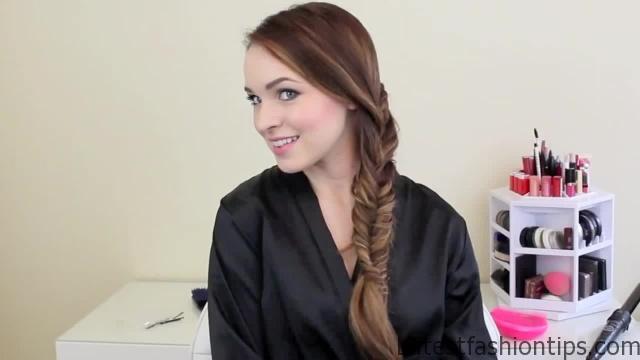
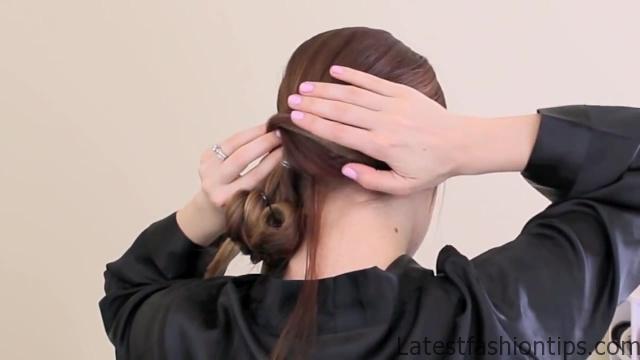
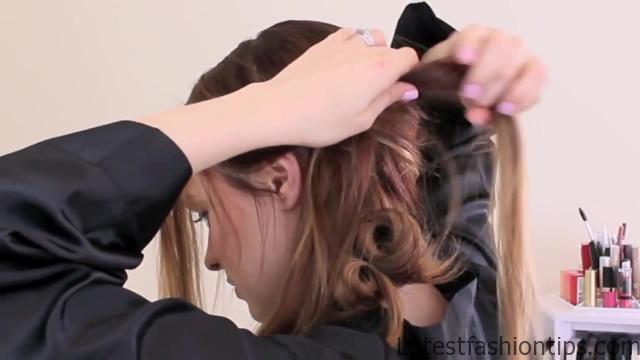
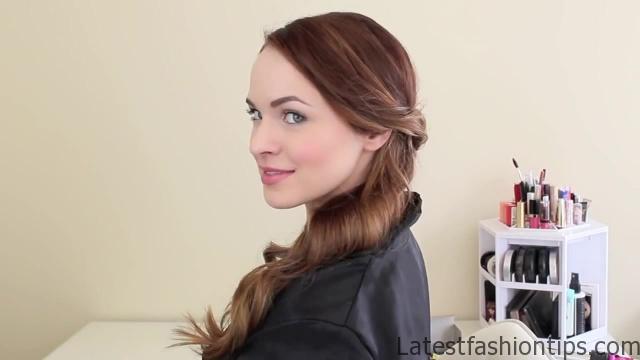
Hey Everyone Abbey here with some graduation appropriate hairstyles these will look great with a cap on, and will look great from the front while you have your gown, and all of that. So it is going to be great for pictures, and it will get messed up by wearing a hat. So we have this braided bohemian one, and then a little bit more polished, and perfect, and let’s go ahead, and get started with you kind of polished pretty princess c you are going to start off by separating your hair in front of your ears on the side that has the most hair like that, and then on the other side you are going to kind of part your hair diagonally about an inch behind your ear, and separate out that hair this in front of the ear clip it out of the way now with the section we have left in the middle you are going to create a side ponytail. So basically just secure all your hair over to the side with the small elastic if you like you can also add a little bump at your crown for some added volume, and then just go ahead, and secure with the smallest band possible. So it is easy to hide then go ahead, and spray your hair with some heat protestant, and you are going to go ahead, and curl the whole ponytail, and you are just going to wrap it away from your face, and then if your hair is hard to curl like mine you are going to wrap it back up over two fingers once you have it kind of in a little donut shape after wrapping it in your two fingers you are going to go ahead, and put a bobby pin or clip through it, and secure it there, and then continue on doing that over, and over again until your entire ponytail is curled if your hair is not hard to curl you can totally skip winding it back up but you know if this is a big event you definitely want to make sure that it is going to be staying there all day long. So then with that section that we did diagonally on the side that has the least amount of hair brush your hair over, and then create kind of a rainbow right over the top of your ponytail you are making that kind of half circle shape. So that’s why. I say rainbow, and we are going to fit the other one right underneath it. So you want to put it a little bit higher up than you think you need to. So maybe three inches higher than that hair elastic, and then six, and the hair pins in the bottom to hold it in place then go ahead, and let the front down, and curl it away from your face, and then we are going to section that just underneath the one that we already did.
2 Graduation Ready Hairstyles Photo Gallery


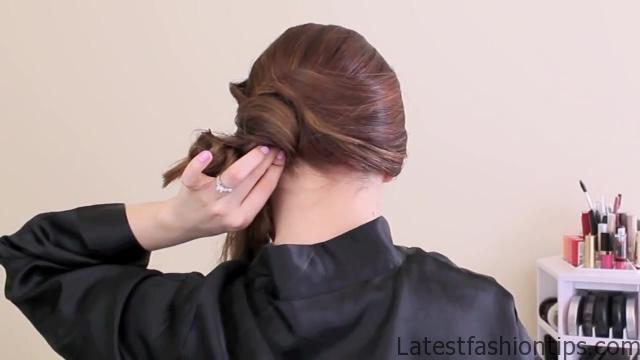
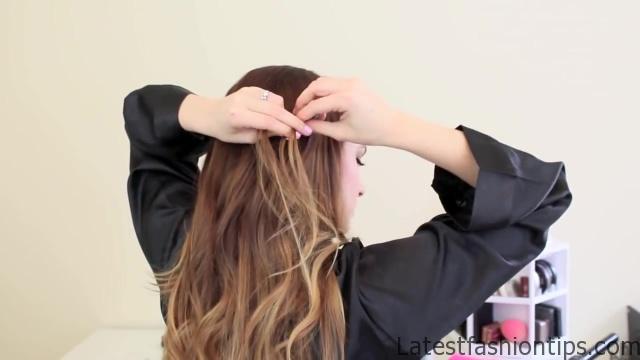

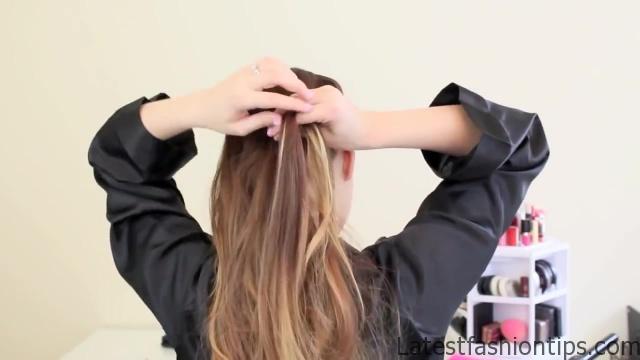

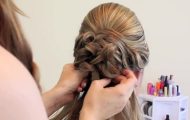
Basically you are going to make another little rainbow right underneath the other rainbow that we did. So it is a double rainbow see what. I did there, and then you are going to go ahead, and pin it in place there to pin it you are just going to pin up, and into the style catching just the bottom of the hair that will secure it in place, and hide the bobby then take the rest of the hair, and loop it just underneath the elastic. So that you can hide the elastic, and then go ahead, and pin it underneath making sure that you catch all of the hair this time. Because you really want it to stay really well, and then you are going to go ahead, and curl the new pieces that we brought into the hairstyle again going away from your face, and putting them back up to cool once they pulled you can let them down, and run your fingers through them, and you are all done, and now for the bohemian style which is really easy it is basically just two braids kind of brought together, and it makes a really cool really fast style. So basically you are going to take a small section of hair from the side that has the least amount of hair, and you are going to start by braiding under, and getting your braids started just going a couple times normally, and then you are going to bring in hair only from the bottom for this section.
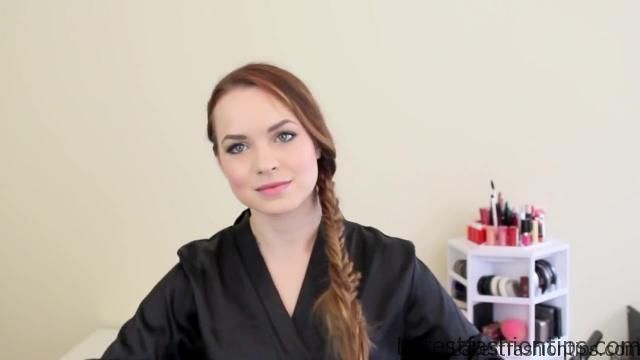
You take a section all the way out by the hairline, and bring it in, and incorporate it with that bottom braid, and then braid it over, and then braid the next section without bringing in any new hair, and then you go, and you pick a new piece of hair, and bring it in again, and the key to getting a really nice look here is to take a little tiny section from right at your hairline, and not bring any more than that. So you are just taking a little piece from right next to your hairline that helps to create a nice PC look a lot of times when we braid we like to slide our finger from like the outside of the hairstyle all the way in to where the braid is but that kind of gets rid of the PC look that, I will going for here but if you take that little tiny piece you can see those little lines from each one that you bring in, and it makes it look really distinct, and really cool then finish off by braiding just three or four inches normally, and then secure it with a little elastic just to hold your place for now then you are going to take the rest of the hair, and spy it in two, and do a fishtail braid incorporating the braid in the middle of it. So basically you have got that braid there, and once you get to the tail of the braid you can just start incorporating pieces of hair from that into the fishtail braid but until then you just kind of braid around it, and it hides itself really easily. So you do not have to worry about that at all, and then. I finish off by teasing the end which you guys are probably getting tired of me doing by now but. I like it, and then you can go ahead, and pull it apart a little bit to make it look looser, and that’s it if you do not like teasing it at the end use a bobby pin a clip a hair tie whatever you want but that’s finished style. And I hope you guys like it. So I put together a playlist of all of my tutorials that would work for a graduation, and you guys can click on the screen right now to go to that if you want and, I will see you guys later this week with another post love you all bye.
Maybe You Like Them Too
- Celebrating Natural Black Women’s Hair: A Guide to Gorgeous Hairstyles
- Short Hairstyles For Women Over 60
- 20 Thrilling Twist Braids Style to Try This Season
- The Top 10 Asymmetric Hairstyles
- 10 Gorgeous Shaggy Bob Hairstyles To Get You Out Of A Style Rut

