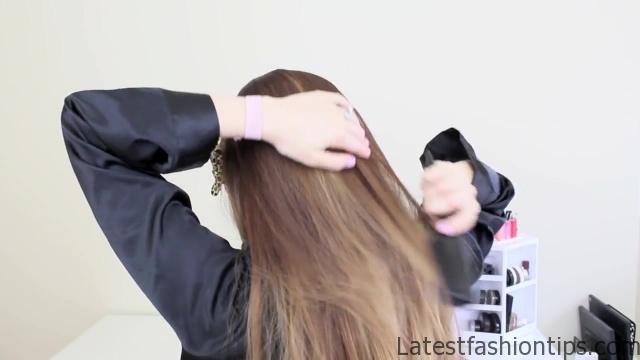
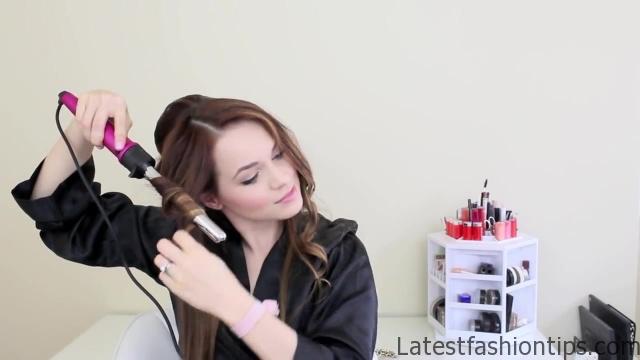
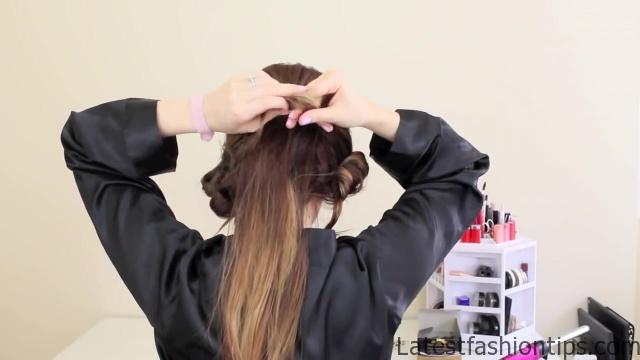
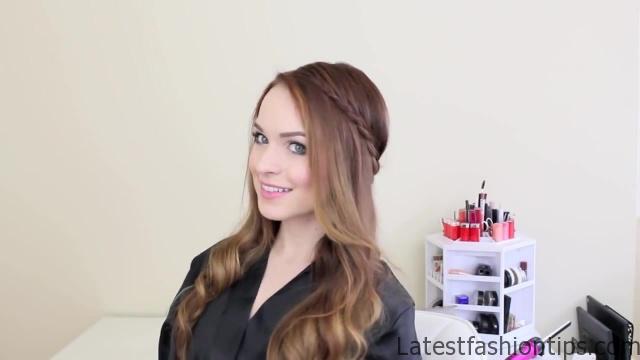
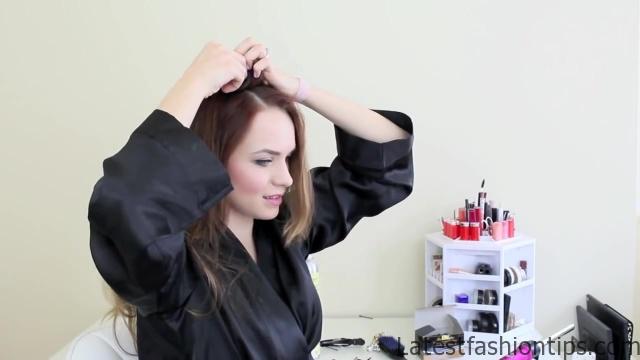
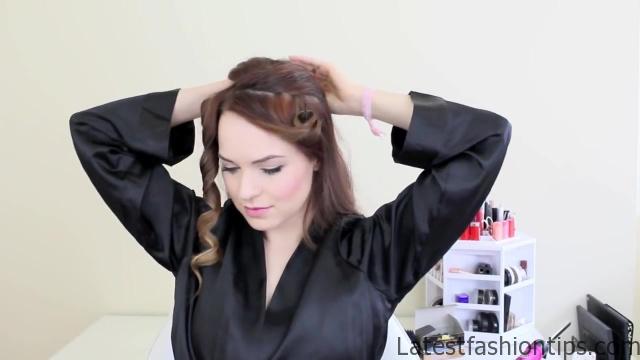
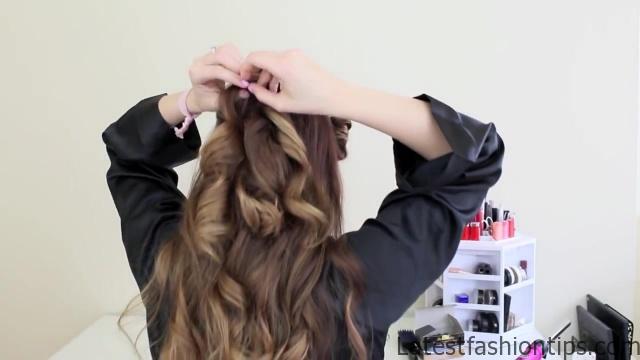
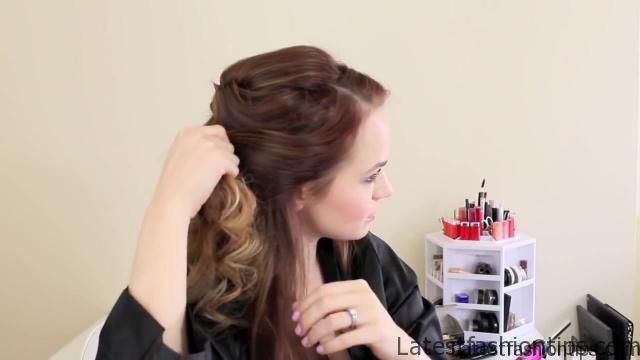
Hey everyone Abbey here one thing. I get requested a lot is some half-up hairstyles. So I have three for you today a princess one this bohemian one, and one that’s rather Blake Lively inspired kind of glam is one, and these all should be pretty easy, and should fit a wide variety of events. So hopefully you all can find something that works for you we are going to start off with this princess one basically the first thing to do is to create your bump. So you are going to go ahead, and section the hair at the crown, and give it a bit of teasing. And I think that you really do want some volume here to just kind of complement the hairstyle but you do not have to do as much teasing if you are not comfortable with it once you have it using done just smooth it just a little bit with your brush, and then gather it together, and pin it in place want to make sure that you get the exact size you want with this then we are going to work with the front pulling it back on the sides it has the most hair you are going to go ahead, and wrap your hair away from your face then on the other side you are going to wrap your hair toward your face. So that when you pull these two pieces back there both curled in the same direction. So once you have that curl then you are going to go ahead, and pull these two pieces back, and join them in the backs together then kind of wrap them in the direction that they are curls around two fingers then place that wrap portion against your head in that area between where your fingers, and your head is where the bobby pins need to go. So go ahead, and just hold it there, and pin right in between those two things, and pinning right there will also hide the bobby pins. Because the top of that little wrapped portion will cover them then all you have to do is curl the rest of your hair if your hair is easy to curl just curl it, and let it fall if your hair is a little tougher to curl like mine you can curl it, and then wrap it back up around two fingers, and pin it in place then when you go to curl the back make sure you go ahead, and wrap, and pin the hair that we have already curled.
3 Prom Ready Half Up Hairstyles Photo Gallery
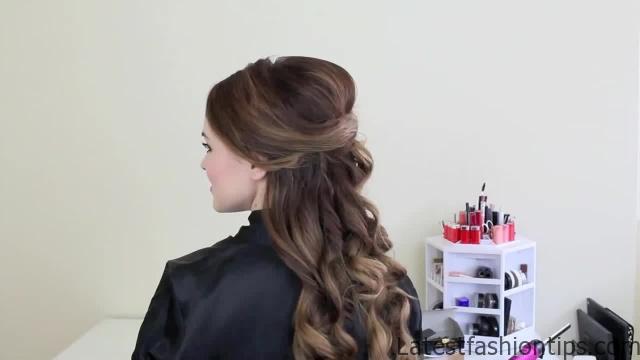
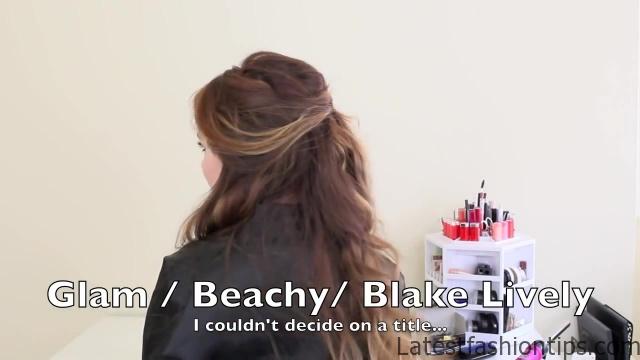

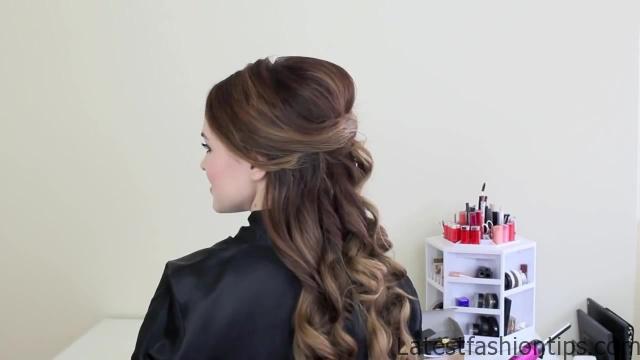
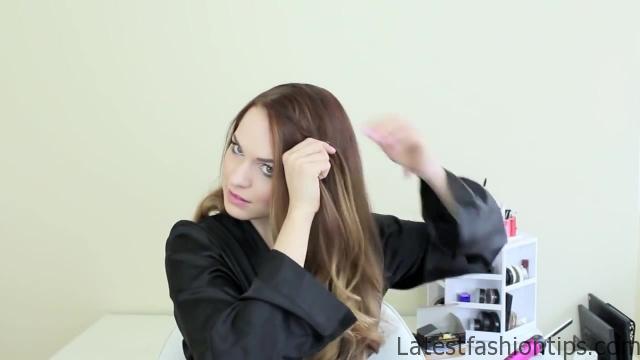
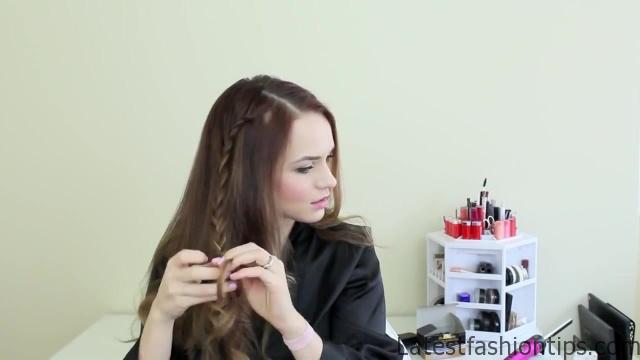

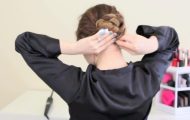
So that it does not get messed up while we are doing this. So then just go ahead, and continue doing that throughout the rest of this. So basically curl however you feel comfortable then once you are done if you pin them up go ahead, and let them down with they are all cooled, and then you can kind of shake them out just a little bit, and you have got your finished hairstyle. So now it is time for our bohemian hairstyle the texture that. I have in here is just some curls that have been brushed out and, I will leave a tutorial in the description box if you need that within you are going to French braid back from the hairline incorporating only hair from the top, and you want to start about a half inch to an inch back from the hairline to create a really bohemian look then once you go about six inches like five to six inches with this French braid you are going to go ahead, and braid normally make sure that this braid is really loose. So that it still looks very bohemian, and natural, and not too tight, and rigid then repeat the exact same thing on the other side again make sure to keep it nice, and loose as you are going then to secure then you are going to go ahead, and tie a half knot in the back, and then put a bobby pin through that, and then you can either pin that until you like it or. I actually took the one that was over, and flipped it back to being under. Because. I didn’t like how that looked, and then. I just stuck another bobby pin in there. And I found that was the easiest way to get those braids overlapping in the back for me make sure you take out those little rubber bands, and let the braids unravel, and then you have your finished hairstyle, and finally we have our black lightly inspired hairstyle now this one does not have to come out quite as messy as. I did it if you do not want to just FYI.
So to get that really voluminous look up top we are going to go ahead, and start with the middle section that you would usually use for your bump, and curl that right against the head, and then take a section on either side of that again curling up as close to the roots as you can, and then pinning them up to get that really voluminous look, and if you do not have hard to curl hair you do not have to pin them back up it is just something that. I like to do in the last section we are going to take is up to the front. So you want to take basically the hair in front of the ears on either side of the part, and go ahead, and curl that back away from the face then take that section at the top, and comment back to make sure that it looks good, and kind of pull it back nicely, and then go ahead, and pin it up against the head, and then take a section on one side, and what you can do here is either pin it on the same side that the hair is curled on or cross it over top of that middle section, and pin into place you can see that, I will crossing it over just to create like a cool crisscross effect then you go ahead, and pin that in place there, and once you have got that then you are going to go ahead, and repeat the exact same thing on the other side with the other section that we have. So go ahead, and pull it back make sure that it looks good from the front, and pin that in place right there, and as you are doing this you can get your bobby pins together.
That it creates a really stable really secure hairstyle now to get that really glam kind of dramatic effect you want to make sure that these pieces from the front swoop really low at their lowest point, and come up really high at their highest point. Because that creates that really voluminous look. I kind of stack too low that’s really important for this hairstyle. So just make sure that you are letting it fall kind of in the middle there, and then pull it up as high as you can, and up at the top, and again, I will Chris crossing over to make a cool effect here once you have got that all in place you can go ahead, and curl the hair at the bottom to make sure that all of your hair is curled nicely, and you have got your finished style. So that’s it guys. I hope you have enjoyed it, and here is my last hair tutorial that. I did if you have not seen it yet you can click anywhere on the screen to go, and see that one, and stay tuned for next week. So, I will doing some graduation hair tutorials for you all. I love you guys we will see you then bye.
Maybe You Like Them Too
- Celebrating Natural Black Women’s Hair: A Guide to Gorgeous Hairstyles
- Short Hairstyles For Women Over 60
- 20 Thrilling Twist Braids Style to Try This Season
- The Top 10 Asymmetric Hairstyles
- 10 Gorgeous Shaggy Bob Hairstyles To Get You Out Of A Style Rut

