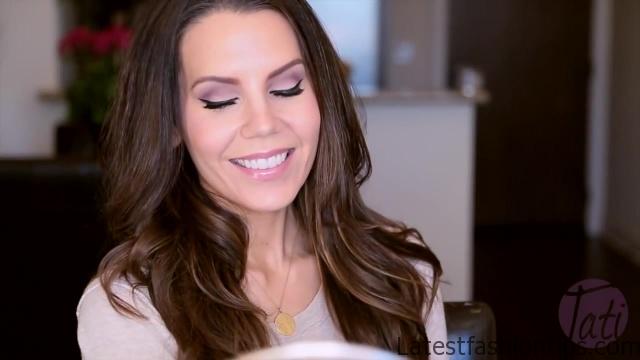
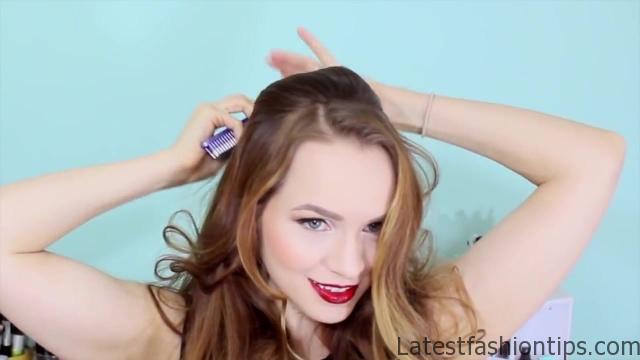
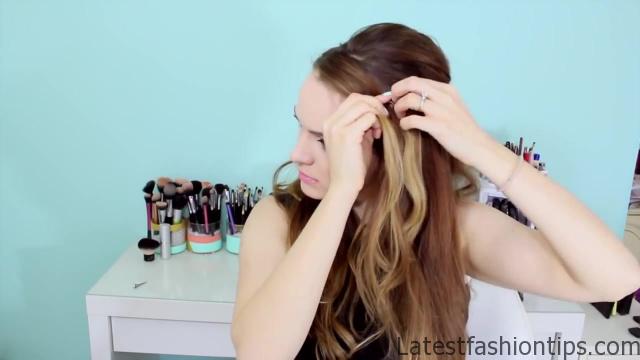
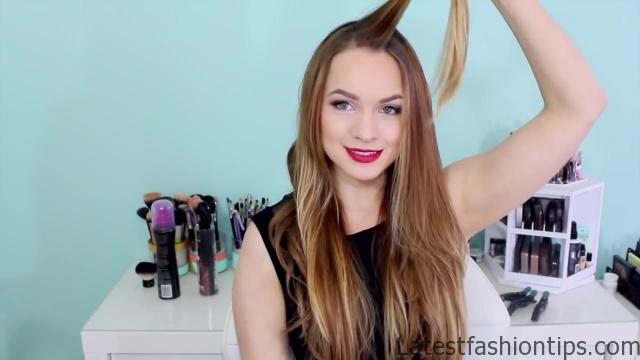
Hey Everyone Abbey here, and today, I will taking three Valentine’s looks like. I did last year we have a flirty one a romantic one, and a sultry one to just hit whatever occasion you guys have going on and, I have done this as a collaboration with Tate from glam life guru. I love her. So much she’s probably the only youtuber that. I just drop everything for to watch her posts once they published. So definitely check out her post we are going to start off with the flirty hairstyle you are going to start off by making just a bump. So just separate the hair at the crown of your head tease it a little bit, and smooth it out, and you can always add just a little bit more teasing if you like lots, and lots of volume but it is definitely not necessary if you don’t. So bring all the hair together, and push it up into your bunk at whatever amount of volume you like to pin the pump in place you want to pin the bottom side of the hair, and the outside of the hair but not the top of the hair that we are getting most of the hair pinned but this place on top is left free. So it looks very organic, and natural while it is kind of just laying there, and you do not have to kind of hide the top of it just kind of falls, and drapes naturally. I think that looks really pretty then you want to take kind of the top half of your hair from over your ears, and take that, and begin to braid back but. I did this. I did it as a lace braid incorporating hair from the top but if you are not into Dutch braiding or lace braiding or French braiding or anything like that you can just do a normal braid, and it basically looks exactly the same.
3 Valentines Hairstyles Photo Gallery
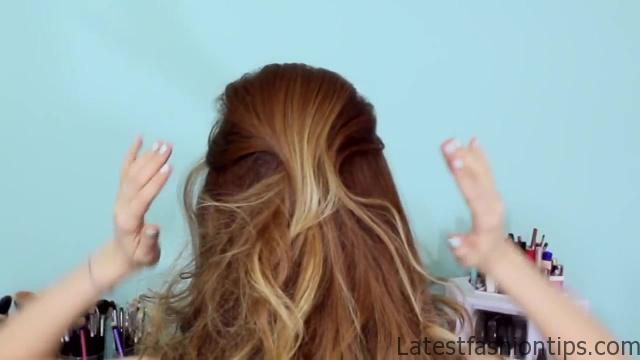
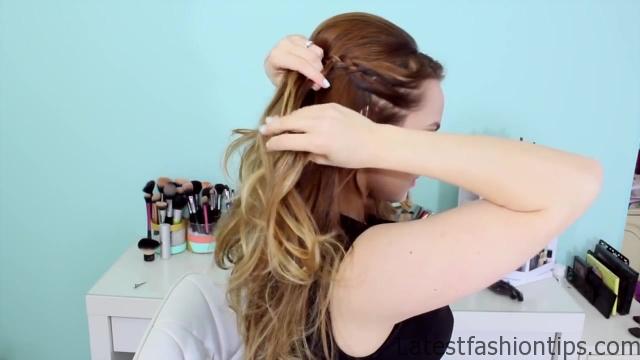
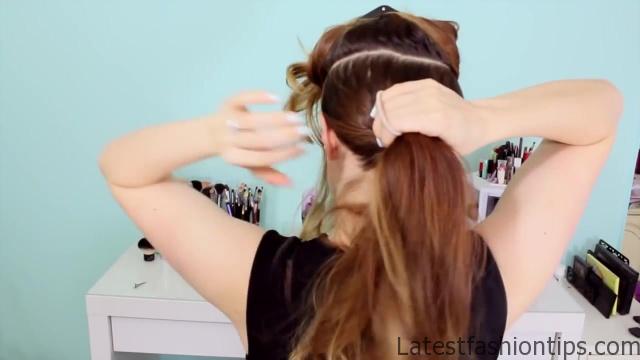


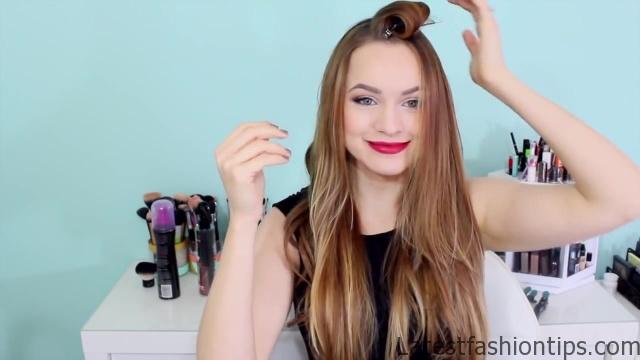

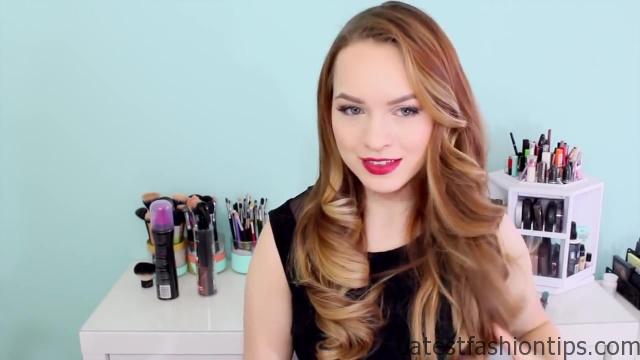
So whatever you decide to do you want to braid until you reach those bobby pins in the back, and then braid just a little bit extra. So you have some room to work with, and then you pin that in place also just pinning the bottom of it, and not pinning over the top then you are going to repeat the exact same thing on the other side you want to make sure while you are taking any sections do they look pretty from the front, and then they drape back nicely, I will you know they can sometimes accidentally pull these back, and they look a little bit awkward. So just keep an eye from the front while you are doing this. So it does not end up looking a little odd then pin the braid, and place in the back, and you are all done, and we are ready to move on to our romantic hairstyle which is much easier than it looks you are going to separate your hair from the ears up, and then put the remaining hair into a ponytail if you do not have as long hair do not worry about that stuff. I will tell you what to do later then you are going to create a bump just like we did with the previous hairstyle except that you can pin just normally over the top, and crisscross your bobby pins cut we are to be hiding them now you want to take the top half of the hair from your right side or you can start with your left side if you want, and you are going to take that, and drape it over the bobby pins give it a twist or two just to add some texture, and dimension to the hairstyle, and then once you get it over those bobby pins you are just going to put it in place, and then we are going to repeat the same thing on the other side you are going to take the top half of your hair, and pull it back, and again just twist a little bit to add a little bit of dimension, and then place that right underneath the previous section that we just pinned, and you are going to pin up, and into that section, and then we are going to repeat the same thing with the last two bits of hair.
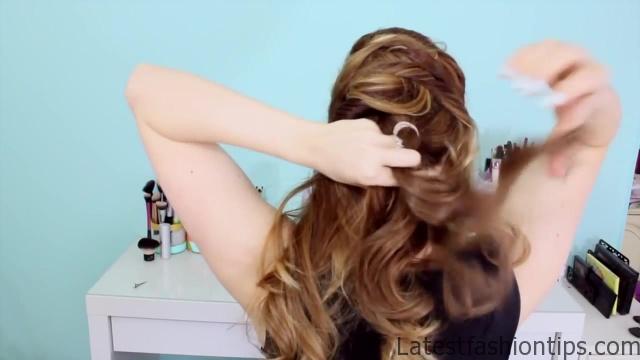
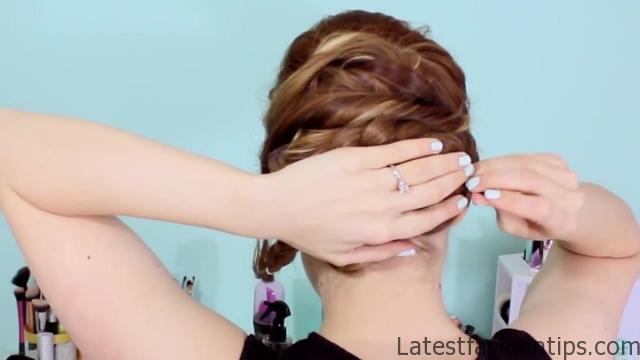
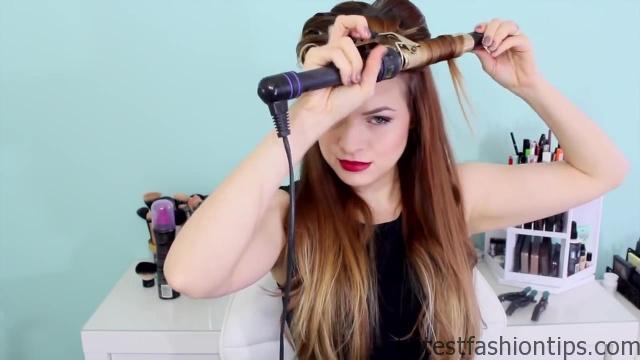
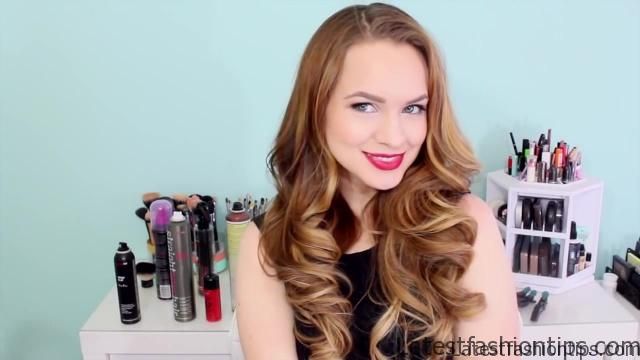
So at that last half of your hair on the right side you are going to take it, and twist it, and pin it in place, and then the same thing with the hair that’s remaining on the left you are just going to twist it, and put it in place, and now we are going to work with the rest of the hair now we are going to braid the ponytail that’s there, and if you didn’t put your hand to a ponytail first you are just going to braid whatever hair is remaining then once you reach the end of your hair with that braid go ahead, and secure it with a small elastic now if you have a lot of hair left over on the sides like. I did you should go ahead, and braid them just to go ahead, and get them nicely together there’s not any loose hair flying around, and then what, I will going to do is to wrap these around the base of my ponytail. So that. I can go ahead, and just get them out of the way there’s really not a graceful way to deal with them. So I just kind of wrap them around the base. So that they wouldn’t be in my way, and pin them in place there then. I took the remaining hair this in that braid, and wrapped it into a bun you want to make sure that this bun is right underneath the final twist that we did. So that it kind of matches with the rest of the hairstyle, and pin that in place with as many bobby pins as you need be sure to tuck the ends underneath the bun. So that there do not stick out throughout the night. Because that would not be pretty, and that is the end of our hairstyle we are going to finish off with the sultry hairstyle first of all you want some quite some heat protestant to keep your hair safe then take a two-inch section of hair from right next to your part, and you are going to curl down towards the floor you can do this with a clip iron or you can do with a clip less iron if you want once you have that all heated up you want to also wrap it back up, and set that curl right against your head, and then use a clip to hold that in place. So that the hair cools, and creates a really nice strong curl then you are going to repeat that all the way around your part line, and it was going to kind of end up looking like a grandmother but it is okay. Because you are going to have great strong curly hair when this is done then for our next section instead of curling down towards the floor we are going to curl up towards the ceiling this kind of alternating effect creates kind of a finger wave look to the hair a much more retro look to the hair. So you kind of do this back, and forth motion to get that really retro kind of curl to the hair.
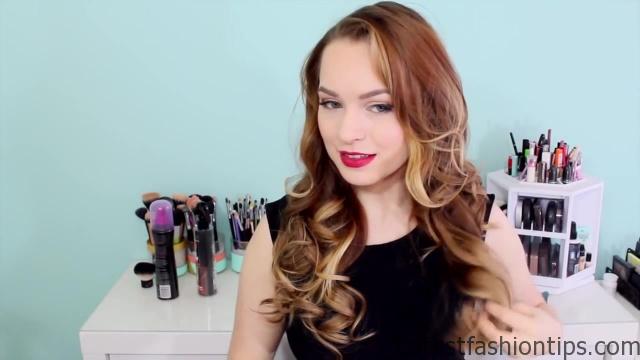
You’re going to continue this with that two inches all just below the previous section that we did then we are going back to what we did with the first section. So basically every section you alternate the first one is going to be going down the next one going up, and then going down, and then going up until you have incorporated all of the hair, and for this, I will using a one-inch iron once the curls have completely cooled you can go ahead, and let them down. I was inspired to do this kind of retro curl. Because for a sultry. I always think of you the retro waves or Victoria’s Secret curls. So this is kind of meant to be a combination of both in a way once all the curls are down you are going to brush through them. I was using a boar bristle brush, and this can cause some frizz. So if your hair to this appraised. I would use your fingers rather than a brush just to avoid that, and then. I went to shape the curls by holding my hand in one place, and brushing the curls around them. So, I will left this side to come in towards my face. So, I will brushing my hair in the direction. I want it to go they are going to see me do the opposite thing on the other side where. I brush the curls around away from my face. So that. I have one side going toward, and once. I going away, and this is what they look like if you leave them smooth but if you want to make them more Victoria’s Secret texture you can add in some volumizing powder at your roots for extra volume, and then, I will using the sexy hair spray clay on my ends just to kind of rough the hairstyle up a little bit, and make it look a little bit more lived-in, and that is it for our sultry hairstyle. I hope you guys have really enjoyed these hairstyles whatever you are doing on Valentine’s Day, and whoever you are with. I hope you have a great time, and definitely send me a picture if you try out any of these also be sure to check out tattoos post, I will sure you guys will love her as much as. I do she’s got great posts, and be sure to subscribe to her. Because like. I said you are going to love her, I will see you guys in my next post.
Maybe You Like Them Too
- Celebrating Natural Black Women’s Hair: A Guide to Gorgeous Hairstyles
- Short Hairstyles For Women Over 60
- 20 Thrilling Twist Braids Style to Try This Season
- The Top 10 Asymmetric Hairstyles
- 10 Gorgeous Shaggy Bob Hairstyles To Get You Out Of A Style Rut

