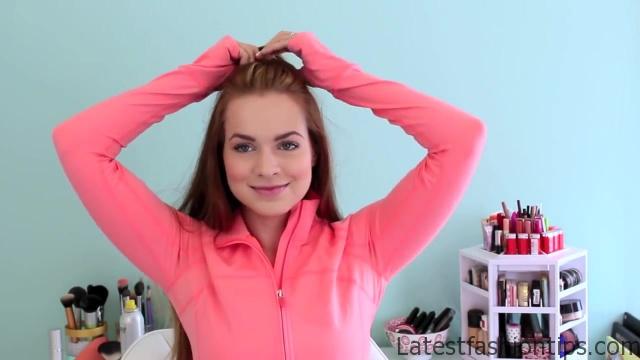
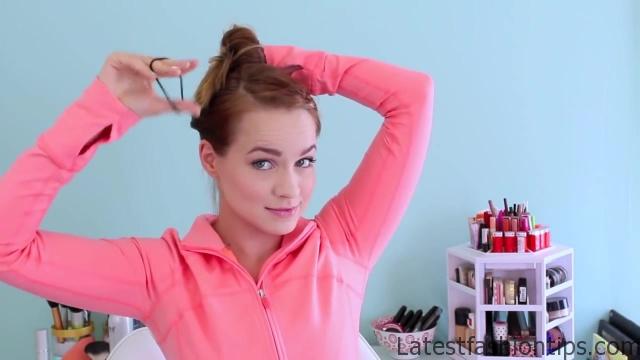
Some workout appropriate hairstyles, I have gotten a lot of requests for these over the past couple months. So I thought. I would go ahead, and share them with you today and, I will think, I will probably be doing some more in the future. So definitely be checking out for that. So let’s go ahead, and get started we are going to start off with this braided ponytail which is appropriate for. So many different occasions you can go ahead, and pull your hair straight back, and then separate the hair from the temples up you are going to go ahead, and braid that back normally you want to start braiding just behind the section that you went ahead, and separate it off if you find that you need some more volume through that section after you finish braiding, and you secure at the hair you can go ahead, and push the hair forward, and stick a bobby pin or two into the hair to go ahead, and hold up the volume now we are going to be doing a Dutch braid incorporating only hair from the bottom some of you guys might know that as a lace braid basically all you are doing is to braid underneath, and every time that you braid with the hair on the bottom side of the braid you are going to take up a new section of hair from the hair underneath it sounds a little bit complicated. I do have a tutorial on Dutch braids. So you guys want to check that out. I will have it link in the description box in case you need it basically you are going to braid over once normally then pick up here, and braid that into it braid once normally pick up hair, and bring it into it, and you are going to keep going until you reach almost the center back of your head then braid a couple inches normally, and go ahead, and secure that braid for now.
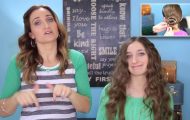
3 Workout Ready Hairstyles DIY Headband Photo Gallery
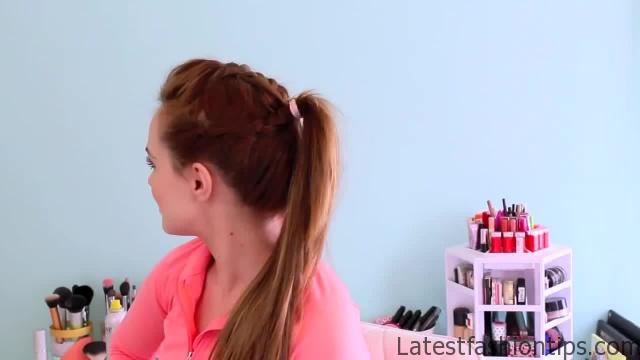
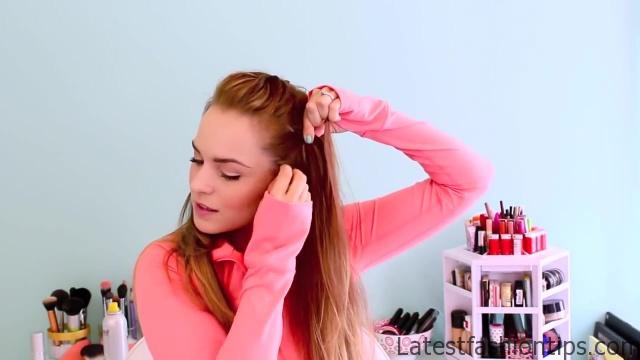
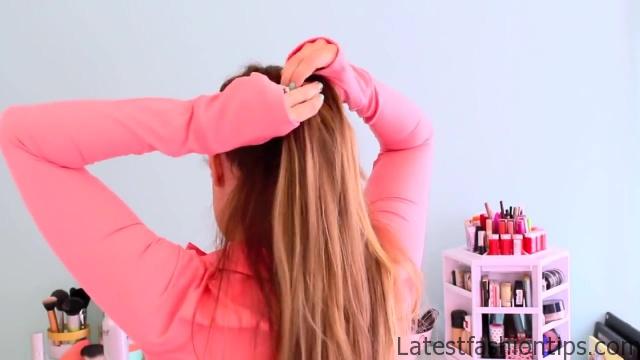
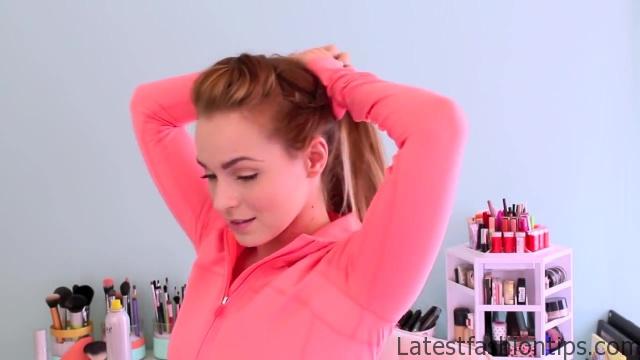
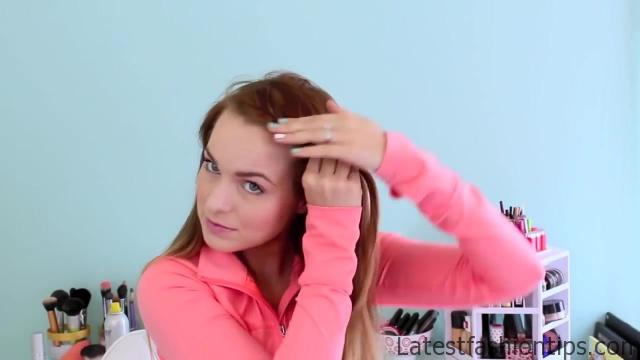

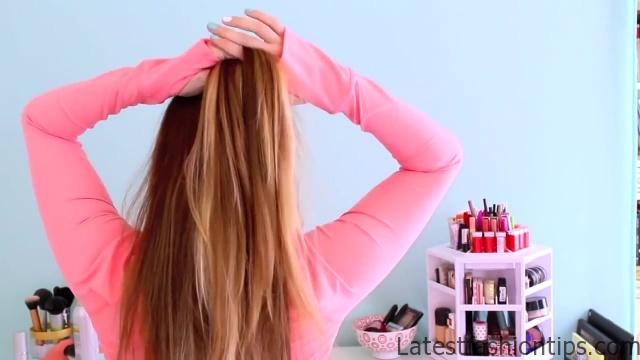


That it does not unravel, and then you are going to go ahead, and repeat the exact same thing on the other side once you have all those braids done you are going to pull them up to the apex of your head. So basically a really high point on your head, and secure it with an elastic, and that is it for your hairstyle if you want to wear this for dance or anything like that where you need a bun you can just go ahead, and go from here, and secure your hair into either a messy bun or a ballerina bun, and taking a buns let’s move on to our next hairstyle now for this one the easiest version is going to be putting your hair on the side, and then you are going to start a French braid, and you are going to French braid along your hairline for about three or four inches let’s do that you are going to start to curve it back towards the crown of your head, and basically if you just focus on trying to braid back that way while doing a French braid you will create that great curve shape this is a hairstyle that you see in a million times on tumblr, and Instagram, and Pinterest, and yes it is not that hard to accomplish. So be it is just about holding the hair really tight, and close to the head while you are braiding, and doing that French braid starting at the hairline go a couple inches, and then just curve it back toward the center of your head once you get back to the crown right a couple inches normally, and secure the braids. So it does not fall out while you are trying to get your hair into a ponytail once you have got that done do go ahead, and put your hair back into a ponytail using a hairbrush to go ahead, and brush everything up, and use a hair scrunched to secure everything in place, and then the way. I like to make a messy bun is to fold my hair into thirds, and then take a hair band, and just wrap it around that, and that creates a really messy look which.
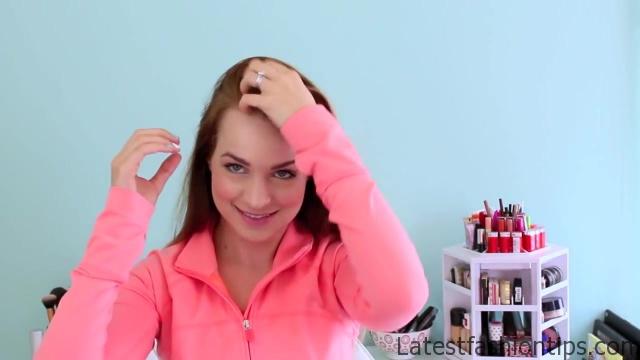
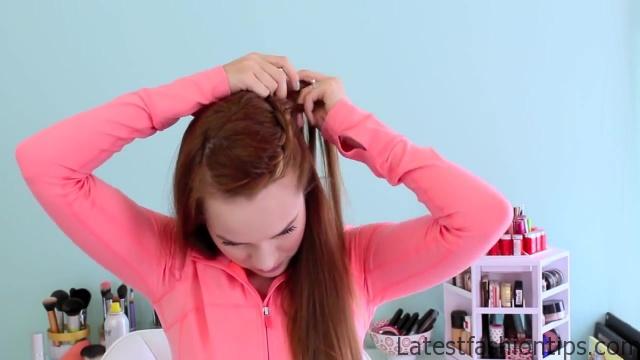
I like but it is musting a little bit more neat you could always wrap your hair into a bun shape, and then wrap the hair scrunched around the bottom of it, and that would look a little bit neater, and that’s it if you want this hair to look more like the pictures that you see on Pinterest you need to start your braid a little bit more over close to the ear, and then just braid until you have gotten a couple inches past your part just like we did this time moving on to the next hairstyle you are going to brush your hair straight back, and then go ahead, and use a headband to secure your hair back pushing it forward a little bit to get some volume up on the top then take some hair from the top, and start French braiding you want to start French braiding a little bit higher up. Because it gives you a little bit of volume on top which makes the shape a little bit more flattering but then basically all you are going to do is French right back if you find Dutch braiding is easier you can do that as well it is really not that important that it is a French versus a Dutch braid then once you get to the bottom you are just going to go ahead, and braid the rest normally although if you want a more edgy kind of cool look you could just do a ponytail here instead of rating the rest of the way you, and now we are going to create the bun. So basically just take your braids, and wrap it around into a bun shape making sure to go ahead, and tuck those in underneath our buns, and then take some bobby pins, and pin until your hair is stuck in place you can also use little jaw Clips around the bun it can really hate using bobby pins that might help you out if you are not a bobby pin a holic like me, and that’s it for the hairstyle. So let’s move onto how to do the headband basically, I will going to continue with the DIY t-shirt theme that.
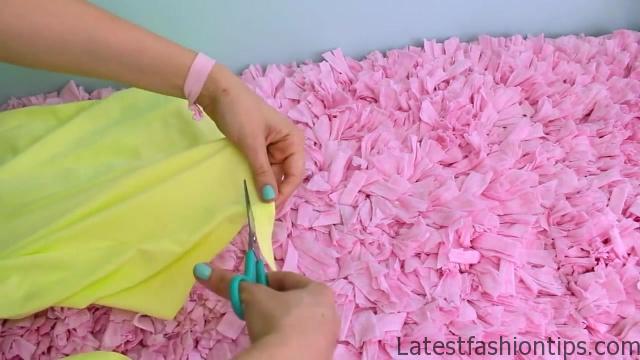
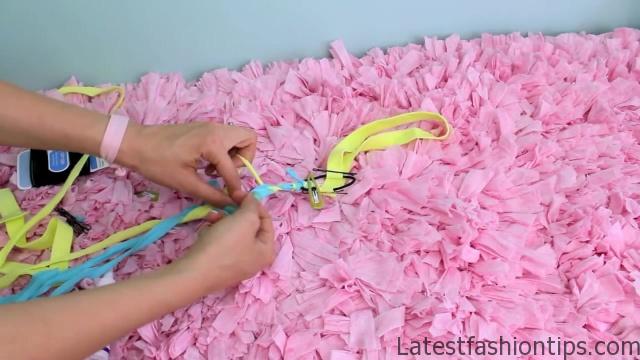
I had in my last post, and you are going to go ahead, and cut off the hem of an old t-shirt that you might not want anymore or one that you want a little bit shorter then you can cut off little tiny strips from the bottom of it like little tiny half inch strips, and we can use that for the braids if you want to have more than one color you are going to do this on more than one t-shirt we are going to start off with your three strips some scissors, and then here our scrunches, and fabric glue if you do not want to cut up a t-shirt you could also use ribbons instead start by measuring around your head, and then hold up the hair elastic, and take away the link from the hair elastic. So basically subtract it from the length around your head, and then go ahead, and cut right there then we are going to attach this to the hair elastic.
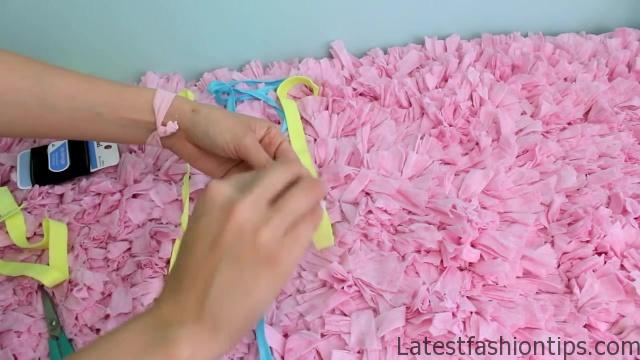
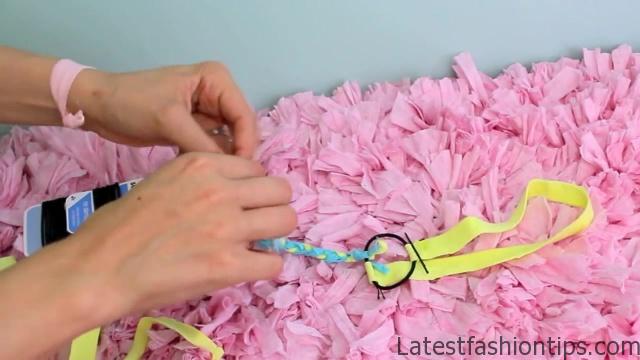
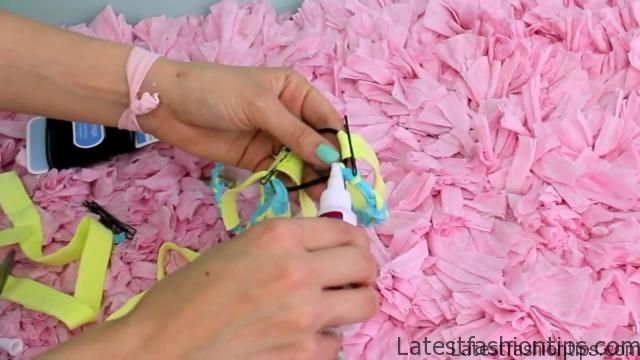
So go ahead, and loop the fabric around placing a little dot of glue to hold that loop in place then do that on the other side as well, and then you are going to want to pin these. I use bobby pins. So that while it dries the glue is still stuck there, and it won’t come apart then take the fabrics from the bottom of the t-shirt, and cut it in half this makes braiding a lot easier then go ahead, and make a knot on one side, and begin braiding, and you are going to braid all the way down. I found that for some reason, and half of the fabric of the bottom of the shirt braided was the right amount to go around my head. So that’s what. I did and. So once you go ahead, and you braid, and get all the way to the bottom then you are going to tie it, and knot, and actually if you want to skip the whole hair scrunched step you could just tie the two ends of the knot together, and use that on its own for a headband but if you want to follow this then you are going to go ahead, and take the ends that are leftover from the knot, and tie them around the hair elastic once you have it tied around the hair elastic you are going to put a little dot of glue on each side, and kind of Pat it in with your finger. So that the knot will hold in place really well then you are going to let that sit, and dry for about two own until everything is set once that is set you can go ahead, and cut off all the extra little pieces of fabric, and you have your own DIY headband which you can do in any amount of colors that you want to, and it is a great way to redo an old t-shirt speaking of which my last tutorial was on do-it-yourself workout shirts from tee shirts if you want to check that out, I will see you guys in my next post.
Maybe You Like Them Too
- Celebrating Natural Black Women’s Hair: A Guide to Gorgeous Hairstyles
- Short Hairstyles For Women Over 60
- 20 Thrilling Twist Braids Style to Try This Season
- The Top 10 Asymmetric Hairstyles
- 10 Gorgeous Shaggy Bob Hairstyles To Get You Out Of A Style Rut
