Hey all, Welcome back my lovelies. I’m so glad you could join me for another post today and today, I’m bringing you a lot of cute simple braided headband that you can try on your own hair braided headbands they’re. So simple they’re. So versatile and, I like the fact that you can go crazy with it or you can go super simple. So let’s start off with the very first one which is a french braided headband just like a headband you can either start on the very top of your ear.
5 Braided Headbands For Short Hair Tutorial Photo Gallery

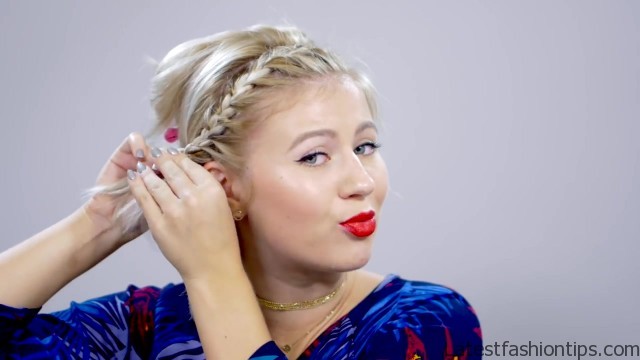


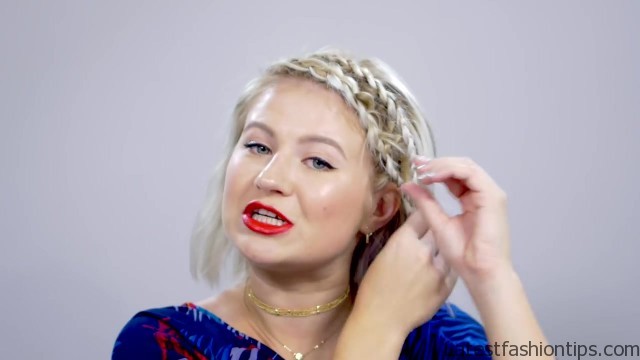


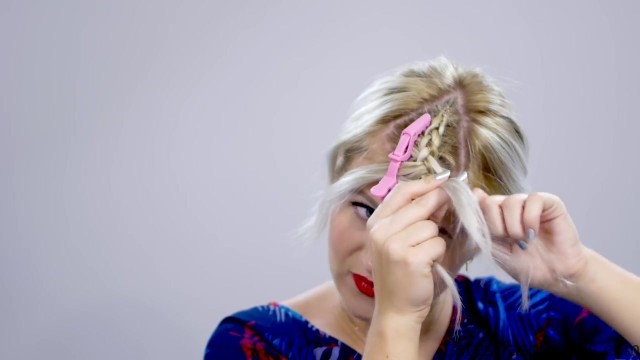


So you can make it all the way or round to the other side or you can make it a little bit simpler on yourself and just start on a more deeper side. So basically my part right now is on the left. So I’m going to make a little bit deeper not too crazy, I know, I have these crazy baby hairs right here. So I’m not going to bother with that I’m going to section my hair off right now to kind of guideline how big, I want the actual headband. So once you have the size of your headband determined this is where I’m going to start braiding. So I’m going to start grabbing a section from the front all the way to the part where we took the hair away and divide the first section into three sections for the braid. So the French braid is where you take the outer sections and you cross it over the middle.
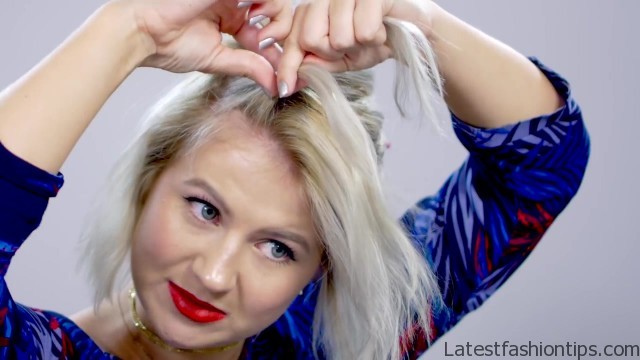
So I’m going to take the first sections and I’m going to cross them over like a French braid without adding any hair to the sections once, I have the first initial braid I’m going to start adding hair. So I’m going to hold it before, I add this section of hair grab a nice section from the front first to that first section drop this section to add it into the hair and then we are going to bring this new section over the middle take in the outer section hold it I’m going to grab a section for it from the part that we created in the back grab a nice section of hair drop the other section down the outer section and then bring this new section over in the middle. So that’s the French braid the outer sections are going over the middle. So grab a new section drop the outer section clean it up and then bring it over the middle alright. So I’m going to continue braiding this down to my ear and I’m going to start bringing behind the ear to kind of finish off the headband. So you see when, I got to the ear I’m not going to add any more hair to the braid I’m just going to continue braiding it down without Eddie without adding any hair to get clear elastic and just tie off the end. So this is where you want to take your braids and before you pin it back I’m going to actually player play around with it on the top and kind of loosen it up to give it a little bit more volume once I’m done adding the volume to my hair, I didn’t want to go too crazy just to give a little bit more dimension in the very top.
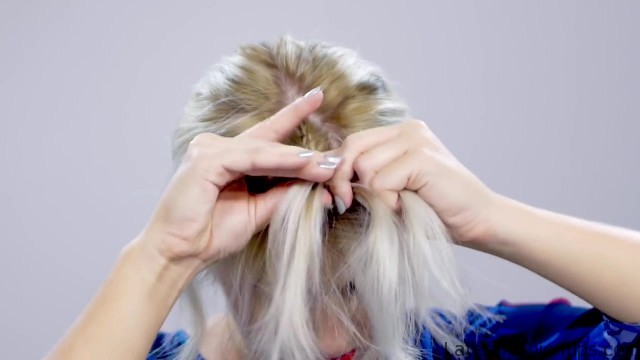
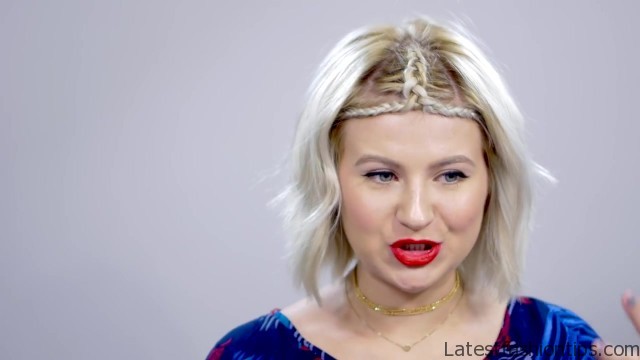
So once I’m done I’m going to take the braid behind the ear and I’m going to bobby pin it and secure it nice and tight behind the ear and there you have it this is my french braided headband super cute and simple right let’s move on to the next one look at the curls that, I get from the braid not the bud the next braided headband is going to be a double Dutch braid. So instead of having my part on the left side I’m going to do it on the right side in the same thing with the first braid I’m going to divide it off into a section. So, I do not touch the hairs in the back this headband is also going to be a little bit thicker just. Because there’s going to be two braids that looks good enough taking the rest of the hair and I’m going to pin it back. So I’m going to divide this new section in half I’m just using the tools that, I was born with my fingers I’m going to divide this first section into three sections to start the actual braid. So basically a Dutch braid is the opposite of the French braid the outer sections you taking them underneath the middle portion. So three sections 1 2 3 and then taking this front section I’m going to go underneath without editing you here underneath the middle the other outer sections same thing underneath the middle this we are going to start adding here.
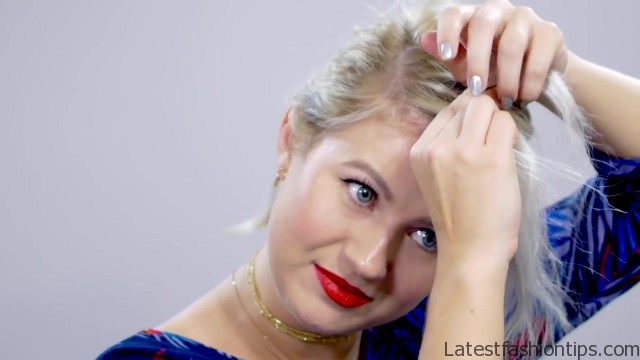
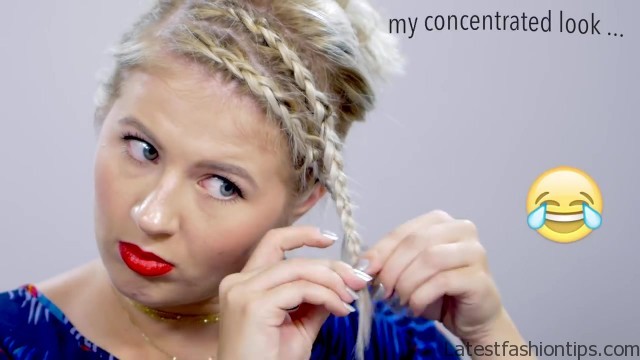
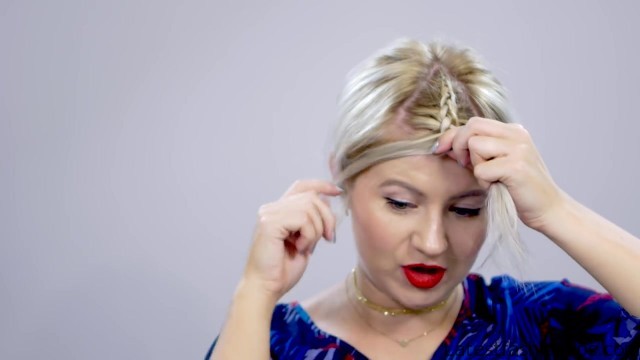
So what helps is taking the outer section underneath first hold it there and then add hair to that section outer section first hold it and add the hair first add hair outer section under and then add the hair. So, I just continue braiding this when you have no more hair left braid it off about a 3/4 of the way down and then tie it off with a clear elastic let’s move on to the second braid let go of the hair and then do exactly the same thing to this braid as the first one before, I go and tighten these braids down I’m going to go back up first and loosen the Dutch braids a little bit just to give it a little bit more dimension once you have your desired shape and size I’m just going to connect these two braids and just pin them back behind the ear and there you have it on my double dutch braided headband what do you think of this one. If you want volume on your roots braid your hair and take it out this is what always happens to me braid number three is going to be a lace Dutch braid same thing section off wherever you want to sectioned I’m basically showing you guys on each side what different braids look like. So this one’s going to be it on the left side as well you guys know the drill rustle the hair pin it back let’s start braiding wait there mines falling there we go hope it stays. So I’m going to grab a section first and divide it into three sections. So the Dutch braid is like, I just just like what we did underneath the middle the outer sections underneath and then one more time before adding hair underneath. So stop, I added the outer section to the underneath already and I’m going to start doing the lace part.
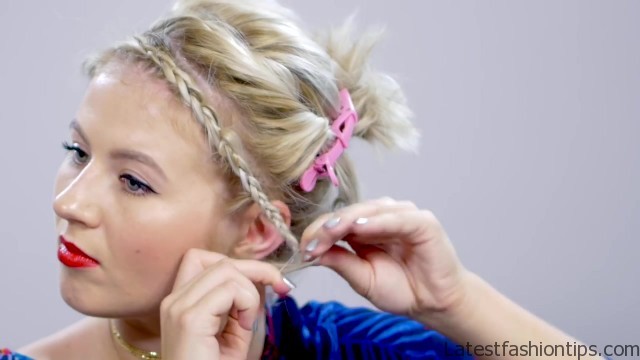
So the lace part is only where you grab hair to one side only. So I’m taking my finger and I’m sliding it all the way to the part that we did and I’m adding that new section of hair to the middle part and then taking the other outer section without adding hair I’m going to cross it over the middle that’s where the lace part comes in you only add it to one side of the outer sections and we continue braiding this until, I have no more hair left to add before, I tie off the braid I’m going to go back up and loosen the Dutch braid to give it more dimensional and volume when I’m done pulling apart the braid I’m going to tie it off with a clear elastic then take out the rest of the hair same as the other headbands I’m going to tighten it behind the ear and then take a few bobby pins and just tighten it down. So there you have it my lace Dutch braided headband let’s move on to the next one this next braided headband is actually not really a braid. But it is a rope twist you guys have seen me do this before. So it is a little bit easier than an actual braid. But it does have some technique involved. So I’m going to take this braid on my right side and I’m going to section it off and then do exactly the same thing we are going to section it off.
So we do not use the rest of the hair and this one is not going to be as big as the other braids why, I do not know, I do not feel like yeah, I guess that’s the whole beauty of these they’re. So versatile you can do whatever you want. So this is where the rope twist comes in play, I grab the nice section from the front and I’m going to divide it into two alright. So this section that’s closest to my face instead of twisted it the opposite way I’m going to twist it towards my face and this is where the rope effect comes in. So twist it twice and twist it over the middle over the other side not the middle and then twist it one more time and then add hair twist one more time let’s do it twice twist it twice and bring it over and then add hair you guessed it keep doing it until you have no more hair left once you have the more hair left you forget to keep twisting it towards your face every time you go over this we will make sure the rope twists stays intact please see how beautiful that looks. So pretty once I’m done braiding the rope twist I’m going go to this end and then just tie it off before, I let the hair down I’m going to take some bobby pins and secure it to my hair, I love the rope twist last. But not least this braided headband is going to be one of my favorites and this is where I’m going to divide my hair right in half I’m going to try to be a little bit more perfect and actually use a tool that’s not my fingers once my hair is parted right in the middle, and it is pretty perfect I’m going to create a triangle from the from the back going towards the front I’m going to start from the middle from the far back and I’m going to start creating sort of like a diagonal to the front I’m going to pin this back.
So, I do not lose this and I’m going to try to follow the exact same shape on the other side. So, I let the hair go and I’m going to make sure it is sort of right in the center it actually looks pretty good. So I’m going to section this off and then taking the rest of the hair I’m going to pin it back as well. So this braided headband is a little bit different. But I love it, I think it is so pretty. So I’m going to start from the very top a very very small section yep divide it into three taking the outer section underneath. Because this is a Dutch braid I’m gonna make my first initial braid.
So I’m going to start off first very small and then add my way up. So I’m going to take it underneath first grab a small section of hair add it towards the middle and do exactly same thing on the other side and as you start going down you are going to start adding a little bit more hair to each side. So the braid is going to start getting bigger and bigger. So once you get to the very front and you have no more hair left to add I’m going to take all three sections together and I’m going to divide it right in half without letting go of the braid. So take it right in half and I’m going to work on one side first. So the one side I’m not working out I’m going to pin it back. So, I do not lose it.
So this side I’m Jill divided into three sections and I’m going to start braiding just like a regular Dutch braid without adding any hair to the other set to the opposite side once, I have a braided tie it off with a clear elastic let me do exactly the same thing on the other side well let go of the hair once the braids are nice and done and then I’m going to take the braids on top of my forehead and I’m going to secure them to the side of my head with a bobby pin I’m going to check the other side then do exactly the same thing. So what do you think of this braided headband and, I love it and to add a little bit more pizzazz you can keep it like this. But I found this really pretty headpiece at Nordstrom and I’m just going to take the ends and I’m going to apply it right here right through the braid we are going to stick it in and then kind of play around with it and it kind of adds a little bit of sparkle who does not love sparkle, I love sparkle and there we have it alright. So there you have it, I hope you guys found some inspiration for your hair. But for now thank you so much for reading and spending some time with me, I hope to see you guys very soon and also let me know which one was your favorite, I think this one is my favorite. So far I will see you guys very soon upcoming post, I love you all very much bye.
Maybe You Like Them Too
- Tamar Braxton A Life in Music
- Sunny Hostin A Biography
- Steve Coogan A Life in Comedy
- Sterling K Brown A Biography
- Stephen A. Smith A Biography

