So today. I had this little half up half down hairstyle that. I think it’s. So great for. So many different occasions. I think it can go from like summer party to like proms or homecoming even like wedding even if you are a bridesmaid. I think this is just a really good pretty effortless hairstyle it looks really feminine, and put together but at the same time it does not look overdone which is what. I like about it is also pretty easy in the whole spectrum of like fancy hairstyle. So that’s good. And I think it is really good on girls with layered hair especially. Because the more that you are kind of picking this up you are actually kind of stacking the layers up here. So you can create a really cool cascading effect right there with your layers depending on the length of them but it is really doable for you guys. And I think even short hair as long as your hair is long enough to get into a bump, and long enough to get this braid back here you can do this hairstyle. So that’s awesome. I hope you guys like it let me know what you think about it. And I will see you guys in my next tutorial well bye. I started out by using straight sexy hair smooth, and protect to go ahead, and protect my hair from the curling iron. So that it stays nice, and healthy then go ahead, and put your hair on the side whichever side you like, and then go about an inch back from the hairline, and brush the hair straight back, and all the hair from where we rushed it back to the crown of the head is going to get teased. So we could make a nice little bump. So you guys have seen me do this million times. I do it in sections. I tease up the hair to get lots of volume.
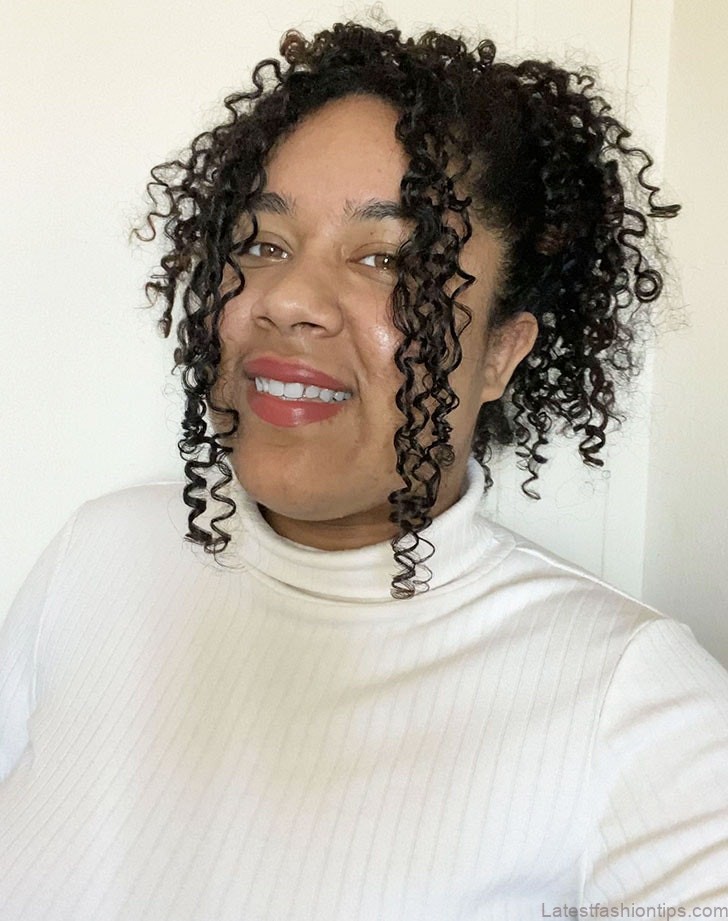
Beautiful Half Up Half Down Hairstyle Photo Gallery


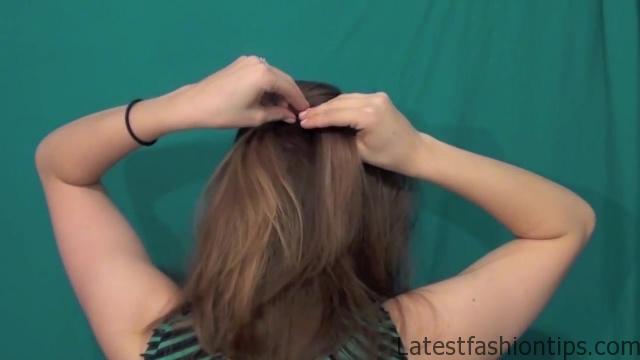

So. I get to the crown of the head. And I did that down the center of the head, and now, I will going to do it on either side. I like that. Because it gets a much more rounded look, and it looks a little bit more finesse at the end of it, and it also helps you to hide your bobby pins a little better. So first start by taking that middle section, and pushing it up to create the bump, and the size that you want, and then crisscross your pins over that to hold it in place then you are going to work on one of the sides make sure that you smooth it a little bit, and then pull it back over make sure those two sides the center, and the side meet together pull it over the previous bobby pins, and then, and into the previous bobby pin.
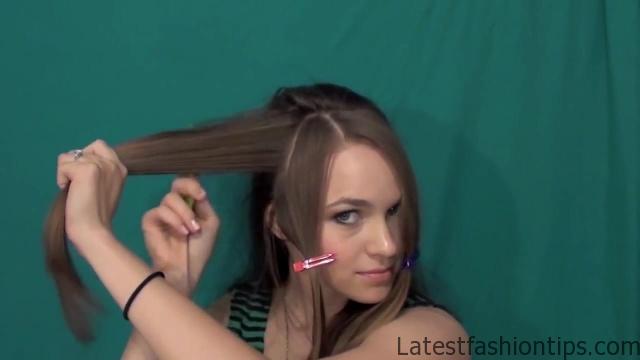
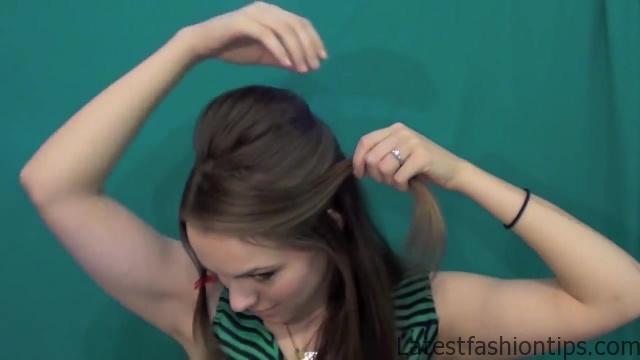
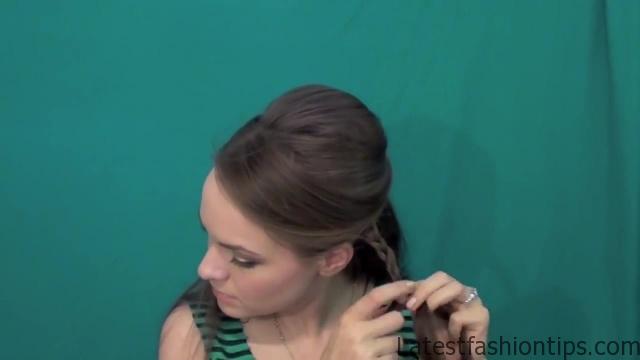
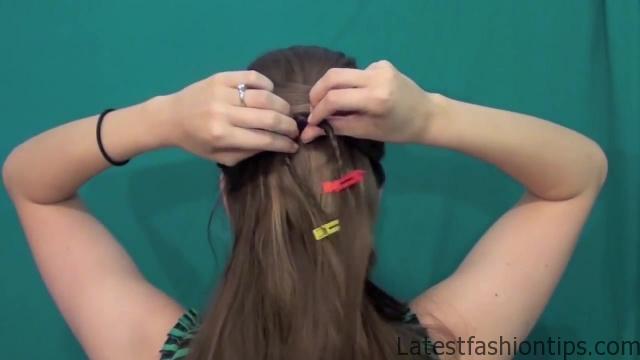
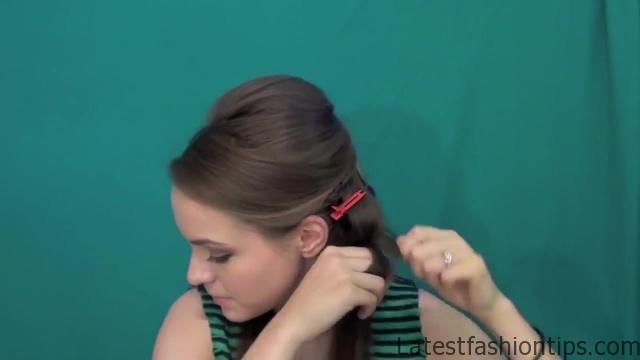
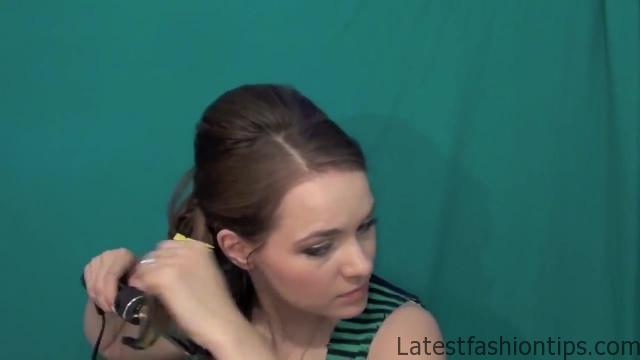
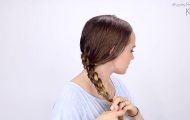
That will hold really well, and hide the bobby pins then go ahead, and take the other side pull it over both of both sections of what we have done before, and that into place, and you are good now if you have bangs you can just leave them down if you are like me you can go ahead, and take what should be your bangs, and pin them back, and into that little section that we just did as well, and that one is completely up to you, and what you have going on with your hair then we are going to make the braids basically take the hair from in front of your ears to an inch behind your ears, and braid you want to braid backward directing the hair back towards the little section that we are going to put it into for the first couple of inches, and then you can just braid down normally the reason for that is if you do not braid it in the direction you want it to go it come back a little bit, and look kind of weird then just secure it with a little clamp. Because we are not actually going to need to secure these things wherever. So a little clamp will be sufficient but if you only have bands you can use those as well just secure at the end, and then go ahead, and crisscross them underneath all the stuff that we did for the bump, and then you are going to pin them into place. So you can see, I will putting this first one underneath the second one and, I will going to pin the second one underneath the first one.
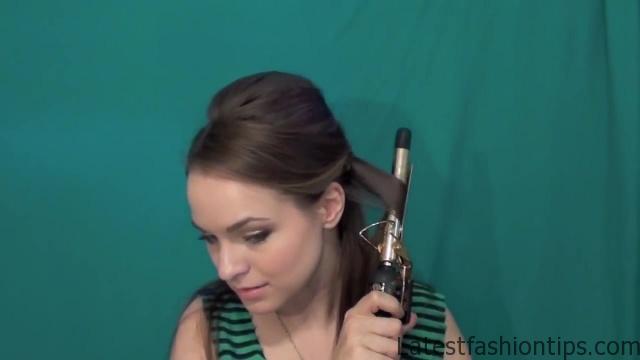
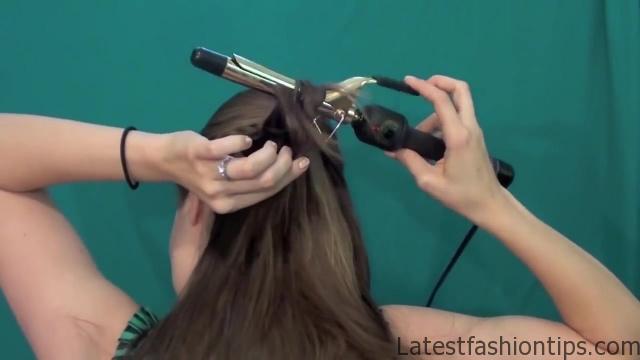
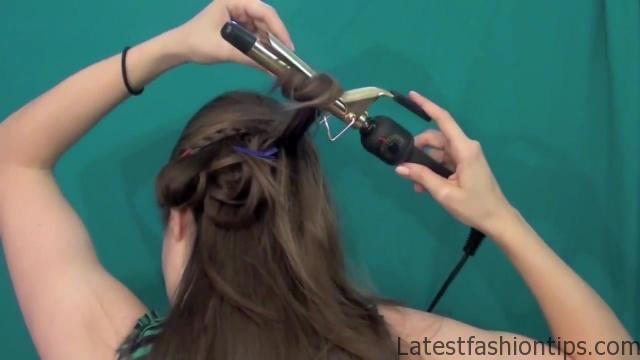
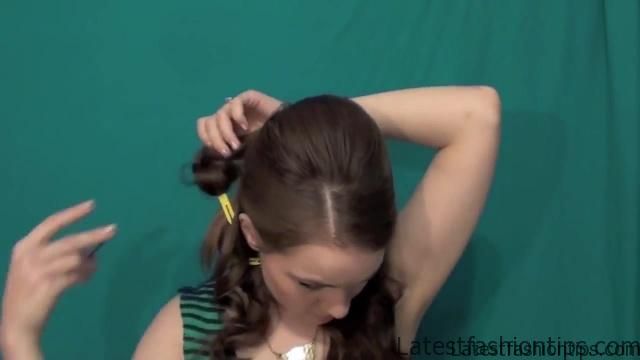
So they are kind of like crisscross applesauce yeah like that um you can go through the clamps out, and unravel the braid, and those bobby pin is actually going to hold the braid. So the whole thing is going to unravel just the part that’s hanging down, and now. I took a three-quarter inch curling iron, and curled one it sections of hair all the way down, and then.. I rolled them back up, and clip them there to allow them to cool doing this gets you a really nice smooth looking curl um especially with the tighter iron you are going to get kind of a deep wave defect which can be really pretty if you want to touch that up even a little bit more you can actually go back, and do a little bit more work you can see this day. I was having a little trouble with my iron. So I didn’t get some of the touch-up work that. I did that day on camera. Because we were we were kind of fighting that day. So, I will just going to tell you guys basically what. I did.
So what, I will doing here like. I said is to curl one inch sections roll them back up, and pin them in place now if you let that down, and you see that that’s a little bit too smooth, and too sleek looking for you can do what. I did. Because. I pull it down. And I just felt like it was a little too smooth. And I wanted to make a little bit more voluminous a little more PC. So I went back in areas where. I wanted to add a little bit more bed a little bit more volume. And I took half inch sections, and just curled them over again, and what that does is it adds more curl to that area, and it adds a little bit of volume. So I did that to the area that was right underneath the bumps that we did um. So all that hair that we directed back, and pinned into place ended up going into those little curls. So that created some volume, and some interest there, and then.
I did just random little sections throughout the rest of the skirt of the hair. So you can do that if you want to piece your look. I would still recommend going through like, I will doing here just to set your nice smooth pretty curl, and then just go back, and touch up as you see that you need it, and that’s going to be different for everybody, and just do not forget that even though my hair is really long your hair does not have to be this long to pull off this hairstyle, I have done this on girls with shorter hair, and it looked really good. So definitely give it a try no matter what your hair leng. This just to see, and play around with the curls see what looks good on your hair it is really fun that way, and now you can see what their kind of smoother curls look like you just kind of pull them out, and let them go, and they are really nice, and pretty, and waved like. I said. I just wanted a little tiny bit more curl. So that’s going to be totally up to you can either leave them as is or go back, and touch them up a little bit but that is my finished products. I hope you guys like it. And I hope you guys try this out let me know if you do, and you can even tweet me pictures if you want to, and then here are some extra posts for you to check out. And I will see you guys next week with another tutorial bye.
Maybe You Like Them Too
- Celebrating Natural Black Women’s Hair: A Guide to Gorgeous Hairstyles
- Short Hairstyles For Women Over 60
- 20 Thrilling Twist Braids Style to Try This Season
- The Top 10 Asymmetric Hairstyles
- 10 Gorgeous Shaggy Bob Hairstyles To Get You Out Of A Style Rut
