Hey everyone. I’m Abby from LA, and today Brooklyn’s here with me. Hi, guys. And she’s going to help me show you guys how to do a hairstyle we are calling the braided half up. Now, this hairstyle is great for prom for all of you lovely ladies going. Brooklyn is not until next year, yes, but she’s going to show us how the style looks on her amazing hair anyway, so let’s get going. Now, you guys can see that I have started with some curls in her hair. I did put a little bit of hairspray in her hair before I did the wand on her curls just to make sure it holds the curls a little better. I’m going to tease the top of her hair because I want a lot of fullness in here. And I have added a little bit of volumizing dry shampoo just to give me a little more grit and help texturize a little bit better. I want to leave this first part down a couple inches above her ear because we are going to add that as a braid later, the fishtail, so I’m kind of focusing on the center part of her hair.
Braided Half Up Hairstyles for Prom Photo Gallery
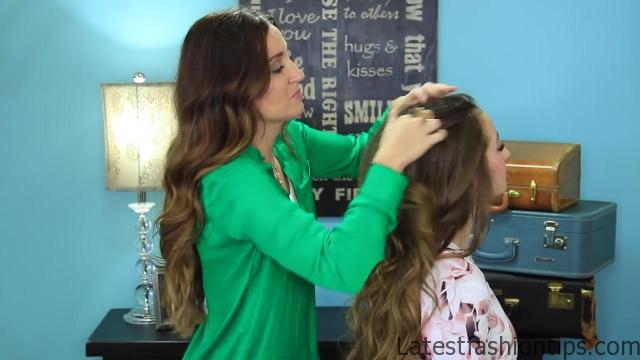
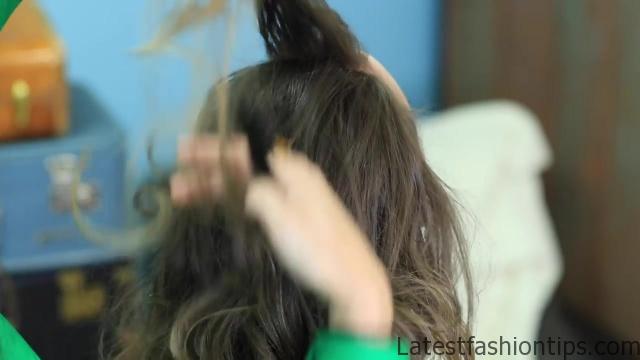
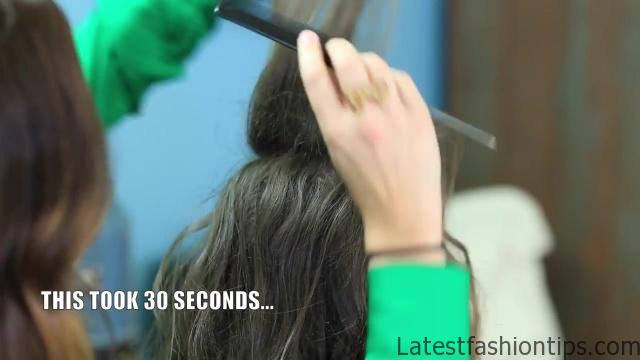
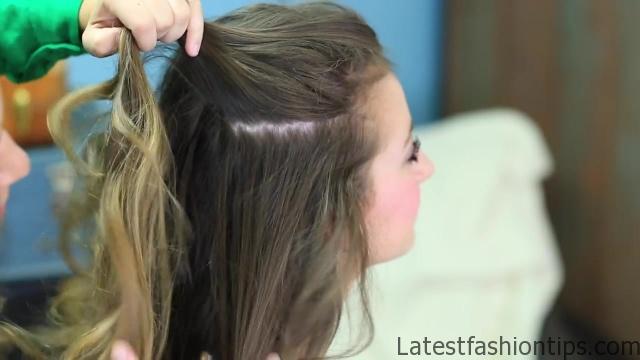
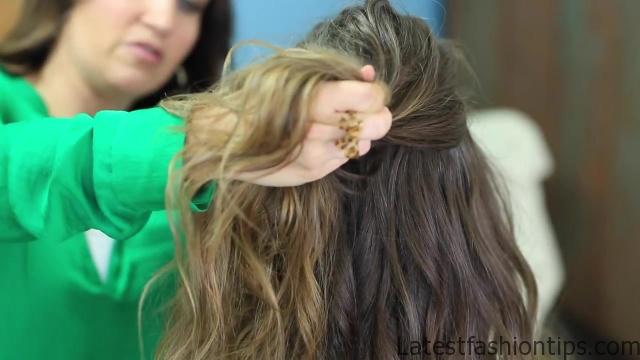

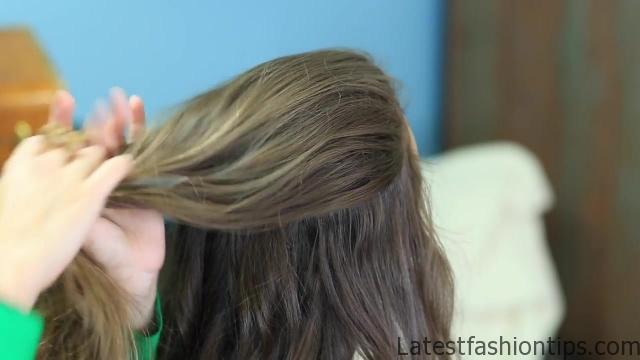
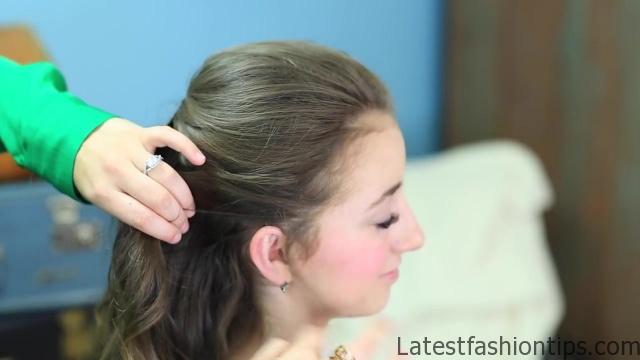
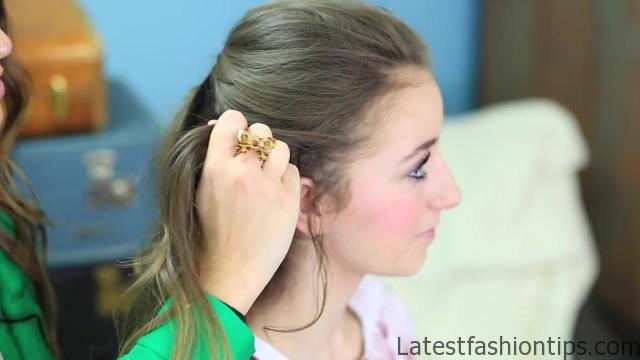
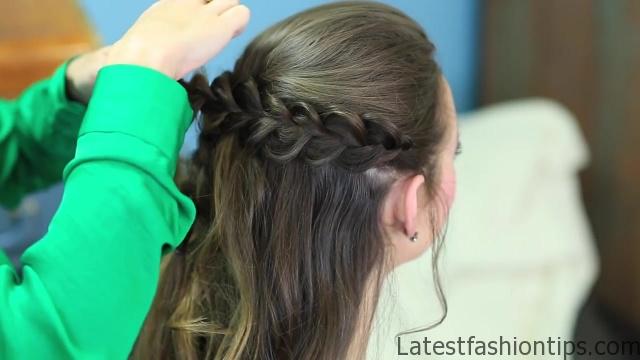
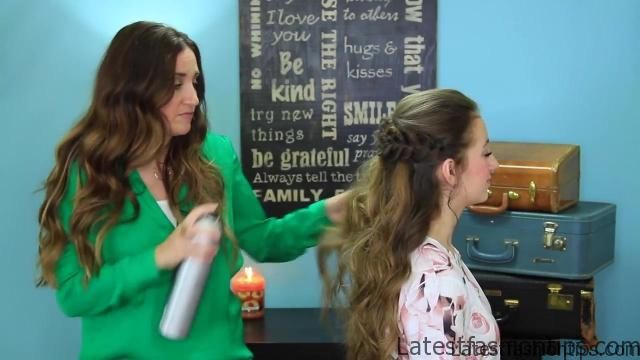
So I’m going to take my teasing comb, just go to the front of her hair, and we are going to back comb in little sections. Now, when you are back combing, just make sure you are only going down. Don’t go up and down and up and down. This will help the hair from getting too knotted and make it easier to undo later, and also save any damage from your hair. So pick up another section, repeat. OK. When you have got the tease where you want it, I’m going to flip her hair back, right side over, and you can see that there’s a lot of volume now underneath. So what we want to do is make sure that we have our section where we want it. I’m going to figure out and put a little part line right where I really want that fishtail to go. And I’m going to try to make sure that this is hidden, so it does not matter to me if it is exactly straight. Do another one on this side. Try to keep it even. Make sure we are getting about equal amounts of hair on either side. OK. And once you get your sections squared away, this is what you want really puffed and pouffed. So we are going to just really softly set it kind of where we want it like this, and then I use instead of going like this and digging with your comb, use the flat side of your comb to just barely comb the top layer of those hairs. You just do not want to see the teasing underneath but you do not want to pull any of the teasing out in the process. You can also use a teasing brush they have little brushes they make for this if you do not want to use a comb. Now, when you get it about where you want it, I’m going to hold it with one hand while I bobby pin with the other. So I’m just going to take my bobby pins. Brooklyn has really thick hair, so I might have to use several bobbies, and I’m definitely going to be crossing them to help anchor this in. Now at this point, I’m going to go back up and pick up the hair right by her ear. I’m going to leave some little wispies down by her ears. And you can decide whether you want a braid right here or a fishtail. I’m going to do a braid, and I’m going to do a Dutch braid because I want it to pop out.
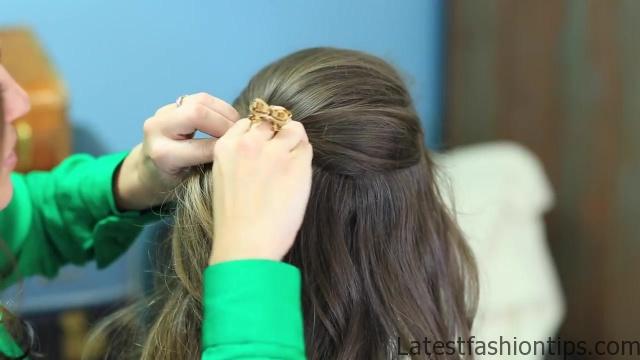
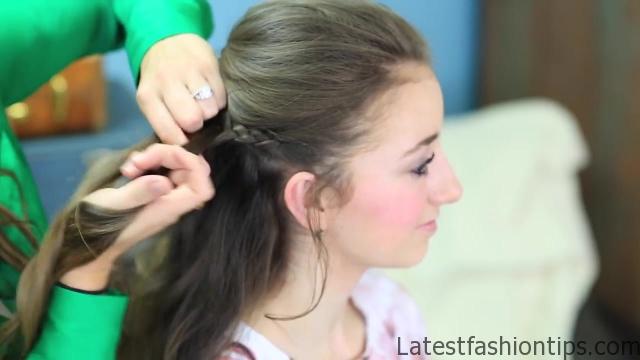
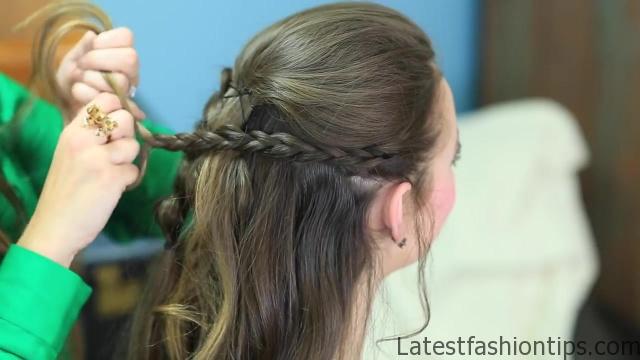
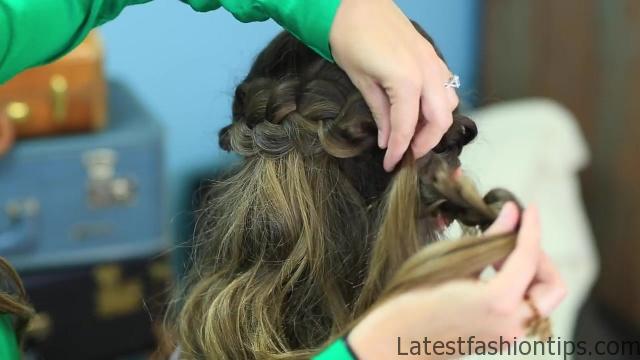
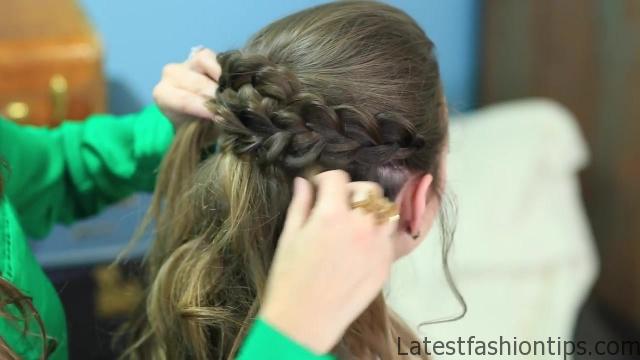
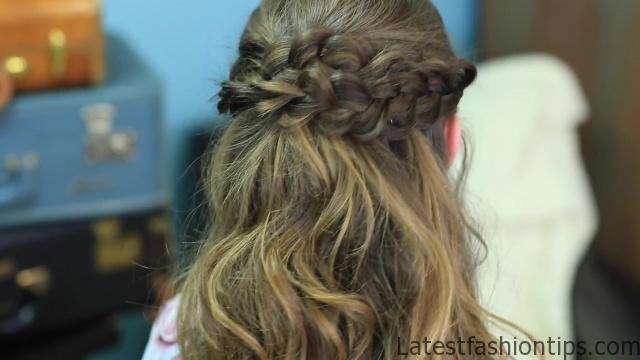
So I’m going to start a Dutch braid right here, and I’m just going to add in a little hair just at the beginning pieces as I go along so that this Dutch braid is just a little more full, so I will add in hair on maybe three or four sections, and then I won’t add hair anymore. And I do not want to do this braid too tight because we are going to be pancaking it in just a minute, so I’m trying to lay it a little bit looser in my hands. So I’m just braiding, not adding in pieces now. And I just want to braid it far enough that it crosses over the bobby pins, and then I’m going to stop and I’m going to go back and pancake. So I’m just going to pull those outside edges and just really stretch the braid. I will do the bottom to begin with. Now I will go back and do the top. Now, when I can see that I have got enough hair to just barely cross over those bobby pins, then I want to use an elastic and secure it. I have already done this on the other side. You can see the braid right here. So then you just need to tweak them a little bit and see which one looks better laying underneath and which looks better laying over the top. I think that looks really pretty right there, so I probably will just leave that. And then you just want to pin those pieces in place. Now, this is why I do not like it too long because I do not like this end to hang clear over here by her ear. I like to just blend into the middle, so I want to make sure I do not leave too much out of the braid, and then just pin them in place. Here we go, and there you go. The last thing I do is use a really super heavy duty hairspray. The one I’m using is a Kenra Volume Spray and it is number , so it is a finishing spray. You do not use this until you are done because once you put this on, the hair won’t move. So I’m just going to take it and spritz it where I want it, and this is just going to keep that hair looking good all night while you are dancing and having a good time. So let’s do the final spin. Here we go. I just need some little sparkles to add in like Cinderella had in her hair and it would be perfect. Ta da. If you guys would love to see a post where I actually teach you how to prep your hair for updos like this or prom styles, be sure to leave a comment below and let me know. Be sure to give the post a thumbs up. And also, guess what? On Wednesday, we have a bonus post. Yay. It’ll be so exciting. Yes. So it is actually a room tour from Daxton and Paisley’s new room that we put together for them. And Paisley’s super excited. It turned out so cute. It was one of the hardest rooms I have ever done but it turned out adorable, and Paisley is so excited to show you guys. So make sure you come back on Wednesday and check that out, and we will see you guys later. Bye, guys. Bye. Take a little section off each side, and that’s going to become our third strand. So now we have three strands for our braid. You see that?
Maybe You Like Them Too
- Celebrating Natural Black Women’s Hair: A Guide to Gorgeous Hairstyles
- Short Hairstyles For Women Over 60
- 20 Thrilling Twist Braids Style to Try This Season
- The Top 10 Asymmetric Hairstyles
- 10 Gorgeous Shaggy Bob Hairstyles To Get You Out Of A Style Rut


