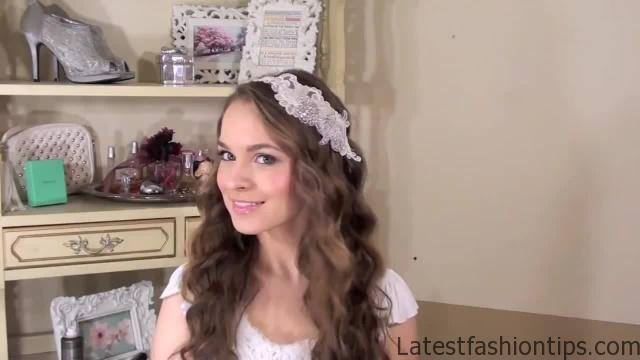
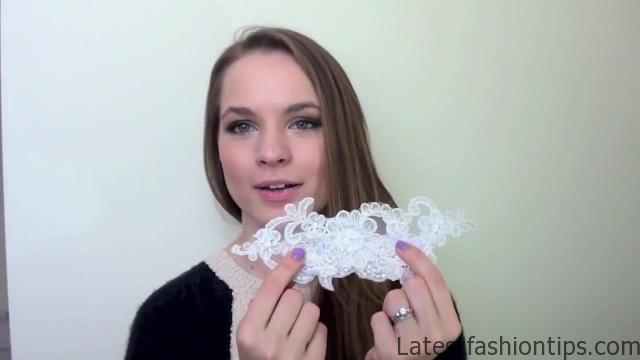
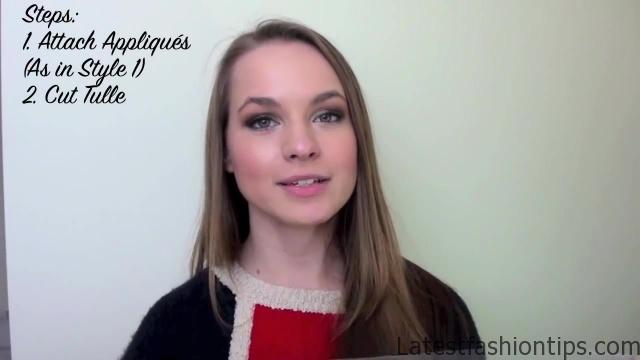
Today, I will going to be showing you how to make those little bohemian is Bridal hair pieces you saw on the top of the post. I saw them online like. So many on Pinterest, and Easy, and things like that. And I loves them. And I kept looking around. And I kept finding ones that. I liked but they were about you know to , and there was no way. I was going to spend that much on just the hairpiece that. I would wear for a couple hours. So I decided to make one myself, and then show you guys how to make one, and then. I ended up making three different ones that. I decided to just go ahead, and show you guys how. I made all three. And I want you guys to guess in the comments which one. I ended up wearing in my hair. So comment below tell me which one two or three did. I wear in my hair but, I will going to go ahead, and get started, and the other thing that happened with the is that. I filmed it. And I actually loved the way it turned out it was perfect like. I filmed like my hands doing it, and all that, and then. I deleted half the footage somehow. I do not know where it is it is nowhere on my computer anymore. So, I will refilling it now if we are going to just kind of talk ourselves through it a little bit instead of doing my typical little voice over’s. So hopefully the is okay but that’s kind of why we are doing things a little differently today.
DIY 3 Boho Bridal Hair Accessories Photo Gallery


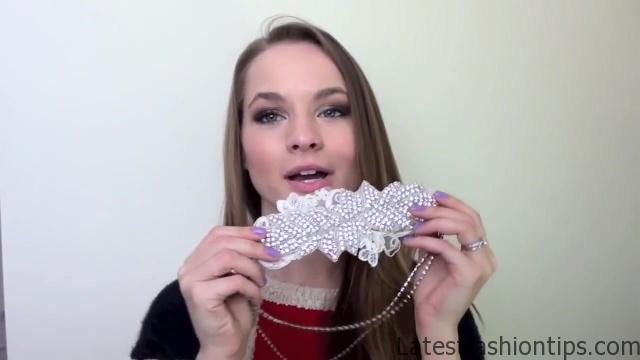

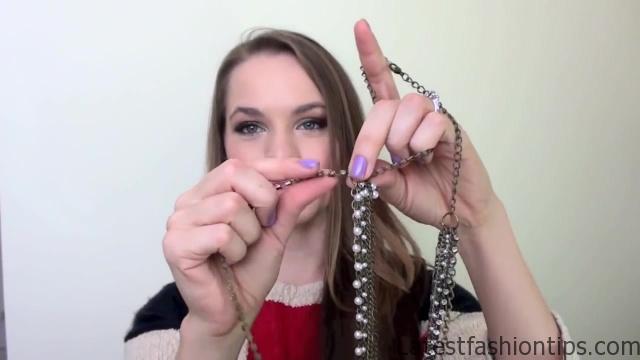


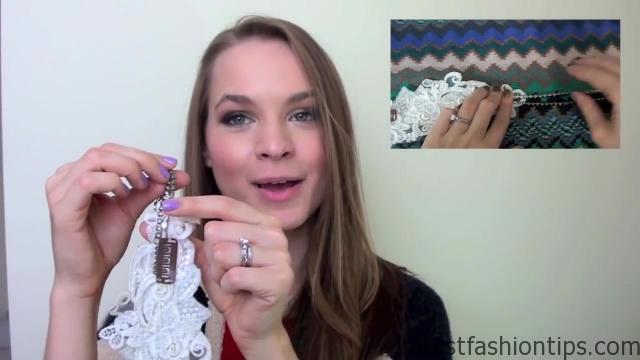

I had some technical difficulty in my post on my hair, and pictures of my wedding dress, and everything are going to be up on Friday. So thank you for your patience, and bearing with me on that, I have had similar technical difficulties with that post and. So, I have just been working through trying to get as much done as. I can. I hope that you guys like it. I did not mean to drag this out that much I’ll. Sorry but. I will see you guys on Friday with that post. So just hold your horses, and you will see it then, and now we are going to go ahead, and start with this post. So the supplies you will need are one lace appliquEI found this on Easy for you will also need a beaded appliquEI found this one on Easy for , and this one from style number two on Easy for next to attach the headpiece to the head you will need either some hair extension clips or a comb kind of like you see on this veil you can buy either one online or these you can find in craft stores, and these you can find in local beauty supply sort, and obviously you are going to need a needle, and thread which you can find just about anywhere for style number two you are going to need some rhinestone strands to create the little headbands look you can buy those at your local craft store for about a yard which is a little expensive. So what. I actually recommend doing is checking out somewhere where you can get some discount jewelry this necklace is from Target, and it has lots of different strands on it you got some chains some pearls but you also have rhinestones. So what. I did was to take one of these rhinestone strands off, and use it as one of the bands on the headpiece.
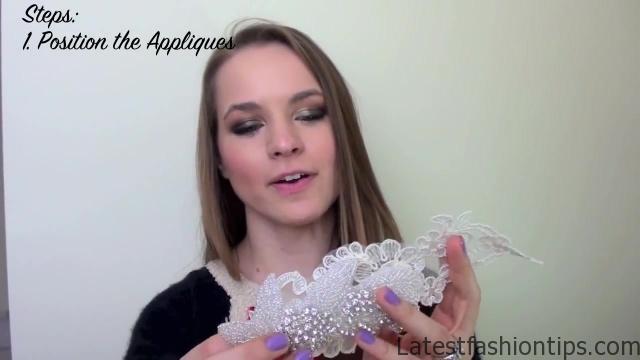
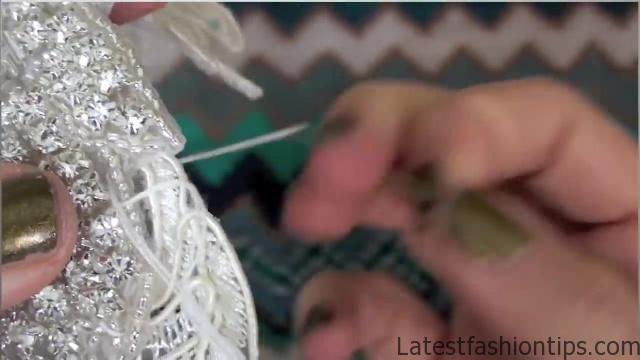
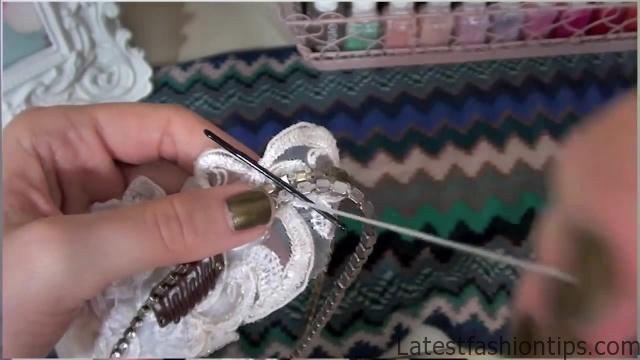
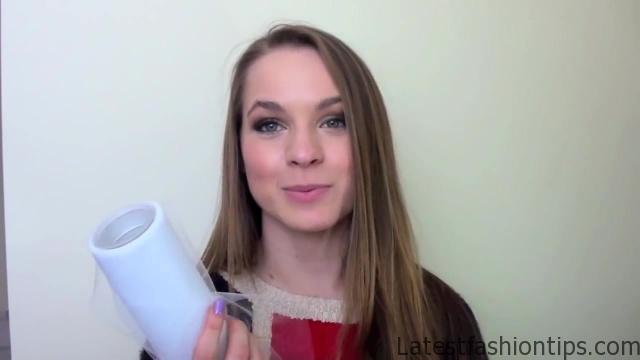
I am for style number three you are going to need some tulle. And I got this little spool of it at Michael’s for four dollars style number one you are going to start out with your lace appliquEand then take your beaded appliquEand what you are going to do is to kind of go around, and try to find where it looks best, and honestly this one is kind of a lot of guesswork when. I was looking around online. I was just kind of guessing as to what appliquEwould look good with which one but. Because the lace ones are. So inexpensive you could buy more than one, and just play around with it, and see what you like best. So basically what you are going to do is just take this, and mess around move it around until you find a place where you think it looks good. So you have it where you want it you are going to go ahead, and pin it in place. I use two bobby pins. Because well that’s what. I do but basically once you have it here you are going to go ahead, and begin to sew around, and your simple sewing in, and out technique is good enough for this but you are just going to start at one side, and then go around following the inside of the applicant just make sure that you are taking nice small stitches, and that you do not overlap thread over any big details you do not want to be able to see the thread kind of follow the grooves of the beads or the rhinestones, and the thread will just kind of tuck in, and hide in between those two things. So that you do not actually see it. So just take your time be patient. And I think when you really take your time in your patient here it pays off really well in the end, and now that you have your beaded appliquEattached to your lace appliquEis time for step three which is to add in your hair extension clips you can also use a comb if you want but. I think these are much more secure to add your hair extension clips all you are going to do is to kind of choose wherever you want. So if you have one that’s about seven inches like this one. I recommend just doing one on either side like. So but if you have a longer one you might want to do a third one in the middle if you have a very small one that’s maybe three to four inches you could just get away with one clip but choose where you want setting for your Clips, and then go ahead, and place them there, and you are going to want to pin them in place either with a bobby pin or straight pins or whatever, and then you will set through these last two holes just like you would sew through a button putting the needle in through one side taking it out over here placing it down.
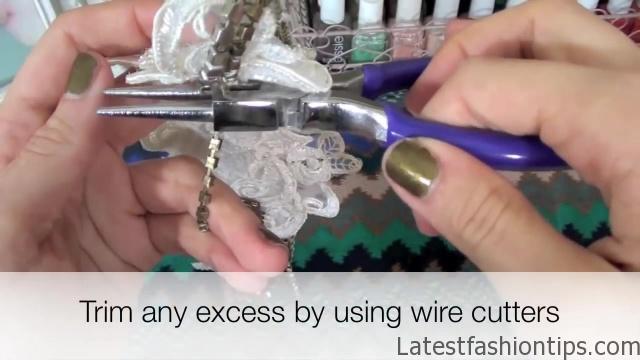
So that it comes through that second hole, and pulling it out there, and then you continue to loop around putting it in that top hole going out here coming back here, and going through the bottom hole, and just continuing that around until you have gone around about three or four times that ought to get you a nice secure holes on each side. So you go ahead, and do that on one side do it on the other side, and you are going to take your second extension clip place it, and do the exact same thing again now for style number two you are going to follow all the same steps for style number one. So you are going to. So that you appliqué together, and then sew on your hair extension clips, and then it is time to attach the rhinestones. So they are going to join the two rise. So strands together hold them together, and place them against one end of the appliquEthen you are going to go ahead, and sew these into place, and actually you can just do whatever works for you too. So these. I kind of did like five million different things what kind of work the best for me was to make a figure eight around the two strands. So I placed the needle into the middle, and pulled it around, and had it come out the one side, and then place it in the middle again came out on the other side. So you know you are kind of figure eating around them, and then once. I had that done four or five times. I took a stitch, and started the same thing up a little bit higher into the figure eight up here, and then. I did a figure eight up here then what’s this first site is. So what you are going to do is to go ahead, and attach this applicator your head, and the way that you want to wear it. So let’s say. I wanted to wear that here, I will go ahead, and attach it right here, and then you are going to go ahead, and pull the strands around, and shape them to be where you want them on the head, and then go ahead, and just pin them there. So that that way you already have them that’s exactly where you want them then go ahead, and take it off on your head and. So those in the exact same way that we sewed the first side, and then you have your appliquEall done now for style number three step one is to go ahead, and attach the two appliqué together just as we did in style number one number two is to cut your tool now you are going to want this to be to inches long depending on what you are going to do with it if you want to do the exact same thing that. I did you can do about inches or just long enough that you are going to be able to tie it in a knot in the back of your head, and then you want to make sure that it is the proper width you do not want it to be. So wide that it takes over your entire head you also do not want it to look funny up against the Applique.
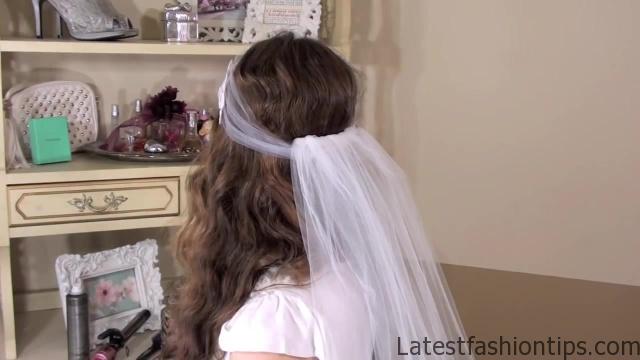
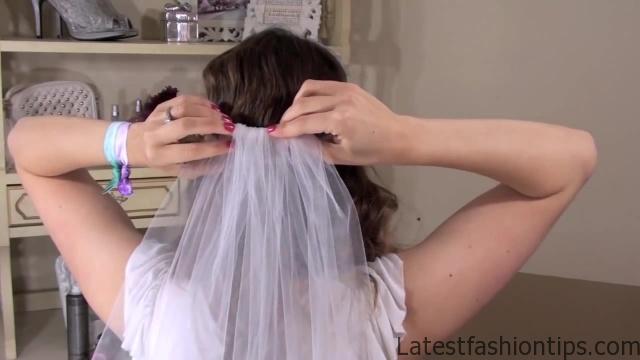
So hold the appliquEin place, and make sure that you like how the width looks, and if it looks right to you that you can go ahead, and continue if not you can go ahead, and cut it down, and make it just a little bit slimmer for me that was all kind of about eyeballing it, and it really does depend upon kind of this shape, and the size of your head, and the size of your appliquE So play around with that find what you like you can always you know if you have a large school like this one or a large bolt of tulle you have a lot of room to try around, and kind of find what you like the best step number three is to attach the tool to the appliqué, and you are going to do that by sewing around in the exact same manner that you sewed the two appliqué together if you want you can sew all three together in one fell swoop. I just like doing them in two separate steps that way. I can make sure that nothing is sliding, and slipping around you want to make sure that everything is sewed together exactly as you want it. So if you feel confident that you can sew all three together without losing your place at all go ahead, and do it in one step but for me. I thought two was just a little bit safer. So either way you are going to end up three with these all three sewn together step number four is to go ahead, and add in your hair extension clips just as we did in style number one that’s it for style number three to wear it you are going to go ahead, and clip it into the hair exactly as you want it, and then you are going to take the two into the tool, and tie them in a knot behind your head once those are secured in a knot you are going to go ahead, and take your veil, and place that just over the two ends that way that you cover up the knot, and the ends, and it looks like it is all one big piece, and it is actually really cool, and very statement B. So the is the kind of thing that you like it is very easy to create. So that’s it, I will sorry this was a little bit of a makeshift setup but. I hope the is helpful for some of you brides who be like me, and really likes the look of those head pieces but couldn’t afford the giant like price tag that usually goes along with them these are really easy to make, and hopefully this helps you, and if you do not want to follow the exact same steps. I do hopefully this at least gives you inspiration for how to make your own headpiece for your wedding. So that’s it. And I will see you guys in my next post on Friday which is how. I wore my hair for the wedding, and the answer to which of these three. I ended up wearing in my hair for the wedding comment below tell me which one you think, I will going to wear. And I will see you guys on Friday.
Maybe You Like Them Too
- Celebrating Natural Black Women’s Hair: A Guide to Gorgeous Hairstyles
- Short Hairstyles For Women Over 60
- 20 Thrilling Twist Braids Style to Try This Season
- The Top 10 Asymmetric Hairstyles
- 10 Gorgeous Shaggy Bob Hairstyles To Get You Out Of A Style Rut


