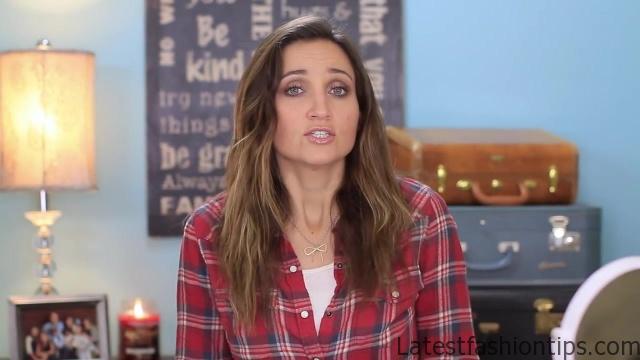
Hey everyone. I’m Abby from LA. Today I’m going to show you how to do a French-up high bun. So many of you guys know that here in Dallas, we just had a crazy ice storm, and we were out of power and electricity, and heat, and all that stuff for several days. And we just got it back on today, so we are so grateful to be warm again, and be able to film for you guys. Thank you all for your thoughts and prayers for us in the meantime. But while we were under those conditions, of course I had no way to style my hair using any kind of curling iron or anything like that. So this became one of my go-to styles, and I thought it would be really fun to show you guys today how I did it.
DIY French-Up High Bun Cute Hair Bun Ideas Photo Gallery
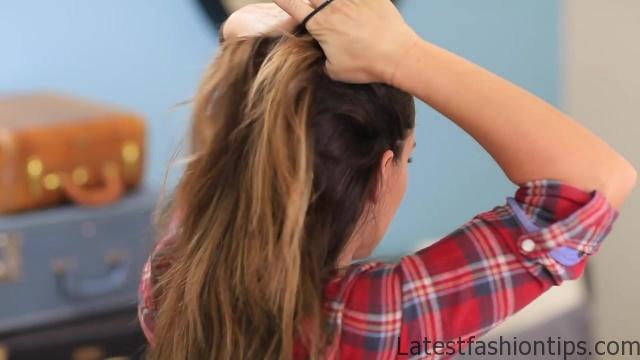
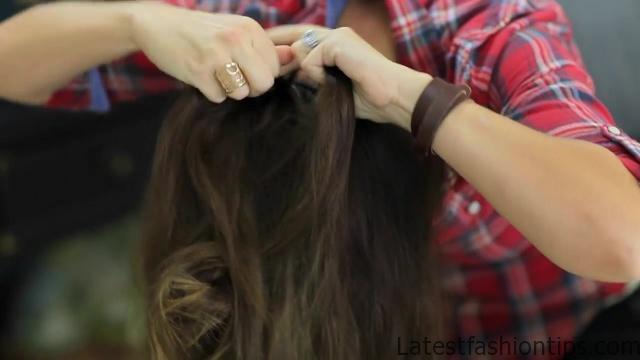
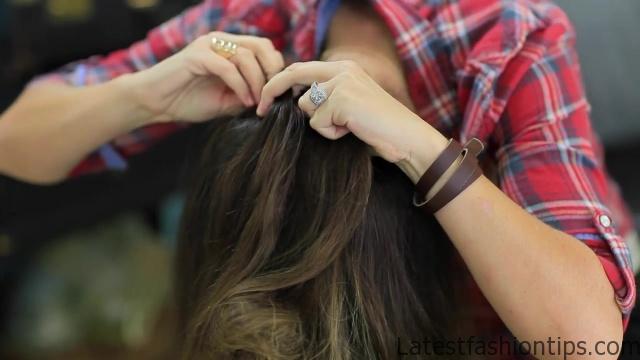
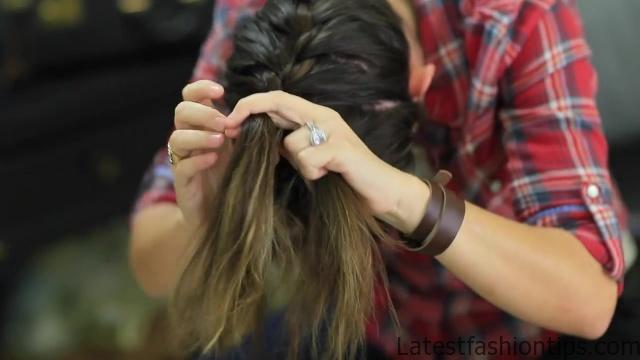
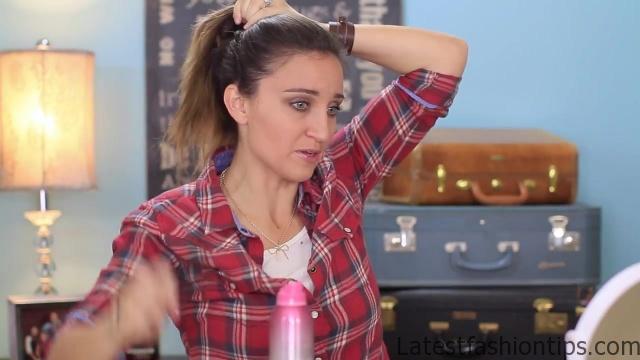
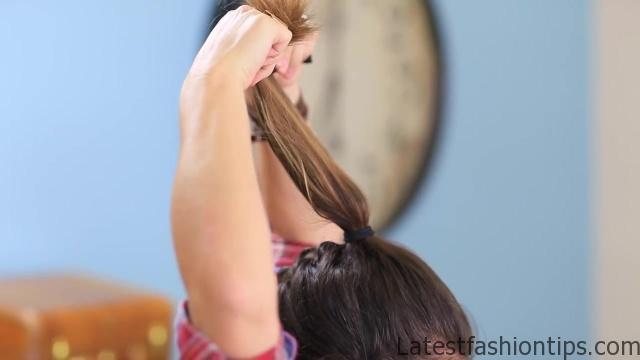
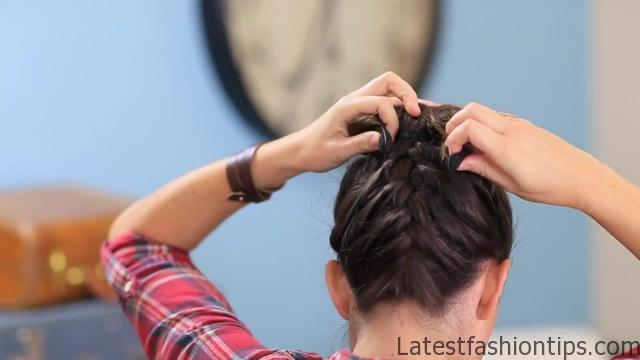
So to begin with, you are going to want to figure out where you want your bun to be placed on your head. So I like mine like right here. I do not want mine clear up here on my forehead, or anything crazy. So then you are going to take your hair, and you are going to just go back from your ears, up, and take a section. So I will do it again. Up from your ears, and take that top section to about where you want your bun. So that’s about where I want mine. And then I’m going to pull this out of the way. You do not want all of your hair into the bun, or it is going to just look funny when you actually are done with the bun. This is the hair you are going to be working with when you braid. So now you are going to go and turn your head over. You can even lay on a bed, or over a couch, anything like that. You’re just going to flip your hair over, and you take your comb or brush, just make sure there’s no snarls in your hair. And then you are going to take a section right at the nape of your neck, and begin your braid. Now this can be a little bit tricky on yourself upside down, but you just kind of work with it. You get used to it, or you can have somebody else do it, if you want. The trick is to just make sure that those pieces you pick that hair from are all completely flat when you put them in, because on the backs of our heads, we do not want any crazy sharps or bumps. So pick up hair, add it in, continue our French braid. And I think we are just about there. So now I’m just going to continue a braid for a little bit a few stitches of a regular braid. And secure all of that with an elastic.
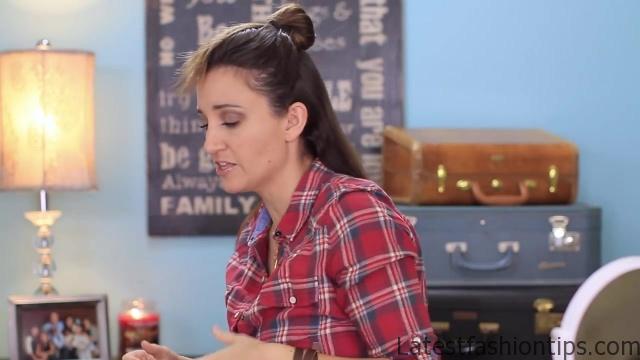
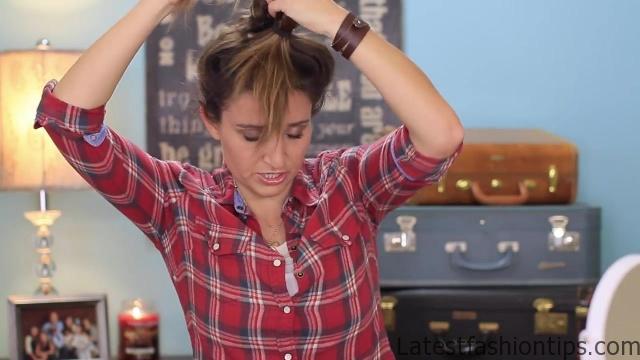
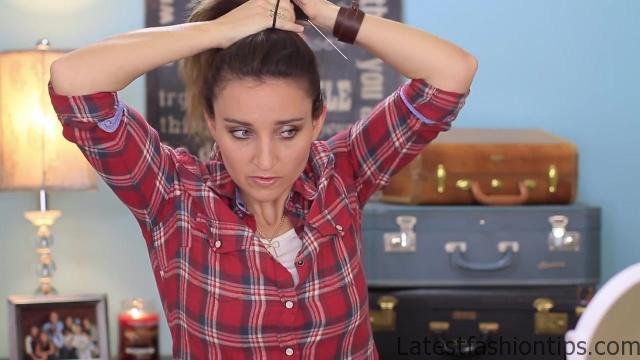
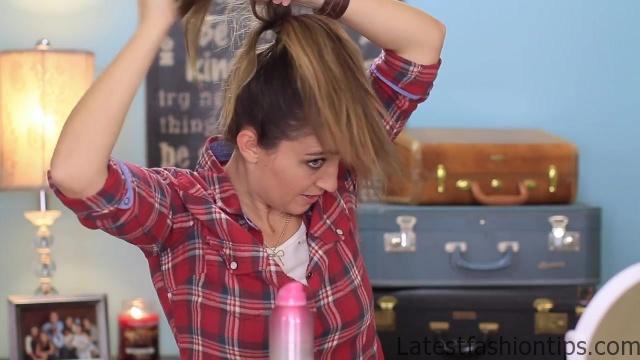
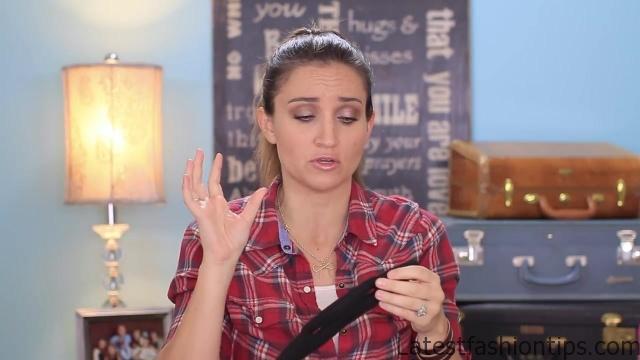
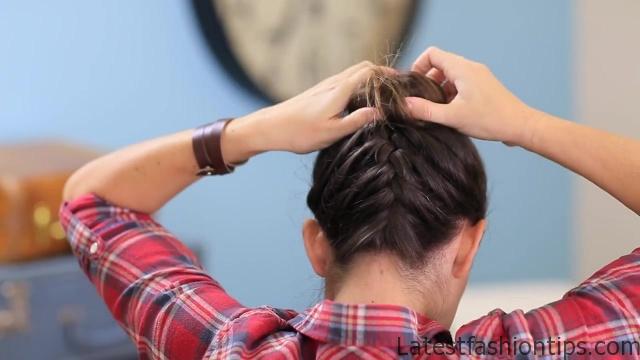
Yep. There we go. OK, and you have got your French braid all done. Now what you are going to do is let that hair out that we had secured before. And you are going to take all of the hair together now and, my mirror here using a comb, you are going to go ahead and just try to comb it all in. Figure out about where you want your bun. And, this is where you make it pretty. Comb it all together. I have little fly aways phew right on the side, so I’m going to spray just a little bit of finishing spray to help them stay put. And when you get that nice and secure, then go ahead and take an elastic, and secure it all. When you can go back in there, find that braid, and release that part, just so that it is into the regular braid now regular ponytail, I mean. So once you have your hair all in your ponytail with your braid up the back, you are ready to create your bun. Now I’m going to show you guys one of my secret weapons to bun-making, because I know lots of people do the soft bun. But it is not one of my favorites because I find them to be kind of temperamental. So I actually stumbled upon this little thing called the Wrap Up. It has a little space in the middle. It came in a package that looks like this. And I found it on a website called joyus.com, which is a great place to go. It has like health, and beauty, and fashion posts, and also products. And you can go, and you can check out the posts, and shop at the same place. So I found this.
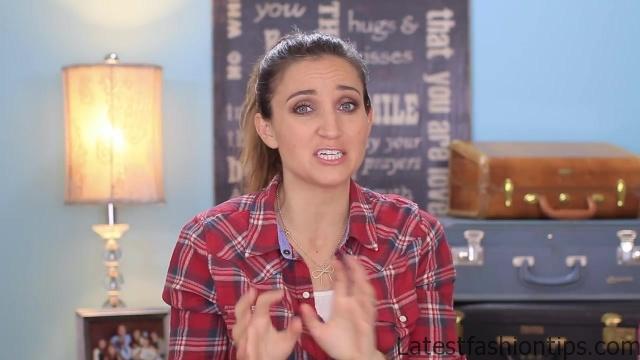
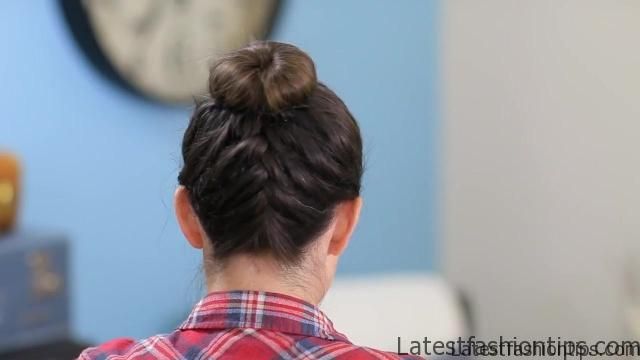
I saw a post on it, and decided I needed to try it, and I loved it. It’s one of my favorites. So you split it like this. You’re going to pull the hair through that middle part, and then you are going to squeeze it down onto the hair so it is kind of tight. And we are going to pull it down the ends of our hair. And I have layers, so I can’t go all the way down or my layers begin to fall out. But you want to go down far as you can, and then you begin wrapping. Put that piece in front, and then you just a wrap, wrap, wrap, wrap your hair up, until you can’t wrap anymore. Then you go around to the back, and inside the Wrap Up, there’s like a little piece of metal that if you bend, it just kind of stays put. So you kind of put those two ends together, and give them a squeeze. And then what I do is just kind of pull the hair of my bun around to that back side to hide those two ends together, like this, until they are all nice and put together. And then you can even take a little bobby pin, if you want, and slide it in there to kind of secure them. So when I’m finished with the bun, I like to just take a cute bow, and just put it in my hair, as well. And it just draws a little bit of attention to the braid, which is fun. OK, so here’s the completed style. Ta-da. Now if you guys are interested in a Wrap Up for yourself, I will put a link in the description box below. They even have a off coupon code for your first purchase. Right now I can’t talk. So I will stick that down there, as well. Make sure you guys check it out, and we will see you guys next week. Bye, guys. And begin twisting them together. But the trick of this is you want to twist them so they are flat against each other. So we are going to try and keep the braids as flat as possible, and twist them. Choo-choo. Ta-da. Brooklyn’s wanting to go. Look at her. I know.
Maybe You Like Them Too
- Celebrating Natural Black Women’s Hair: A Guide to Gorgeous Hairstyles
- Short Hairstyles For Women Over 60
- 20 Thrilling Twist Braids Style to Try This Season
- The Top 10 Asymmetric Hairstyles
- 10 Gorgeous Shaggy Bob Hairstyles To Get You Out Of A Style Rut


