Hey everyone, I’m Abby from LA and you will notice I’m alone today. Which means a DIY hairstyle for you guys. So I’m gonna show you how to do this double bubble fishtail, which is inspired by one of my fellow braiders over on Instagram. You can check out her information in the descrption box if you wanna find her. And do not forget this little I button. If you click right here, will open up a bunch of cool posts from us and including, dun, dun, dun, a new Behind the Braids post that we are surprising you with, do, do, do.
Double Bubble Fishtail Braid Hairstyles Photo Gallery

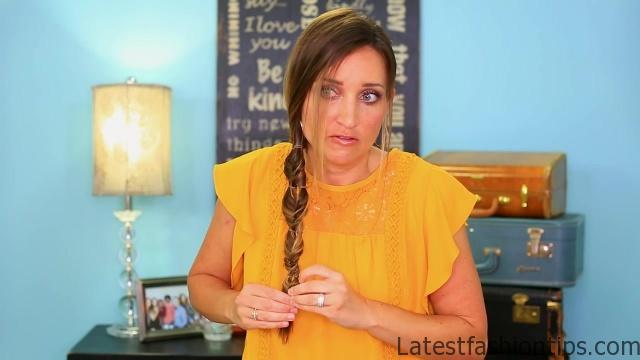
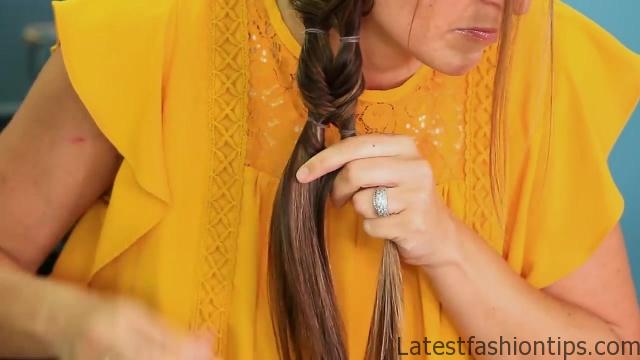
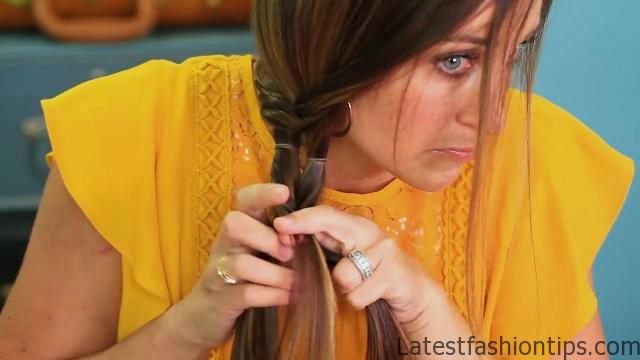
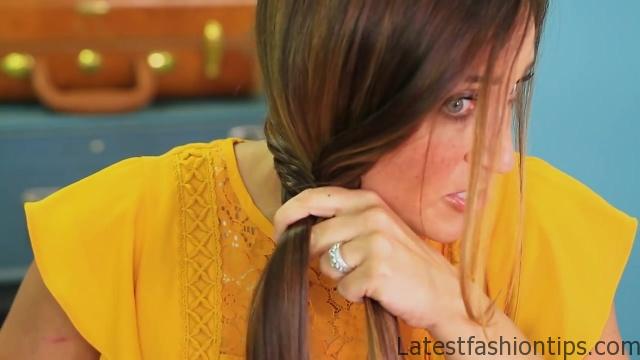
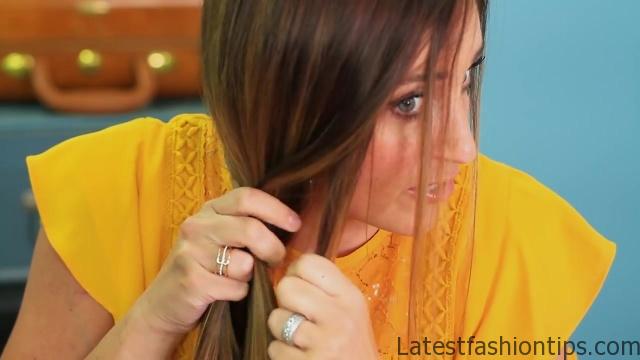

But it is not on this blog, it is over on Millennial Moms. You can find it right here. While you are over there, be sure to comment to Millennial Moms and let’s get on to the hairstyle. So to begin the double bubble fishtail, what you are gonna do is, sweep your hair all to one side like this, and then I’m going to make sure and just let some of my loose flares in the front fall forward so that it softens the hairstyle and makes a little older. Now you are going to divide your hair into two even pieces. Like so. And you can see, just by me even holding the hair, I have lots of layers in my hair so this is definitely one you can do with layers. You just might have them popping out here and there. So, take it and you are going to do just a basic fishtail to begin with. So we are dividing it in half, take a piece from this backside, move it over the top and then add it into this other piece. And then with the piece from this outside, cross it over the top and add it in. You’re gonna do this step four or five times. You can see I have a little tiny piece in there because that’s a layered hair, and just hang on to the two pieces as you do this.
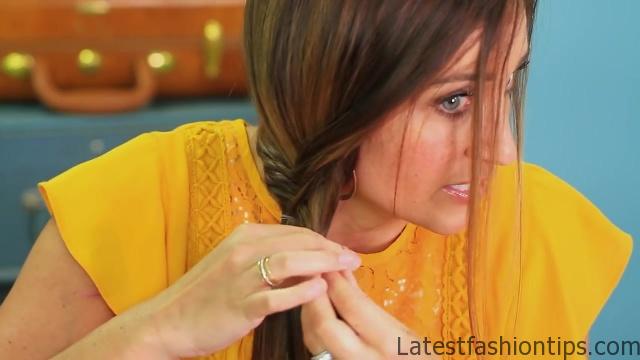
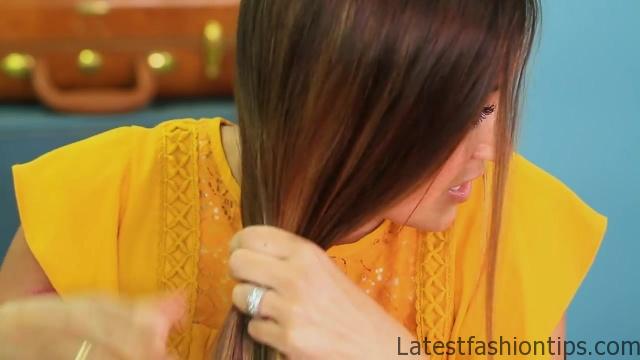
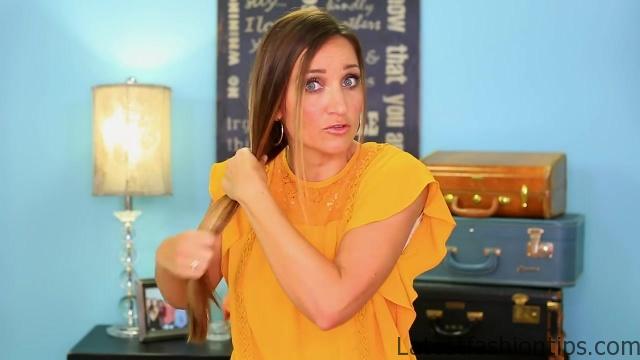
So you can see this is maybe the fourth or fifth time I have crossed it at this point. When I get to hear, I’m going to hang on to both those sections, you can see I’m still keeping them separated, grab a little elastic like this, and we are going to put an elastic on piece number one, like this. Ta da. Now it is all by itself. And another elastic on piece number two. Like this. So now we have these two little pieces like this. That’s creating the first little bubble for us. Now we are gonna do the exact same steps, only we are going to start after the elastics this time, and repeat. When you have done another four, five stitches on your second little bubble, you are gonna repeat the elastic process again. So piece number one gets an elastic, and then piece number two. And you created your second bubble. And you can continue this pattern all the way down the hair. Okay, so at this point, this is what I have. You can see the windows and the bubbling between them. I’m just gonna go back. And you know me and my pancaking. I’m just kinda go back and tug and pull a little bit, just to loosen and soften the braid until I like it being nice and full. Making sure that I still give it plenty of that pancaked effect, and do not cover up all the windows in between the bubbles. Then you can go back and loosen the top too on the sides. And you are done. (clicks) Hey, let’s do the final spin. Do, do, do. Love this one. Now do not forget you guys can find lots of our posts right here, including some of our vlogs from Behind the Braids and Millennial Moms. And do not forget to comment to the blog by clicking this button right here, and we will see you guys next Sunday. Bye guys.
Maybe You Like Them Too
- Celebrating Natural Black Women’s Hair: A Guide to Gorgeous Hairstyles
- Short Hairstyles For Women Over 60
- 20 Thrilling Twist Braids Style to Try This Season
- The Top 10 Asymmetric Hairstyles
- 10 Gorgeous Shaggy Bob Hairstyles To Get You Out Of A Style Rut


