Hey girls Abbey here back with day two of our back to school down news now this one is one that was requested quite a bit, I have gotten multiple pictures of the same kind of hairstyle. So I thought. I would go ahead, and do a tutorial on it now what it really is like a double waterfall but, I have already done a waterfall braid tutorial. So what. I decided to do to kind of change it up make a little bit different teach you guys something new is to do kind of a twisting waterfall braid where it is actually significantly easier than a actual waterfall braid. Because. I can’t even like.. I can but. I do not like to do them behind my head. Because it is tough like it is really hard to keep the tension, and remember like which step you are on, and all that kind of stuff. So this one is really easy. I have no trouble doing this behind my head. And I have friends that do this one, and think it is really easy as well. So thumbs up for that um. I think some of you guys might have already seen this. Because. I know it is been around the internet a little bit but in case you haven’t. I have something good for you. And I went ahead, and showed you one with a double waterfall. So that you could go ahead, and you know see how to do that cut, I have got a lot of requests for it. So that is it. I will see you guys tomorrow on Facebook Twitter, and Pinterest with my hair style pic of the day from my older two toriel’s, and then. I will see you on Friday with another tutorial.
Double Waterfall Down do for Dummies – Back to School Down Dos Photo Gallery


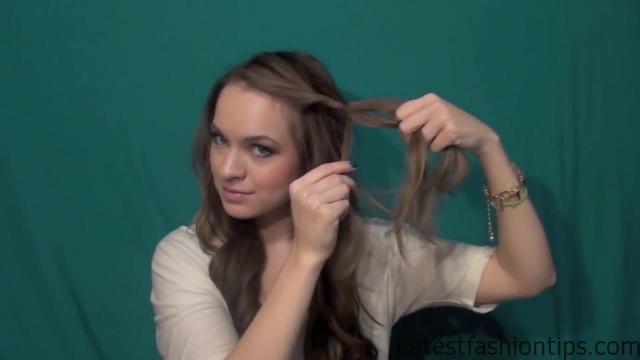
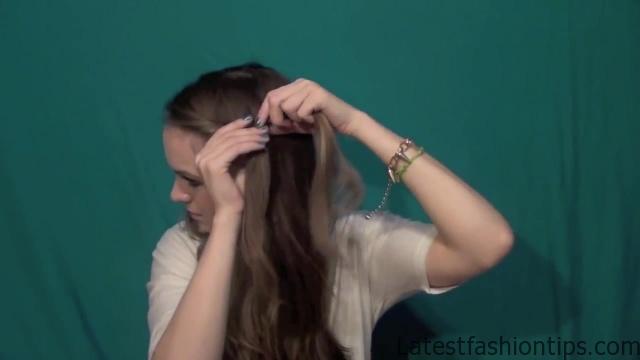

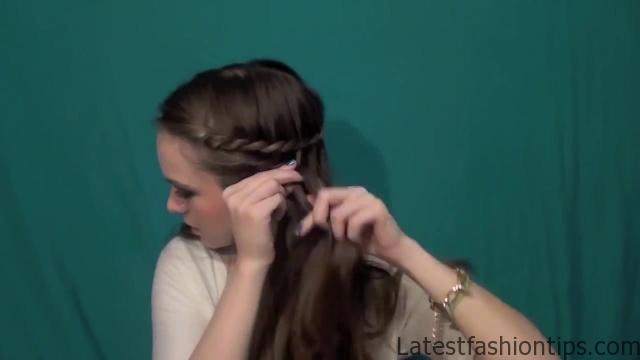
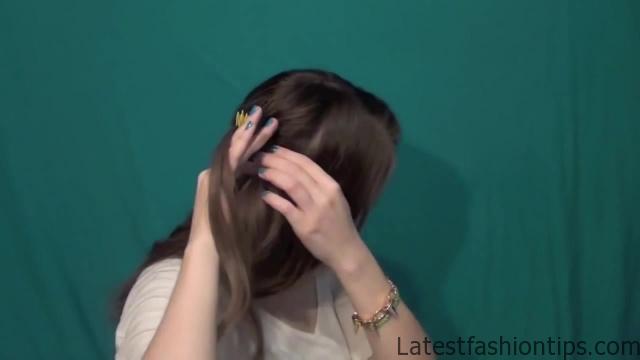


So that’s it. I will see you guys later what fight you are going to begin by taking a section of hair from the front splitting it into, and twisting twice toward the top to get yourself started step one is to take a piece of hair, and place it between your two twisting strands step two is to take that bottom piece of hair, and Leapfrog it over the middle piece of hair, and drop that one down step three is to leapfrog the middle section over the top section, and that’s it. So again you are going to do step one take that piece of hair place it in the middle step two leapfrog that bottom section over the middle one, and step three leapfrog that section over the top one, and one more time you are going to take that middle strand step one, and put it in the middle step to leapfrog that bottom one over the middle one, and then step three leapfrog the middle section over the top, and that’s it you are going to continue that around your head as higher as low as you want to go. I kind of went around, and kind of frame to the crown of my head for this particular one but you can do whatever height you want or if you want you can just stop after a couple inches, and use this as a cute way to pull your bangs back whatever way you want to do that it is kind of completely up to you but if you want to follow this hairstyle, and do a little half a pack down you are going to go all the way until you get to almost the front of your hair, and then what you are going to do is instead of dropping that section that you incorporate from step one you are going to keep braiding, and that way you have like an inch or two of just a normal braid once you get that enter to a normal braiding go ahead, and secure it with a clip. Because we are going to come back to that. So basically all you did to switch from your waterfall to a normal braid widths instead of dropping that one piece keep it, and then start braiding normally. So now we are going to go ahead, and do the exact same thing going around in a second line you can do this with as many as you want you can do it with three four or five whatever you want but this one.
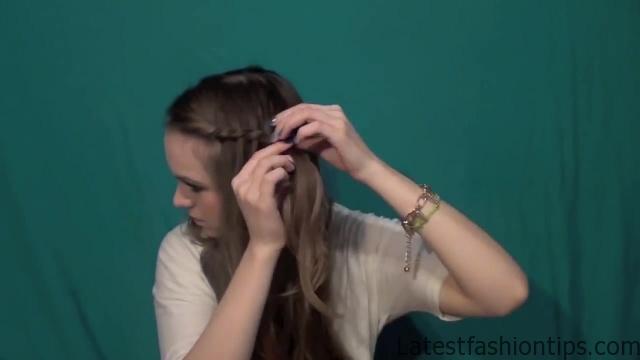
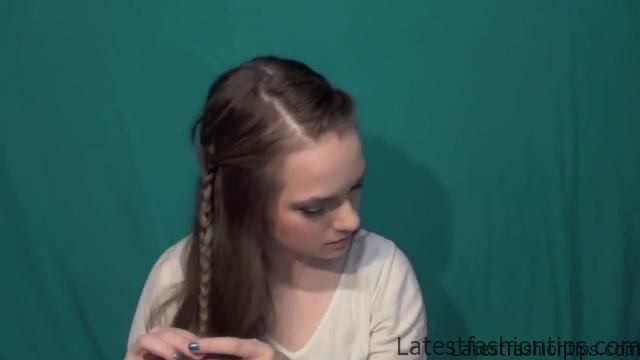
I just did too. So go ahead, and follow the same line as you did before just creating that little braid all the way around your head, and then once we get to the front we are actually going to switch to doing a French braid only incorporating hair for the top sounds tricky but it is not again instead of dropping that one piece go ahead, and keep it, and then start braiding normally. So you can see. I have that piece. And I didn’t drop it. I just held on to it, and now, I will going to incorporate hair for the top. So, I will going to take that little piece incorporate it with my hair, and braid it over, and then, I will going to braid over normally without incorporating any new hair now, I will going to take a piece of hair, and incorporate it with the rest of the hair just like you would in a French braid, and then incorporate it over without incorporating the hair, and now we are going to pull on that top piece of hair. So go ahead, and grab that piece of hair, and just spray that in like you would with the French braid, and then break down the rest of the hair normally, and that’s it. So that last little bit is a little bit tricky you might need to watch it a couple times but it is totally doable basically all you do is switch from doing a waterfall braid to doing a French braid that only incorporates hair from the front, and that way you go ahead, and finish off the rest of your hair once you have braided down this entire one you can go ahead, and secure it with the band, and you are done you have got your cute little waterfall style. I hope you guys like this. I know it might sound a little tricky at first but just go back, and re-watch these things it is on the tricky and, I will sure they’ll make sense to you, and that’s it. I hope you guys like this, and make sure to check back for more hairstyles here’s my ones in the series already, I have uploaded Selena Gomez braided down to hairstyle. So you can check that out, and if you are watching this later on you can check out day three four, and five to as well see you guys in my next post bye.
Maybe You Like Them Too
- Celebrating Natural Black Women’s Hair: A Guide to Gorgeous Hairstyles
- Short Hairstyles For Women Over 60
- 20 Thrilling Twist Braids Style to Try This Season
- The Top 10 Asymmetric Hairstyles
- 10 Gorgeous Shaggy Bob Hairstyles To Get You Out Of A Style Rut


