Guess what, I’m back with a new makeup tutorial, I have been loving this look it is seriously. So fast. So easy to do just just seriously keep reading you will know what, I mean and, I apologize in advance. If you can kind of hear in the background it is storming and.
EASY DATE NIGHT MAKEUP TUTORIAL Photo Gallery

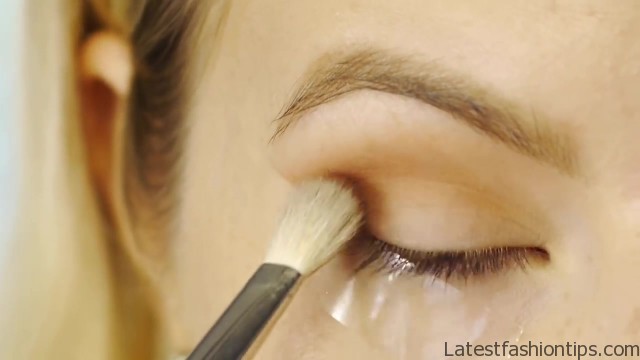

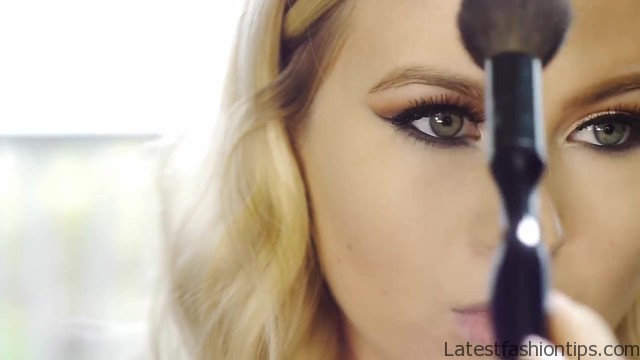


If you live in Florida it is very loud and you know what, I need. But I apologize. So the first step is optional priming your eyelids, I always do this. Because my eyeshadow lasts all day long and it does not crease and there’s a smudge on me. So, I love this step the next step is using scotch tape yes, I saw that right I have done this before in a post and I have got a lot of great response from you guys. Because you have tried it and you loved it. So what you do is take the scotch tape and put it right underneath your lower lash line should land right below your eyebrows this is the perfect place to set it and then just kind of go over it to kind of smooth it down to your skin all right let’s begin with our eye shadow the first color is soft brown by Mac this is a really pretty light medium brown with a very subtle red undertones that has a matte finish.
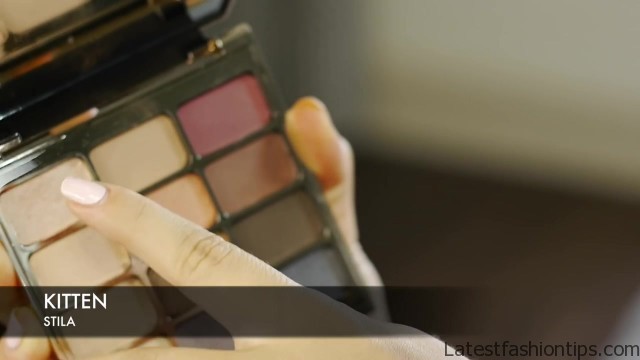
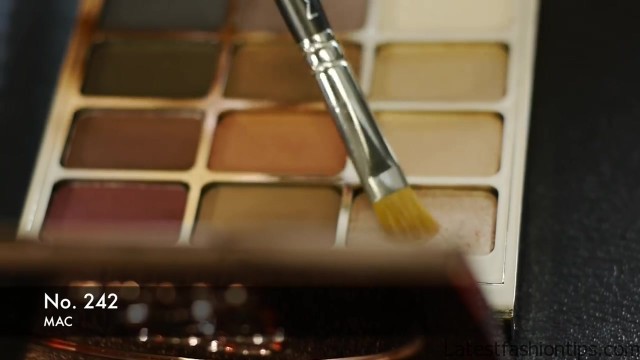
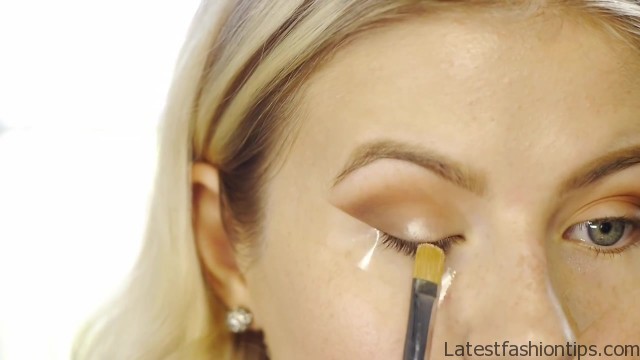
So, I took the two – for Mac blending brush, and it is just the bigger blending brush it is really soft and really easy to work with and just put that right into my crease and just blended it all the way around the next shade we will be working with is called saddle and this is a really pretty color it is a really pretty golden brown with orange undertones also with a matte finish taking that same brush, I just took it right on the top of the soft Brown and blended it inwards outwards and just kind of focused a lot of it towards the outside this next shade is called ground Brown by Mac and this just works. So well together with their other two colors. Because it is a really pretty medium dark brown with also very very slight red undertones switching over to a smaller blending brush. Because, I’m focusing the color mainly on the outer corners of my eyes just to give the eyes a slightly more smoky or darker look that, I want and I’m using the two and seven brush by Mac going back with the two to four brush with nothing else on it going back and just slightly blending it more just to give that more flawless look the next shade is called kitten by Stila it is a really pretty baby peach shade with a metallic finish it is. So beautiful and this is my favorite brush to you when I’m packing on colors or eyeshadows like can very metallicky wet finish sheet type and then when, I pack it on, I just spray some fix+ on it just to give it a more wet look on my eyelids taking the eyeshadow, I started from the middle and then, I started to build and pack on the eyeshadow from the outer to the inner and then just started to kind of blend it out as, I as much as, I could and. If you do not like the whole shimmery eyelid look you can just simply place this eyeshadow only in the middle and just blend it out with the eyeshadows and it will just give your eyes more awakened more open look. If you are more into that moving on to help blend the colors all together I’m taking the two and seven brush that, I used before and not anything else on it just start blending the colors until you have reached the seamless blended look now moving on to the gel eyeliner this is the Amazonian clay waterproof eyeliner and it is awesome it seriously stays all day long now using the tape as guide line create that nice flick, I went a little bit longer than, I usually do.
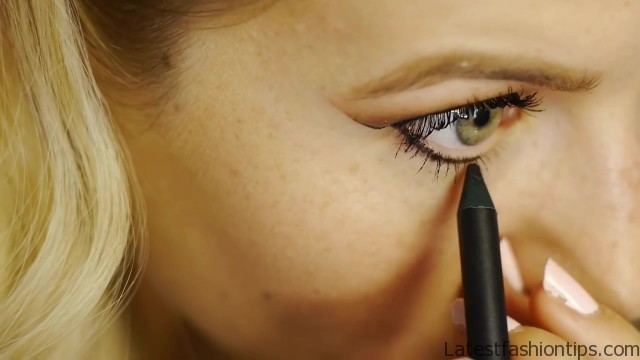
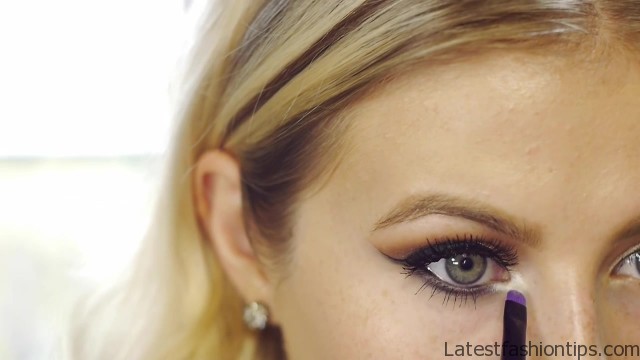
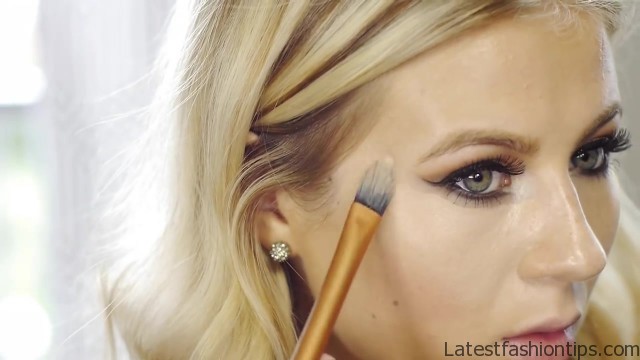
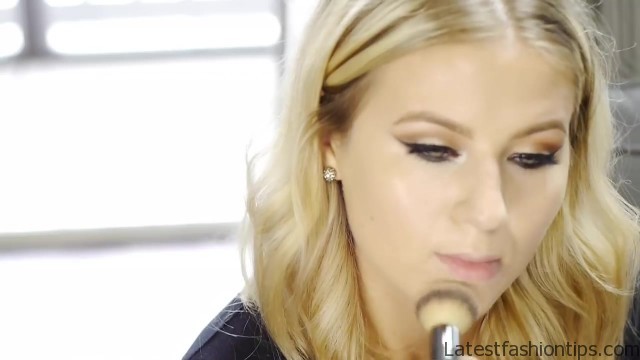
But this is a more kind of dramatic look. So, I want a la let’s just say from high style it is all out now. Because I’m using falsies, I just applied a little bit mascara just to give them just to give my lashes a little bit of kody and then one part is take it off that tape and see in that nice crisp line, I just love that part now moving on to our lower lash line, I will be using the Saline smolder pencil by Mac and just keep in mind this pencil does smudge. So, I’m taking a small blending brush and just smudging out the lower lash line just to give it a tiny bit more smoky look and, I apply that same pencil into my waterline taking the whispies by our dowel these are probably my favorite eye lashes by our dowel there’s just. So fluttery. So pretty and just applying these policies on my eyelashes to help darken my eyeliner and my wing I’m just gonna go back in with the NYC liquid eyeliner it is really really cheap it is really budget friendly, and it is awesome and just give that more dramatic look go back in with some mascara just pop some on my lower lash line just to make it more uniform now going with the color nylon by Mac this is a very pretty highlight shade it has a little bit of more golden finish to it, I just love this look and, I just applying it with a tiny tiny brush into my inner corner moving on to the face, I will now conceal with a bye-bye under-eye concealer by it cosmetics using a small pointed foundation brush by Real Techniques and this brush seriously is awesome it gets in all the crevices and then to blend it out I will be using the number 7 brush the dual ended brush by it cosmetics as well and taking the smaller and a side I’m just going to blend out by the eyes and around the nose and just the smaller areas where, I can’t use the bigger end of the brush now to help set the concealer, I will be using my favorite contour palette by Kat blending the shade in light and. If you guys want a more detailed post on how, I contour my face using using powder shades, I will more than happy to make a post and, I love contouring with this palette it is seriously awesome, I wanted to use a more peachy blush for this look.
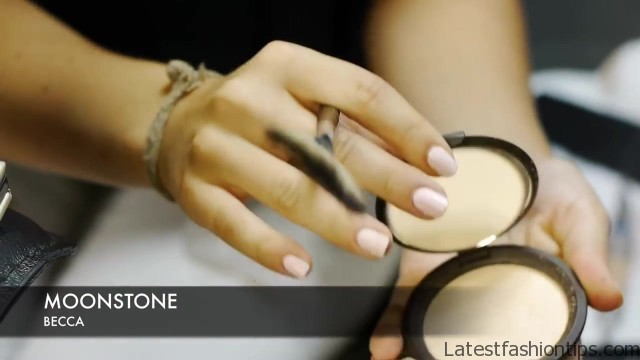
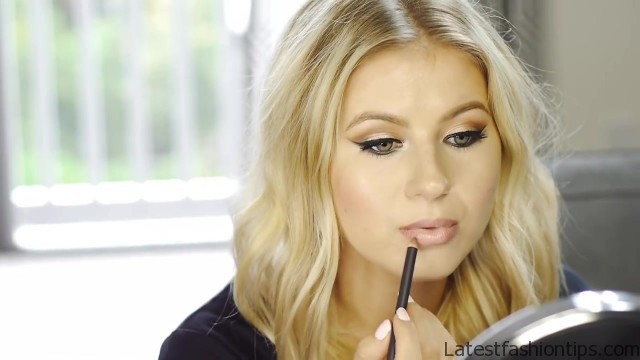
Because my shadows had orange and red undertones and this is a very pretty Mac shade peaches and the highlight that, I chose was called moonstone by Becca very pretty awesome highlight you guys have to check it out very you have to use a very light handed. Because it is very pigmented alright now to the lips. So this is a pencil that I will be out lining my lips with is called world by Mac, and it is a very pretty mafi nude lip pencil that is perfect for my lips shade. Because my lips are kind of darker and rosier and the lipstick that, I chose is called creme de nuit by Mac it is a creamy Sheen finish, and it is a very very light nude. So be careful how you use it that’s why outline my lips to make it more more wearable let’s put it that way without making my face look like I’m dead alright. So that’s it, I hope you guys like this look it is very simple, I love that whole scotch tape trick. Because it makes my life so much easier and better and let me know what you guys think about doing a separate post for my contour, I think it would be really nice in-depth post of what, I do and that is it let me know what you guys think down below and as always thank you for reading my post.
Maybe You Like Them Too
- Tamar Braxton A Life in Music
- Sunny Hostin A Biography
- Steve Coogan A Life in Comedy
- Sterling K Brown A Biography
- Stephen A. Smith A Biography
