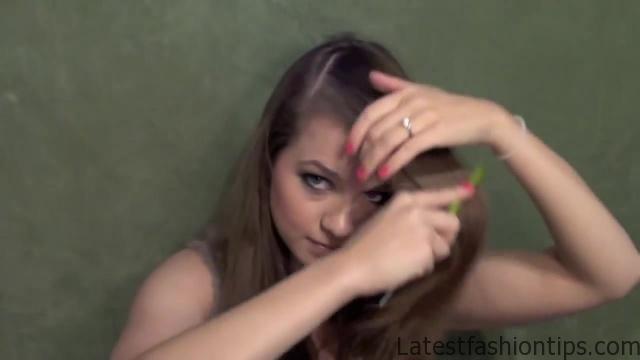
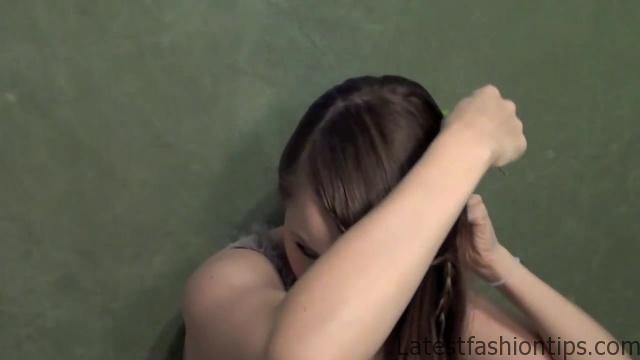
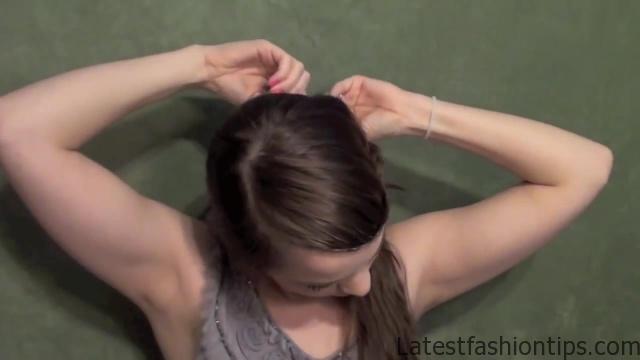
Hey girls Abbey here today we have this pretty easy little up do that you can use for any formal occasion whether it is homecoming or prom or bridesmaids or weddings or anything like that. I think it is great it is a nice simple updo, and really pretty. So let’s get started first you are going to part your hair on whichever side you find most flattering for you it is a pretty deep side part.
So make sure you get it way over, and then you are going to take a small piece right next to that front part of your part, and you are just going to go ahead, and split into three, and start Dutch rating which means that your braiding under, and then you are going to continue, and incorporate hair only from the top or the side that your hair is on, and then braid it under, and then you are going to braid under normally again, and then when you get to the side that your hair is on grab a piece of hair, and braid it under, and you are just going to continue that as you go down the key thing here is to make your fingers follow the path that you want that braid to take as long as your fingers are where you want that braid to be your braid is going to make the shape that you want you can pull this as far over your forehead or as far back as you want for my face shape it actually looks better to have a little bit further forward over the forehead.
Easy Formal Updo Photo Gallery

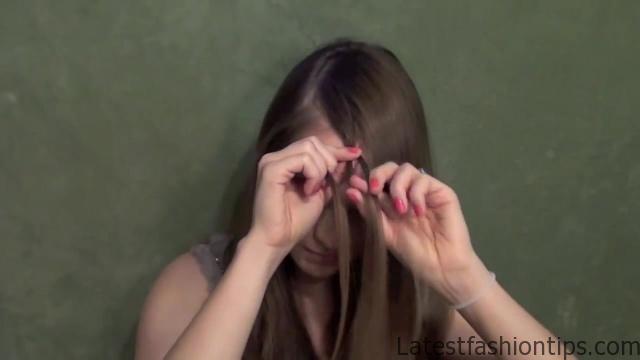
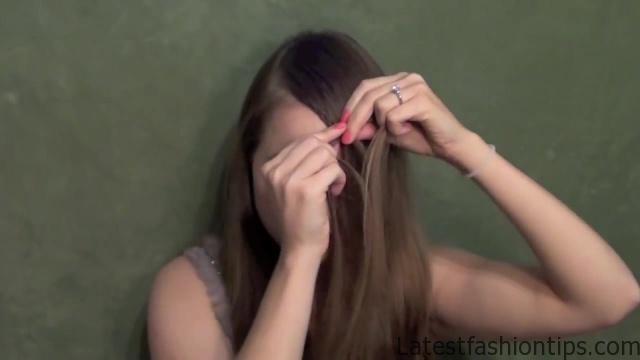

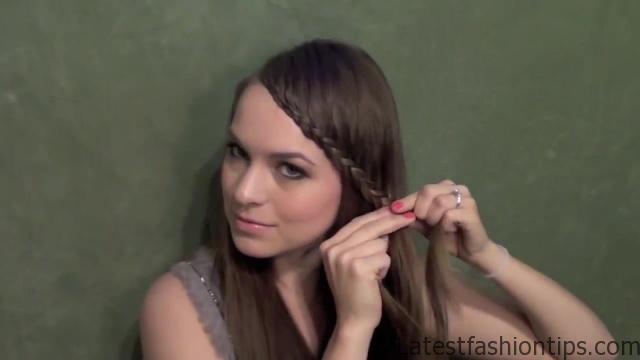
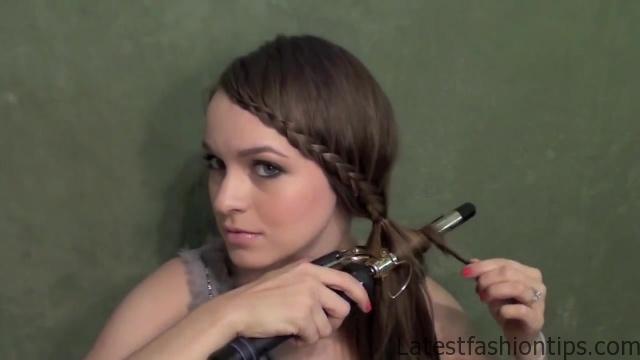
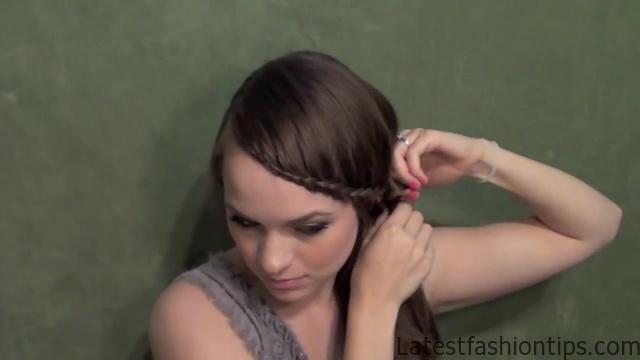
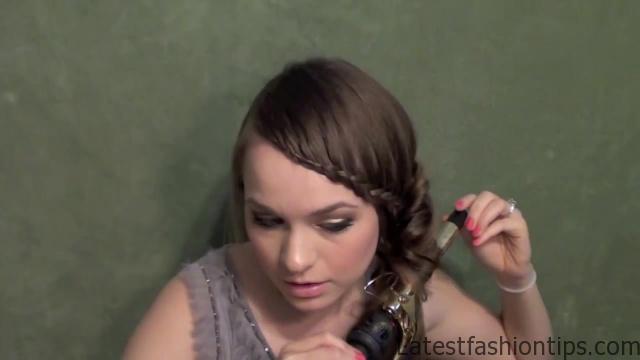

So that’s what. I did, and just make sure that you take nice small pieces, and build this very gradually, and very slowly that way you can get a really nice shape at the end of the day this braid is kind of the focal point of the hairstyle. So you really want to take your time with it, and make sure that you get it the way that you like once you make it back to the ear just braid a couple of inches normally, and secure it with a man, and you have got that all set now if you do not know how to Dutch braid or you this seems kind of foreign to you, I will link my braid encyclopedia post for you to check out just to help you with the little bit of your braiding tips in case you need some help there. So once you have got that braid taking care of you want to make sure that it is nice, and secure it out of the way. And I just use a little tiny hair band, and then you can loosen up the braid just a little bit you can see, I will just using the ends of my fingers, and that’ll kind of add some dimension to the braid then pull your hair all over to the one side right next to where you finished your braid, and you are going to make a ponytail right behind that ear.
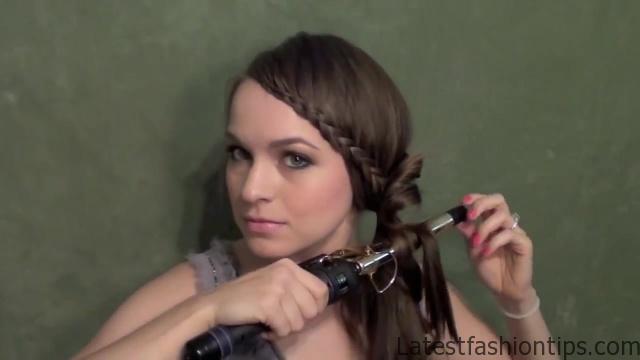
So just to carry all together again with a small little band, and then your guys basically going to go ahead, and let the band out of that braid. Because you do not need it anymore. Because that other bread is going to hold your hair in place now you are going to curl small pieces of your hair, and pin them against your head, I will using a three-quarter inch Hot Tools curling iron, and just curling my hair down, and once the curl is done, I will releasing it, and then putting it up against my head, and basically the is where you get to create your own shape you get to do whatever you want you can made the is voluminous or as small as you want it to be. So you can see, I have pulled this against my head where. I wanted it and, I will kind of wrapping it around my two fingers to create the shape that. I want, and putting that in place again, and then, I will leaving the end to hang free, and kind of give like a little bit of a free-falling really casual effect. So it is really not to put together you do not have to get too stressed out about it you just have to kind of put it together as you see fit another thing you can do is you can actually curl maybe like three pieces of hair at a time, and then go back, and pin the three pieces up which is what, I will doing right here, and then you can go ahead, and pin that up wherever you see fit now when.
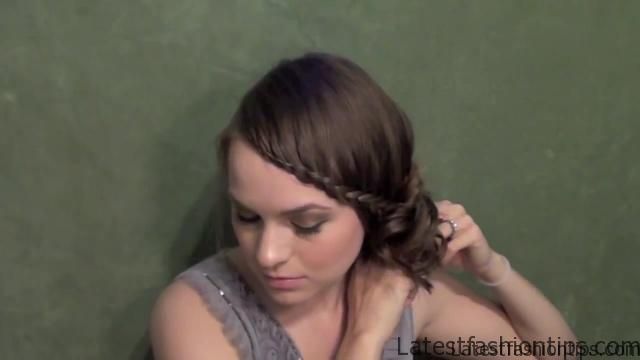
I’ll pinning these, I will pinning into the pens that have already put in. So that way, I will crisscrossing my pens, and creating a little net that’s going to hold this hairstyle up, and that’s the key to making this style last you want some more information about that. I have a Bobby pending tutorial that. I will link to also at the end of the post. So you can see here, I will still wrapping these curls around my fingers, and then just plugging up pulling it up against my head, and pinning that in place again pending into the bobby pins that are already there, and then you just continue that for the rest of it like. I said the is a lot of kind of creating your own shape you can put the curls up, and you know hold them against your head, and see how you like where it looks, and if you do not look like where it looks then reposition it against your head, and try something different the is a really good chance for you to get creative, and try your own stuff here but you can see for me. I left the ends hanging on a lot of these. And I left it fairly voluminous this was actually kind of inspired by a promo pic for Pretty Little Liars that. I saw, and if. I can track that picture down again. I will put it in the description box for you but basically like. I said it is just curling, and putting it against your head creating your own style make sure that you are pinning into those previous bobby pins, and the style will stay really well throughout the night or day, and you have to have a really nice long lasting style for an even longer lasting style you can use some healthy oil hairspray or whatever hairspray you like but that’s my favorite. Because it adds some shine, and a good amount of holds of the hair but that’s it. I hope you guys enjoy this. And I hope you try this out here are some other posts. I think you will like. I have my Bobby pinning post. I have another pretty little liars tutorial with Hannah braided down do, and then this last. I think a little bit easier um updo anyway. I hope you guys check those out. And I hope you are having a great day see you my next post bye.
Maybe You Like Them Too
- Celebrating Natural Black Women’s Hair: A Guide to Gorgeous Hairstyles
- Short Hairstyles For Women Over 60
- 20 Thrilling Twist Braids Style to Try This Season
- The Top 10 Asymmetric Hairstyles
- 10 Gorgeous Shaggy Bob Hairstyles To Get You Out Of A Style Rut

