Hi guys welcome back to my blog today, I’m gonna share with you at this super chic 5 strand Dutch braid as soon as. I thought. I fell in love with it and, I knew.
I just had to have it in my life. So maybe knows about me but. I absolutely love spending my spare time outdoors. So, I’m always on the hunt for hairstyles that not only look great but are also practical as well. So after a lot of practice and very tired arms. I finally get the hang of it and, I want to share with you guys how to do it on yourself and some tips that. I learned along the way all you need to this hair tutorial is a elastic just to Atty up the hair and if you have lots of layers in your hair you might want to have some bobby pins on hand as well and make things easier on yourself before you started make sure your hair is free of any knots or tangles it is going to save you.
HOW TO 5 STRAND BRAID Tutorial Long Medium Length Hairstyles Photo Gallery
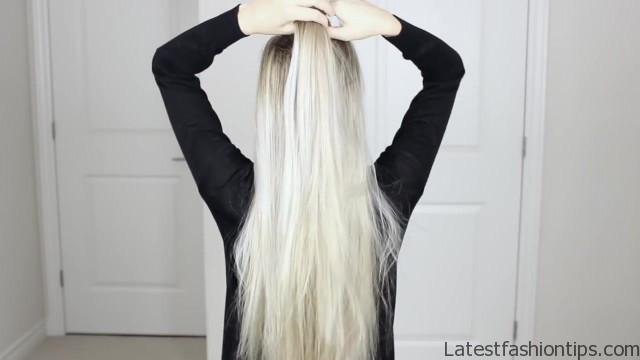
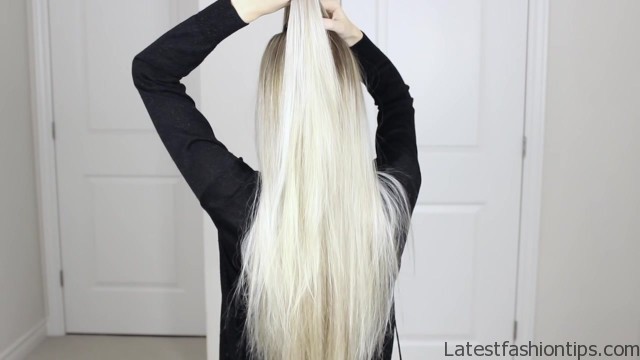
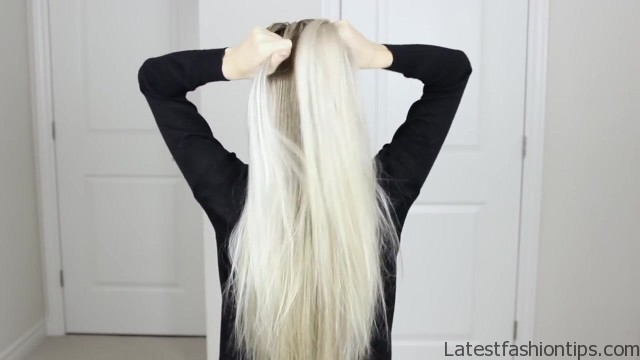
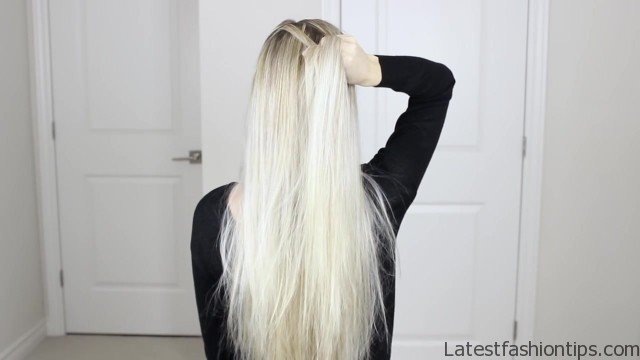
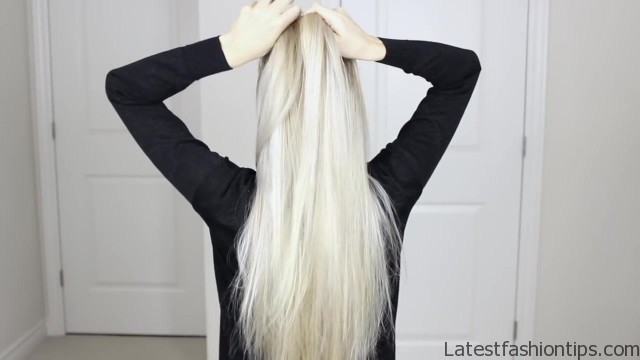
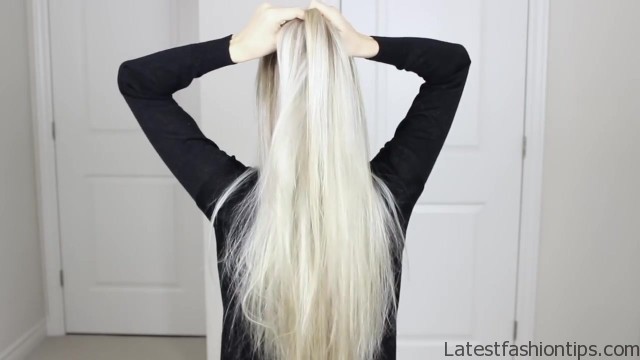
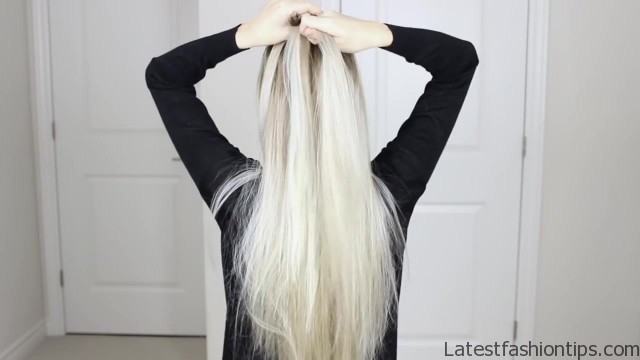
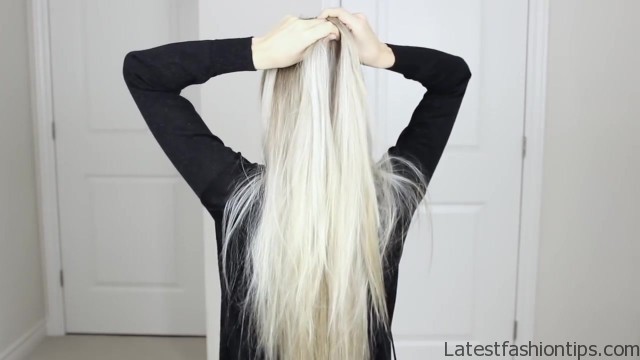
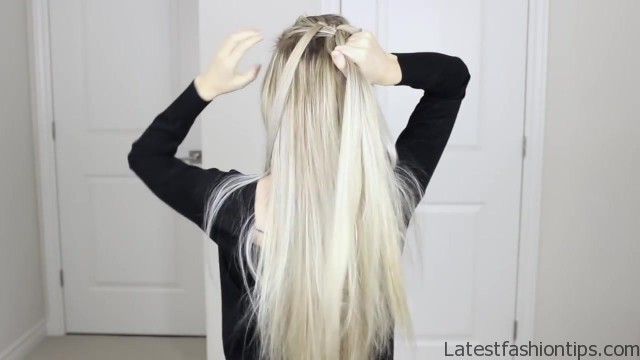
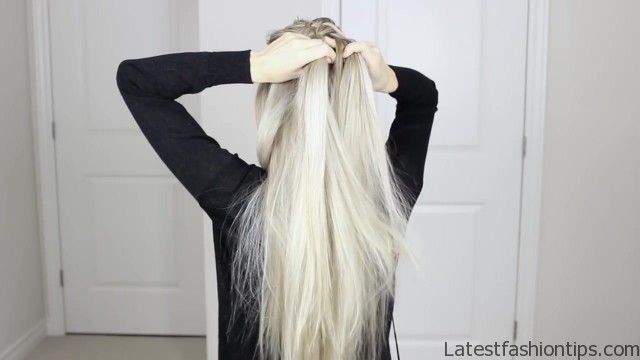
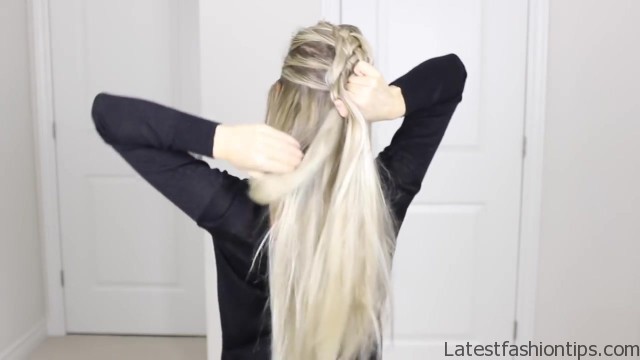
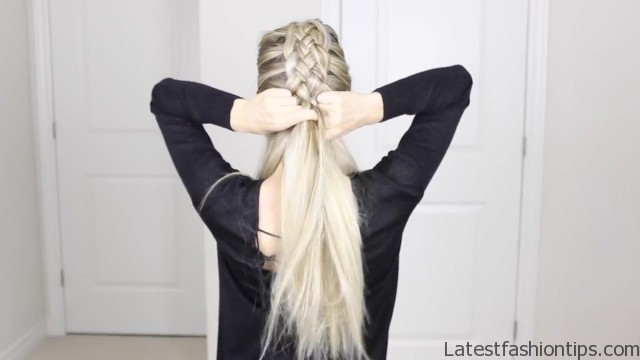
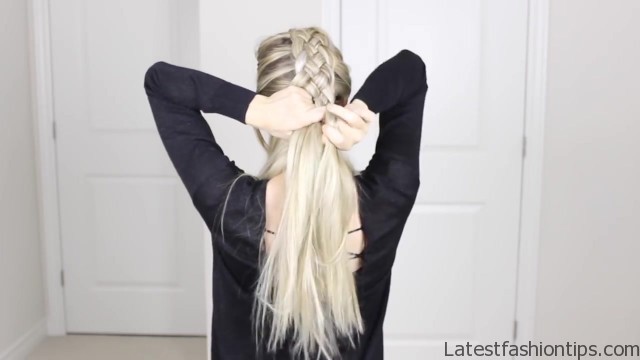
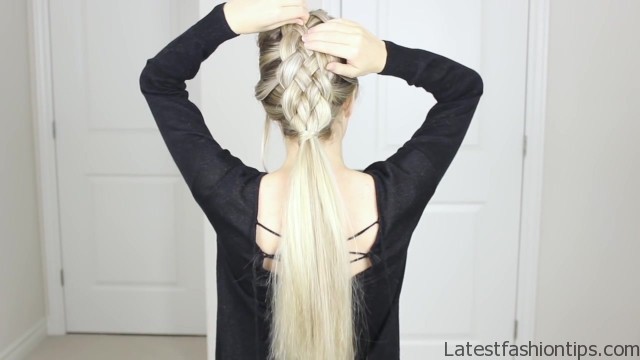
So much frustration alright once your hair is Tegel free you will want to gather all the hair on the top of your head now we need to create 5 equal sections. I find it easiest to spread up my fingers and allow them to do the sectioning for me this part can be tricky but you will now want to hold on to all the sections with your fingers to get ready for braiding I have been starting left to right. I like to hold my first two sections in my left hand and the next three in my right to start the braid take the first section on the left and go underneath the second section. I find most helpful to place that second section in front of my shoulder. So that it is out of the way now that we have gone under our second section we want to go over the third section and then that’s it for this side now we are going to repeat the same steps going right to left taking that fit strand and going underneath the fourth strand and remembering to place that fourth strand out of the way and then going over the third and now you can see the start of break we are going to keep repeating the same steps but now. I gather in some hair and adding it into outside sessions as we prayed just like a Dutch braid..
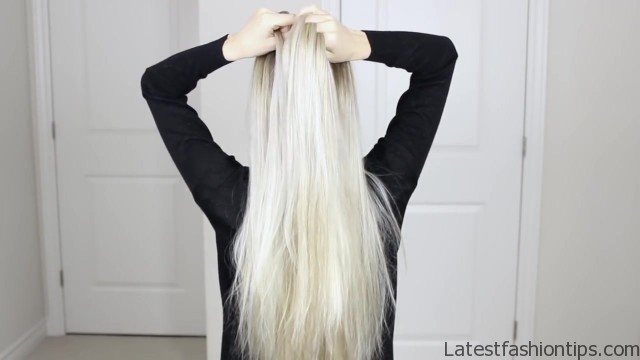
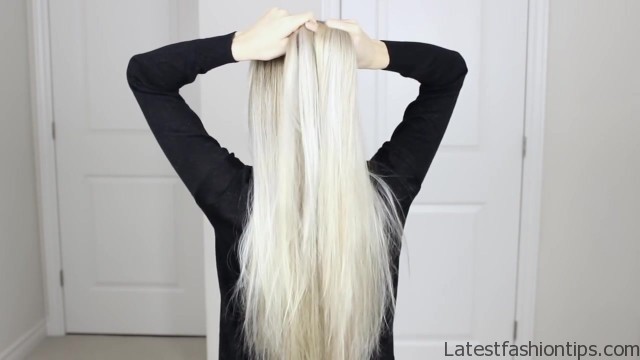
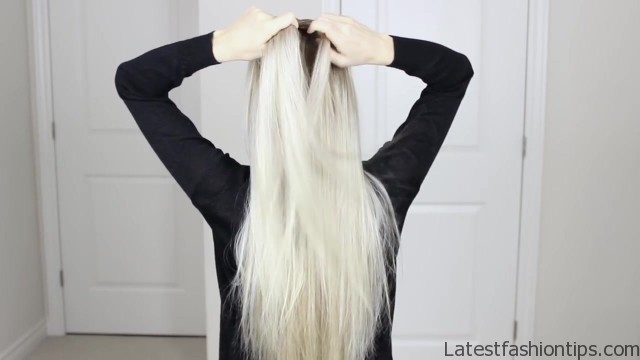
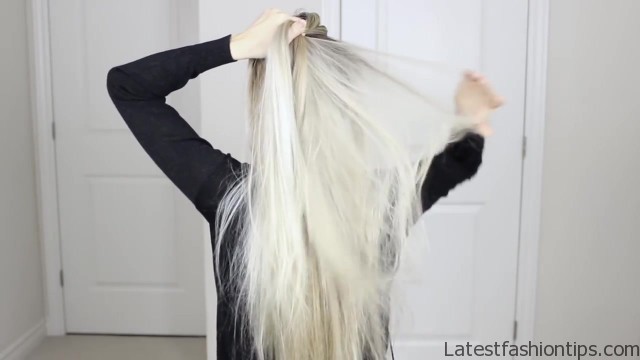
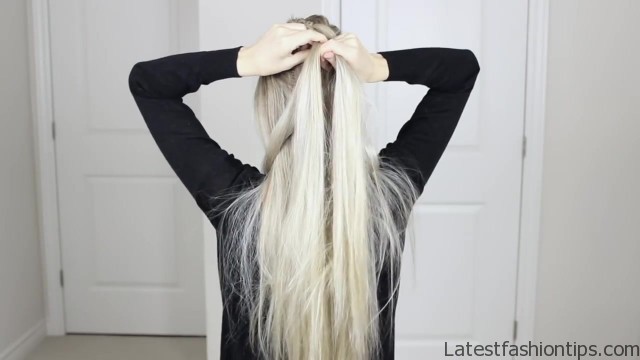
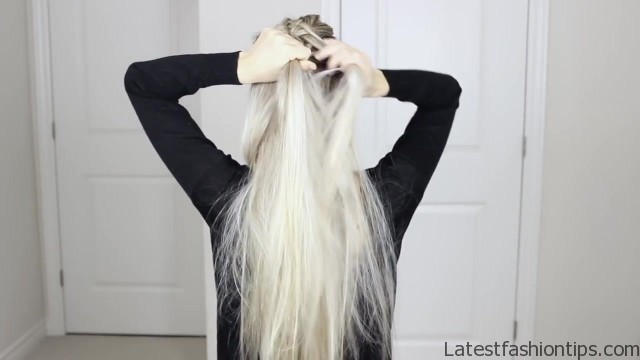
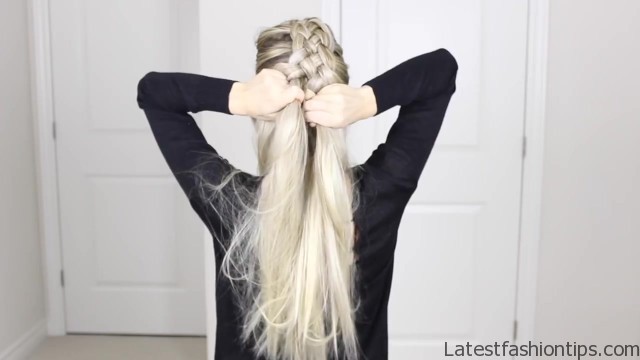
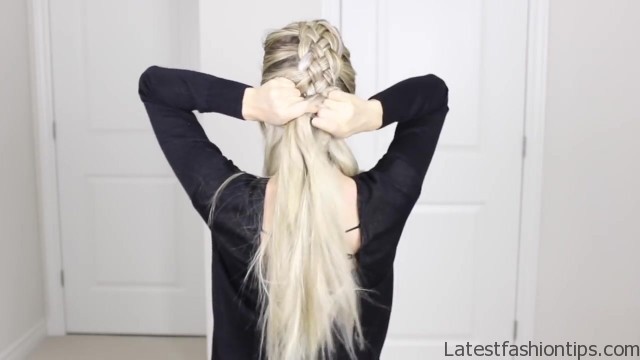
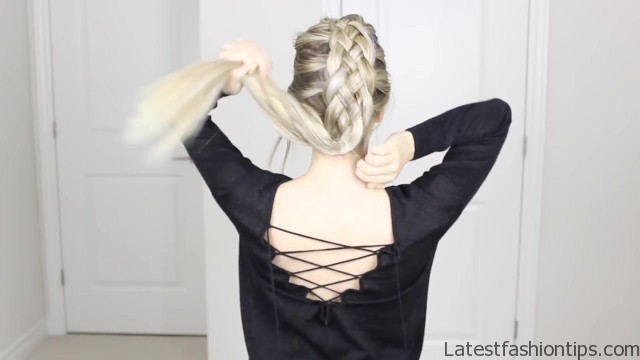
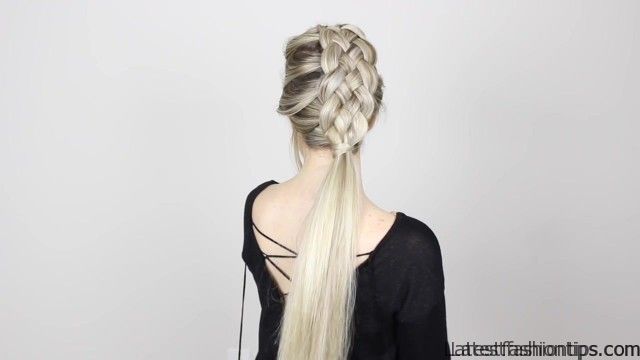
So I like to grab about one and a half inch sections as. I move down the braid and you just want to make sure to smooth out the section before you begin now that you have added hair to that front section repeat the pattern going underneath the second section placing it out of the way and then going over the third section then same thing on the right side grabbing about a one-and-a-half inch section incorporating it into that outside strand and remembering to move it all down then going underneath that fork section passing the fourth section in front of my shoulder and then continuing over the middle section and you can start to see the braid taking form. So just keep repeating the pattern gathering about one-and-a-half inch sections of hair from the sides joining it into that outside section going underneath the second section and placing it out of the way and then going over the third section hopefully by now you feel familiar with the pattern. So you are just going to want to keep repeating this all the way down to the nape of your neck as you are braiding just try and ensure that the sections stay separate. So that they do not sing the left at the bottom also this is a very forgiving braid. So do not worry if you take breaks or if you make any mistakes you can undo part the braid and then redo it but take your time with it be patient and also if, I’m working in front of a mirror can be a big help too as you move down your head you will start to get more familiar with a braid and you will get a good rhythm down it will start to get easier and your fingers will know exactly what to do but once you have inspected it in the mirror and you are happy with it tie it up and once the elastic is tight. I like to leave my finger looped into the bottom of it because.
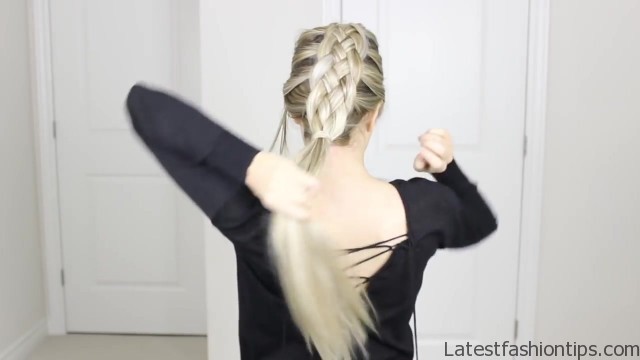
I like to grab a piece of hair from the underside wrapping it around the elastic and then tugging it through the loop to hide it then you know me. I can’t resist pulling it apart now this braid is a lot of work. So you just want to pull them aside very gently just to help add a little bit more drama and fullness to the look. So there you have you guys that is how you achieve the five strand braid on yourself. I absolutely love this braid. I think that it is so unique and beautiful. I love how versatile this braid is.
I can give you perfect for a day time outdoors look but also if you do it sleek and chic back if you’d be great for a night out on the town or even a holiday party this season. I really hope you enjoyed this tutorial if you did do not forget to give it a thumbs up let me know in the comments down below what you guys thought and if you try just look at yourself do not go to tag me on Instagram. So thank you guys. So much for reading and I will have two minutes for you.
Maybe You Like Them Too
- Stephen A. Smith A Biography
- Steny Hoyer A Life in Public Service
- Sheryl Underwood A Life in Music and Comedy
- Scott Walker A Life in Song
- Sara Evans A Biography


