Hey guys my name is Alex and I’m a content creator here on and today I’m going to show you how to easily recreate the most pin hairstyles of 2017 now have you ever tried to recreate one of those Pinterest perfect hairstyles only to be disappointed because your hair wasn’t thick enough or long enough well let me tell you guys a secret even though, I have a lot of hair, I like to use extensions to help create volume and give me those big chunky braids.
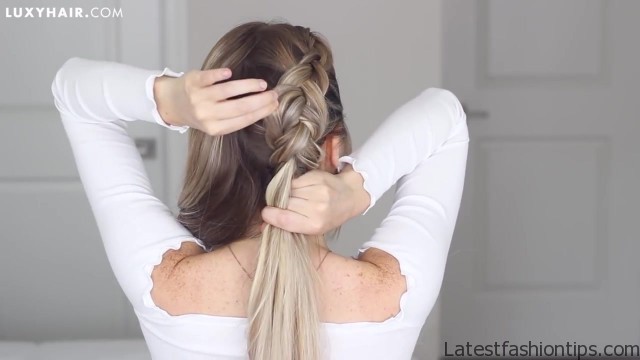
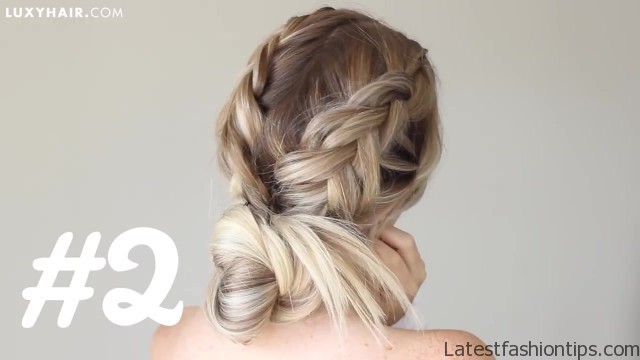
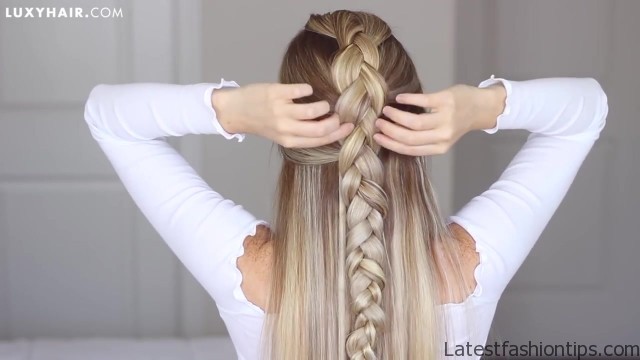
So, I like to wear it e’s 220 gram at one set because this is the thickest set that offers. So they really give me that big voluminous hair that, I like and they help to add drama to any hairstyle especially phrase, I love this first hairstyle it is a chunky Dutch braid with fishtail detailing to help achieve that thick braid, I section of my hair at my ears and I’m just clipping in a four clip weft from the middle outwards since we want the braids to be full at the top too, I section of my hair at my temples and, I added another four clip weft and to help add fullness at the top, I snuck in a one clip weft right at the top of my head first step gather all of the hair at the top of your head and divide it into three equal sections starting with the left strand do one full path of a three strand braid crossing underneath the middle then bring that left side underneath the center one more time just to help create a more effortless appearance from here we are going to Dutch braid. So gather the hair above your temple and join it into your right section and then cross it underneath the middle you then want to repeat the same steps on the left side of gathering all the hair above your temple and joining it into that left section and then just bring it underneath the middle now just repeat this pattern one more time gathering all of the hair above your ears now the top part of her braid is complete and it is time for my favorite part hand kicking.
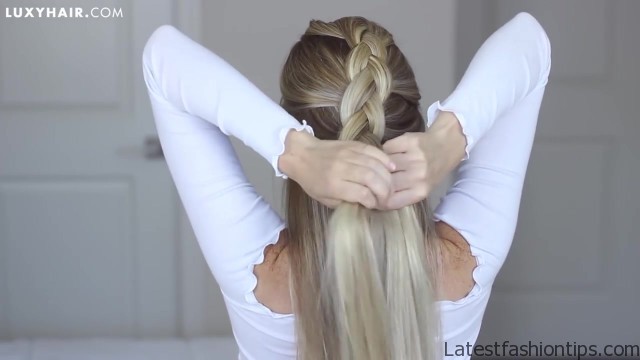
So what, I like to do is start at the top of my braid and with my index finger and thumb, I just pull on the outside of the braid to make it as big and as voluminous as possible once you are happy with your braid gently pull up the sides as well just to help give this hairstyle a more relaxed look now a continue through strong braiding down the rest of your ponytail and you want to try to have the braid taper inside. So the farther down the braid you get you want to start braiding it tighter. So that the braid goes from larger to smaller once you finish braiding secure it with a hair elastic once it is secure go ahead and make your braid even bigger my favorite part of this hairstyle are this subtle fishtail braids on the sides.
How To Pinterest Hair Recreating Pinterest Hairstyles Photo Gallery
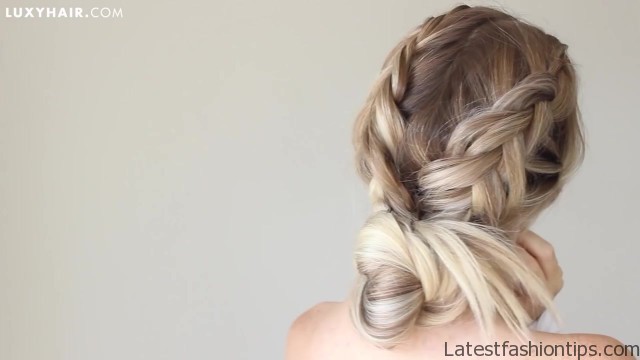
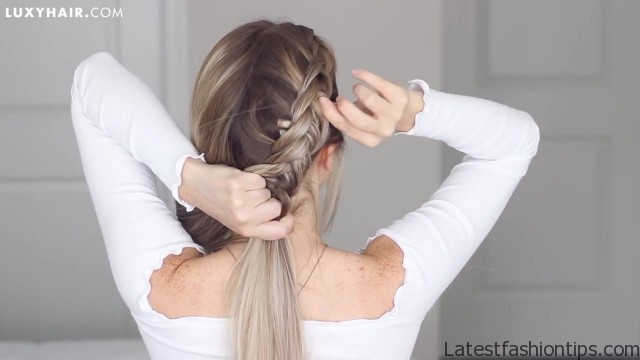
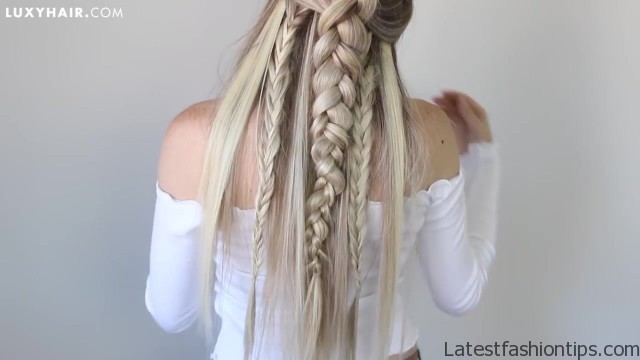
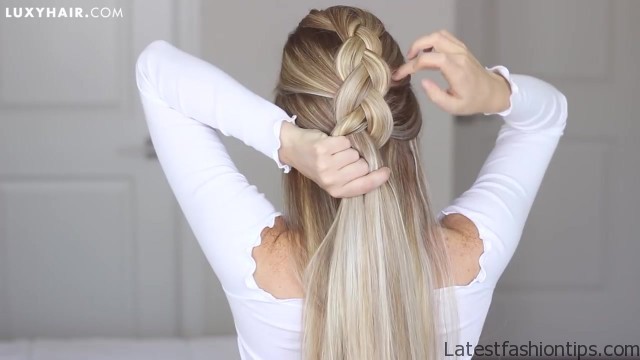
So what, I like to do is add in a one clip left just underneath the lowest part of the Dutch braid. So that it is hidden gather a section the same width as the weft. So about one inch and divide it into two equal pieces grab a piece from the outside of the right section and bring it over and join it into the left and then repeat it on the left side.
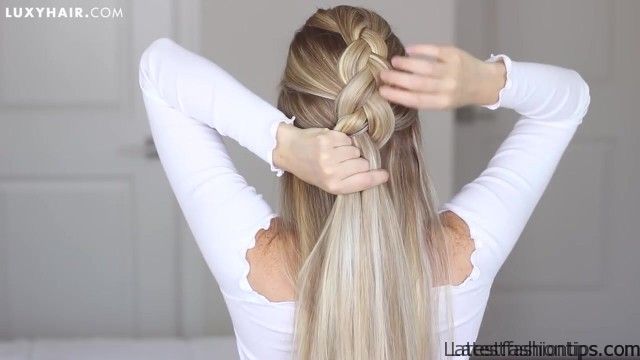
So grab a small section from the outside of the left bring it over and join it in to the right as you move down the fishtail you want this to appear effortless. So go ahead and grab the larger sections Plus this will speed up the process. So keep repeating the pattern until you reach the very ends and then you can tug on the sides of the braid to make it appear fuller and then secure the ends of the hair elastic.
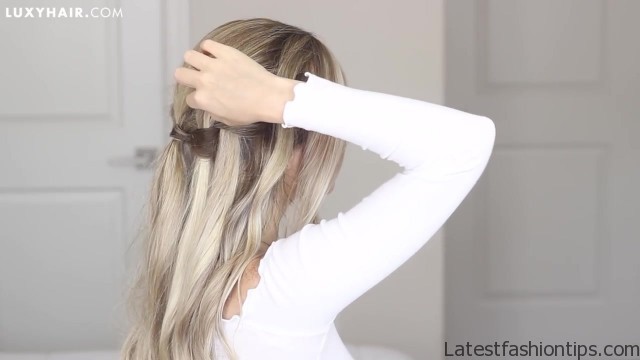
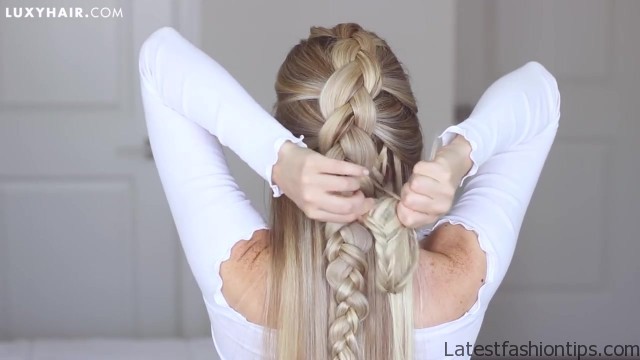
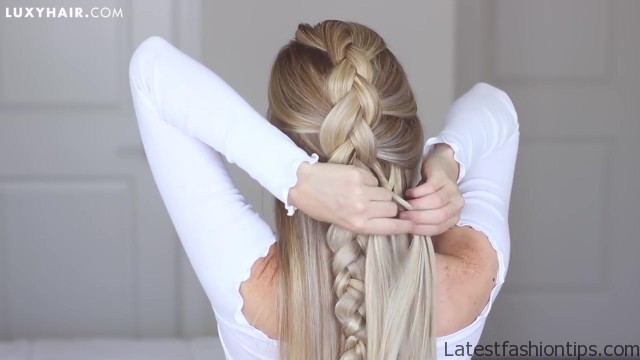
So repeat this one more time on the left side and you are done, I love how effortless and cool this next hairstyle is first, I find it easiest to part my hair down the middle and then just clip that left side out of the way for now now to help achieve those big chunky braids I’m going to go ahead and add in a three clip weft at about my temple but what, I like to do with this is fold the sides over clipping them on to the hair to make this weft even thicker and then, I just clip it on to my head that way, I only have one extension in my hair but it gave me a whole lot of extra volume the next grab a section of hair right at the top of your head and divide it into two equal sized pieces and we are going to create a Dutch fishtail braid. So grab a small piece of hair from the outside of your left section and then cross it underneath and join it in to the right on the right side do the same thing grab a small section of hair from the outside cross it underneath and join it in to the left this will create the foundation for our braid now this time pick up a section of hair next to that first one and join it into the left section if your hair is long, I like to ensure that it is completely sectioned off just to help prevent tangles at the bottom now bring this section underneath and join it into the right side repeat this on the right side grabbing a small section of hair from the right side of your head join it into that right section and cross it underneath into the left now you want to repeat this pattern all the way down at your head and do not get discouraged if it does not look like much right away because the farther down the braid you get the more you will see the braid taking shape as you start to reach about your temple height begin grabbing larger sections of hair this is going to give it a more effortless and gloominess appearance and the best part it is going to speed up the process. So continue until you reach the nape of your neck now time to transform this braid starting at the top pinch the outside of the braid to help make it appear a large, I just start small and work my way up because it is much easier to make your braids bigger than it is to try and make it smaller and then go ahead and pull on the sides of your braids as well if you want a more relaxed look once you have your giant braids clip it into place for now and just repeat the same steps on the other side now that both sides are braided all the way to the nape of your neck pulled apart and voluminous secure them together at the nape of your neck in a low ponytail and from here you can finish this look off by creating your favorite messy bun, I just like to gather up all my hair messily and then wrap a second hair elastic around it twice and then, I just use some bobby pins to help position the bun where as like is and then that’s it this hairstyle is more than just two waterfall braids there’s a lot of volume in the center.
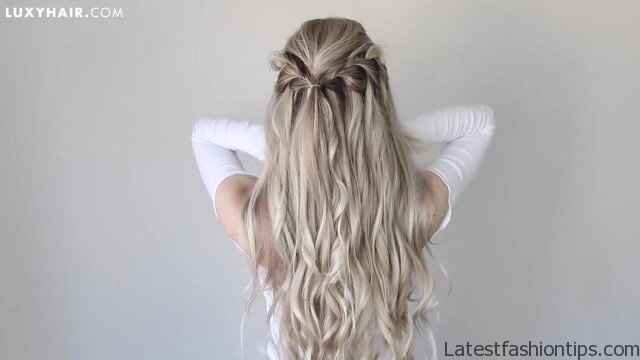
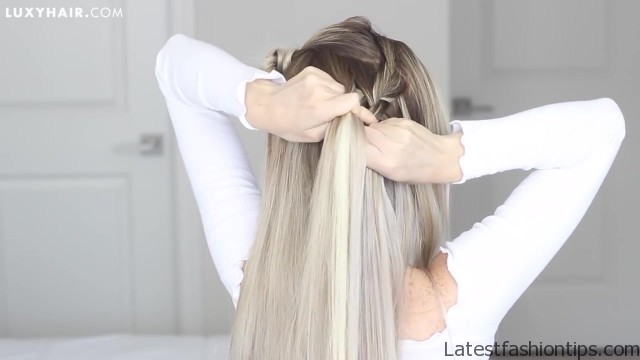
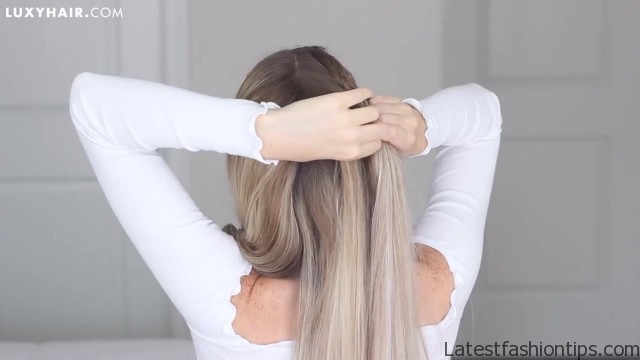
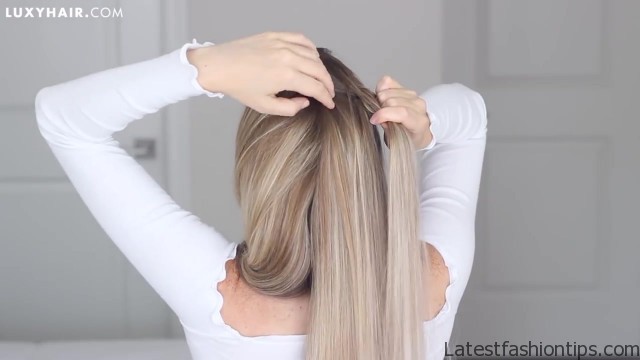
So the easiest way to achieve this is to section off the hair at the crown of your head and just clip it out of the way for now next grab a small section of hair at your temple and feel free to leave out some front pieces if you want more about how appear next divide the section into three equal pieces and do one full path of a regular three strand braid. So go over the center next to help give it a big voluminous appearance and just clipping in a one clip left underneath this braid and I’m joining it into the top two sections now to create the waterfall braid will be French braiding. So grab a small section of hair about an inch in size and join it into the top piece of your braid, I like to ensure it is completely sectioned off.
So it does not get tangled in the ends then cross it over the center now instead of adding hair into the bottom section like a normal French braid just let it go since we let that bottom strand go you will want to grab a new strand of hair in sharing those completely detangled and then cross it over the center. So again add a small section of hair to the top piece of your braid ensuring it is completely detangled and then bring it over the center and instead of adding hair to the bottom section crossing it over just let it go now continue this pattern directing the braid towards the center of the back of your head and once you have reached the middle just go ahead and pin it into the place for now you will want to repeat the same steps on the left side remembering to add in a 1 clip weft after you have braided it just to help give your braid that fullness well once you have braided both sides unclip that top section and just let it fall in between the two braids and then secure your two braids together with a hair elastic, I went ahead and curled all of my hair away from my face and, I recommend curling the waterfall pieces separately just to help them stand out next to make this hairstyle pop spray it with some strong hold hairspray and then we want to define the braids, I find the easiest way to do this is to push up on that waterfall piece to show where the braid is and then pull it up do not forget to pull as the bottom as well and if your hair has a hard time staying just spray it with some more hairspray oh and lastly do not forget to pull up on that top section to give you additional lift at the crown, I went in and, I curled my hair one last time to help add some additional volume and there you have it, I really hope you guys enjoyed this post and found it helpful hopefully it helps you inspire you to try out some of these hairstyles I’d love to know which liquids your favorite and if you do end up recreating any of them do not get to tag e and use the hashtag e hair that way, I can see your recreations but thank you guys. So much for reading and, I will talk to you guys soon bye.
Maybe You Like Them Too
- Tamar Braxton A Life in Music
- Sunny Hostin A Biography
- Steve Coogan A Life in Comedy
- Sterling K Brown A Biography
- Stephen A. Smith A Biography

