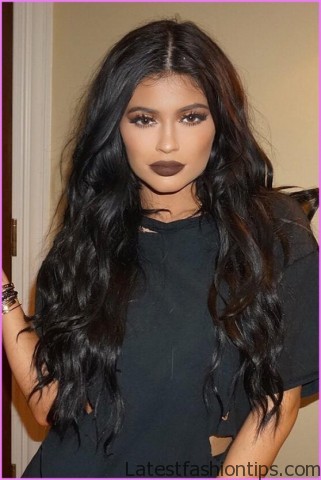
Hello my lovelies I’m going to be doing a tutorial based on a highly requested look of Miley Cyrus with her kind of opened up loose curls it is been requested for a long time but the reason, I hesitated to do the tutorial is just because it is really easy and honestly there’s not much to it except just curling the ends of your hair but, I figured you know I’m gonna be curling my hair today anyways and since you guys wanted to see how to do it, I figured I will just post it and hopefully it’ll help you it will help someone out if you know you kind of was always curious to know how she gets it done. So before, I get into the tutorial, I wanted to show you guys my haircut cuz, I tweeted that, I got a trim and, I said that it was short because, I guess, I felt it was short at the time of the when she finished with my hair it is not that short, I mean you can probably if you if, I didn’t say it you probably wouldn’t have noticed that you know, I got a haircut but yeah my hair was really really damaged at the end.
So, I figured that it was time to let go of those dead ends. So this is my haircut it is the same haircut that, I pretty much always get done and, I have created a post talking about it in more detail it is called my hair routine and haircut post, I think that’s what it is called, I have posted it a couple months ago but I will post the link somewhere here if you have not seen it check it out but this is pretty much the haircut it is just layers shorter layers at the front and this is what the back looks like, I told her not to cut layers at the back. So that’s basically what it looks like and the length is a lot shorter like the length was up to here kind of like the.
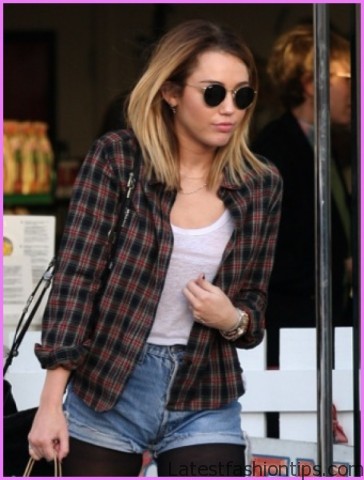
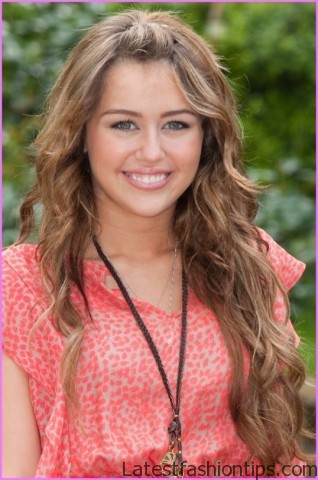
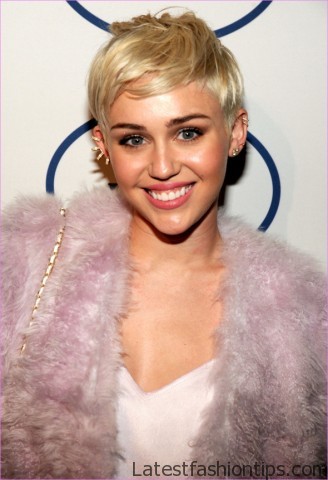
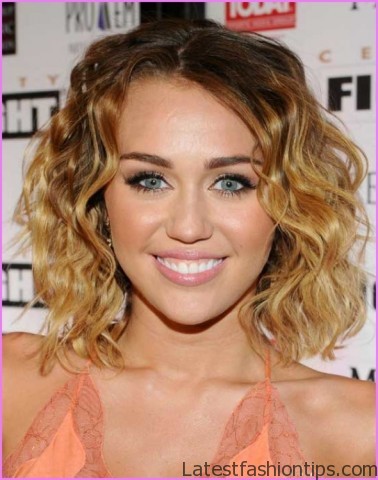
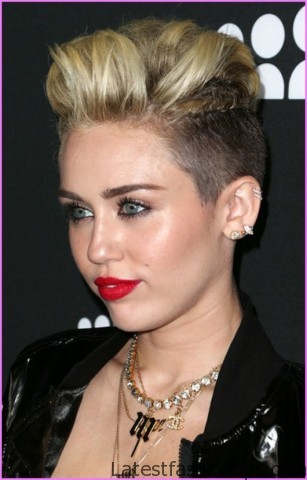
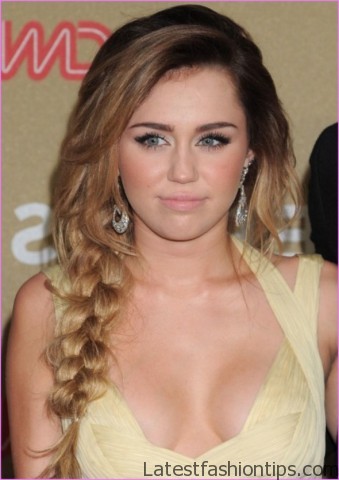
Miley Cyrus Inspired Loose Waves Hairstyle Photo Gallery

So she took off probably about an inch and a half two inches she had to like it was really dodged any with this intro is quite long. So I will get into the tutorial. So I’m gonna be using my luxy hair extensions and I’m gonna go ahead and clip them and right now if you have if you do not know how to do it or if you have not seen the post check it out again I will post a link right here and yeah once, I clip them in I will be right back and I will show you guys what you need to create this look alright.
So, I just finished clipping in my lucky hair extensions and like always I’m wearing 160 grams in color number two dark red oh basically for this really super easy tutorial all you really need is a curling iron a good curling iron you guys know if you watch our posts we always always use cortex four-in-one or Enzo Milano those are the best curling irons by far that really hold the curl for a long time if this is one and a half inch. So I’m gonna use this and pretty much just a hair spray to set the curls and a brush to come through the hair that’s really all you need for this tutorials. So I’m gonna begin by simply brushing the hair like always and what that does is really helps to blend in if you are wearing extensions it helps to blend in the extensions to you there.
So once you come to here I’m gonna do it in sections. So I’m gonna start off with the bottom and what, I do is always section off my hair into bottom portion just gonna twist it up and using a clip secure it on my head and I will show you guys what, I think is the key to her look in a second I’m gonna section off the bottom into two and then just do I’m going to be using really large sections like two inch or. So so this this one right here is gonna be just divided into two as well.
So I’m gonna do this bottom one first. And I have already, I forgot to mention. I have already sprayed my hair with heat protectant.
So you definitely need to protect your hair with some sort of a heat protectant like always, I use Tresemme heat tamer spray, I do not have it here it is in the bathroom. So just use whatever heat protectant to protect you here and this is how she does the curls you have to make sure that you are basically curling the hair from about collarbone down. So if you you but you pretty much have to have long hair for this look if you do not have long hair like me got to use extensions.
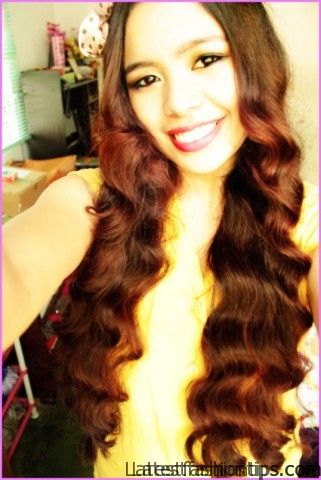
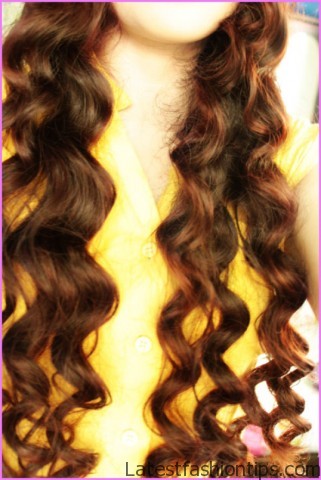
So this is where I’m gonna start curling all of the hair pretty much from there. So what you do is you just grab the curler and start wrapping the hair around like that and you hold it for about 8 to 10 seconds and let go but the first curl, I always hold it for a little longer just to make sure that the curler heats up nicely and the curl turns out. So we are gonna wait a few seconds and then let go and this is the type of curl that you get but once you are finished curling the hair you will see we want the curls to open up and be more loose and not as defined.
So that’s all you do you just grab the next section again starting from about here we are gonna grab the curler and start wrapping the hair around it and that’s pretty much all you do for the rest of the hair okay. So now that, I have finished curling all of my head basically just the ends this is what it kind of is going to look like depending on the length of your hair. So let me just bring all the hair forward.
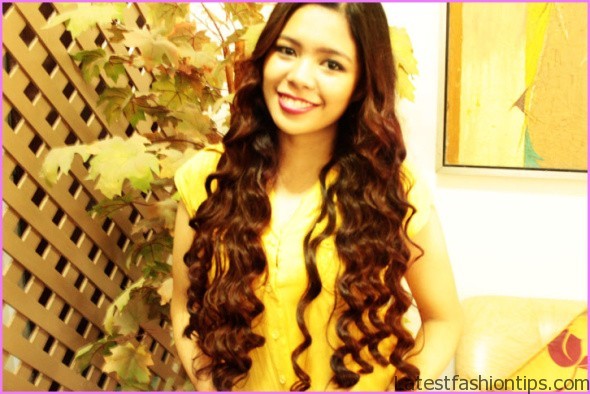
So what you want to do is at this point is basically open up the curls because the whole thing of this look is just these really loose barely there kind of curls and to do that you gotta run your fingers through the hair I will go back a little. So you can see and just kind of open them up and do the same thing over here like that just kind of run your fingers through them and at this point you want to set your curls. So this is Loreal Elnett hairspray I’m just gonna kind of bring all the curls into my hands like gather them up and then just lightly spray from all sides just like that to set it up to set the curls, I mean stuff and like that well that went into my eye and then do the same thing over here.
So just kind of gather them up you just set hairspray like that alright. So we are finished this is kind of what it looks like, I know it might not look identical to hers but again, I promise you guys once these curls these curls open up it will look pretty much the same. So let me just show you what it looks like from the back there you are.
So yeah, I hope you guys found this really easy tutorial helpful and if you were always wondering how she does her curls, I hope that this post you know kind of gave you ideas of what to try one thing, I should mention depending on how long your own hair is you will notice that my hair is pretty short at the front. So, I had to go a little higher with the curls than the collarbone because, I wanted to make sure, I grabbed my own hair otherwise your hair would kind of stick out and wouldn’t blend as well with the extensions and that’s basically if you are wearing extensions. So that’s pretty much it, I hope you guys enjoyed this tutorial and, I hope you have a fabulous day and, I will see you guys in the next tutorial ciao you.
Maybe You Like Them Too
- Sterling K Brown A Biography
- Stephen A. Smith A Biography
- Steny Hoyer A Life in Public Service
- Sheryl Underwood A Life in Music and Comedy
- Scott Walker A Life in Song
