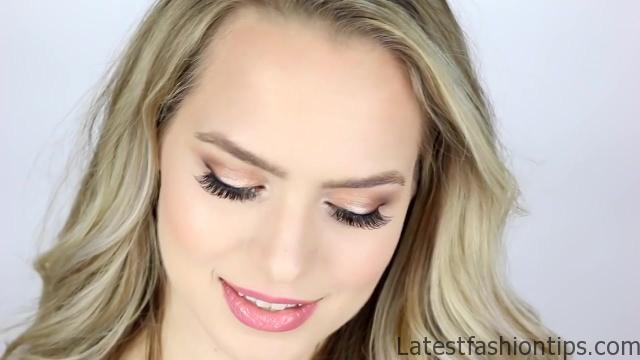
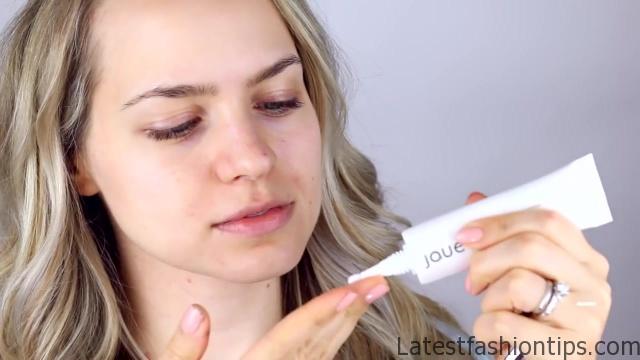
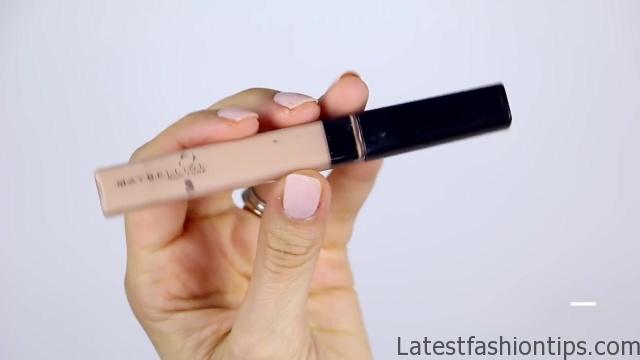
So you guys have been asking for more makeup tutorials so I decided to do one on this look I have been wearing it in a couple of my recent videos and you guys requested a tutorial on it so often so here we go we have this nice natural glowy glam look let’s get started so I’m going to start out with the shoe a matte primer just to go ahead and mattify my face and make sure that the oils does not break through and destroy my makeup then I’m going to be using the Make Up For Ever Ultra HD foundation to give myself a nice flawless finish this is a little more than I would use every day but I do not really feel like this is an everyday makeup look so I’m just going to buff it in all over my skin and then move on to concealer I’m going to be using my favorite Maybelline fit me concealer and I’m using this as a concealer / highlighter so it is going underneath my eyes down the bridge of my nose a little bit on my Cupid’s bow and a little bit just over my eyebrows.
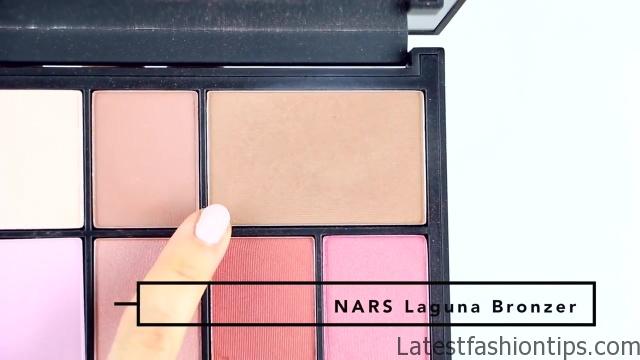
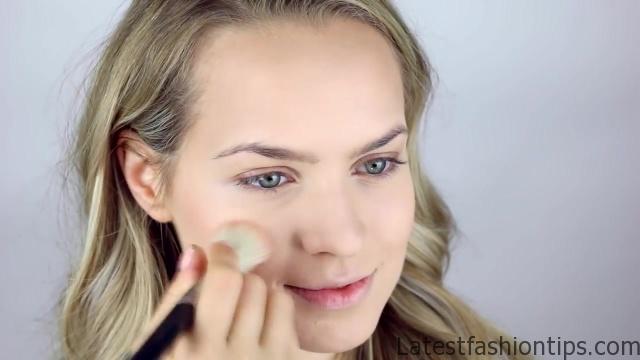
I’m going to blend that in I really love this concealer because it is super lightweight it feels great on the skin and it looks really natural so you can pair it with this kind of look or like a no makeup makeup look then I’m going to set everything with the Kodi airspun foundation I’m kind of baking a little bit under my eyes just going a little heavily with the powder a little more heavily over my nose and then just dusting the rest of my face to make sure that everything is nice and powdered and no longer sticky and now I’m contouring with bronzer I do not know why I just love the way that bronzer looks as my contour so I’m putting it through the hollows of my cheeks and then I’m going to go a little over my forehead and then a little on the outside of my nose again this is a little more than I usually do but I do like the definition that gives me and now it is a blush I’m using colourpop’s blush in bonus and I’m just going to put this over the apples of my cheeks for a little rosy glow and speaking of glow it is time for highlight.
Natural Glam & Glow Makeup Tutorial Photo Gallery
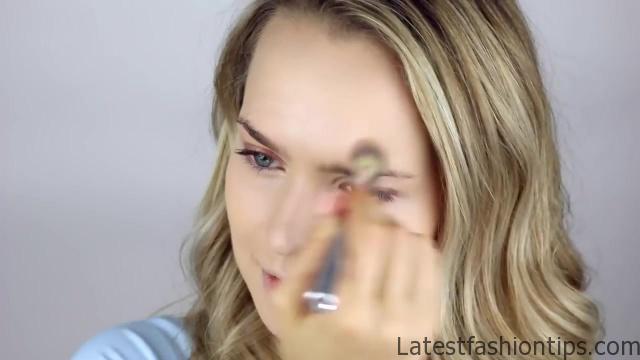
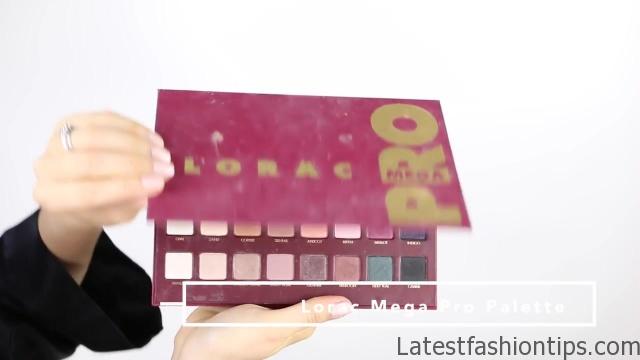
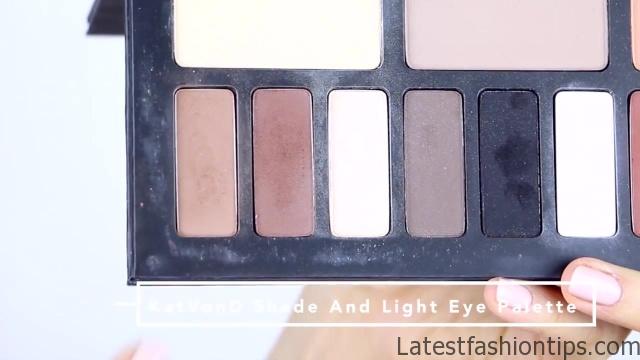

I’m using the UH Nastasia glow kit and I’m mixing bubbly and sunburst together for a nice very luminous glow on my cheekbones and a little tiny bit on the tip of my nose now I’m going to go ahead and prime my eyes and move on to eye shadow or my base color I’m using a shade from the lorac mega Pro palette this was limited edition so I’m using the shade copper and I’m going to swatch it on my skin so you can find what in your collection looks most similar but it is mostly just a very warm shimmery bronze so I’m playing that over my lids and then I’m going to blend it up and to the crease I’m going to deepen up the crease just a little bit with my shade and light palette I’m using this light brown and I’m just going to dust that into my crease and then blend it out quite a bit I’m even switching to a clean fluffy brush just to make sure this is super blended then I’m going to grab this highlight shade also from the shade and light palette and it is just going to go underneath my brow bone and blend into that crease color so you get that nice seamless gradient and then it is time to add some shimmer so I’m going to use sand from the lorac Pro palette and it is just this light slightly warm really shimmery shade and you can find whatever is a nice light highlight for your skintone and just place that over the middle of your eyelid and kind of blend it out and then place that into the inner corner as well so that you are nice and glowy but you still have the definition from that darker shade underneath now it is time for some eyeliners.
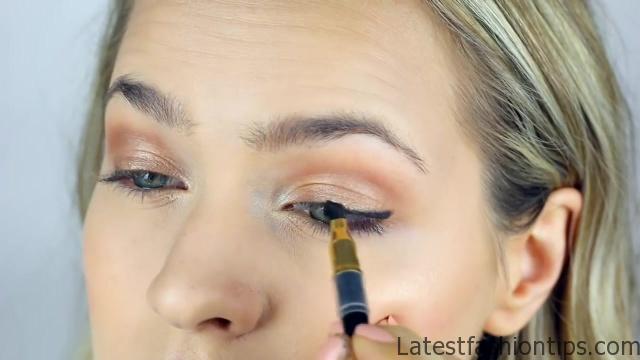
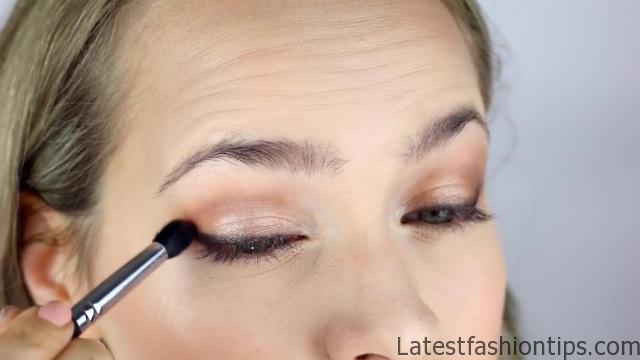
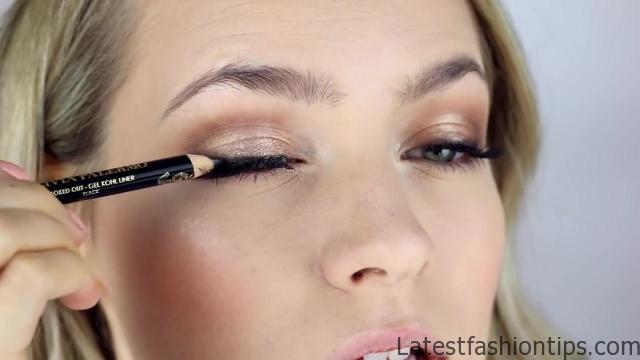
I’m using this really smoky cold liner and I’m putting my liner down and slightly winging it out but only slightly then I’m going to take a angles brush and I’m going to blend that out into more of a wing to shape and the reason that I’m going to do it this way is because I want it to be really smoky and just really really blend it out that’s kind of my signature when it comes to eyeliner it is lots and lots of layers and it is very very blended so I’m also doing that to the inside of my eye to make sure that we are ready for those lashes we are going to put on later and then I’m doing the same thing on the other eye now I’m going to grab this darker brown matte eyeshadow and I’m going to deepen up the outer V so I’m going over the outside of the line we just made and a little bit into the crease and then of course.
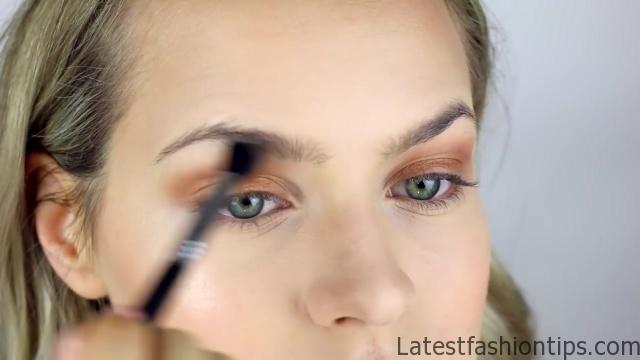
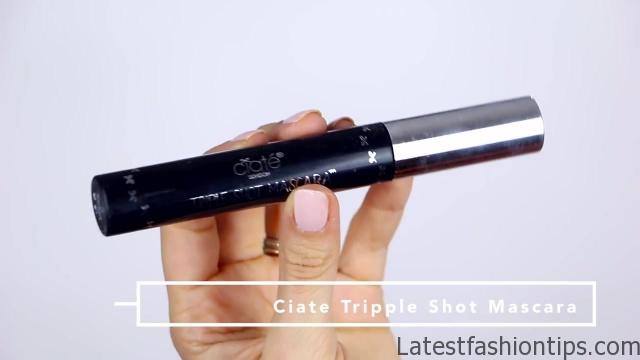
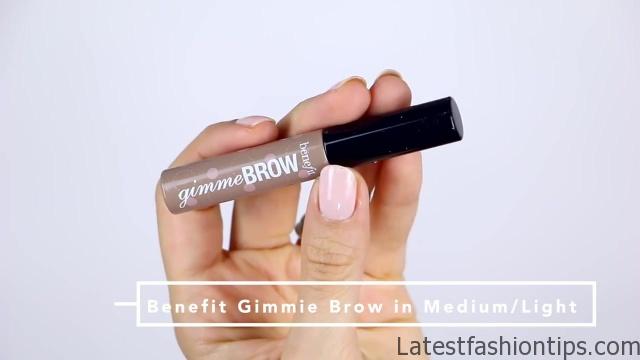
I’m going to go back in and blend that out to make sure it is nice and smooth and very well diffused now we are going to add some lashes so first I’m going to curl my lashes and apply mascara to prep for the lashes I’m using the CSA triple shot mascara for this one it is nice and waterproof but it also holds the shape of your eyelashes really really nicely for today I’m using the demi whispies by hour gel for my lashes and just popping those on although in some of the videos you guys requested I was wearing a little bit heavier lashes then I’m just going over the band with some more eyeliner to make sure that the band is all blended in for my lower lash line I’m going to use that shimmery copper color that we use in the very beginning and I’m just going to dust that over my lower lash line and that’s enough definition for me but you can always add more if you want it now for brows I’m going to use the bit of it gimme brow and I’m just using this to kind of tame my brow hairs and also make them look a little bit thicker then.
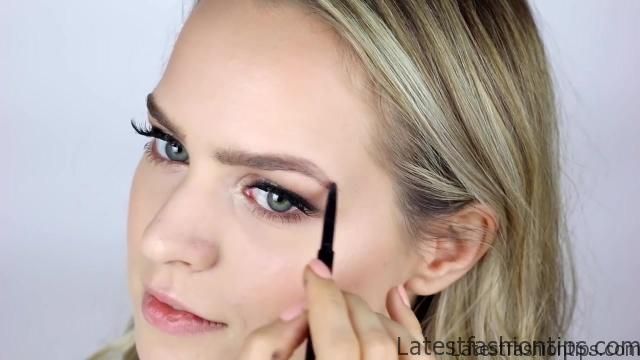
I’m just going to use the obligatory Anastasia brow Wiz to make sure that everything is nicely filled in all I really do is ever go through and kind of fill in the sparse areas and make everything look a little bit more even but I like my brows natural shape pretty well I have worn a lot of lips with this makeup look but today I’m going to use this lip liner and brink to go ahead and outline my lips and once they are outlined I’m going to go ahead and blend it in so it is not one solid line it is nice and diffused which is like the trend of this makeup video then I’m going to go ahead and use this Maybelline matte lipstick to fill everything in and you get this nice like rosy pink color finally I’m just going to add a little bit of gloss to the center of my lips for some shimmer and shine and that is it for this makeup tutorial I like that this look focuses on like a really natural glow and a really natural look even though it is definitely still glam and that’s it for the video guys I hope you enjoyed.
Maybe You Like Them Too
- Easy Glowy Makeup for Everyday
- Bridesmaid Makeup
- 40s Pin Up Hair inspired by The Capitol of the Hunger Games
- Brows Lashes Lips – Simplified Makeup Tutorial
- 1940s-50s Pinup Hair, and Makeup
