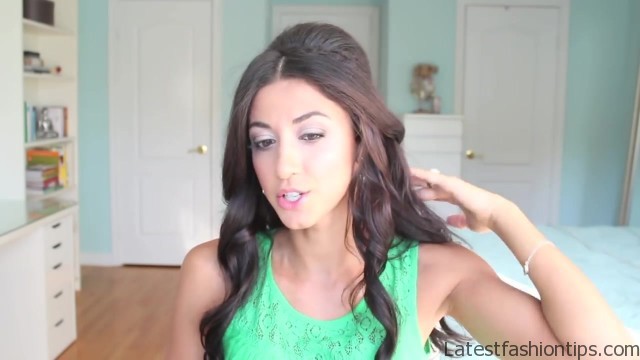
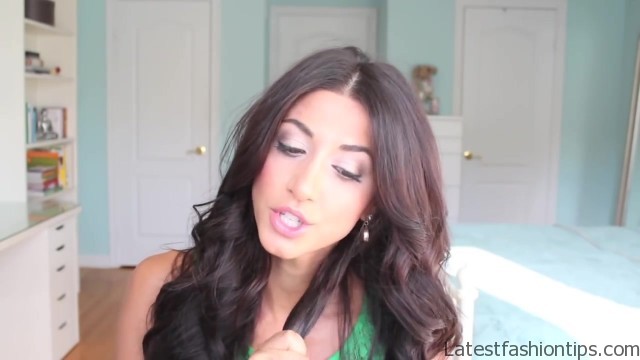
Hey guys I’m coming to you with a half up and half down hairstyle that is perfect for an evening out I’m going to be attending a wedding I’m going to be a bridesmaids coming up in just a few weeks. So, I was looking for a half-up half-down style and, I came across this beautiful look by Nina Dobrev somewhere on the internet, I think it was from the show that she’s on I’m not really sure and, I really liked it.
So, I wanted to recreate it for you guys as well. So if you like this look and want to learn how to recreate it keep reading and I will take you through all the steady state or II alar going to need some basic styling tools I’m going to need my teasing comb this is Denman g3 we are going to need some hairspray bobby pins and small elastic band that matches your hair color I’m also wearing my luck C’s for this tutorial in the 160 gram set in the mocha brown color and, I have already pre curled my hair using the one-inch hot tools curling iron just for the sake of time, I just took larger chunks of hair and curl the ends. So that’s pretty much all we need.
Nina Dobrev Inspired Hairstyle Photo Gallery

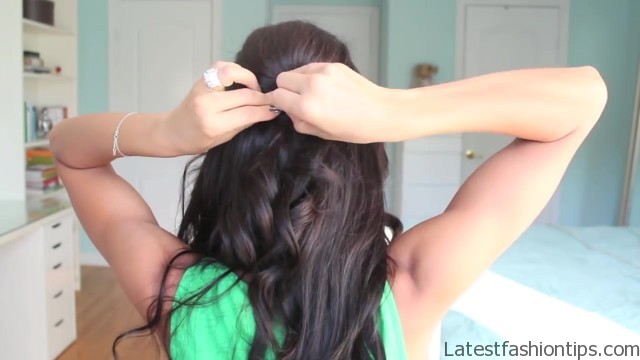
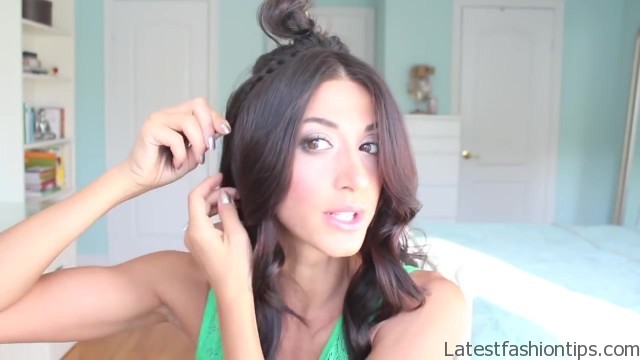

So as your first step you want to just create a regular braid and what I’m going to do is grab a section of hair from underneath of my hair from one side you want it to be about two inches or. So in thickness. So once you have your section just create a regular three-strand braid and just secure the end with an elastic band once you get to the bottom.
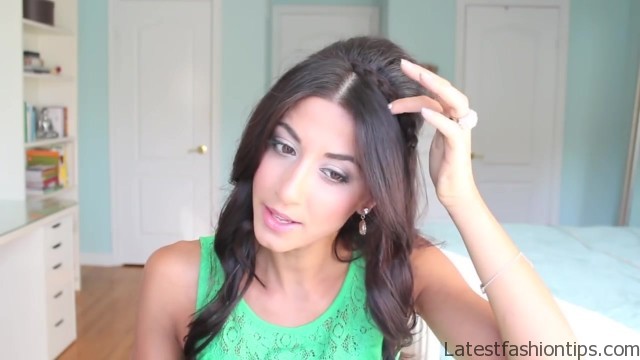
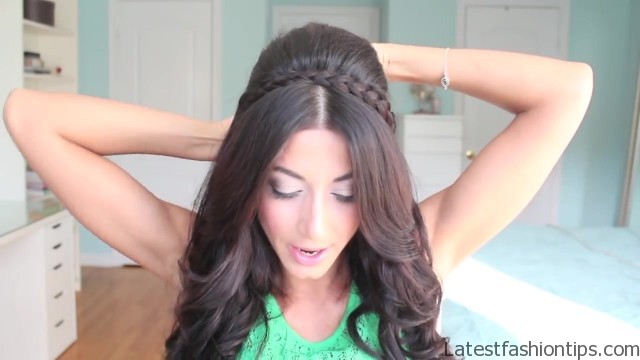
So once, I have my braid I’m going to separate a section of hair from about up here at the crown bringing it back and this is going to be the section that we are going to tease in a little bit for now I’m just going to put it up into a clip at this point what, I want to do is separate two sections of hair on either side of your head and it is going to be right underneath of your sort of a bank area right above the ear and you want to leave a little bit of hair up here at the ears. So so go that much I’m going to just bring all the rest of the hair to the back and do exactly the same thing on this side. So once, I have all the sections separated though this one up here and the front and the side sections I’m going to grab the braid and just bring it right where we separated the hair at the crown you want to just bring the braid over to the other side right and as you can tell I’m just bringing it over towards the other ear and you just want to secure it on the side using some bobby pins.
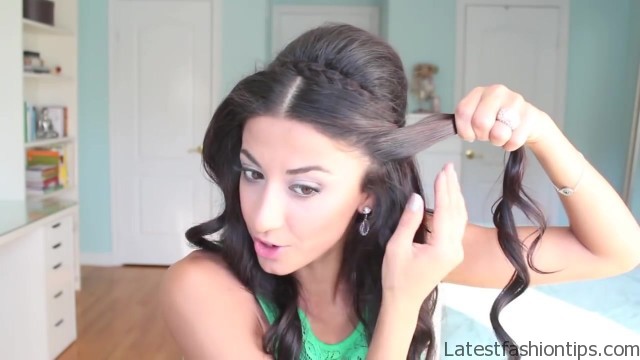
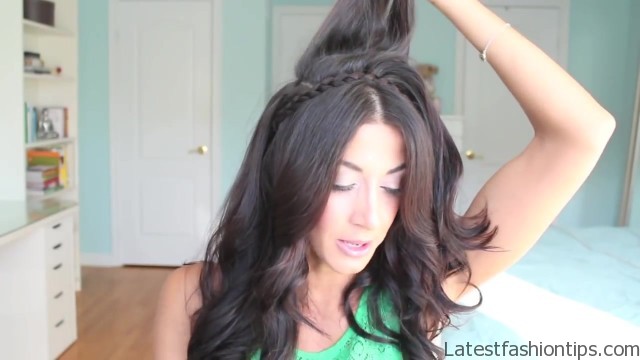
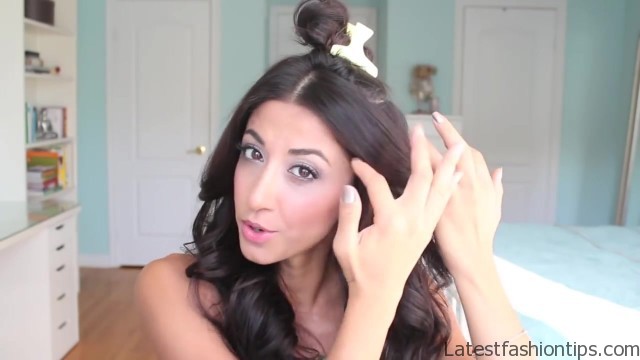
So once you have your braids secured over on the side it is time to tease this portion. So what I’m going to do is just separate into smaller sections I’m going to put a little bit of hairspray at the roots and using my teasing comb just tease at the roots. So next it is time to just secure this in the back.
So, I just gathered it up in my fingers I’m going to grab a few bobby pins turn around and show you guys. So as you can see I’m just holding it with two fingers sort of pinching it together and all I’m going to do is just crisscross this with two bobby pins one going one direction and then the other one going in the opposite direction just sort of crossing the first one. So now that we have this poof secured in the back we have one last step left and that is just to secure these side pieces that we sectioned off earlier.
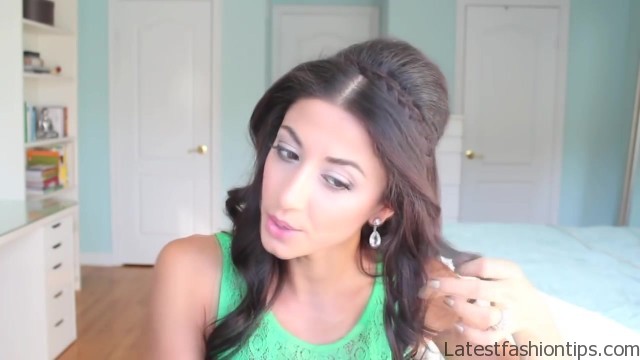
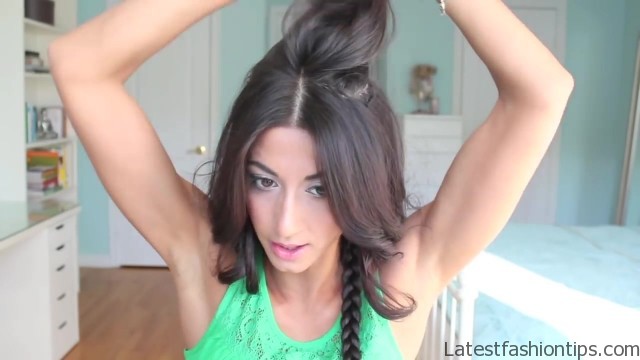
So what I’m going to do is just separate the bank area from that section and what, I want to do is just tease it a little bit from the back with just a little bit of hairspray. So just like that and we are going to just bring it to the back and do the same thing on the other side. So now that we have these sections teased up a little bit what, I want to do is bring the sections from above the ear.
So I’m going to hold the bag area in the back we are gonna grab the section meat a little bit of hair over the ear. So as you can see what I’m doing is just crossing this section over the bank area. So you just sort of bring it down and then bring the section up above like that.
So I’m gonna hold it in the back. So what I’m doing here is just again securing this with a bobby pin I’m going to just cross it over going that way and just have it in place. So once you have one side completed we are just going to copy that over to the other side and repeat the process.
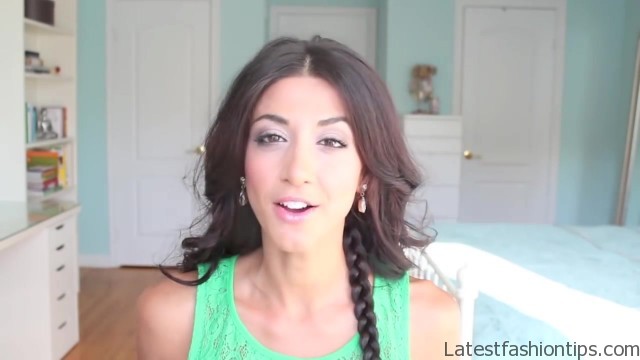
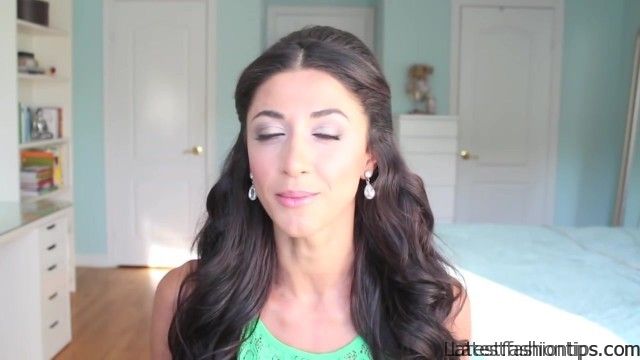
So once you are done securing the second side this look is finished. So if you like this look and we will be recreating it then do not forget to share with us on instagram with the hashtag Luxy here for a chance to be featured on our luxy hair account. So thank you.
So much for reading and, I will see in the next post by.
Maybe You Like Them Too
- Stephen A. Smith A Biography
- Steny Hoyer A Life in Public Service
- Sheryl Underwood A Life in Music and Comedy
- Scott Walker A Life in Song
- Sara Evans A Biography

