Hi everyone Kayleigh here and today we are doing I get ready with me I had a party recently that I wanted to wear this kind of retro makeup and hair look too so I decided to film it for you guys so you can see how to get this look yourself fresh from the shower I’m going to add in some of the Moroccan oil thickening lotion this is just going to help to add some volume to my hair and I think that it helps my hair holds a curl just a little bit better as well I’m also going to add in the Moroccan oil treatment light for some shine smoothness and to help my hair dry just a tiny bit faster and now I’m just going to put my hair back up to towel dry while.
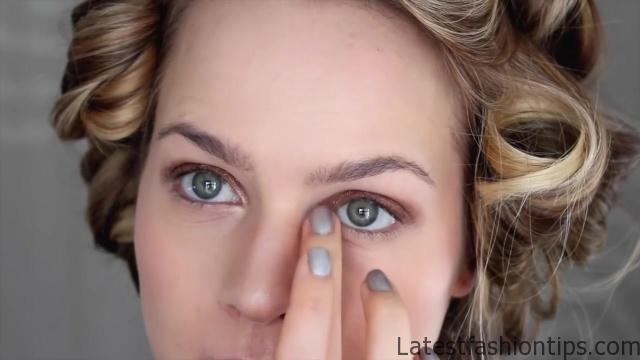
I do my foundation routine and you guys have seen this before it is my Too Faced Born This Way Foundation and I’m just going to buff that in then I’m going to use my Maybelline fit me concealer underneath my eye and then on the Flemishes and finally I set everything with my Mac mineralize skinfinish in light and next I’m going to add some hoola bronzer through my cheeks just to add a little bit of definition and then I’m going to blend that out for my cheek color.
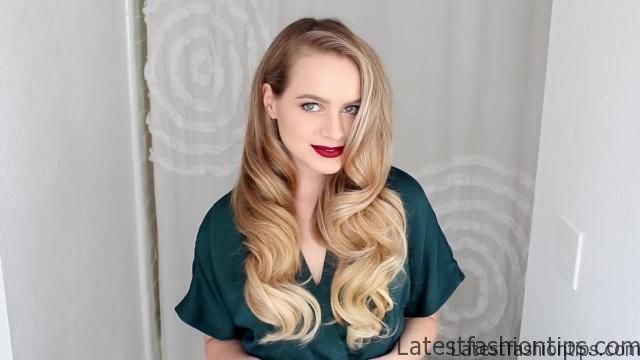
Retro Waves and Makeup Photo Gallery


I’m going to use the color pop blush in between the sheets just over the kind of outside slash apple of my cheeks finally I’m going to use a little bit of champagne pop highlighter from Becca over the tops of my cheeks and kind of on the outside near my eyebrow and that’s it for my face makeup so now I’m going to go back to my hair because it is had some time to towel dry I’m going to add in the Moroccan oil root boost just to add a little bit of volume into my hair at my roots I’m just going to spray it in sections and then massage it in to make sure that it is evenly dispersed and now it is time to dry my hair I’m going to use my t Pro.
I professional hairdryer this is a professional quality hair dryer that has technology that makes my hair dry significantly faster and makes it smoother and shinier and I just going to go in first and kind of flip my roots in every different direction while I will give my hair a little bit of a rough blow dry I do not like to brush my hair when it is this wet so I’m going to get it dry enough for me to be able to run a brush through it which happens pretty quickly with this hair dryer so I have just flipped my hair all around and now is ready for a hair brush so I’m gonna start using the brush to direct my hair in every different direction so that.
I can get some volume at my roots now you guys didn’t see me dry my hair like this with this hairdryer quite a few times in my posts just because this is my go to routine it really works well for my hair and I totally recommend it for those two guys who have either wavy to straight hair because it really works well and now I’m going out of my typical box and I’m going to add in some hair extensions I’m going to do a diagonal part just on the side of my head and add in one track on one side and one track on the other this is not going to add a lot of length or volume it just makes my ends appear a little bit thicker and now I’m going to do a diagonal part also not normal for me and really deep on the side this gives you a nice dramatic side part and makes your hair look more voluminous and now it is time to curl the hair.
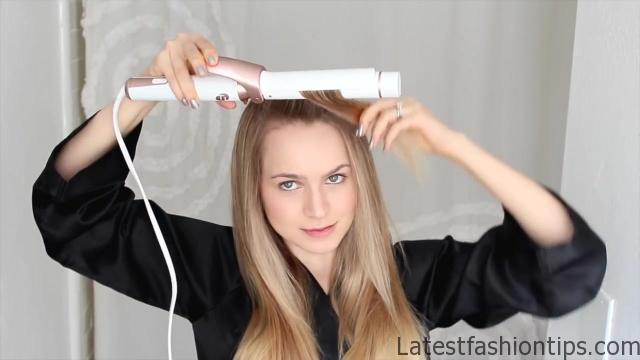
I’m going to use the t convertible iron and I’m going to use the one and a quarter inch twirl attachment now these barrells all come separately so you can use whatever fits you best if you wanted tighter waves than I had in this post you could actually use the inch wand attachment and that will get you kind of tighter more defined waves with this curling pattern or you could use a one and a half inch attachment for an even more subtle loose wave so you can get a lot of different looks with different barrels and what I’m going to use is the one and a quarter inch iron and I’m going to start with a section of hair right next to my part and my hair line and I’m going to curl it toward my face which is also totally different for me but I really wanted it for this nice sleek kind of old Hollywood look so I’m going to slide that off and into my hand and then I’m going to clip it up to cool and take the other section of hair that’s right around my hairline and curl that also toward my face and then clip it up to cool that way you get a nice strong curl that we can brush out later then I’m just going to keep curling.
My hair the exact same way all the way through so I’m taking the same sized sections curling them toward my face and then clipping them up to cool now some of you might be wondering why I’m using an iron with a clip instead of just a wand like I normally do I really like how polished and crisp the curls look with a clip especially for this hairstyle while I normally do really undone waves for this I think a clip is really really helpful so on the other side I’m actually going to go ahead and do the exact same thing again so you can just follow the same steps on the second side the other reason that I picked this iron is because it has this tourmaline technology that actually seals your hair cuticle so it makes your hair healthier and smoother and shinier while you are styling it which is rare and of course I wanted a really smooth really shiny hair style so I pulled out this iron for that because it is perfect and now I’m going to let the hair cool while.
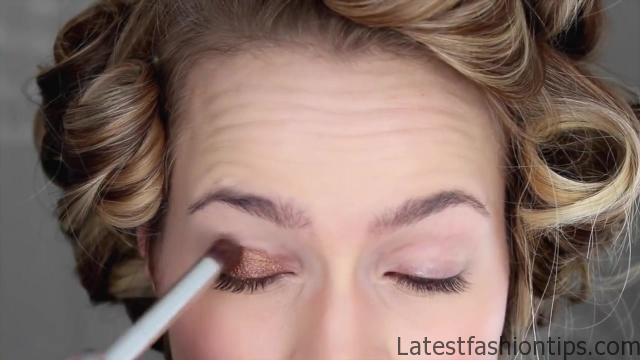
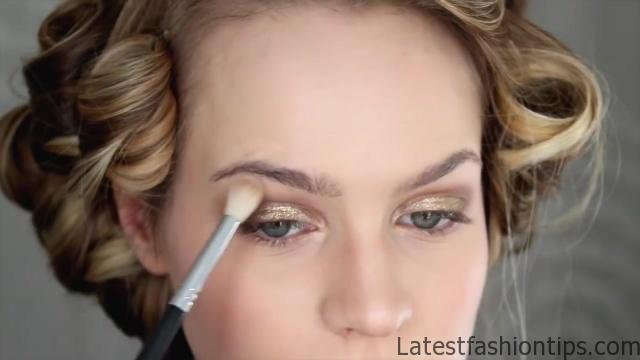
I go back to my makeup so I’m going to grab my NARS eye primer and go ahead and prime my lids annexin taking colourpop’s cream gel color in sweet tooth and I’m going to apply that just to my lids and once you reach the crease go ahead and stop you can blend it a little bit if you want to but we really just want to get this color down and you got to see it is as like beautiful brown but it is got this like metallic Ness and the sparkle to it I love it so much for holiday now we are going to build up that metallic color with color pops famous eyeshadow and this one I’m going to apply with my fingers first to the inner corners and then over the inside and onto.
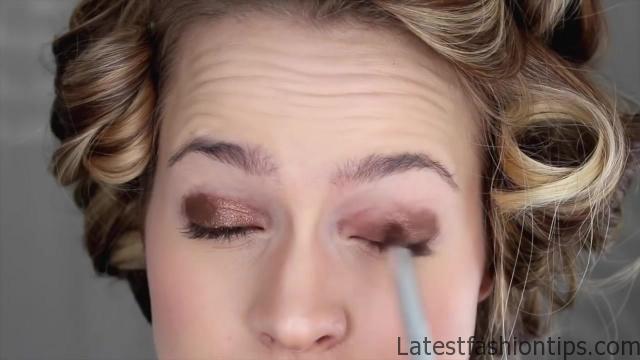
The top of my eyelid I’m not going over the outside of my eyelid I’m just going to the very top of it and now for even more intensity I’m going back with some more color pop in the color cheap date and this is a really sparkly gold and I’m going to put that right on top of my lids just on top of there this is going to add that extra little bit of shimmer and shine that just takes us to holiday then I’m going to use my shade and light palette.
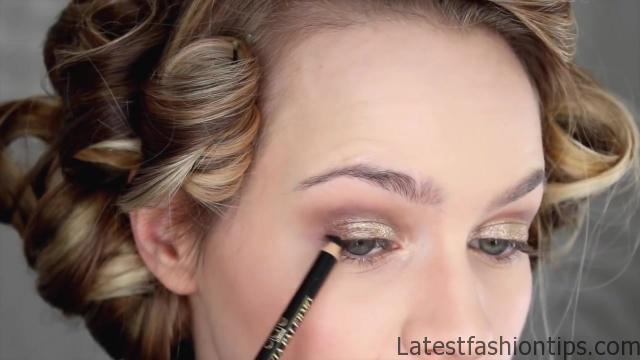
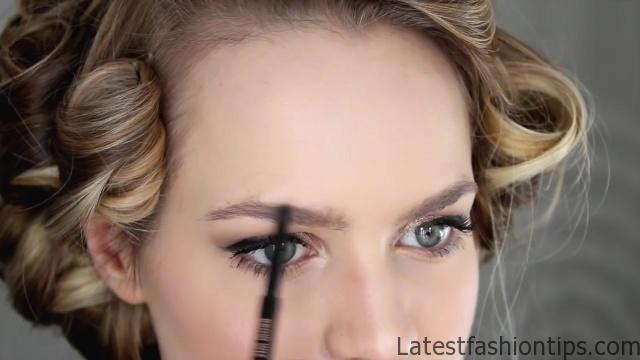
I’m just gonna take this light brown and blend it through my crease you just want to get a nice kind of diffused crease color going on there then I’m going to pick up a light matte highlighting shade and just put that underneath my brow and blend it into the crease that we just laid down now for a really subtle winged I’m going to use the CIA and Olivia Palermo eyeliner and I’m going to go kind of gently over the outside of my eye and then once.
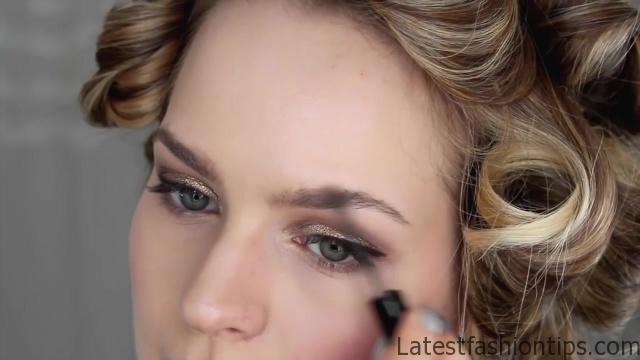
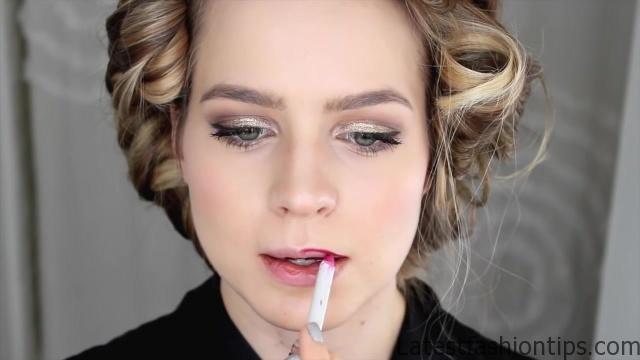
I have that laid down and before it sets I’m going to use a brush to kind of blend this eyeliner into the shape of a winged eyeliner that way you do not have that like inky dark line but you still get the nice winged effect I do not know what it is I just didn’t really want like a really harsh winged liner with this look I like the kind of softer look that this gives now we have got the eye shadow done it is time for brows I’m using the benefit gimme brow just to brush the brow hairs into place and while the brow gel dries I’m going to use this EOS a triple shot mascara on my eyelashes just for some added length and volume and now that the brow gel is dry I’m going to use my honest Asya brow Wiz through my brows just really lightly to fill in any sparse areas so that my brows look kind of even overall and now for lips I’m going to use colourpop’s Pichette lip liner to outline my lips and kind of fill them in a little bit so I’m starting with my top lip and then my bottom lip and then.
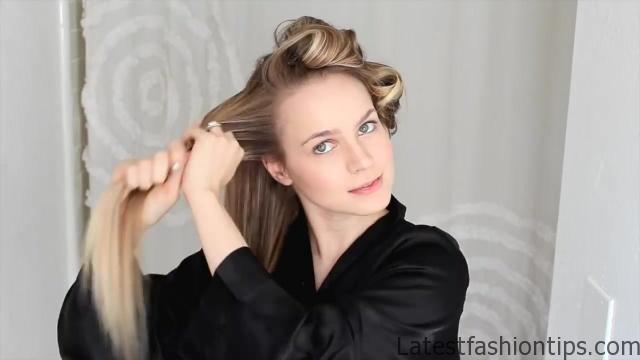
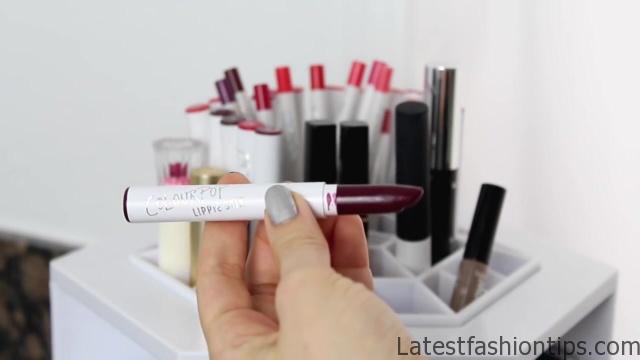
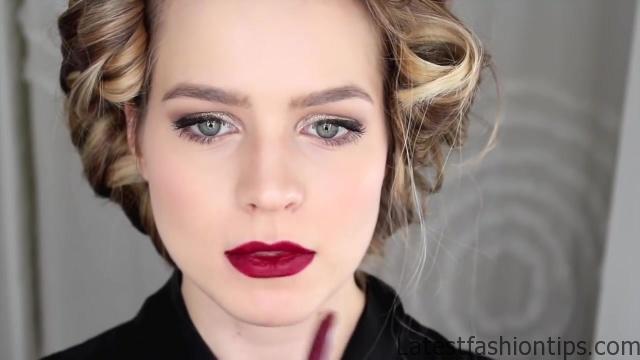
I’m filling it in and then I’m going to add on the silk lippy stick on top of that this is overall just a really great deep kind of wine red which I love and I think it is perfect for this kind of retro holiday look and now the curls have had enough time to cool so I’m going to take them down and you can see that they’ve created really great like springy curls this looks awesome so once everything is down you are going to go ahead and break up these ringlets I’m using a hair brush but you can also use your fingers just to brush through and make sure that everything is nicely broken up I do recommend a brush if you can for these nice loose waves because there’s nothing like it for just polishing these off you also see how shiny and smooth my hair is which I ate a beaut two products but also to the tools that I use once everything is arranged where I want it I’m going to grab the healthy sexy hair soy touchable and spray the hair to hold it in place and we are done the way this hair Emeco came together made me so happy I just love that it is so retro and glamour and it made me feel wonderful wearing it so I hope that you guys like it I hope that you try it out too and if you want to win the exact tools that I used in this post you can just click the link below and that’s it guys I will see you in my next post mwah bye.
Maybe You Like Them Too
- Easy Glowy Makeup for Everyday
- Bridesmaid Makeup
- 40s Pin Up Hair inspired by The Capitol of the Hunger Games
- Brows Lashes Lips – Simplified Makeup Tutorial
- 1940s-50s Pinup Hair, and Makeup
