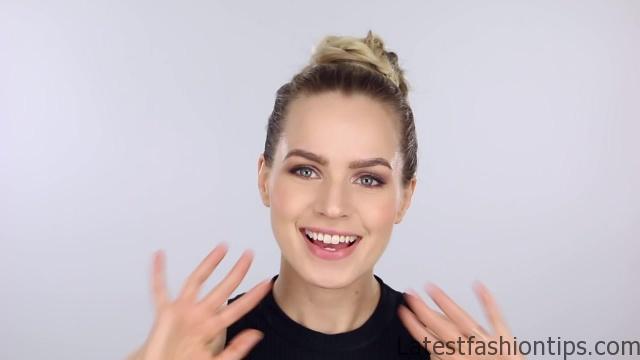
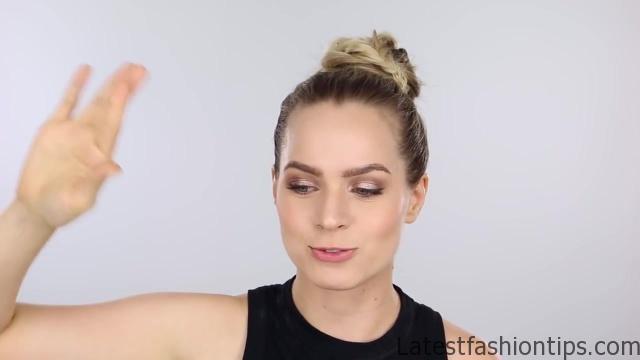
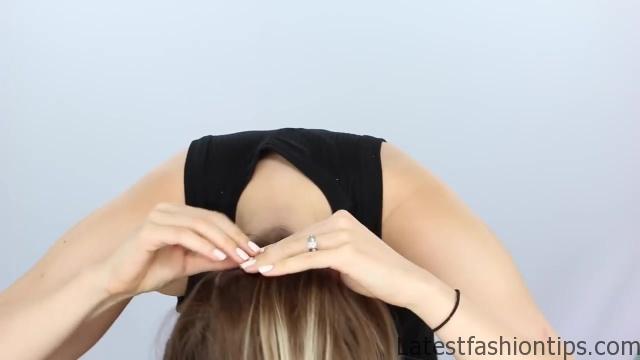
Hey everyone today we are just seeing this quick tutorial on this bun and spine braid I have been obsessed with this hairstyle I have worn it three or four times in the last week which is literally a record level of obsession for me it was originally styled by Chris Appleton on Shay Mitchell I loved it the original hairstyle had these rings going down the back of the braid and I thought it was the most beautiful thing I have ever seen I do not know if that’s necessarily everybody’s everyday cup of tea so I’m gonna show you guys just the brain in the bun and then you can add as much bling or as little as you want that being said let’s get into it so the first step is this braid which starts with a really cool triangle party you are going to start from the apex of your head which is basically like the top center and then go down to the side of your neck that’ll make your first diagonal line once you have done that you are just going to separate the hair that’s near your face out of the way and clip it up really nice and tightly so it does not end up in the braid then do the same thing on the other side to complete the triangle and now you are ready to braid you are just going to flip your head over and grab a tiny section right at the nape of your neck and start braiding as tightly as you can then just add in little tiny sections as you go if you are more of a beginner you can do bigger sections that will make this easier but if you want to get a really cool look out of this.
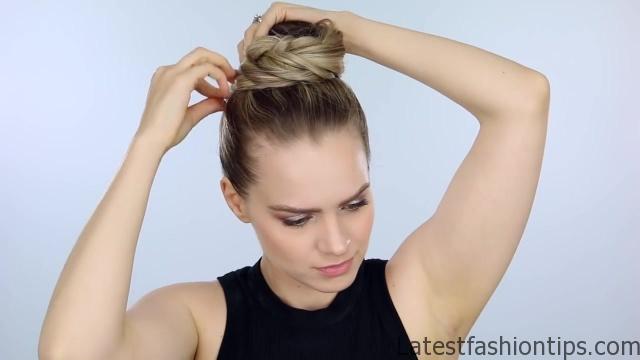
I would say take tiny tiny sections if you can so I hold these really tightly to my head with my fingers basically pinching the hair as hard as I could to hold it in place and then use the other one to pick up my sections and I just kept going through that until all the hair in that section was braided once you have braided the whole section you can just braid a couple of inches normally and then secure your hair with an elastic and that is it for the braid now just pull the remaining hair up into a high ponytail at the top of that braid and secure it with an elastic tame any flyaways with some hairspray and then we are going to move on to the bun I’m actually just going to add in one weft of hair extensions you can totally skip this.
Spine Braided Bun Hair Tutorial Inspired Photo Gallery


I just wanted a little bit of extra Vavoom and this bun so I did that and then I went ahead and did a fishtail braid so you are just going to split this ponytail in half and then do a fishtail braid all the way down secure the end with in the last then use your fingers to gently loosen up the braids that it will be a little bigger and a little more effortless looking and finally you are going to wrap your hair into the bun I wrapped it around once to create a full circle and it in place and then took the end up over the top of the bun and pins it in place underneath the bun.
I just thought that doing that differently gave it a really cool look without actually being harder than doing a normal bun so that is it for this look Sam’s bling but if you want to see it with the hair rings here’s what you can do I just bought some cheap rings from forever and grab some wire cutters I did one little cut in the ring and then you can pull it apart and easily fit it around your braid after you are done with it so I just took these little rings that I’d cut up and started putting them around my braid you could just do three or four for kind of an everyday look or if you want just go full out and put like rings in there I think it looks amazing I love how it kind of follows the line of the spine and creates this cool uplifted effect to the hairstyle it literally for me was so beautiful I still can’t get over it so I hope you guys at least liked the idea and maybe try it out so that’s it for this video I hope you have enjoyed it I will be back soon with another one and until then I will see you later mwah bye you.
Maybe You Like Them Too
- Celebrating Natural Black Women’s Hair: A Guide to Gorgeous Hairstyles
- Short Hairstyles For Women Over 60
- 20 Thrilling Twist Braids Style to Try This Season
- The Top 10 Asymmetric Hairstyles
- 10 Gorgeous Shaggy Bob Hairstyles To Get You Out Of A Style Rut

