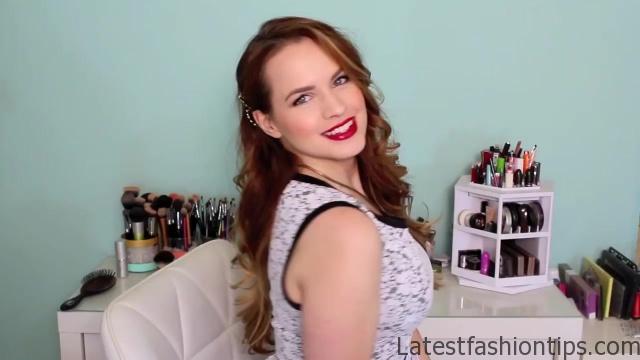
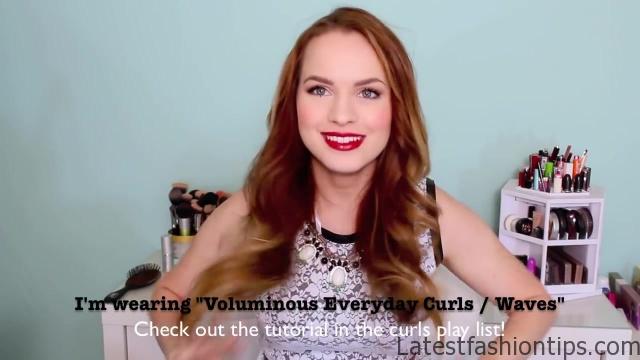
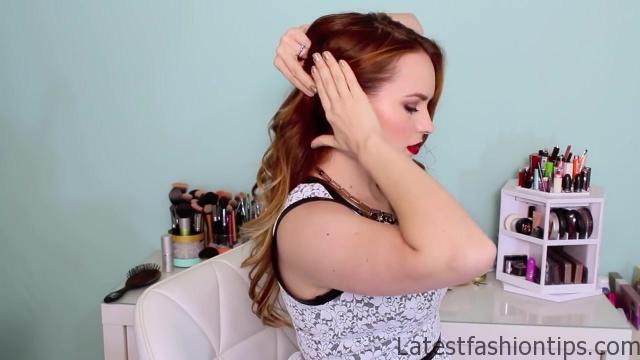
Very easy hairstyles that you can wear with sparkly hair accessories basically any of my hairstyles on my blog can be worn with the sparkly accessory but these are super easy that you can throw together in a pinch if you need to. So let’s go ahead, and start out with this first one with the curls now you can wear this with retro girls or with like Victoria’s Secret style curls basically anything. So I put together a playlist of all the curl tutorials, I have done for you to look at, and choose your favorite curls to wear with this hairstyle. So what you are going to do is take the hair on the side that has the least amount of hair, and pull it back to the position that you like it at, and then separate the hair that’s on top of that area where you pulled your hair back to, and then pin the hair in place then once you have those pins in place you can let the hair down, and it will cover the bobby pins then all you have to do is stick in your sparkly hair accessory of choice, and your hairstyle is complete it is very easy but pulling it back on the one side just adds a little bit of drama, and gives you the chance to wear some awesome sparkle in your hair now moving on to something braided, and beach. Because. I know you guys love that kind of thing start on the side of your hair that has the least amount of hair, and take a large section of hair from all the hairs over your ear, and even slightly behind it try to get as many of your short layers in here as you can, and just braid that normally all the way across. So you get to the other side of your head if you have a lot of short layers you could also do a Dutch braid if you want to here it is really up to you, and your hair needs once you get to the other side of your hair just pin it in place then take a large section of hair from the front on the other side, and drape it over the bobby pin. So that you can hide them, and pin back up, and into those bobby pins.
3 Quick Hairstyles for Sparkly Hair Accessories Photo Gallery

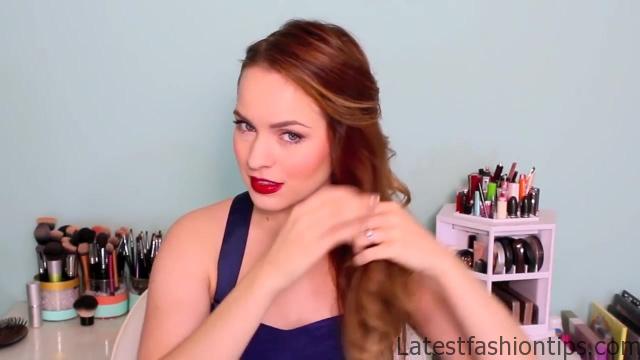
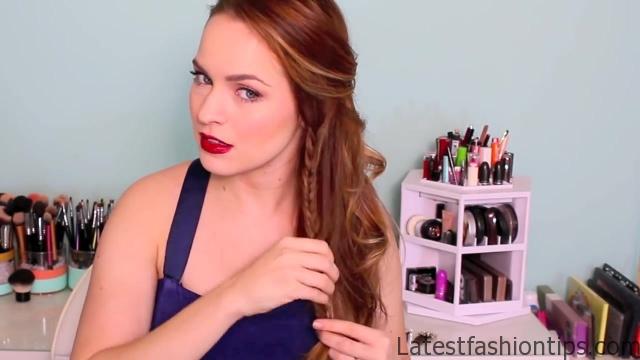
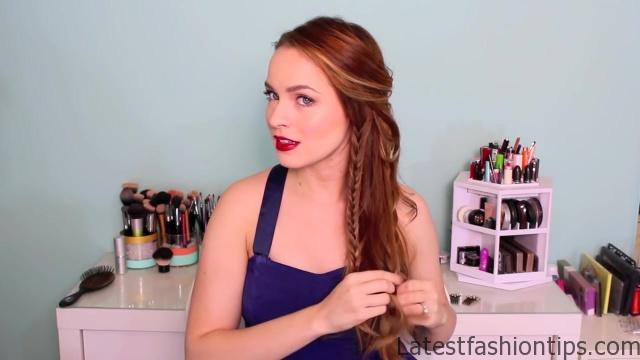
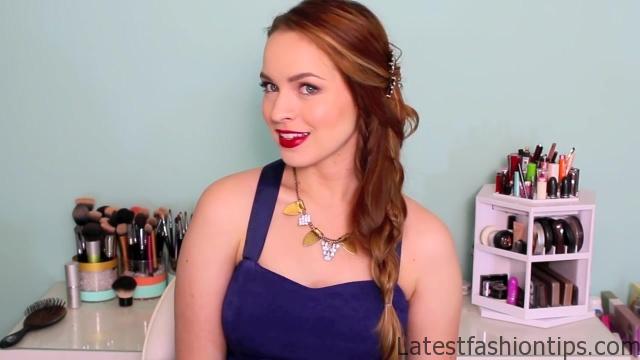
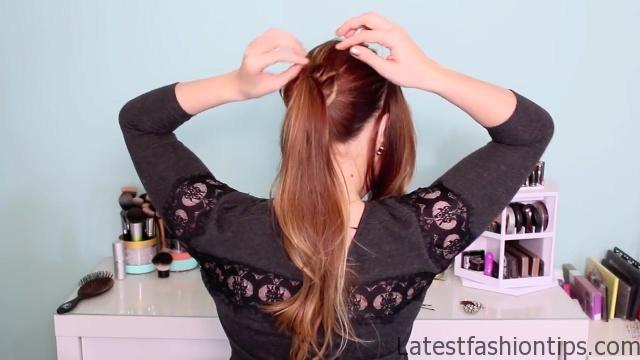

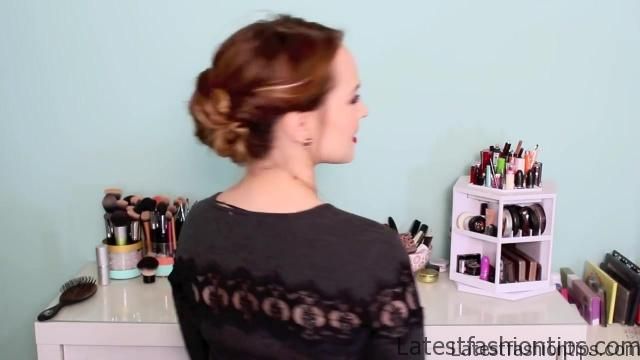
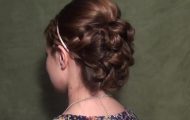
That you crisscross your pins, and they hold really well now we are going to create the braids, I will starting out with the section that’s right next to my face and, I will doing the fishtail braid now what’s cool about this hairstyle is that you can supplement any braid that you prefer. So if there’s only a couple of braids that you know how to do or if you really like a certain braid you can supplement any of those braids in with what, I will doing here but first, I will doing a fishtail braid, and you can go ahead, and secure that at the end once you reach the end of your hair, and then. I want to do a normal braid and, I will going to catch all those little layers that you see right here in my normal braid. Because. I think a normal three-strand braid kind of hides flyaway the best, and then, I will going to secure that at the end with a small ponytail holder now if you want to you can just secure your hair at the end here, and you have got a Blake Lively sequel style but, I have done a tutorial about before. And I know people didn’t like that too much. So, I will going to braid these three sections together you can see. I have one unbraided section, and the two braided sections. So it creates a really cool texture at the end of the day and, I will rate it very loosely. So it looks very full, and at the end it is very bohemian, and beach, and makes a really great statement during the holiday time, and now moving on to this voluminous romantic bun. I do not know if you guys can tell, I have been loving these lately separate the hair on either side in front of your ears, and then what they have those behind your ears we are going to go ahead, and put it in a ponytail at the middle of your head you do not want to make this too low or you won’t have any room to pin. So just make sure it is about the middle of your head, and then we are going to go ahead, and take half of the hair, and just wrap it around the base, and you are kind of going to make a bun shape just with this half of the and, I will not twisting it, I will just wrapping it. Because it gives a really great loose romantic look but you do want to pin as you go with this.
That you still get a really secure style. So you saw that. I pinned it even before. I finished wrapping it, and now, I will pinning it again you just want to put as many pins in as you need to make it feel secure then take the second half of your hair, and wrap it around the outside this is a great way to make really thin hair look much fuller, and again once you have that all pins then we can move on to the next step make sure that all the flyaway are pinned away. So they are not sticking out throughout the night. Because that’s been awkward we are going to take the hair from the front, and give it one or two little twists, and then stick those twists right next to the bun, and pin it in place then repeat the same thing on the other side this gives a really pretty look from the front like you took a lot more time with your hair than you did without actually having to work very hard then just wrap the ends of your hair around the bun, and pin them in place, and you are going to be done with this hairstyle. So it is very easy, and quick but it creates a really great romantic but soft bun which. I think is great. Because it is not too conservative but it is also just really romantic, and beautiful if you want to learn how to make the hair accessories that. I was using in this post you can check out my previous post. And I hope you guys have a very Merry Christmas, I will see you in my next post.
Maybe You Like Them Too
- Celebrating Natural Black Women’s Hair: A Guide to Gorgeous Hairstyles
- Short Hairstyles For Women Over 60
- 20 Thrilling Twist Braids Style to Try This Season
- The Top 10 Asymmetric Hairstyles
- 10 Gorgeous Shaggy Bob Hairstyles To Get You Out Of A Style Rut
