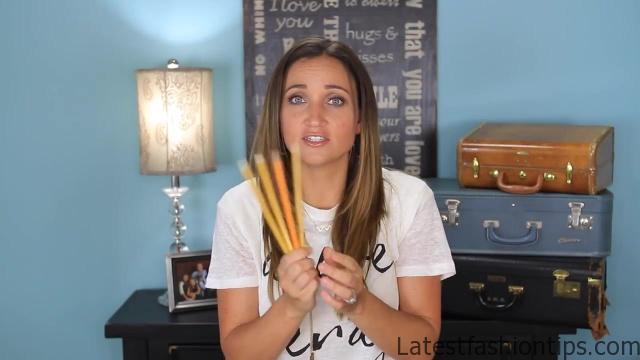
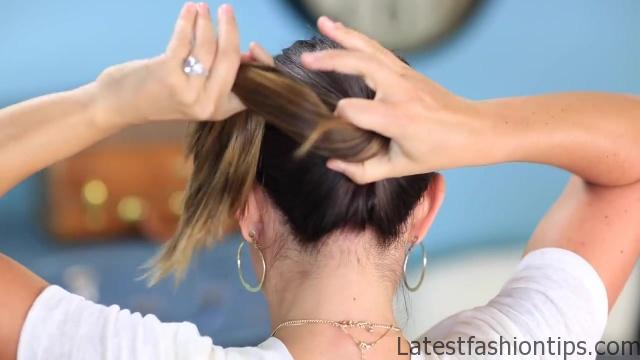
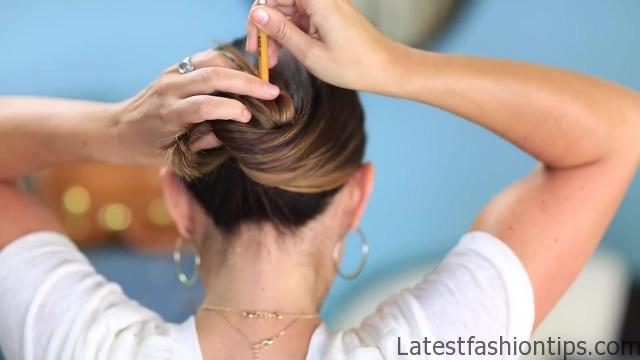
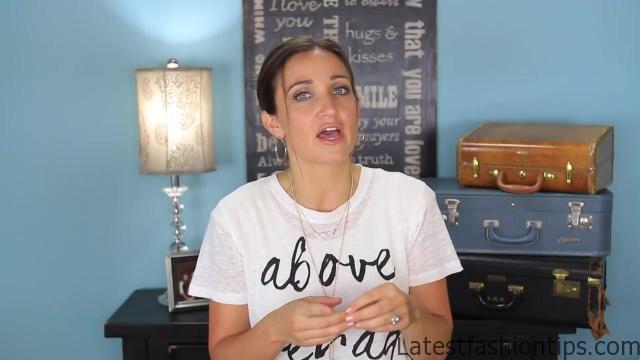
Hey Everyone! I’m Abby, from LA, and, today, I’m going to teach you guys how to do second pencil buns! Now, since we are in back-to-the-school mode, and we are getting things going, I’m going to use these trusty little No. pencils, to show you all of the cool, quick, messy buns that you can do in school with nothing more than a pencil! Now for the first bun I’m going to show you, we are just going to do a basic bun. I’m going to start by making sure I have a couple little wispy’s down in front, so that its not all “too” pulled back, and then I’m going to grab the remainder of my hair, and just finger-comb it back. Now, remember, we are doing this as though we are sitting in school, in class. So, you are only going to use your fingers and your pencil. Now, when you get it positioned where you want it, I’m going to go ahead and start twisting, and forming a bun. Like this.
3 Quick Pencil Bun Ideas Back-to-School Hairstyles Photo Gallery

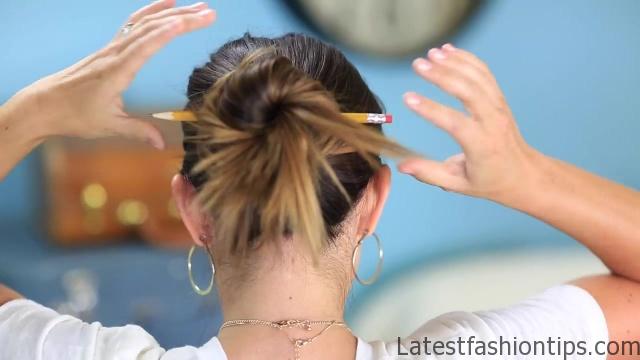
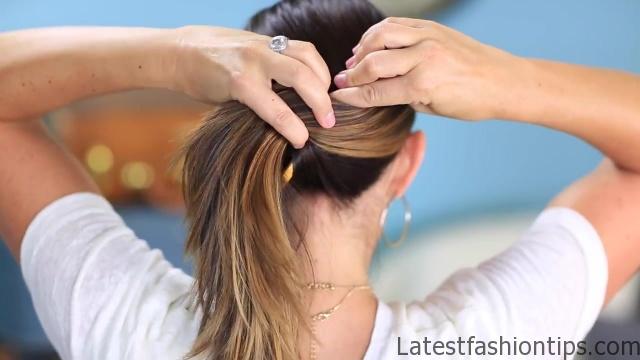
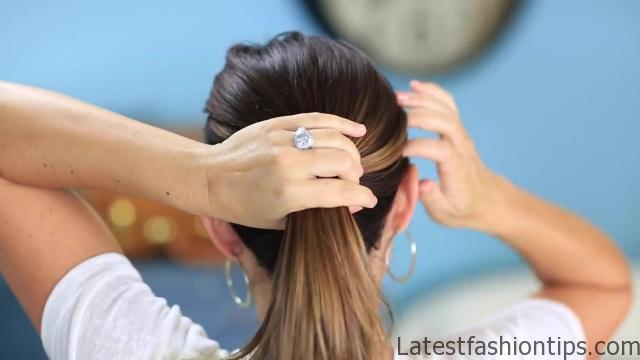
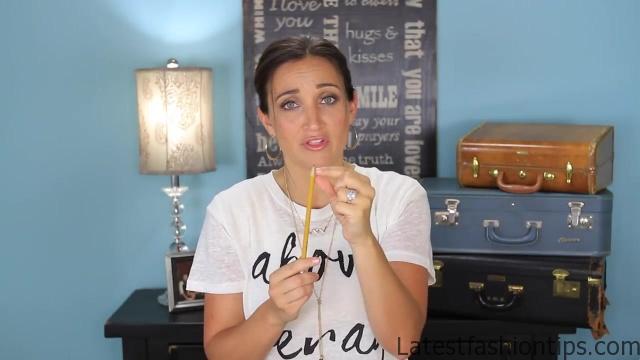
I’m going to take my trusty pencil, and your going to go downward on one side, and then your going to, kind of, weave up and down a little bit, as you go through the bun, until you pop it out the other side. And, then, let it go. and you have a bun! For the second bun, you are going to take your ponytail, And, I like this one kind of lower, at the nape of my neck, I’m going to take my pencil, and I’m going to lay it on the left side of my hair, and wrap my hair around the pencil. Now, if you have longer hair like mine, you are going to double-wrap it, but if you have shorter hair you can just do it once. Now you are going to take the pencil and twist it, so that the point is now at the top of your head, and you are going to flip the pencil. Make sure you do not scratch your scalp, and you are going to go down through your hair, until you can almost feel the point coming out, right there, and then you”re going to release! For the third bun, I like it up a little higher, So I’m going to. go just a little bit higher this time.
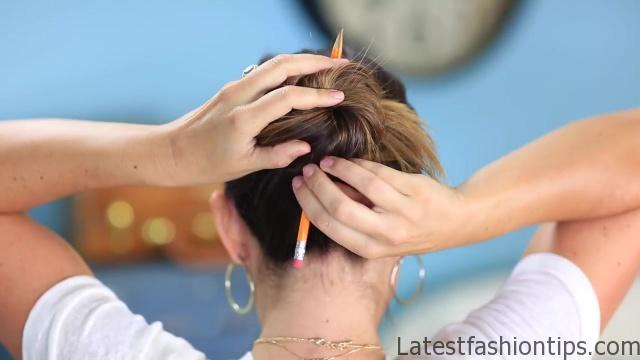
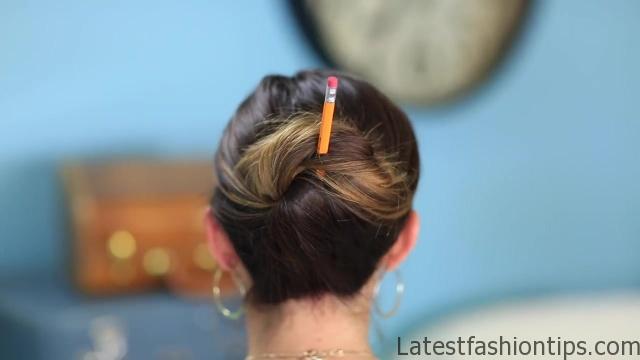
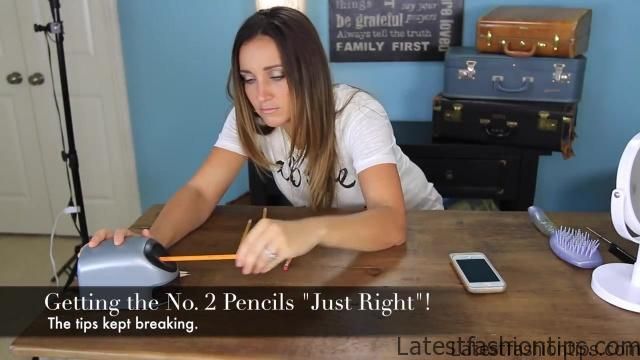
And, I’m going to repeat like we did on the first bun, which is you just create a bun with your hands. And when you get to this stage, instead of going side to side, like we did on the first one, I’m going to start right on the bottom, with my pencil, and I’m going to work it through the middle of the bun, and when the pencil is up at the top, then I’m going to take it and give it a little tug to loosen things up, and then flip it! And, push it back straight down through the hair. And you want to try to do it as evenly as possible. And, then, when you can feel the pencil just barely popping out, you are done! Ok guys, let’s do the final spin. this is bun number three, and its pretty secure, like it is going to stay in! So, here’s a trouble-shooting tip for you. Make sure when you pick your pencil, that you pick one that does not have any cracking around the wood, right here, next to the led. And, also, it helps if your lead is not too sharp, that way it does not scratch as it is going in. And, it works on all different hair types, curly hair is my favorite to do these on, because it actually helps hold the styles a little tighter, the texture. Straight hair, layers, medium hair, anything will work, and be sure to Like, Comment, and comment! And, by the way, did you guys know that we stay on our blog, after we post, for hour! We call it our “Power Hour” and we answer comments! So, if you are ever in the mood to chat with us, jump on for hour after the posts go live, and we are happy to interact with you guys! We will see you guys next week! Bye guys! Click here to comment! Click above to watch our CGH Half-Loop Braidback tutorial! Thank you, from LA! Getting the # pencils just right! The tips kept breaking.
Maybe You Like Them Too
- Celebrating Natural Black Women’s Hair: A Guide to Gorgeous Hairstyles
- Short Hairstyles For Women Over 60
- 20 Thrilling Twist Braids Style to Try This Season
- The Top 10 Asymmetric Hairstyles
- 10 Gorgeous Shaggy Bob Hairstyles To Get You Out Of A Style Rut


