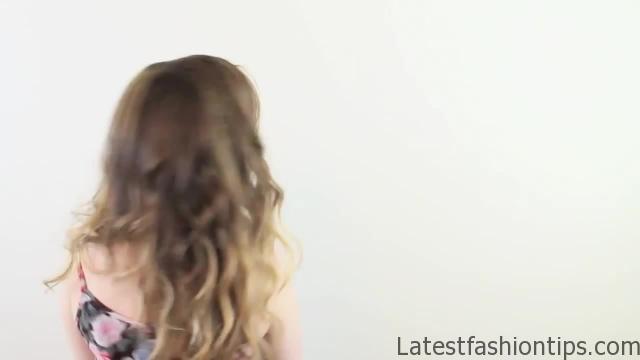
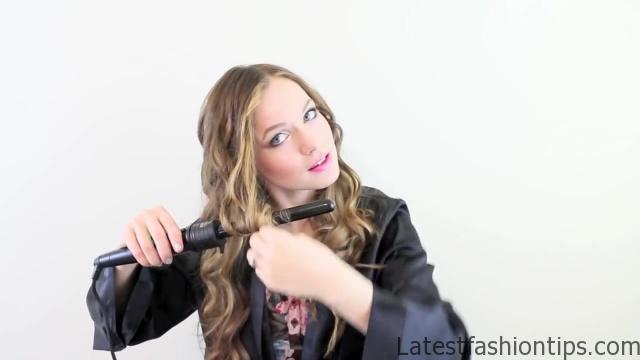
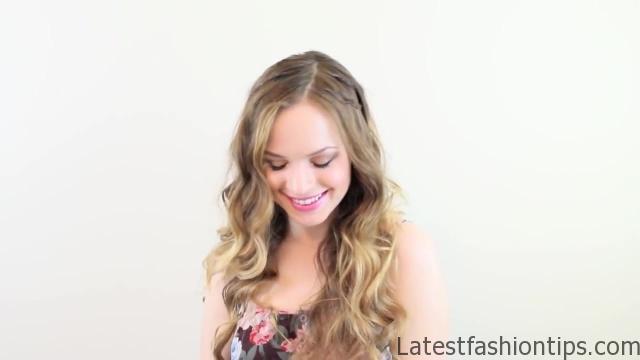
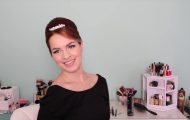
Hey everyone Abbey here. So Valentine’s Day is coming up, and for my tutorial this year. I decided to do three very different looks to kind of be able to hit everybody from the girl’s night in crowd – maybe somebody that’s been in a relationship for a long time. So we have a flirty a romantic, and a sultry sale for you let’s get started with the flirty style we are going to start off by making some beach kind of waves, and curls, I will using a inch iron and, I will wrapping my hair very randomly around it, I will using different sized sections and, I will going in different directions just to make that kind of natural looking curl, and with my hair it loosens up to be kind of a curly wave you can play with the size of your curling iron to either create a looser wave or a tighter wave once you are done curling it go ahead, and run your fingers through it just to break it up a little bit, and make it look a little more natural, and then you are going to use a flexible hold hairspray like this healthy sexy hair soy touchable hairspray, and then my secret for very touchable Beach waves is to use dry shampoo through the ends of my hair it creates a matte texture but it does not create any of that stickiness that a surf product would create in your hair, and now just to add to that we are going to add some little tiny braids.
3 Valentines Hairstyles for Every Occasion Photo Gallery

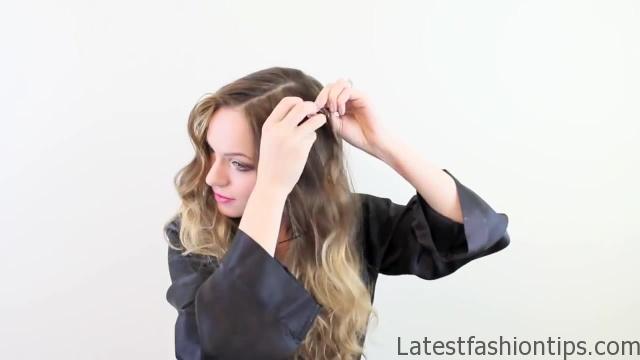
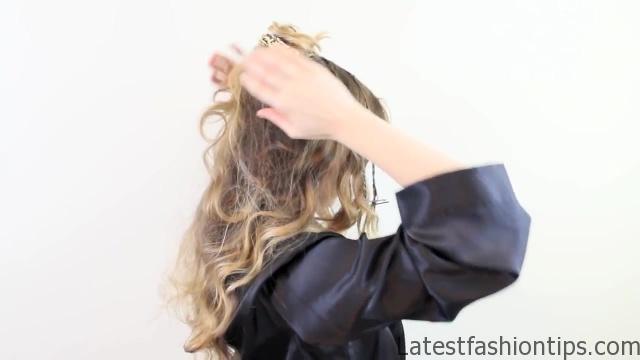
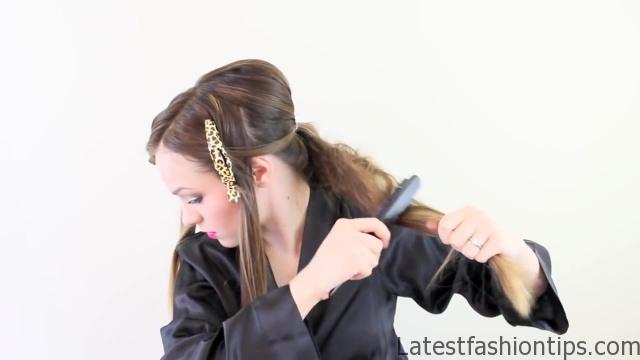
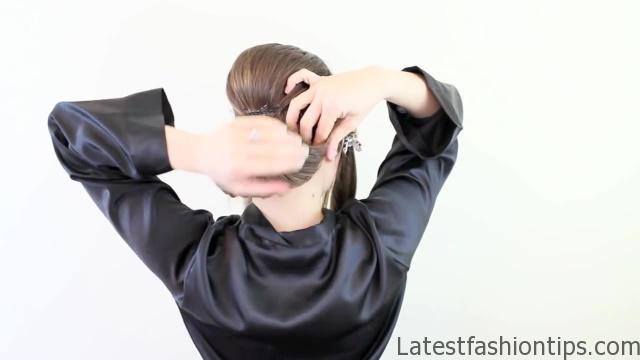
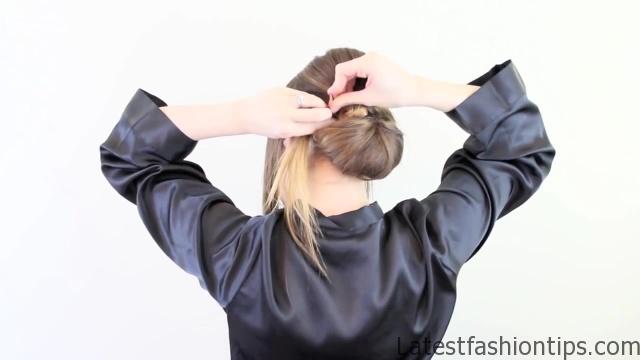
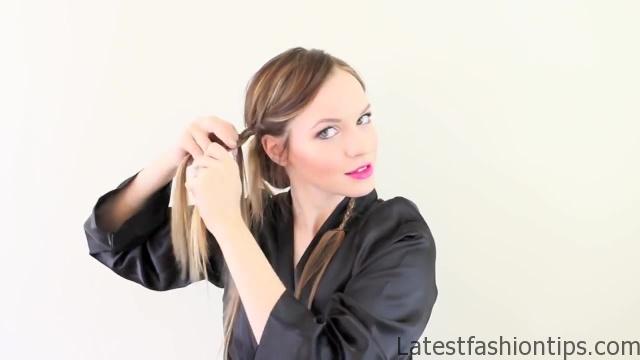
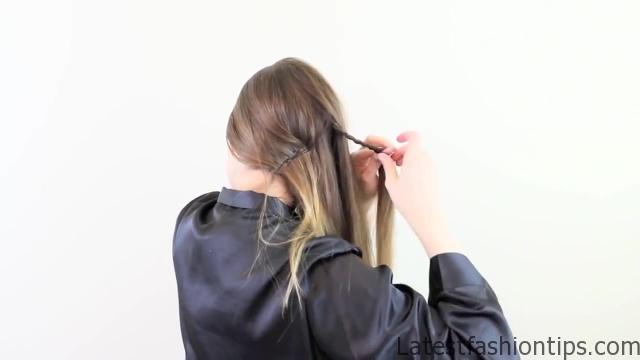
So make a little tiny braid near your front hairline on one side, and then go back about two inches, and make another really little tiny braid once you have both of those done on this side you are going to make identical ones on the other side of your part, and you can do this with a center part or a side part whatever you want to do whatever you feel comfortable with once you have got that done you are going to separate your hair from the crown up, and clip that hair out of the way what we are going to do is pin underneath this hair, and that way you won’t be able to see the bobby pins, and your braids just magically disappear. So you drape them back, and the shape that you like, and then. I like to pin sideways. Because that way the pins do not stick out away from the head, and it helps to hold them well you want to crisscross your pins. So that they stay really well, and then repeat that with the other side once you have got that done you are just going to let go of that hair on top, and you are done you have your flirty style, and you are ready to go your first step is to separate your hair in front of the ears on this side, and clip them out of the way then you are going to create a bump, and the crown, and you can do this with multiple sections for extra volume if you. So desire once that’s done you are just going to smooth the top back down, and then gather the hair, and push it up, and pin it in place to create your bump next we are going to put the hair into a ponytail to go ahead, and prepare it for the next step which is to create a Shenyang what you are going to do is tease, and the teasing is very important you are going to use the bottom part of the top half of the hair, and then the top part of the bottom half. So all of the teasing is kind of in the middle of your ponytail.
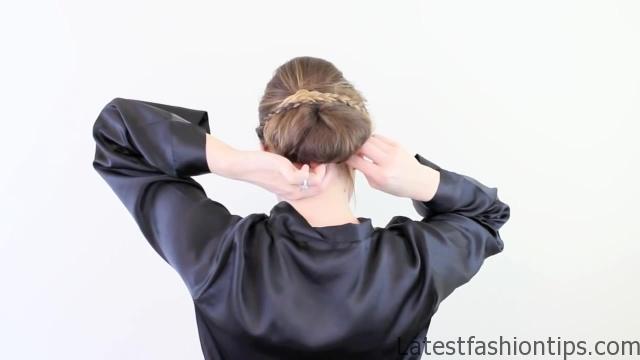
Then you are going to fold the ponytail in half, and you can either secure this with bobby pins or another hair tie to thinning all weight you want, and then wrap the ends around the hair tie or bundle them up right underneath the chignon like. I did, and pin them in place then what you are going to do is fan out the sides of the chignon, and making kind of a half circle almost like a half of a shape once you have got that one side to where you want it hold it in place, and pin, and then repeat that on the other side, and then once you have got that done you are going to have this little space between the chignon, and the bobby pins that we need to cover up. So take a small piece of hair from the front, and drape it over the bobby pins, and pin that in place then take another piece from the opposite side, and rake that right underneath the previous piece, and send that in place, and then you can continue doing that until the hair is done but. I wanted to throw some braids in. So I braided the remaining hair on both sides now as a side note if the chignon seems a little difficult for you can replace the shin young with a normal bun or even the messy bun if you want to make it a little more bohemian, and it will still be a great style just to throw that in there once you have the braids then go ahead, and arrange them just underneath where we placed the previous hair, and that ought to cover up all that empty space that we had then just tuck the ends underneath the Shenyang, and pin them in place, and you are done with your romantic hairstyle. I made this hairstyle for those of you who want to get just a little bit more dressed up.
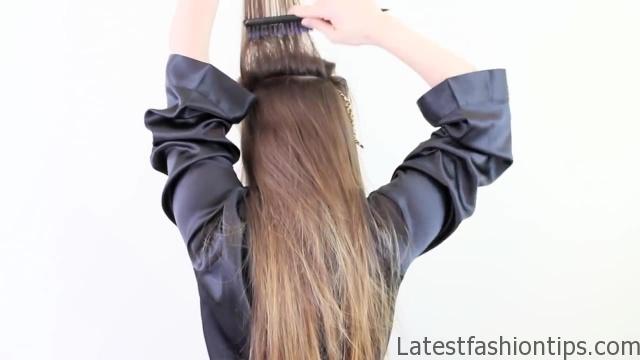
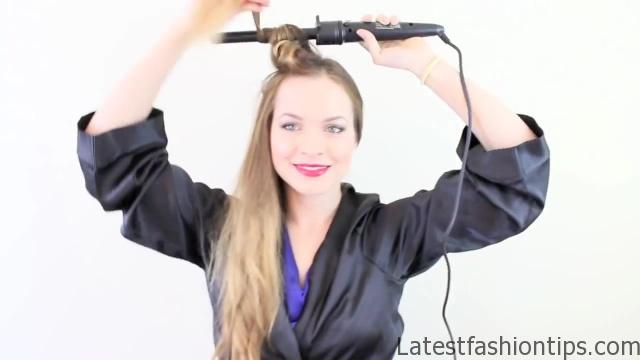
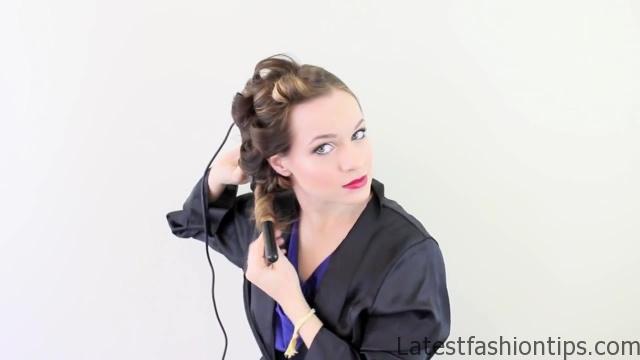
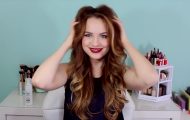
This Valentine’s Day with your kind of sweet the hairstyle first you are going to separate the hair that you want to have curled, and you are going to go ahead, and clip that out of the way then you are going to smooth down the remaining hair in the direction of the hair that will be curled, and then you are going to go ahead, and crisscross your pins to hold that in place you might need to use more than two, and that’s totally fine you want to make sure that’s really secure then go ahead, and give it a little bit of shine spray just to make sure it looks really nice, and smooth then pick a piece of hair from right on top of where the bobby pins are, and braid it until it is long enough to cover up the bobby pins once you got it like that you are going to go ahead, and loop it right underneath the bobby pins, and pin it in place underneath the hair. So that it is nicely hidden, and you hide your bobby pins as well now you are going to curl in rectangular sections starting at the top, and working your way to the bottom once you have done each curl you are going to go ahead, and wrap it back up, and set it. So cool that way you create a really strong curl which will make a really nice kind of retro looking curl when we brush it out later once you finish that one level you want to go down to the next level you want to make sure that these sections are almost identical as you are going throughout the hair that’s going to be the most important thing once you have all the hair incorporated you just want to make sure that it is completely cooled off before you do anything with it. So once it is completely cool you can go ahead, and start taking it down then once it is down you are going to notice that it is in really little ringlets. I use a three quarter inch curling iron for this.
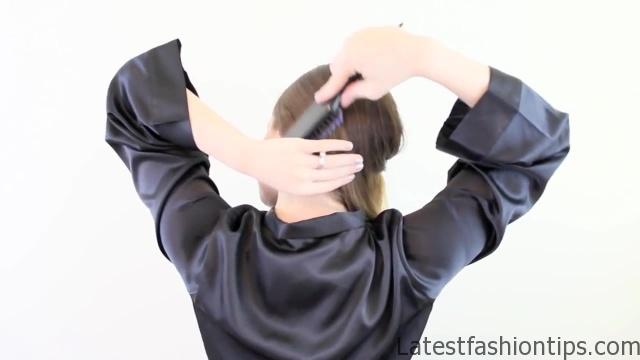
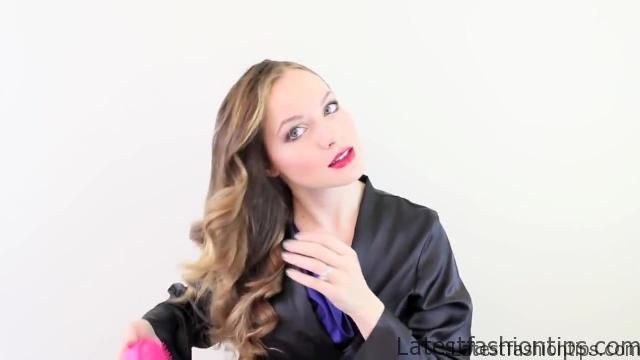
So to break up your ringlets you are going to go ahead, and brush through it is going to give a really nice natural-looking curls lash wave, and it really gives you that nice retro look you want to finish it off with a little bit of flexible hold hairspray, and then your sultry look will be complete. I really like this look for those of you who are a little bit more daring, and want to kind of amp up your look just a little bit more, and that’s it for today guys leave me a comment, and tell me which is your favorite, and if you want you can see the inspiration pictures in the description box here is my previous post check it out if you have not already. And I will be back on Friday with my next post see you guys then bye.
Maybe You Like Them Too
- Celebrating Natural Black Women’s Hair: A Guide to Gorgeous Hairstyles
- Short Hairstyles For Women Over 60
- 20 Thrilling Twist Braids Style to Try This Season
- The Top 10 Asymmetric Hairstyles
- 10 Gorgeous Shaggy Bob Hairstyles To Get You Out Of A Style Rut
