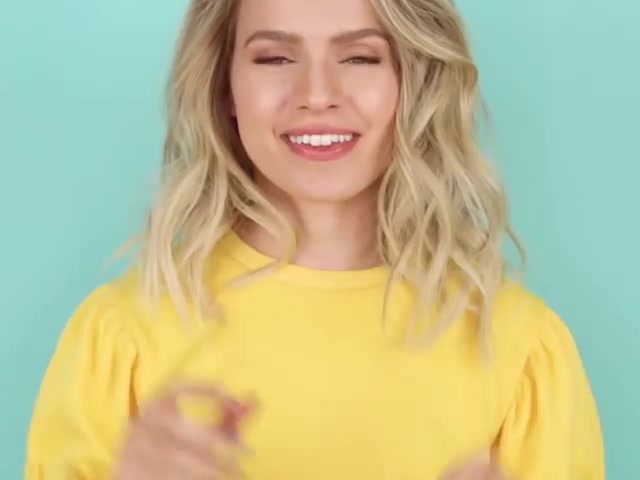
So, in my summer hairstyles post, a lot of you guys wanted to see how I got the curls that I was wearing in the post. So I thought, obviously I should show you how to do those curls, but why not throw in another two so I can show you three ways to curl short hair. That way, if you see my hair curled in a post, you automatically know how to do it. Also, you could wear these curls anywhere that you like on your own. I hope you guys enjoy this post, let’s get into it.
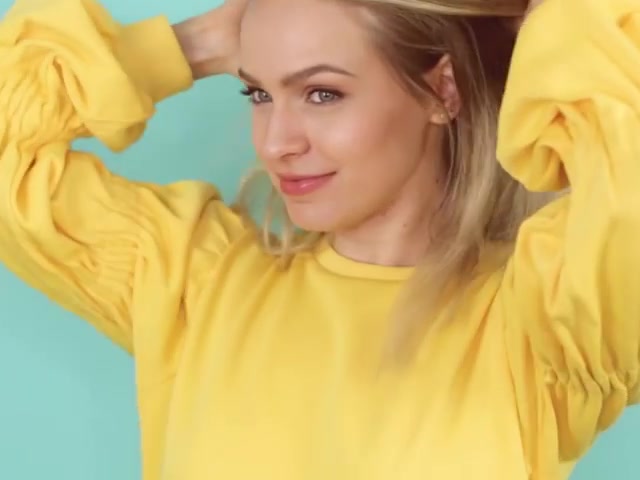
We’re gonna start with the Barely There Bend. For this I’m grabbing a inch iron and prepping my hair with the Living Proof Instant Protection Spray. I’m going to split my hair in half and clip up the top half. Now, if this bottom section that’s left down is too short to curl, guess what, you do not have to curl it, because the top hair’s gonna cover it up. Just skip to the next instructions. For this you are gonna close your iron at the base of the hair and slide it to the middle. That might not be very far for this section.
3 Ways to Curl Short & Lob Hair! Photo Gallery
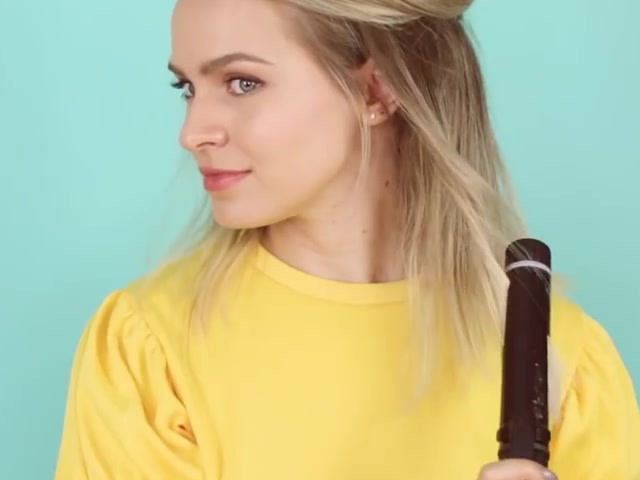
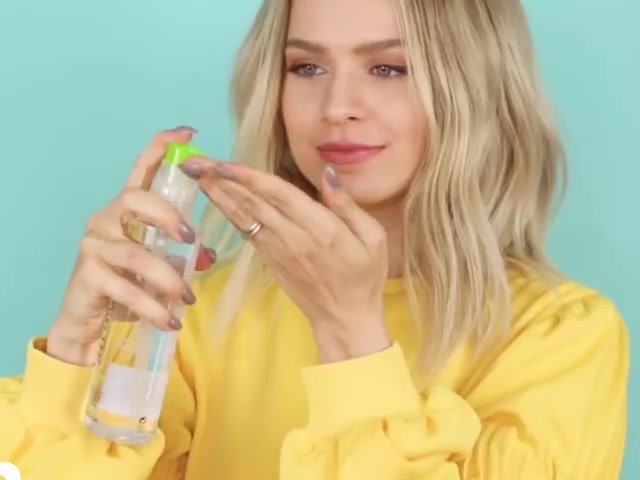


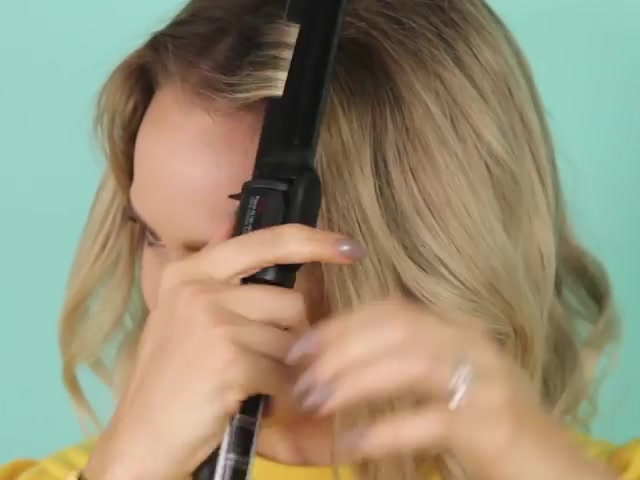

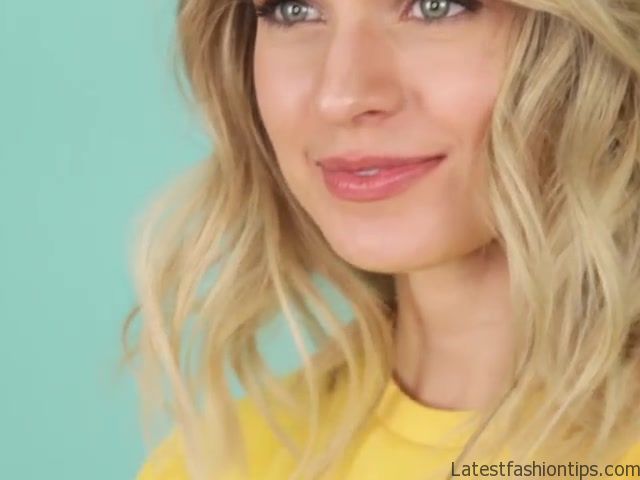
Turn the iron a full degrees, and once you have done that, turn the iron to face your head and slide it down the ends. Repeat that through all of this section. If all you can do is wrap it once around the iron, that’s fine too. Once that’s done, let the top down, and continue curling. For this portion, you may be able to slide the iron a little further down the hair before rotating it. Just keep shooting for the middle of the hair, or wherever you want that bend to be. Once all the hair is curled, I’m using some serum to make everything smooth, and holding it in place with the Shea Moisture Hold Mist. This mist adds moisture and hold, and gives the right amount of texture while preserving the shine. And there you go.
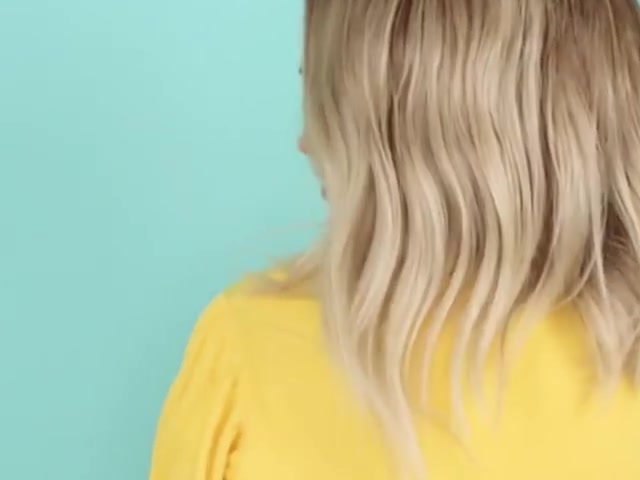
These waves are a fantastic way to get subtle texture, and you can do this with bigger sections, which means that it is quick to do as well, even on this super thick wig. Moving right along to the Lived In Wave, this one is mostly about the product, to be honest. I’m gonna stick with this / inch iron and section the hair in half. Curl the bottom half of the hair in the same direction away from your face, keeping the hair flat on the iron. If you are using a wand, just wrap the hair so that it is flat. And if the section is too short to curl, just move on to the next. Now let the top down and save just a little bit of hair around the part. Keep curling the hair away from your face until the section is done. Now drop down that last section of hair and curl the smaller pieces, making sure to really get close to the root. I call these my dancing pieces because they just stand on top of the curls and dance and move, and look extra pretty.
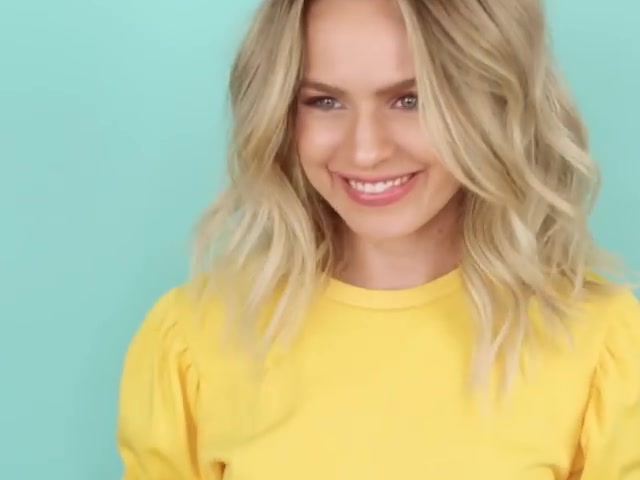
Now for the products, a texturizing spray is a must for this style of curl. I have been testing out the Amika one lately and I really like it. Also, it smells amazing. Then I’m going to use this Kenra Texturizing Taffy. I’m rubbing it through my hands and then finger combing and scrunching it through my hair. This taffy adds texture while keeping a moisturized, healthy look, and it is also not sticky. And there you go, a lovely, lived in wave. This is the kind of thing you can just swish around, flip your part, and just enjoy throughout the day. And finally we have the super texturized curls from my summer hairstyles post. This time, I’m switching to a one inch curling iron, and I’m going to separate my hair into thirds.
I’m going to curl in opposite directions as I go, going toward my face and then away from it. Once the bottom section is done, drop down the next one. It’s important as you go to keep your sections on the smaller side. You want to create quite a few curls. I’m also keeping the ends slightly straighter so I do not go full Shirley Temple with this look. Finally, drop down that last section and curl it. I’m also gonna make sure that I hit a few of those small pieces around my part so they can be my dancing curls.
And finally, the products. I’m pulling out the texturizing spray again, but this time I’m using Dry Bar’s Triple Sec because it has a lot more texture. Then I’m going to scrunch in some of Kristin EssPomade for definition. I’m also going to run some pieces between my fingers for added definition on those areas. And then, in true Kristin Ess fashion, I’m gonna give myself a hair flip. And that’s it for these uber texturized curls. A lot of you wanted to know how to do these, so I hope you try them out, and I hope you love them. And there you go, three curls for short hair. I hope you guys enjoyed this. If you wanna see any more short hair tutorials, let me know what you’d like to see in the comments below.
Maybe You Like Them Too
- Celebrating Natural Black Women’s Hair: A Guide to Gorgeous Hairstyles
- Short Hairstyles For Women Over 60
- 20 Thrilling Twist Braids Style to Try This Season
- The Top 10 Asymmetric Hairstyles
- 10 Gorgeous Shaggy Bob Hairstyles To Get You Out Of A Style Rut
