So today we have seven quick Christmas morning hairstyles, because on Christmas morning, you are going to be tired and you are gonna have no time to get ready. This is how I normally would look on Christmas morning, but my relatives, and probably yours too love to take pictures, and then those pictures end up tagged on Facebook for everyone to see, and that’s not exactly ideal, so I came up with some really quick hairstyles that you can do in minutes or less, so when little kids are trying to pull you down the stairs so that you can open presents, you will still have great hair and it will look awesome in pictures. Hairstyle number one is just some simple and quick curls. So I’m going to use a one and a quarter inch iron.
7 Quick Morning Hairstyles Photo Gallery


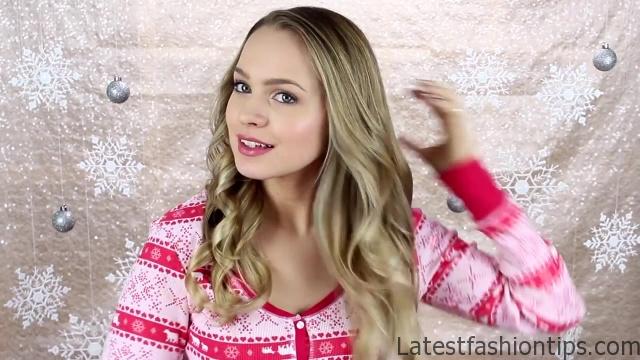
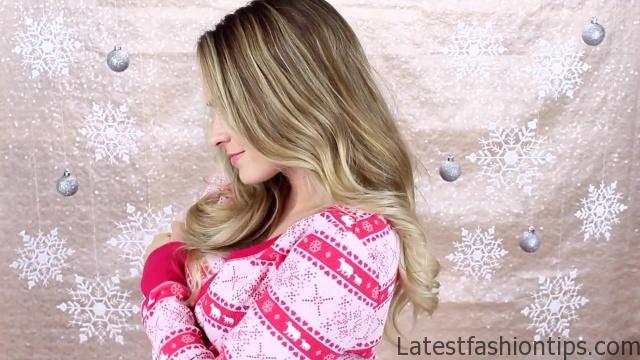


This one has a clip but you could use a wand as well, and then I’m just gonna curl my hair away from my face. Now what makes this curling method faster than normal ones that I would do is that I’m going to take large sections first of all, and then second of all, I’m only gonna take four or five sections on each side. So it actually speeds up the process quite a bit, and because we are using kind of a larger iron, you get this kind of big, loose wavy look, which I think is very pretty. So I did four curls on the first side and now I’m moving on to the second side where I’m going to do four or five curls again. Obviously if you have thicker hair than me, you could do more sections than I did, and then once all this is curled, you can go ahead and run your fingers through it to break it up, and then I used a little bit of texturizing spray just to add a little bit of volume and texture to my hair. I think this would be great to do kind of maybe the night before if you have a Christmas Eve service or something that you are going to, and then wear these curls as second day hair, or you could do this on Christmas morning because these are pretty quick curls and they look great and will look amazing in pictures all day long.
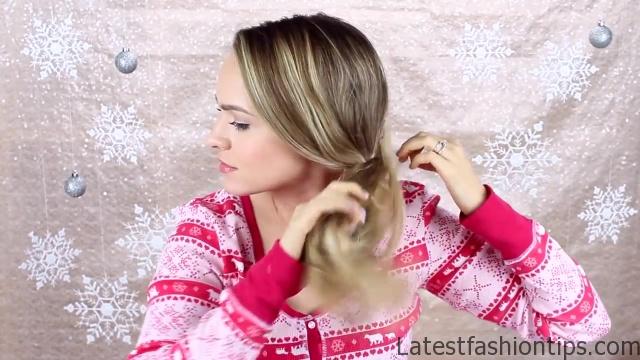
Now for hairstyle number two. This one is quite simple. You’re just gonna pull your hair into a side ponytail and secure it with an elastic. Then go a couple inches down and secure the hair with another elastic. Then just split the hair over the elastic in half so you have a little hole, and flip the ponytail up and through that hole. This so you will have like a nice little topsy tail that kinda looks like a faux fishtail. So then you are just gonna kinda loosen that up and then do it again. So go a couple inches down, add an elastic, split the hair open over top of it, and flip the ponytail through it, and you can do that as many times as you want. I only had room for two, but you can keep going if you have more hair. And then you can go ahead and loosen up some pieces around your face if you want to, and that’s it for this hairstyle.
This one is very fast, very easy, and it will look good on a lot of different hair types. Plus, it will keep your hair out of your way all day long. Now for this knotted half updo. You’re gonna start with a section of hair right in the back of your head, and you are just gonna tie that into a knot by looping it around and pulling your hair through that loop. Once you have the knot formed, all you have to do is place it against your head and use a couple bobby pins to hold it in place. Then grab a section from the right side of your head near your face and pull it back like you would in a normal half updo, but now we are going to tie a knot by looping the hair and pulling the hair through that loop. Then again you are going to bobby pin it, pinning it right next to the knot we just did. Then you do the same thing on the other side, so pick up another section of hair, pull it back, tie it in a knot, and then pin it next to the center knot.
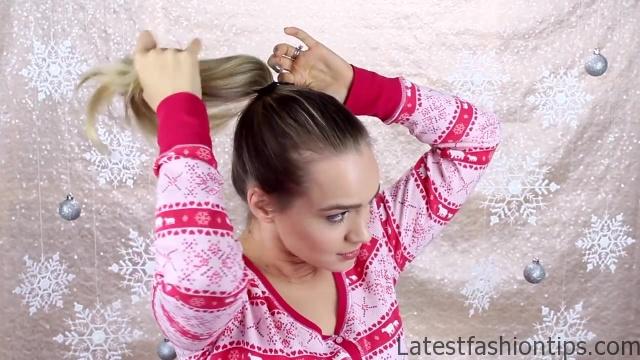
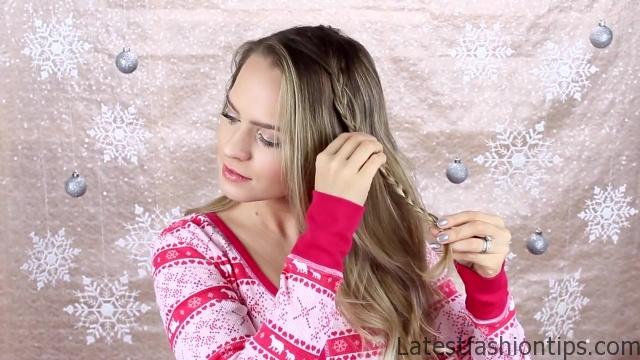
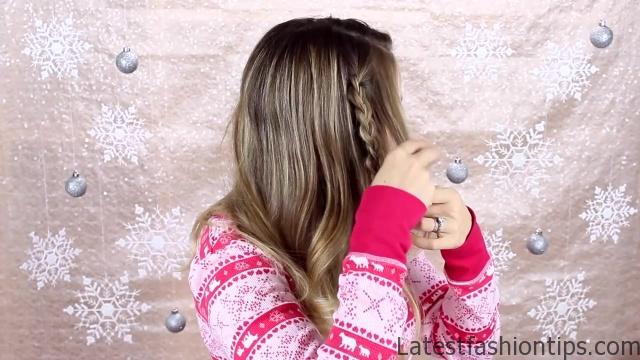
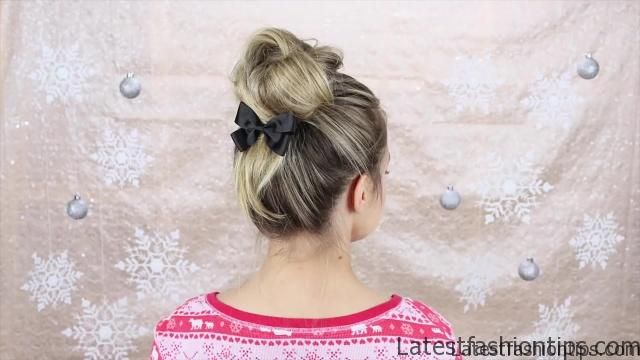
And once you have done that, this hairstyle is complete. It looks intricate and really interesting but it comes together very, very quickly, which makes it perfect for Christmas morning. For this top knot, start by putting your hair into a really high ponytail, pretty much as high as you can get it, and then secure it with a hair elastic. For the bun, we are gonna start out by backcombing your hair with your fingers, this just gets a really loose tease going on to make it more voluminous. Then twist your hair and wrap it halfway into a bun and then stop. You’re gonna go ahead and add in bobby pins to secure it there. Then just take the rest of it straight back without twisting it, just like you see me doing here. Once you have got that in place, you are just going to pin the hair in the back like you would kinda pin a half updo, criss crossing your bobby pins. And I finished up by putting a bow over the bobby pins, and that’s it for this top knot. It’s an interesting take because we have the ends left out. I think it is super girly and it will definitely be a great way to keep your hair out of your face all day long. And now onto this more bohemian half updo. We’re gonna start by making three braids on each side of the part. I’m starting with kind of a big section of hair and braiding all the way down normally, then I’m just gonna massage it a little bit to make the braid just a tiny bit bigger. I finish by securing the hair with an elastic.
Then I’m going to make two small braids on either side of this larger braid. The first one I’m gonna do is going to be a rope braid, just to make it look different, but you can do any kind of braid you want here, and secure it with an elastic. Then I’m gonna do one more tiny braid, and I’m just doing a normal braid for this and securing it with an elastic. Then you are just gonna do the exact same thing on the other side.
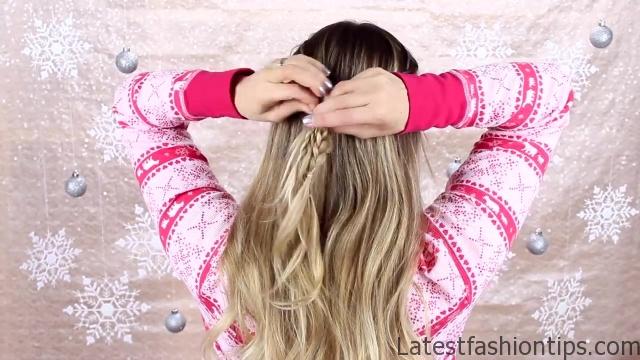
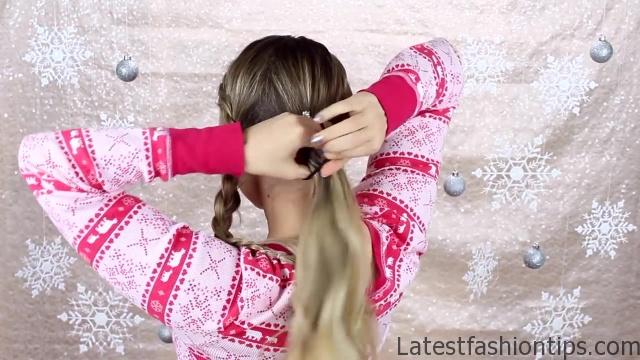
Now braids can be time consuming, so if you find that you are really in a pinch, maybe just do one braid on each side or just two braids on each side. Whatever you have time for in the morning, this hairstyle will look good with any number of braids. Now just grab all three braids on each side and pull them to the back to create your half updo. You’re just gonna secure them with an elastic in the back, and then once I did that, I went ahead and took out the elastics on the ends of the braids and allowed them to unravel.
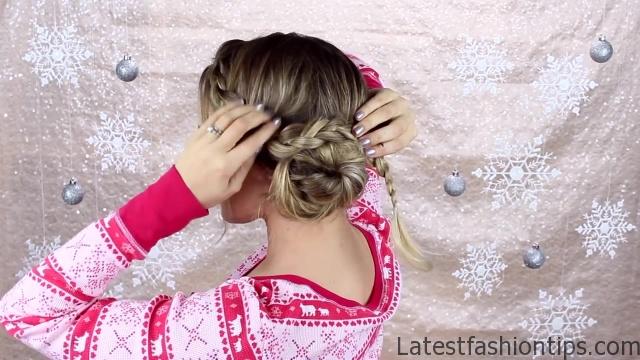
Finally, pick up a little bit of extra hair if you need to right around your elastic, and then you are going to flip the hair around the braids. This kinda creates this cool little bun in the back. So I just flipped it twice, and then I used a couple bobby pins to hold that little flipped section in place. Once that was done, this hairstyle is complete. Now some of you might remember this hairstyle. Sadly, the original tutorial is gone, but I wanted to bring it back for Christmas because I really, really love this hairstyle and I think it is so pretty.
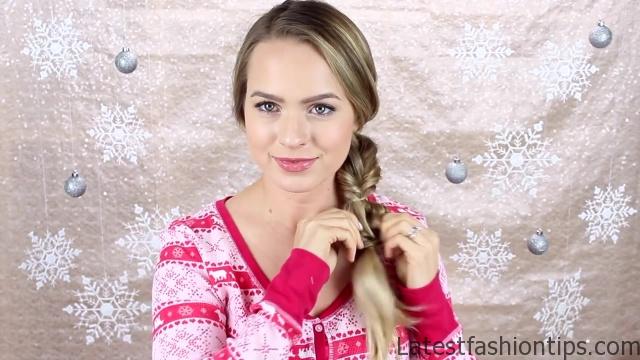
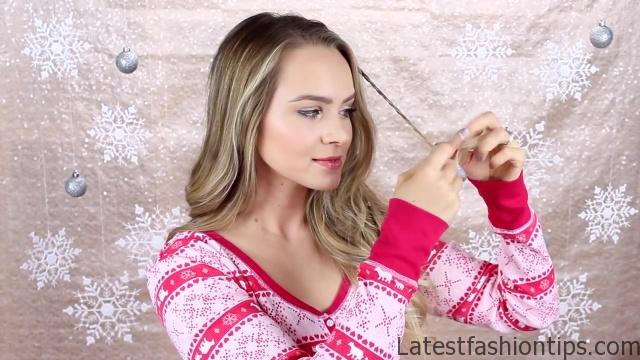
Now for something simple and sweet. I’m just going to split my hair in half and then split one side in half again, and I’m going to create a fishtail braid by taking small sections from one side and putting them on the other side. SO you take a small section from the left and then put it on the right. Then take a small section from the right and put it on the left, and you just keep going over and over and over again, and that’s how you do a fishtail braid. So just gonna do that all the way to the end of my hair, and then I’m going to massage the braid to make it a little bit bigger, but also make it look a little bit more lived in.
I think that’s the key to pulling off this hairstyle, especially because it is pigtails, you just want it to look a little bit more textured. Then finish it off with an elastic and loosen up some pieces around your face. Then do the exact same thing on the other side. I have been seeing fishtail pigtails around a lot lately, and I think it is really, really cute, especially with winter wear and when you have a really texturized braid, I think it can be a really good look, and I love it for Christmas cause it is quick and it is simple, and it is just kind of like whimsical in a way. Plus, I think this hairstyle would look good on every hair type. And now for our final hairstyle, we are gonna start with a Dutch braid. You’re gonna start by taking a section of hair right from your part next to your hairline, split it into three, and begin braiding under. Then you start braiding in hair just like you would in a French braid, so pick up a piece of hair and braid it in with each time that you braid until the hair that’s over your ears is incorporated into the braid.
If you do not wanna take the time to do a Dutch braid, you could just do a large normal braid instead. So then finish off the hair by braiding the rest of it normally, and then of course, I’m going to go ahead and massage it just a little bit to make sure that it is nicely voluminized. Go ahead and secure the hair with an elastic and pull the rest of your hair into a side ponytail. To create the bun, I’m going to backcomb with my fingers to add a little bit of volume and then I’m going to twist the hair loosely and wrap it into a bun. I just like adding the teasing because it makes it a little bit more messy and a little bit more voluminous.
Once that’s wrapped into a bun, I’m just going to pin it in place until it feels very secure. And I’m gonna finish off by wrapping the braid around the back of the bun and tucking the ends underneath the bun. Then of course, hold everything in place with bobby pins, and once that’s done, your hairstyle is complete. This one can come together very quickly and I think it is beautiful and keeps your hair out of the way all day long. So I hope you have enjoyed these seven quick Christmas morning hairstyles. Obviously you can use these all year long, but you do not have to just use them on Christmas, but I think they are especially great for the most fast paced tiredest morning of all year. I hope you guys have a wonderful holiday and I will see you in my next post. Mwah, bye.
Maybe You Like Them Too
- Celebrating Natural Black Women’s Hair: A Guide to Gorgeous Hairstyles
- Short Hairstyles For Women Over 60
- 20 Thrilling Twist Braids Style to Try This Season
- The Top 10 Asymmetric Hairstyles
- 10 Gorgeous Shaggy Bob Hairstyles To Get You Out Of A Style Rut

