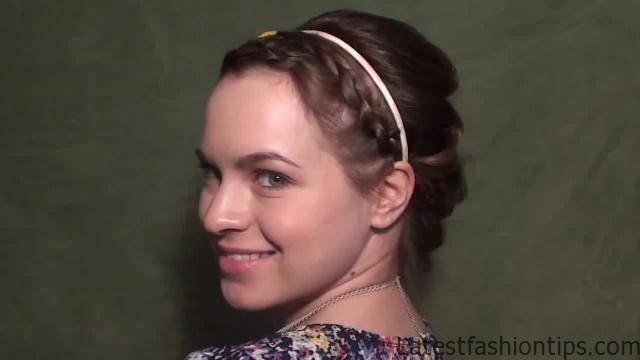
So this week we are doing Blair Waldorf inspired hair tutorials, and this is another most requested updo of all time and, I will kind of putting off for a little while but. I decided that this week. I should probably do it. So it is just this pretty little updo that you could wear for a formal event now. I will say that it is similar to one side done in the past it is similar to my Jessica Alba updo, and Serena’s white party up to, and that they use similar techniques, and vaguely similar shapes but. I think what’s really cool about hair styling general is that you can do really similar things, and you need some large shapes but at the end of the day you end up with something that is. So different from Serena’s white party hair, and it’s. So different from Jessica Alba’s updo that. I did um even though they are really similar techniques they all three the different styles belong to completely different girls, and completely different events and. So I thought it was really cool to throw this one than their anyway even though it is somewhat similar. So that’s. I think all my disclaimers also um. I do not know if. I love this headband but uh the original style had a headband.
Blair’s Wedding Updo for Prom Homecoming or Weddings Photo Gallery
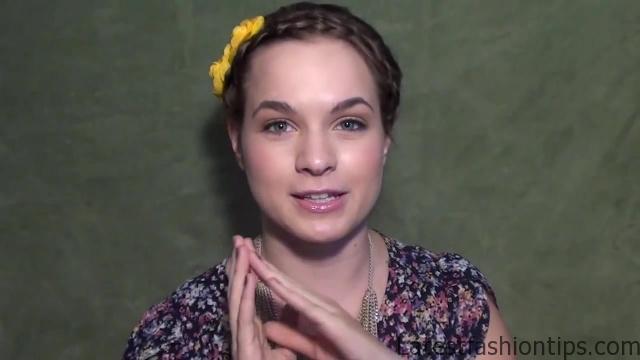
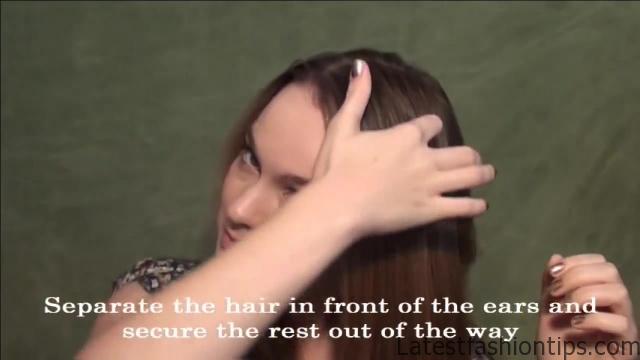
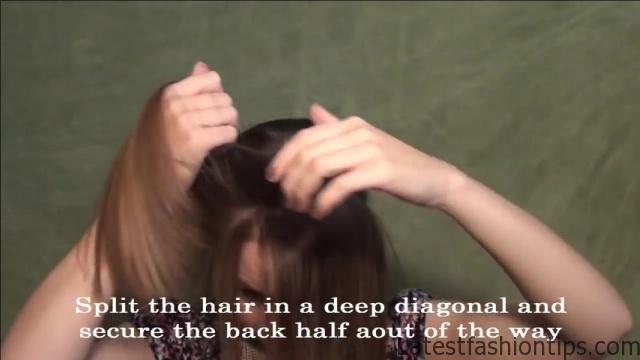
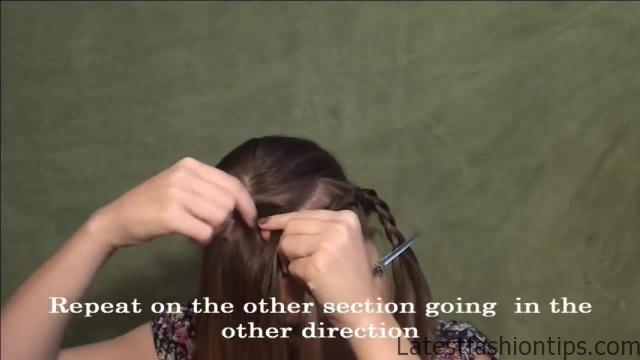
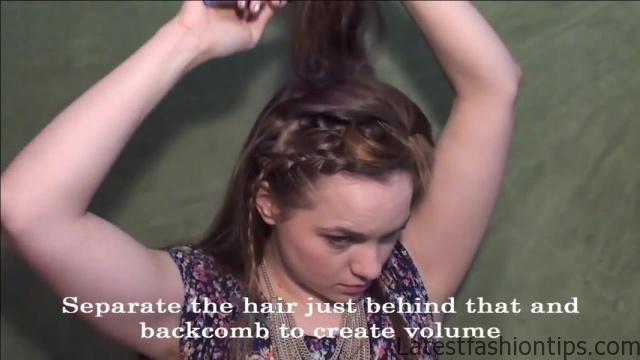
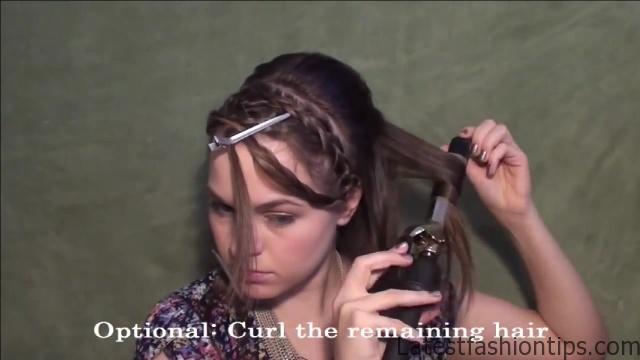
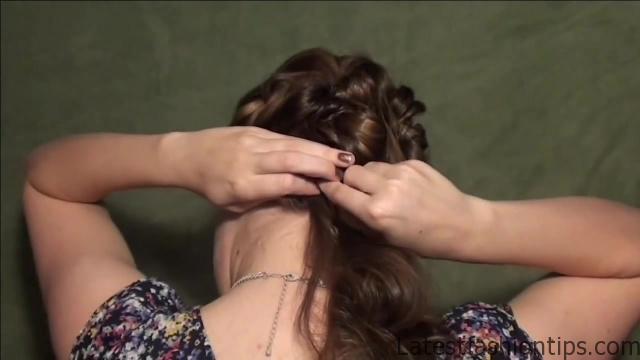
I put this one on yep okay Oh anyway. I hope you guys liked it and, I will see you in next post what okay first you are going to separate the hair in front of your ears on either side, and then you are going to take the rest of your hair, and secure it out of the way. Because we are going to go ahead, and work with the braids on the front then you want to kind of brush the rest of your hair forward, and you are going to part it diagonally across. And I like to part. I parted it about where my natural part is. Because. I made it a little bit easier, and then secure the back section out of the way, and then you are going to go ahead, and Dutch braid the front now you can see. I have only a little bit of hair in the front. So it is a little tough to work with my tips on this is do not breathe too tightly oh you want to braid a couple extra inches, and then secure it, and then work on the back one but do not braid too tightly, and do not stress too much what. I did was. I braided a little bit loosely, and then off-camera.. I kind of pin the two braids closer together. So that you would that part but you are going to take the hair that’s right behind it, and secure it out of the way take the hair just behind that, and we are going to tease it Blair in this hairstyle. I had. So much volume right here, and normally, I will afraid of volume but. I decided just to go for it. So you are going to take this hair, and you are going to bring it back over grab right underneath the cheese section, and push up.
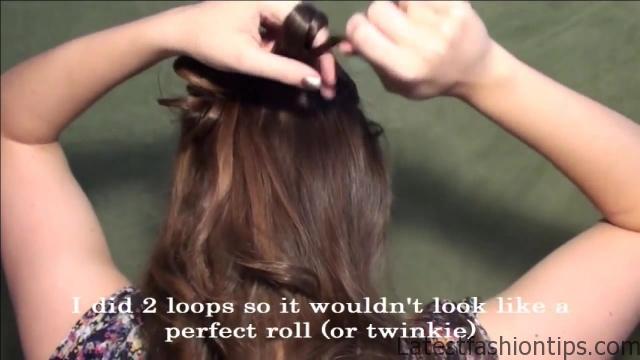
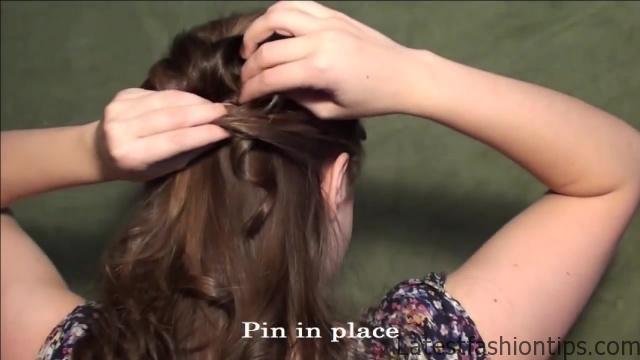
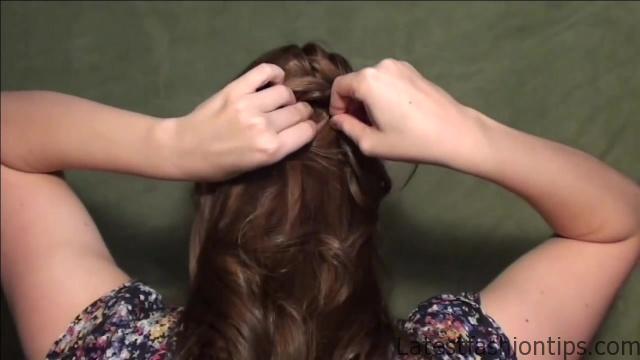
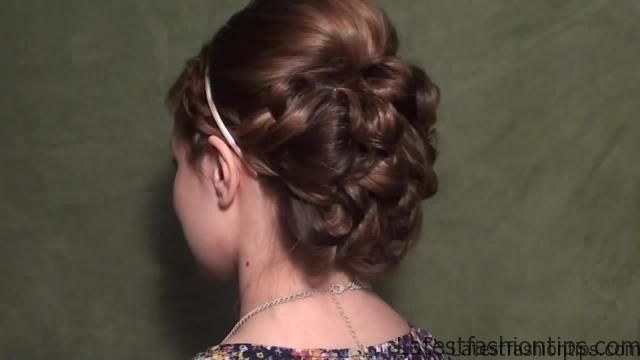
So you get a nice little Snooki pouf, and pin that in place then optional you can go ahead, and curl the rest of the hair you do not have to um you could do this with absolutely straight hair. I just wanted to curl it. Because it makes it tiny bit better or easier to work with in these situations, and then you are going to take the hair that’s right underneath the bobby pins loop it up. So that it covers up the bobby pins got a nice little loop like that, and you are going to pin that in place right over top of that, and then. I actually use two sections. So wouldn’t look like a perfect little roll you do not want it to look like a Twinkie or anything that’s kind of awkward, and then you are going to pin into the Dutch braids to make sure that they do not unravel take all the hair from on top of the ears in that area including the hair from the braid, and wrap it, and make a little loop then you are going to put that loop right next to the ones that we already worked on, and you are going to go ahead, and pin that in place, and you want to make sure that the hair there kind of seamlessly comes together you do not want to see the side versus the top you kind of want to make sure that you are pulling it horizontally around like. I’m right here. So that it comes really naturally in with the hair that we have already done, and then you are going to go ahead, and just create more loops, and these are more perfect than a lot of the ones that, I have done recently you want these girls to be pretty perfect, and pretty well placed, and you just want to place them around, and create a good bit of volume then once you get to the bottom you want to wrap up word. So that you’re bringing the hair up, and around you are going to pin that into the loops we have already done, and that way you are not going to see like your hairline or anything like that it is going to kind of seamlessly bring everything together. So that you have a nice little cohesive bun is thing.
Maybe You Like Them Too
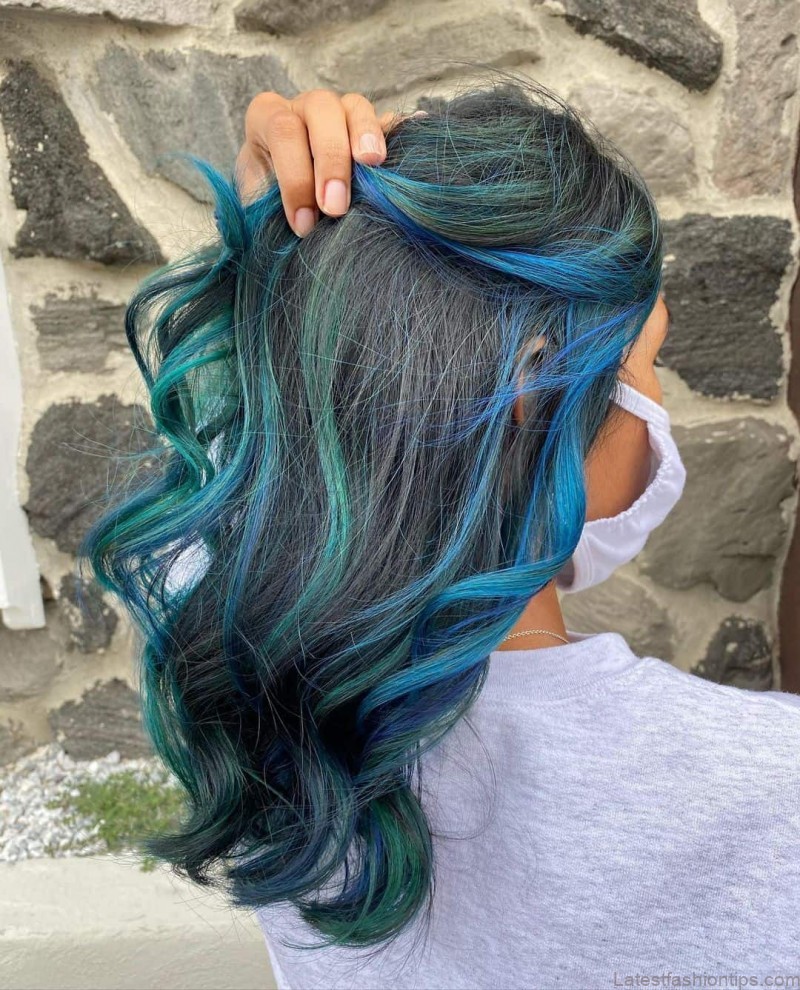
- Celebrating Natural Black Women’s Hair: A Guide to Gorgeous Hairstyles
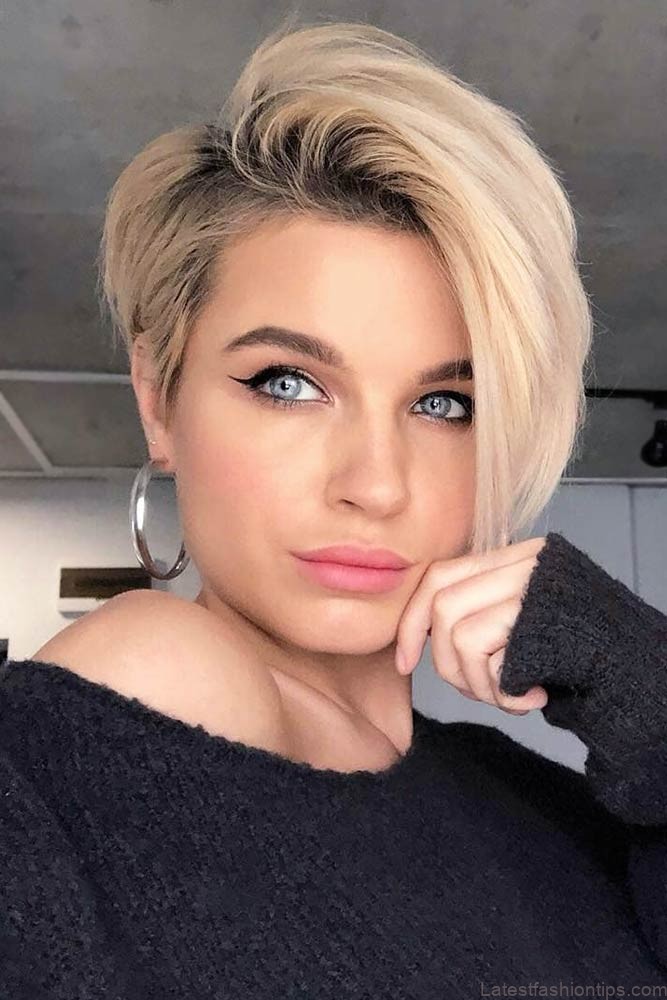
- Short Hairstyles For Women Over 60
- 20 Thrilling Twist Braids Style to Try This Season
- The Top 10 Asymmetric Hairstyles
- 10 Gorgeous Shaggy Bob Hairstyles To Get You Out Of A Style Rut
