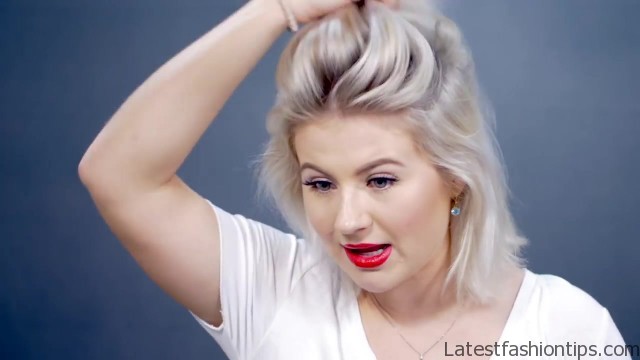
Hey all, Welcome back guys to my blog. I’m so excited you could join me and we are starting a new series called wear it or had it it is basically what that means is it is very beautiful and you want to wear it out or you want to have it where it is too much we have added too much is disgusting you just want to cover it up you guys be the judge the first creative hairstyle is going to be dealing with a bunch of braids and not just any braids the Dutch braid and, I mean bunch not one two or three seven. So we are starting off from my hair there’s nothing in it and this is what it looks like after it is blow-dried there’s no product it is very frizzy. So what I’m going to do is I’m going to part it using my rat tail comb and you guys always ask where, I buy this, I purchase it off of Amazon and, I can never find the link for this.
CREATIVE SHORT HAIRSTYLES Tutorial Photo Gallery
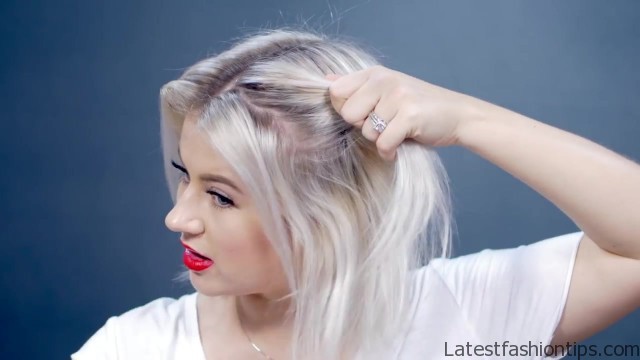

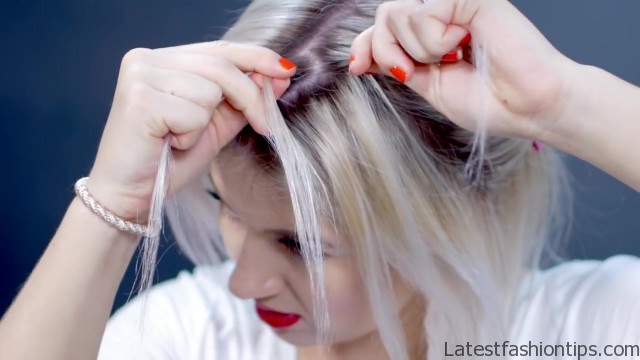
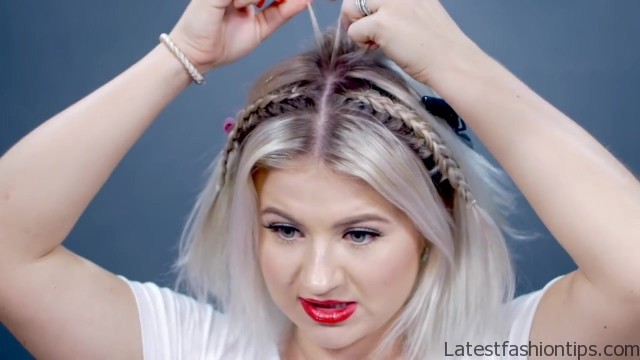
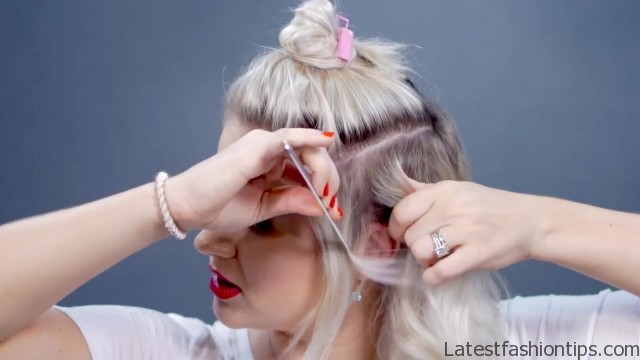


But I will try to find it for you guys or you can find this at Sally’s Beauty Supply Store. So I’m just going to part it right in the middle just going towards the back. So I’m gonna grab my rat tail comb and divide a section at each side this is where the first Dutch braids are going to come we are right here on the side kind of like a hairband. But not really. So we are going to leave an inch half an inch to an inch of hair that we are not going to use at all in the braid and then grab another inch for the actual braid. So we are going to take the hair and we are just going to pin it towards the back I’m just gonna take a bobby pin and just pin this front section away. So, I do not braid it at all I’m actually going to add some paste into my braid.
So, I can control it better and there’s not as many flyaways and I’m using the BB brilliant I’m by Bumble and Bumble check it between my fingers my hands I’m just going to run it through the hair quickly I’m gonna braid all right. So now I’m just going to begin it by braiding a Dutch braid. So I’m just grabbing a nice front section to begin my braid and not too thick and not too little I’m just going to divide it into three like a regular braid. So a Dutch braid is where you take the outer sections and you cross them under the middle pull that tuck it underneath like. So so I’m going to take the outer section underneath first and then add a little bit of hair from underneath to the middle section to create a bigger one fold bring it underneath and grab some hair and add it to underneath the middle this is how you Dutch braid then just continue down. So I’m taking the braid behind the ear. So you can see my ear is right here.
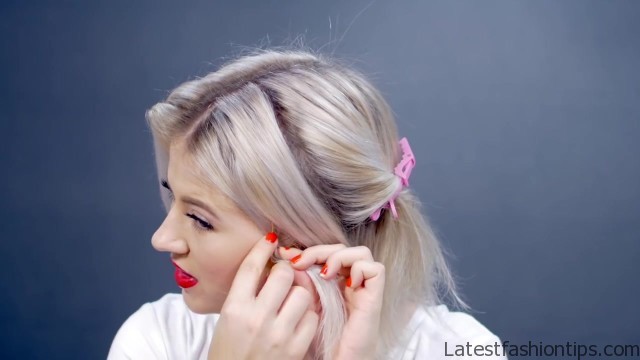
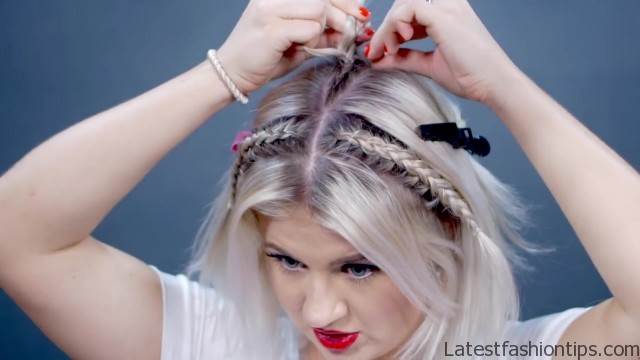
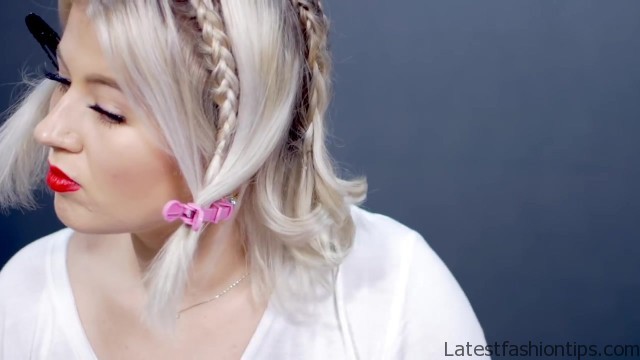
So I’m going to braid right behind it. But not too big. So see I’m keeping the braid pretty much the same size turning from the top to the bottom it is not getting wider, I think that’s good I’m going to tie it off with a clear elastic. Because you do not want to take it all the way down all right. So I’m going to do the same thing on the other side trying to stay with the same braid and by that, I mean the same thickness and length right straight to the point there’s the hostile that, I creative I’m kidding we are not done yet. So now we are done with the first two braids let’s move on to the other five braids the first one is going to be right in the middle I’m going to create it right from the crown creating a section on each side of the part. So one two and I’m not taking big sections whatsoever.
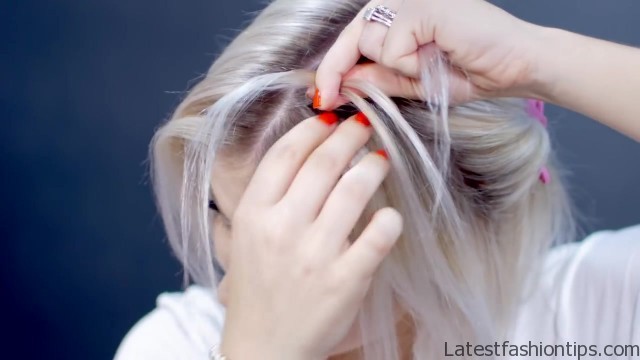
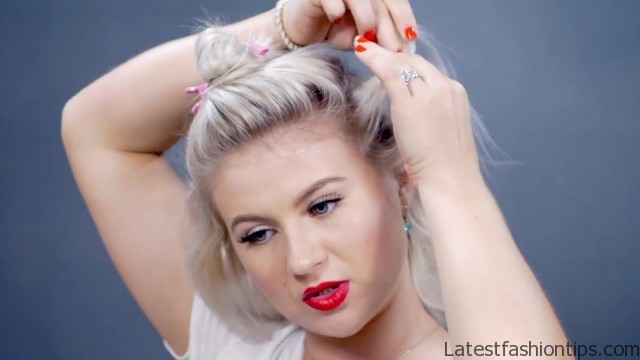
Because we have to fit five braids back there and, I like them smaller. So now, I have my first section in the back sectioned off and, I have pinned away each side of my hair and I’m adding more paste to each section. So I’m sure you guys are getting the drift add paste to each braided section. So we will be easier to braid and there’s not as many flyaways. So we are starting at the very crown and I’m taking that tiny section at the very top of the braid and divide it into three like a regular Dutch braid you can yeah if, I can better my girl and having paste or having some kind of paste in the hair helps it section it easier. So under middle under under and then start adding a little sections to each side you guys always ask how, I braid in the back of my head it is literally by feel and touch. Because when, I braid in the back, I can’t really take a mirror and hold it and plus, I get confused very easily when, I braid in the back with a mirror.
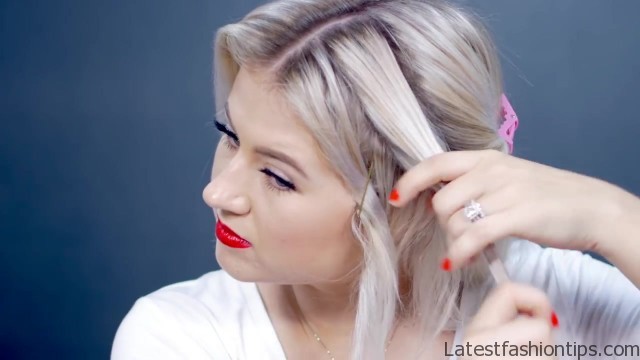
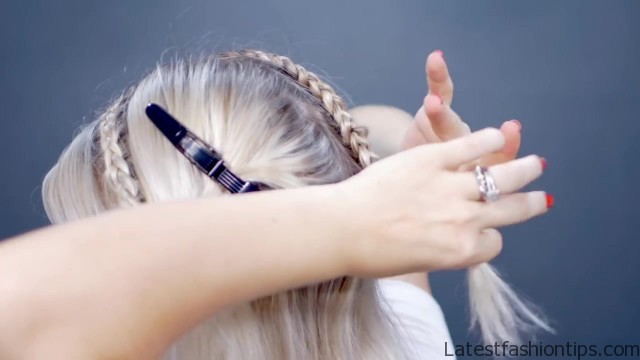
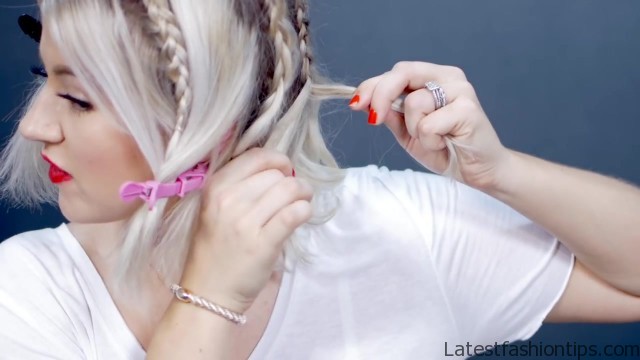
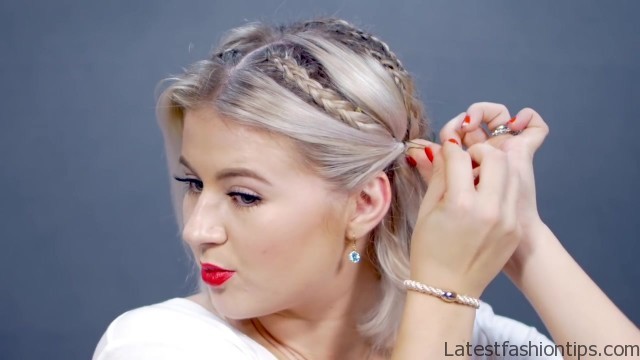
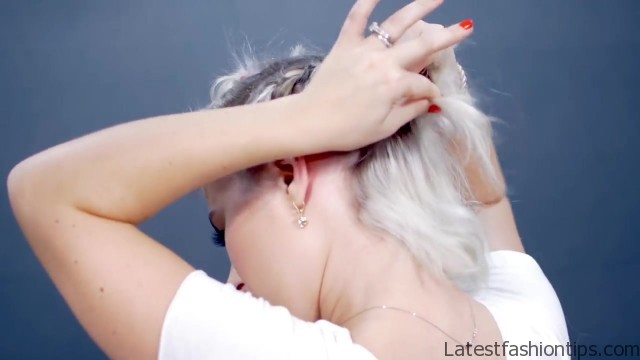
So, I just do it by feel and touch like that’s the easiest once we have it in the middle I’m just going to tie it off just to hold it in place. So I’m going to section off the last section on my left side and I’m going to do the same thing Dutch braid. So we are gonna have a total of five braids in the back. So now that we have the three braids done we are going to go on the other side and do the rest to two braids right here take my Rockpile comb and we are going to do the same sections on this side. So what, I do to help the braid stay in place and not unwind all the way, I take part of the Strand from the braid and some hair from underneath the braid that’s not braided curled them together. So, I kind of clamps the hair to stay in place you can either go in the same direction with the curls or you can alternate them it all depends and what we like and I’m taking smaller sections. Because, I want as many waves or as curls in the back alright.
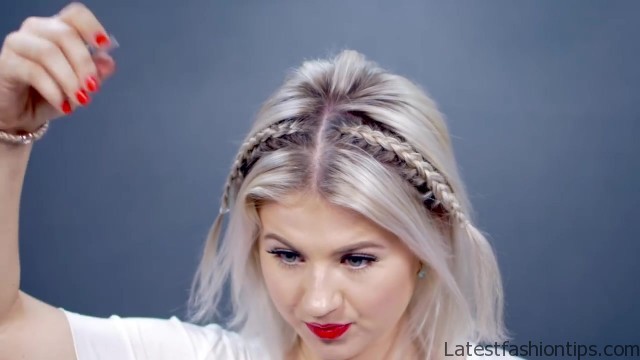
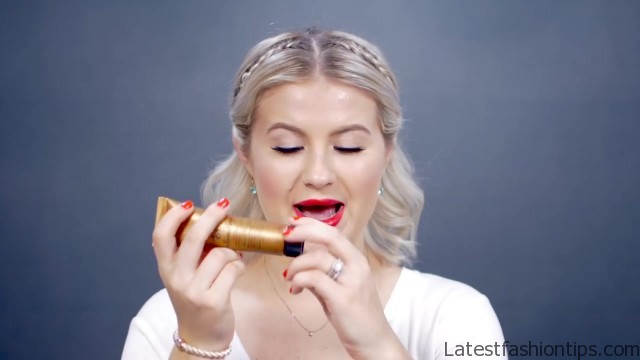
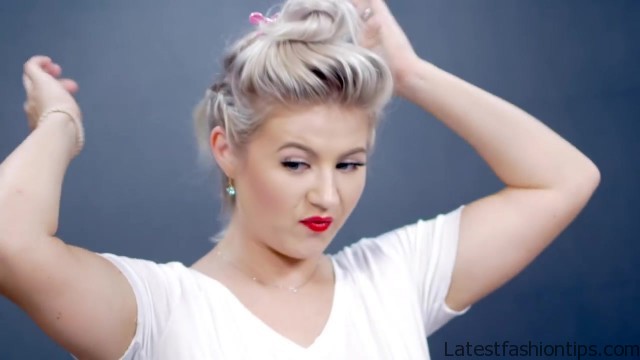
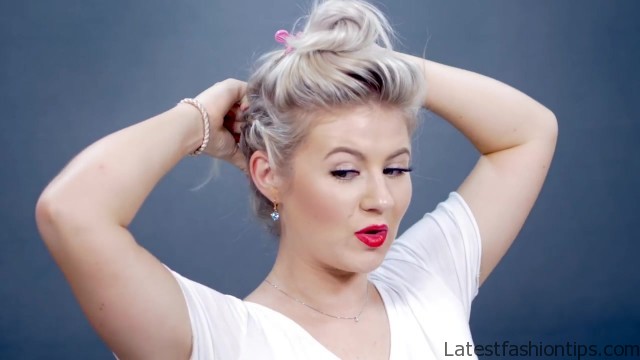
So now we are going to take the front sections with a little bit of the hair in the front make sure we pull the sections that braid it down like. So fold the section and the braid I’m going to this front section on top of it and give it a little twist take your bobby pin bring it like. So with the hair bring it up and then bring it back down and it just gives it a nice tight secure hold with the bobby pin and the hair I’m going to go back get a little bit more pace just. Because, I have a little bit more flyaways. If you do not have any you can skip the step grab some hairspray and just set the whole book in place. So there we have it for the very first creative hairstyle would you wear it or would your hat it wow thanks how does it look like a hat that he has weave, I guess you could put it that way, I love this kind of trend where you have it is nice and sleek at the top and kind of poof’s and it gives a lot of volume towards the bottom and, I think it is very very cute creative yeah, I would definitely wear this. But but let me give you a quick disclaimer for the braids to stay in place you do have to use some kind of paste before you braid it does help with a braid and it does help with the longevity of the braid to have its shape and hold throughout the day.
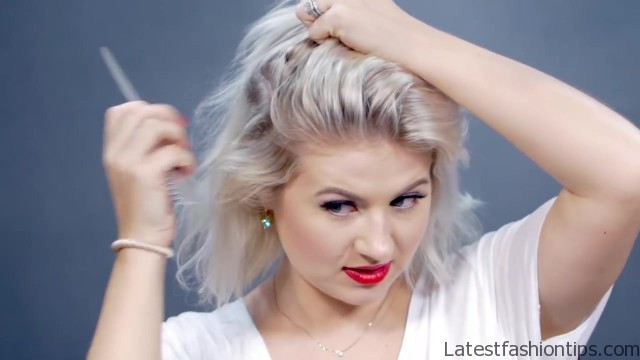
If you do not use anything your braid will fall apart from experience. So, I do use some kind of braid and then apply some hairspray to the top to set it all in place this Lex hairstyle or option it is gonna be more of an up tube, and it is a little bit queer easier. So you guys know, I like my faux hawk it is gonna be a full hawk updo. So we are going to start sectioning off on each side does not have to be too perfect. But you want to have it somewhat straight yeah looks like that we are going to go the other side let me just hold his hair back. So it does not go back down and we are going to go do the same thing on this side. So basically what this is going to entail is two french braids right here on the side we are going to make sure we pick up at least this much.
Because it is going to be nice and tight and we are not going to bring them braids down we are gonna actually try to keep them towards the top like. So and they are going to meet in the middle and this hair that’s gonna be left over we are just gonna pick it up into the braid take my rat tail comb grab a section from the front. So I’m taking one of my hands towards the back this is going to help guide where the braid is going to go divide it into three equal sections and we are going to do a French braid. So outside sections are going over the middle. So before, I bring it over grab a section and then bring it over the middle and I’m going to try to keep the braid as close as possible to this parting line at the very top that we created. So I’m gonna do the same thing on the other side braid a French braid close as possible to the parting line making sure it is sort up to the top not to the middle or to the bottom and I’m going to meet it to the other braid in the middle of the back of my head. So you see these hairs right here in the back before we put these two braids together I’m going to pick up these hairs and bring them towards the top take bobby pins and secure them right where the braids meet.
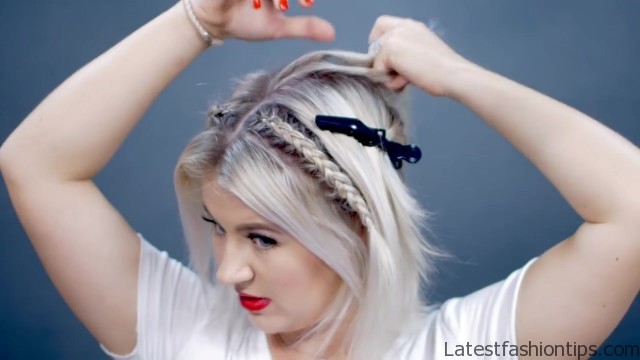
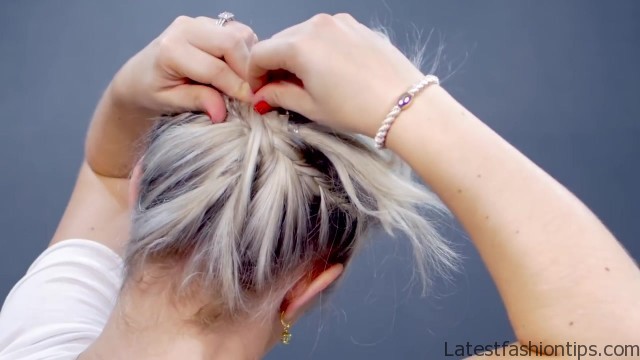
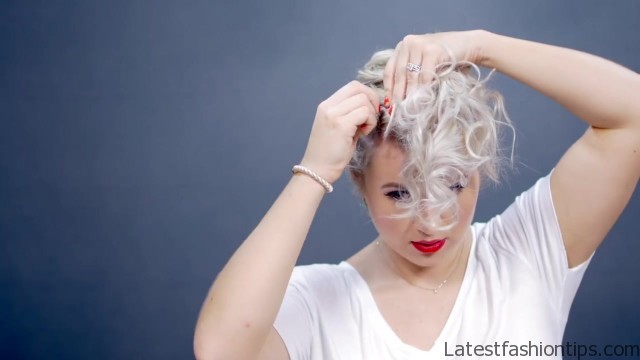
So once the lower sections are pinned away I’m going to take the braids and crisscross them in the middle going up towards the front once it is crisscross we are going to take each braid and we are gonna pin it down with bobby pins. So here’s the fun part take your smallest curling iron that you have and this is the Conair, I think this is a half an inch maybe even less, I do not know how big this is. But I will find out for you and, I have a link down below and we are gonna make this top part very curly and messy. So continue curling and the best thing or the trick that, I like to do is take smaller sections to have the curls more defined you can also take the curls and alternate the directions. If you want after you are done curling, I take some bobby pins and to give it more of a mohawk or a fauxhawk look, I just take the side sections on each side and just pin some sections away to give a little bit more polished look on each side. So there we have it it is definitely a lot more sexy bold and creative and definitely a lot of fun, I hope you guys like this one. Because, I love it, I like the sleek.
But it is crazy on the top it is kind of like a reverse full hawk love this one what do you guys think Oh wear it or had it nice it is like a beanie a reverse beanie on the top yeah. So what do we think are the first two creative hair styles do you guys want to see more of them, I definitely want to create more hope you guys enjoyed it leave a comment down below thumbs up this post do not forget to hit the subscribe button. If you are not subscribed already my name is mulatto and welcome to my blog. But for now, I will see you guys in the next one bye.
Maybe You Like Them Too
- Tamar Braxton A Life in Music
- Sunny Hostin A Biography
- Steve Coogan A Life in Comedy
- Sterling K Brown A Biography
- Stephen A. Smith A Biography


