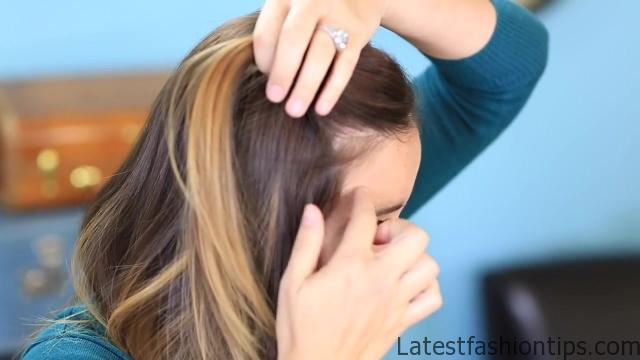
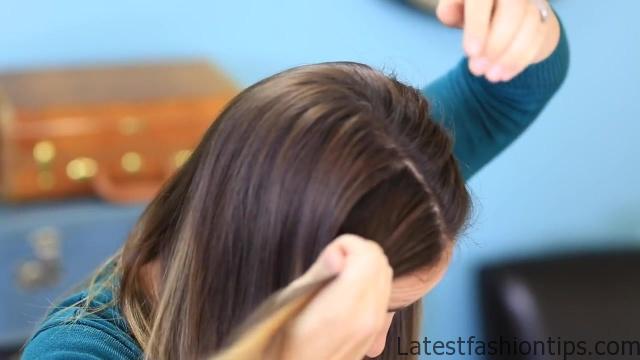
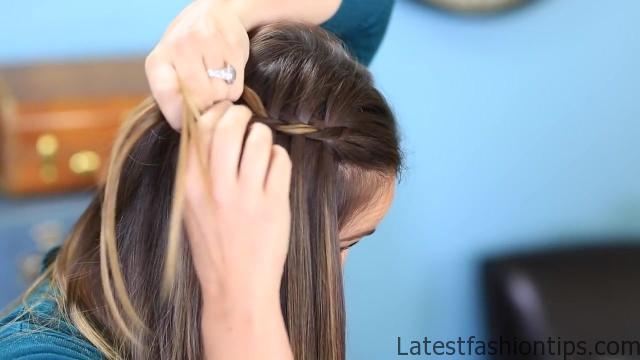
Hey everyone. I’m Abby from LA. And today I’m going to show you how to create the do-it-yourself version of the four-strand waterfall. And you guys have been requesting this like crazy, so I’m finally going to show you how I do it on my hair. You can see that I have just in a middle part, and I’m going to do one on each side. So it will look fantastic when we are all finished. OK, now as I said before, I parted my hair in the middle, and I’m just going to do one on each side. And I have already do on the left, you can see right here. So now I’m going to show you how to do this side. So I pick up a section, and I usually go kind of like end of eyebrow, mid-eyebrow, just kind of go back and straight up. You still want some hanging down above you ear, to look pretty. And you are going to go up towards the center part, so that you kind of have a square section of hair. Went back a little farther on this one than I want. So when they look pretty much even to you, then you are going to divide it into four pieces.
DIY 4-Strand Waterfall Braid Hairstyles Photo Gallery
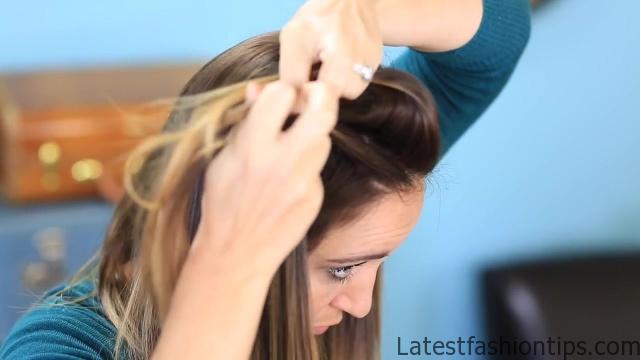


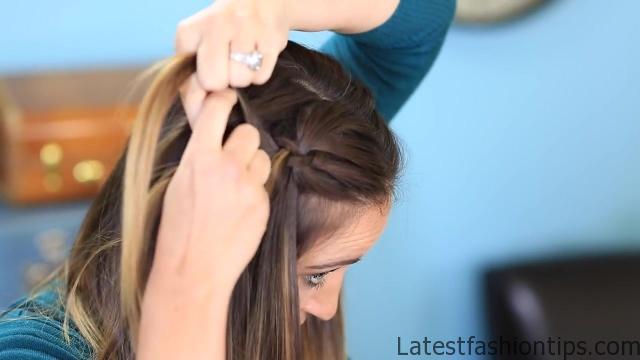
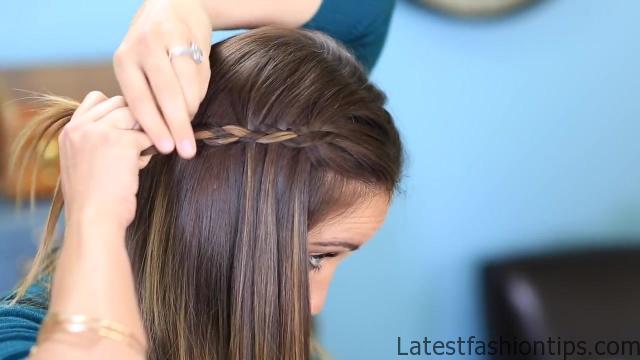

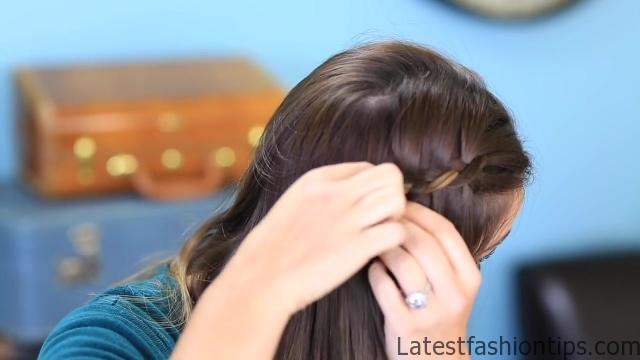
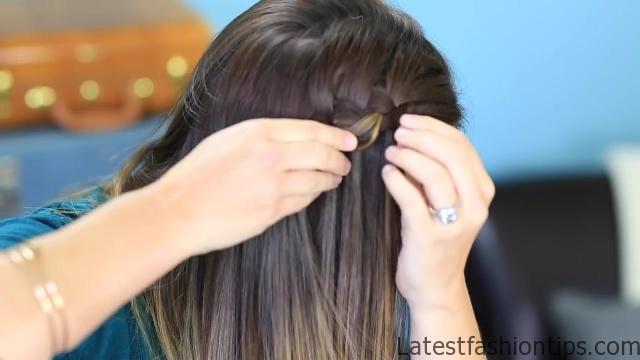
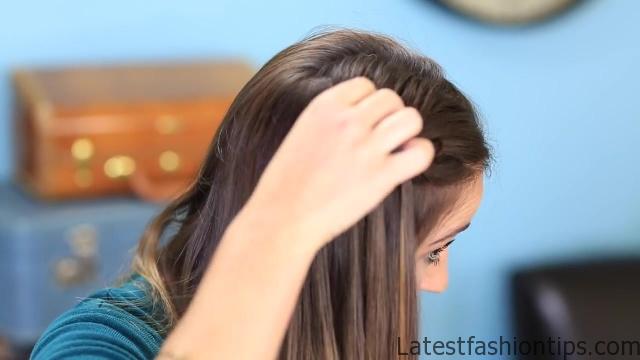
So one, two, three, and four. And we have four sections right here. Now we are going to take this top section, and we are going to go under the next section, and then over, and then back under. So we have essentially just weaved it through. We’re going to let it land, lay flat. Now we have three pieces, and you want to do one stitch of a Dutch braid. So we are going to take this middle piece, and we are going to cross it over the bottom piece, and then we are going to cross it over the top piece. And that creates one simple stitch of a Dutch braid. And then we are going to go back to the top, and we are going to pick up some more hair, and this becomes our fourth strand again. So now we have four strands, one, two, three, and four. We’re going to go under, over, under, and let it fall. And then remember, we have to create that Dutch stitch again, thread across the middle one, over the bottom, and then take the middle piece, and cross it over the top again. And pick up some more hair. So now you can see at this point we are just sort of into the repeat process. So fourth strand, under, over, under, let it fall. Middle strand, over the bottom, and then over the top, like that. Add in more hair. And go under, over, under, let it fall. Middle section, cross it over the bottom, and then over the top.
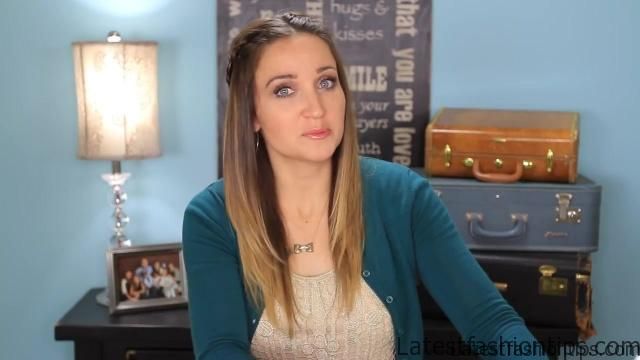
And at this point you can just finish off the braid, or you can keep going, whichever you prefer. My hair’s kind of short in the front, so I’m going to go ahead and finish it off. And what I’m going to do is take the braid, make sure it lays nice and flat. I’m going to lift up the hair right here, kind of flip it out of the way, and take two bobby pins. Not worrying about the poof, because you can work with that in a minute. I’m going to cross one right here, up and over, take the other bobby pin, and cross it the other direction, so we make like an X on the hair, which holds it tighter. Than I’m going to bring that hair back up and over, and let it fall, and kind of help us hide those bobby pins. Now, when you get to this point I like the way that looks, but I’m going to like it even better once I pancake it. So I’m going to go back in here, I’m going to find those little loops, and just go ahead and stretch them until you like them. So you can stretch it as big as you want, or as little as you want, just depends on your personal preference. Sometimes it helps if you just kind of hang on to the bobby pins so they do not slip out of place while you are pulling on your hair. Then what I like to do is kind of add a little more volume, because I do not want it super slicked on both sides of my head. So I go back through and actually pull on the waterfall pieces, just a little bit, and give them just a little bit of lift in my roots, so that it adds just a little bit. And you see the difference right in here. It just adds a little woof, instead of going pffff so, like, slicked on your head. And then you are finished, and you are done. Let’s do the finished spin. Ta-da! I think it looks really pretty. It almost feels like a little crown I’m wearing. It’s kind of fun. It would have been a great one for Coachella, I think, because it kind of has a little bit of a hippie vibe, which I love. Hey, so I was wondering the other day where all of you guys are from. So roll call, leave a comment below, and tell me where you are coming from, you viewers. I bet we are coming from all over the entire world, but I would love to hear it. It’d be so exciting for me to see where my posts are showing, which is awesome. So be sure to like, comment, comment, all of that good stuff. And we will see you guys next Sunday. Bye, guys!
Maybe You Like Them Too
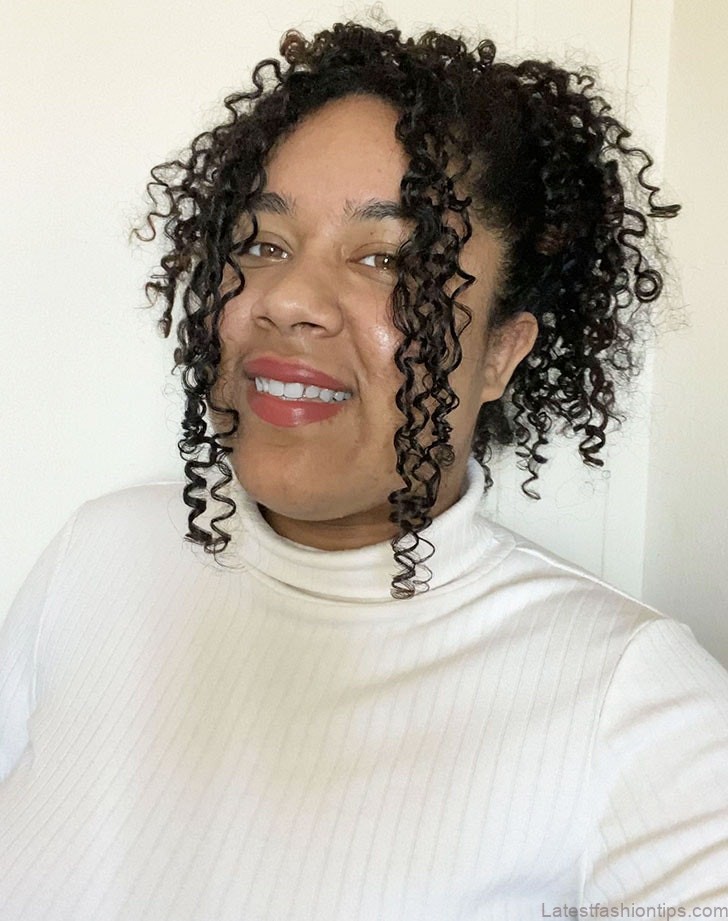
- Celebrating Natural Black Women’s Hair: A Guide to Gorgeous Hairstyles
- Short Hairstyles For Women Over 60
- 20 Thrilling Twist Braids Style to Try This Season
- The Top 10 Asymmetric Hairstyles
- 10 Gorgeous Shaggy Bob Hairstyles To Get You Out Of A Style Rut

