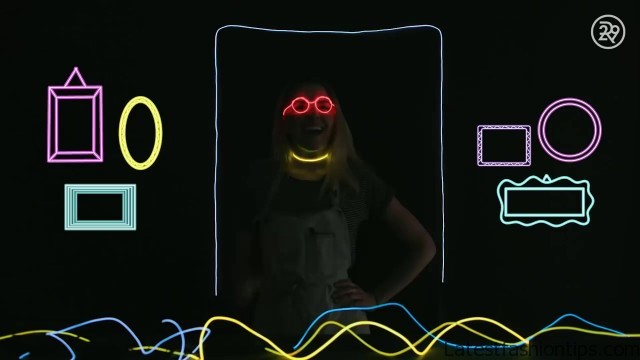
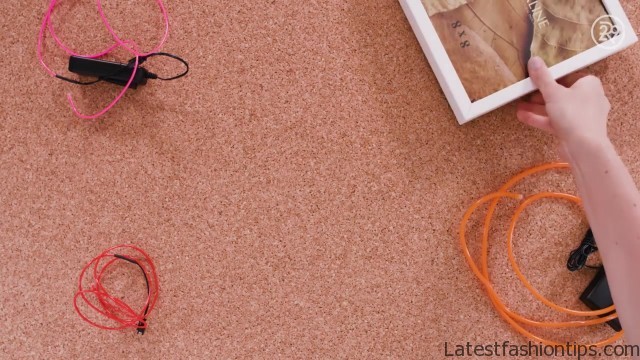
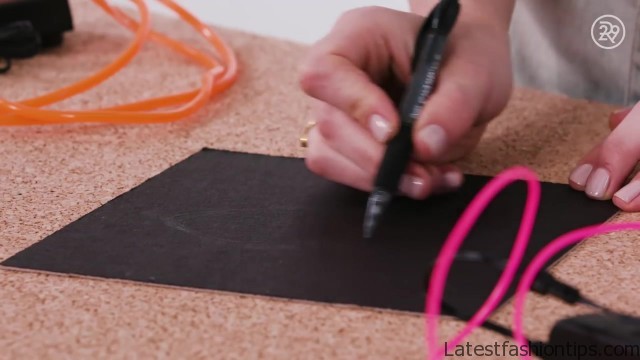
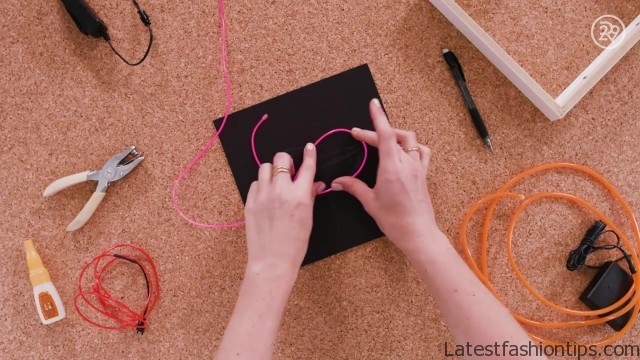
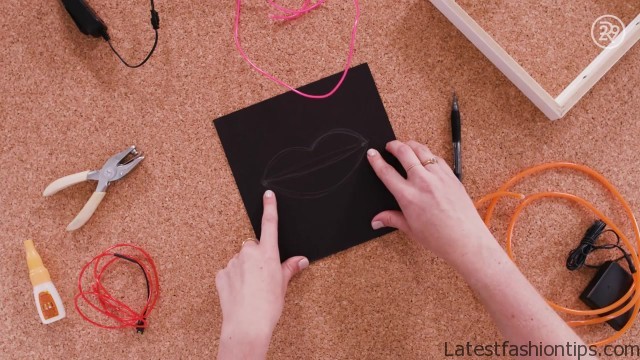
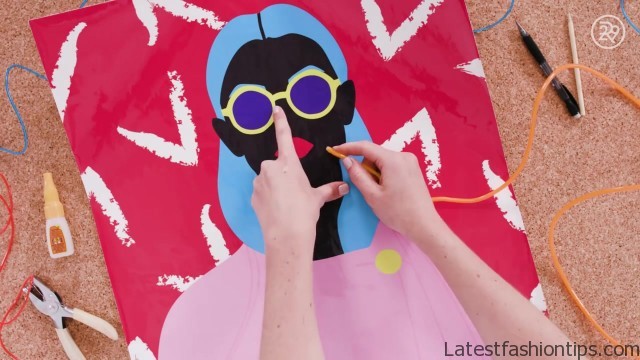
Hey! It’s Bea. I do know you’ll be able to’t see me however I’m within the studio prepared to point out you find out how to make some customizable neon indicators. Let’s get to it. So I’m getting collectively all of my provides for this practice neon signal. Crucial factor you want is neon. You’ll want a body with particle board backing, one thing to attract with, a gap punch, and a few loopy glue. So take the body. You’ll see the one I’ve has about an inch of house which you’ll want to cover the battery pack. Take away the glass from the body and hold the cardboard backing. If you need paint this or embellish it, now’s the time however I left mine black. Now you’re going to hint your design onto the board. I’m sketching a pair of lips. Hold this in thoughts: the easier your design, the simpler it is going to be to put down the neon wire. The sketch doesn’t should be good as a result of it’s only a normal highway map on your neon wire and as you’ll see, it has a thoughts of its personal.
DIY Custom Neon Sign Tutorial Photo Gallery

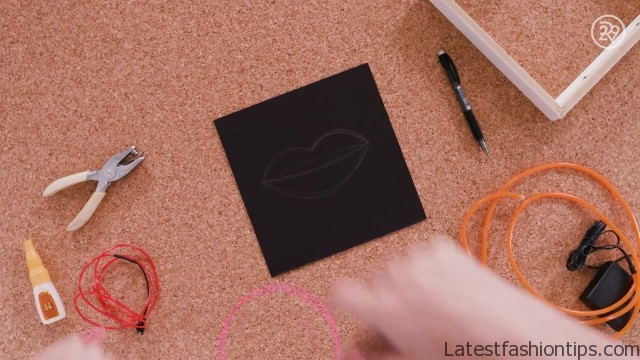

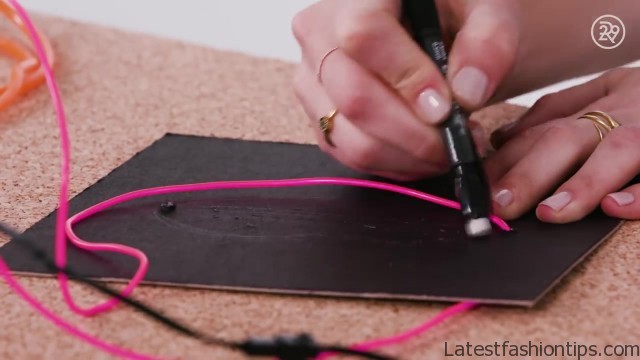
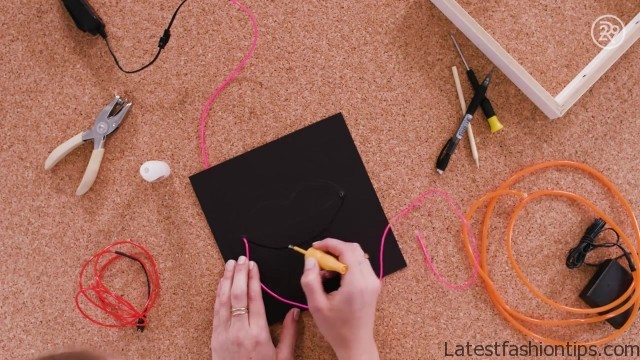
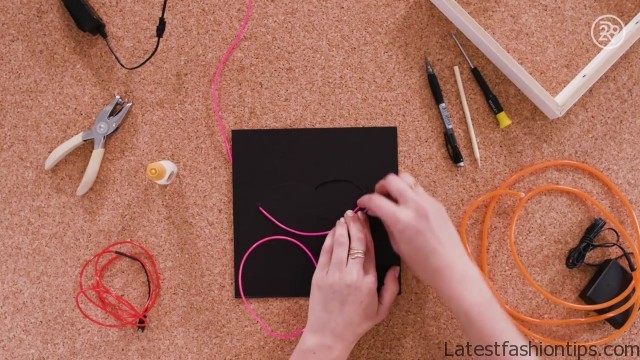
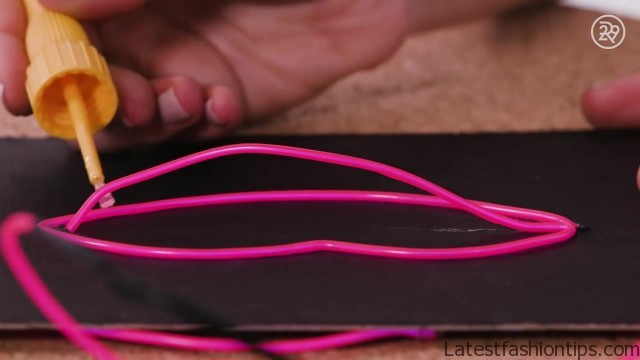


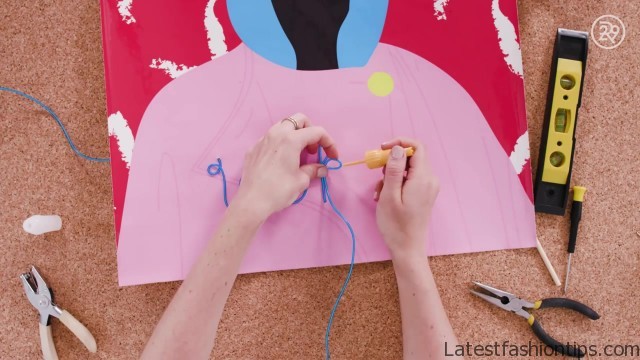

Now right here’s the tough half that requires some drawback fixing. Like an actual neon signal, you wish to discover a solution to create a single line of neon to cowl your design. Step one is figuring out entry and exit factors for the wire the place it is going to be thread by the cardboard. This design is fairly easy so I solely should make one entry and one exit level. Seems the outlet punch isn’t going to work so I’m utilizing a small screwdriver to make a gap. Hold the holes small to begin. You possibly can at all times make them greater. Now it’s time to string the wire. Pull out greater than sufficient so you’ve got additional on each ends. I’m going to put out the wire over my design yet one more time for good measure. Then I’m going to eliminate a few of these additional pencil strains. Now it’s time for the loopy glue. Watch out with these things as a result of it’s actually loopy. I discovered a bottle that has a brush head that can make this half rather a lot simpler. Hint your design with the glue and start to put your wire. Ensure you get the wire into a spot you’re keen on as a result of the glue will dry rapidly.
How To Make A Neon Signal That Says No matter You Need
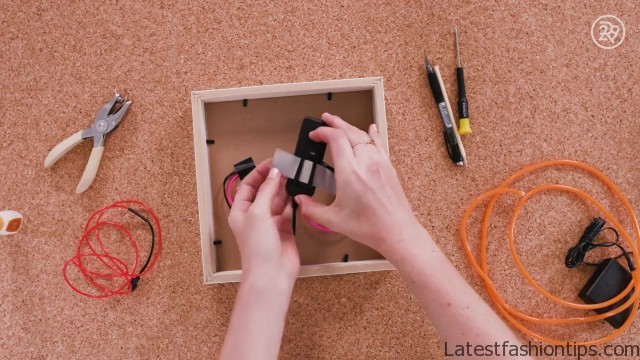
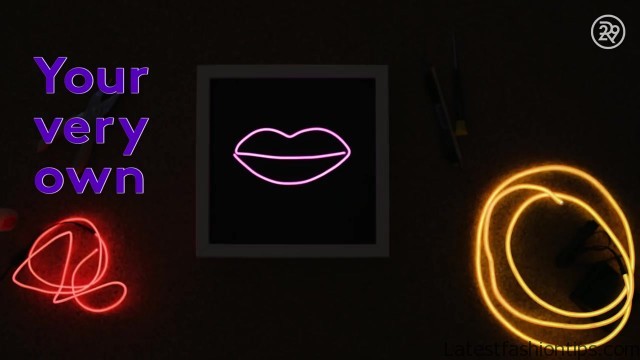
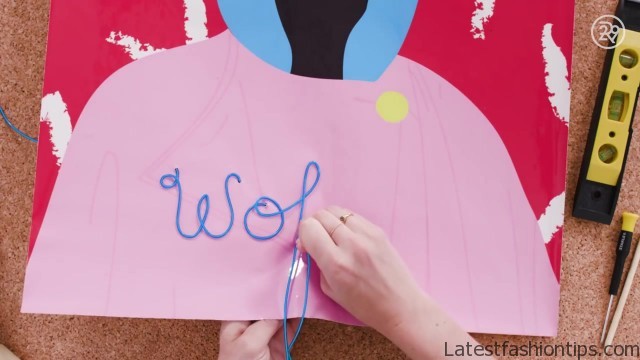
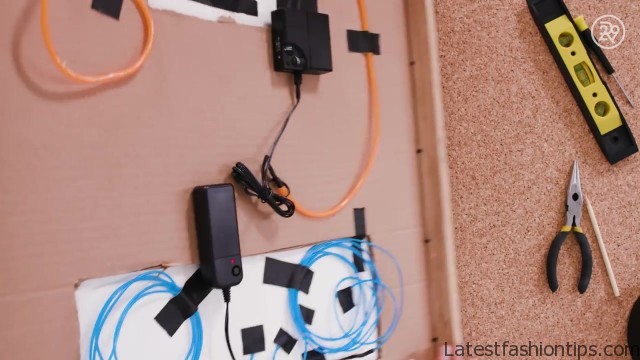
Once you come to a tighter nook you’ll be able to manipulate the wire by pinching it. Lastly, the house stretch. I’m feeding the tip of the wire by the exit gap so I can lay the final line. This time, I’m placing some glue straight onto the wire. Now it’s time to get your board again into your body and safe the wires. I’m utilizing some sturdy tape to safe the pack and further wire to the again of the body. Don’t neglect to maintain the facility button accessible! Drum roll please. There you go. Your very personal neon signal. To me, an much more thrilling approach to make use of neon is including it to preexisting artwork. I’m going to brighten this funky poster with neon glasses and the phrase woke on her shirt. I like this as a result of you will get actually inventive with actually any piece of artwork you’ve got. So I’ve all my instruments and I’m going to begin with the glasses. Once more, you wish to hint out a single path on your neon wire. I make my entry and exit holes and thread the wire by, giving myself sufficient slack on the back and front ends. Utilizing the loopy glue.
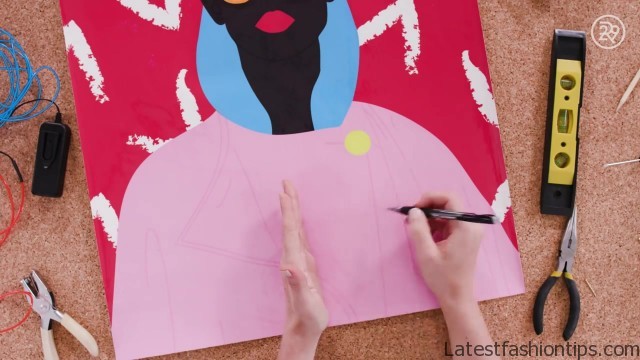
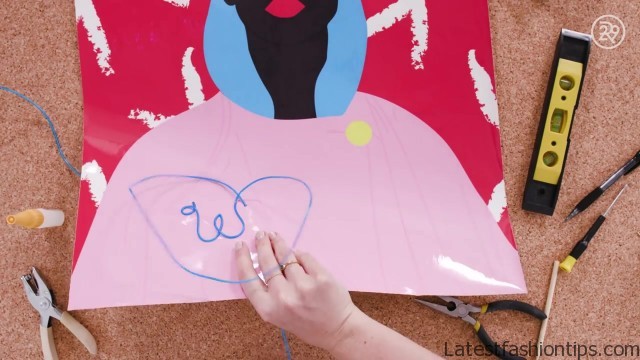
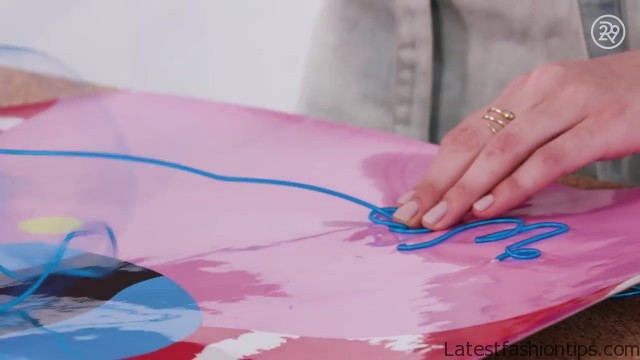
I hint the trail and begin to lay the wire, little by little, making changes as I am going. This half is a bit tough so I actually should bend the wire to get it to do what I need. The final circle after which I pull the wire to the again. Just a little additional glue to safe a few of the edges. Now, onto her shirt. I’m simply flippantly marking out a rectangle so I do know my boundaries and a lightweight tracing of the letters so I can house them out evenly. Now I’m able to poke the entry gap. I’m feeding greater than sufficient wire by so I’ve loads to write down with. I’m utilizing pliers to get a decent crimp within the wire for the bend in W. And out by the exit level to complete the primary letter. Transferring on to the O, I’m roughly gauging the place I need the highest of the letter to be. I make an entry gap and feed the wire by. Right here’s an O I’m proud of so I’m going to attach it down. So onto the Okay, which I’m going to do in two components as a result of it’s a little sophisticated. First, I make the stem, which exits on the backside. After which I deliver the wire again in for the small loop.
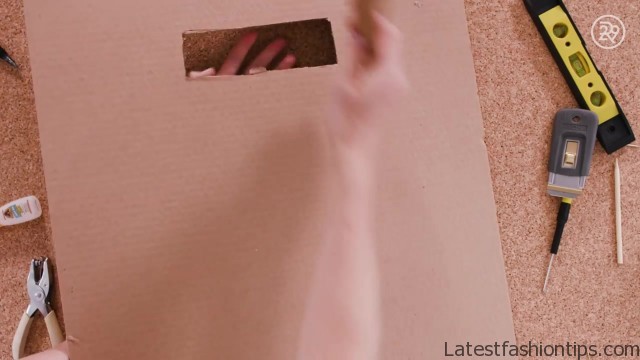
Crimping with pliers to get the proper form and eventually gluing it down. The E is fairly straightforward. After I glue it down, I make the ultimate exit gap and thread the remaining wire by earlier than securing it. Lastly, earlier than this child goes into the body, I’m going to strengthen it with the cardboard backing that got here with the body. I’m reducing some tough holes to suit across the additional wire and battery packs. Lastly, I safe every part to the cardboard with tape, shut up the body up and… We obtained ourselves a neon woke bae. And there you’ve got it. A simple DIY to make your very personal customizable neon signal. Thanks for studying. click on on remark button to remark to my weblog. click on on remark button to see extra posts. And remark under with any hacks you wish to see within the studio.
Maybe You Like Them Too
- Stephen A. Smith A Biography
- Steny Hoyer A Life in Public Service
- Sheryl Underwood A Life in Music and Comedy
- Scott Walker A Life in Song
- Sara Evans A Biography

