Hey! I’m Bea, post producer at my blog with a side hustle as a professional organizer. On today’s post, I’m meeting a beauty influencer who’s getting a fresh start. Hey Bea! It’s Deepica and I’m in major need of your help in organizing girl. Like, my apartment is a complete mess.
DIY Makeup Organizer Vanity With Selfie Camera For Deepica Mutyala Photo Gallery

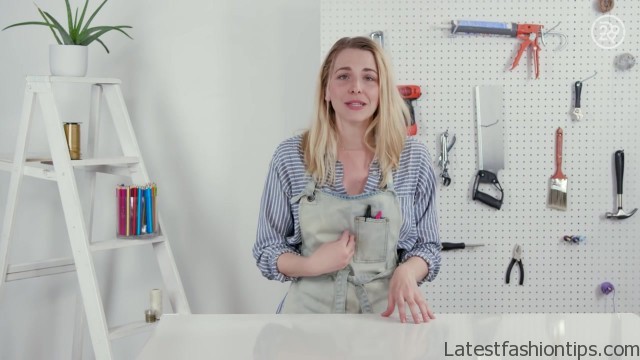
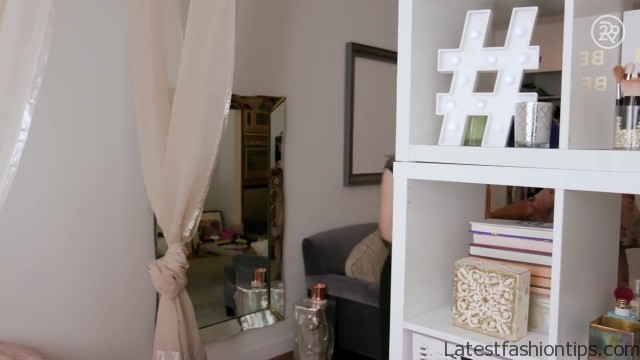


All that there is, all my beauty disaster chaos. Please, please help. Being a beauty postger, there’s a lot of amazing perks to it, right? I’m obsessed with makeup and I get like, every couple of days, maybe ten packages of makeup just sent to me. I feel like I didn’t have that person to look to. There wasn’t a person that looked like me doing this for people to look up to. My main concern is that like, literally I’m living here so you can see there’s like the couch and I have this divider space for where my bed is. I have my soft boxes here because I also post all my post tutorials here and my products are just everywhere. This is my vanity where I get ready but it’s also where I’m gonna post my tutorials. Okay, cool. So you do have like a designated shooting space? Ish. That’s the whole point of, in my little baby studio apartment, I want to find a way to separate a section in some way that it’s like where I post my tutorials and I can permanently have it there which kind of feels impossible in a small space like this but I feel like you can make it so it’s possible. We can do anything. I hope so! Well, looking around, I certainly have my work cut out for me. Yeah, thanks girl. Thank you for that. What kind of budget are we working with? So I think.
DIY: Makeup Organizer AND Vanity With Selfie Camera
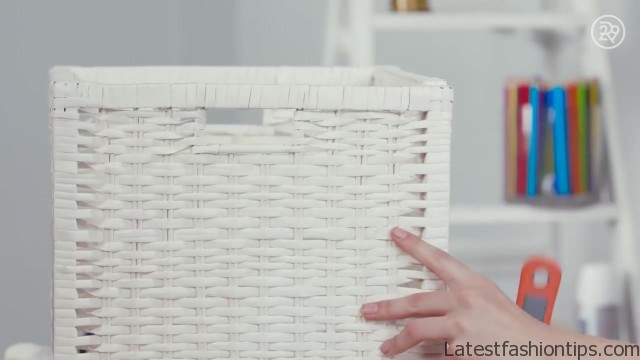
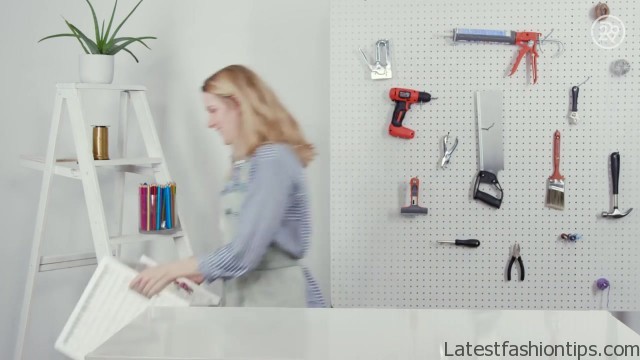
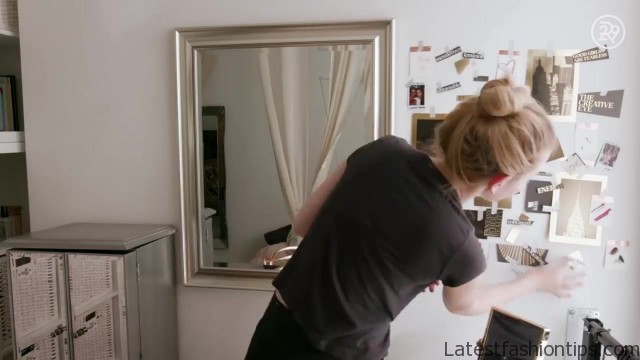
I want to adult a little bit, like I said, and I think I’m willing to do a little more than I thought I would just because it’s my work space and I really want to get it right. So something around $400? Okay. Alright. That is a healthy budget. Okay good. We can certainly go along way with that. Amazing. Thank god. So we’re gonna transform your life. Yes! Let’s do it! I’m so ready. Alright, let’s go. Because Deepica works at home, it’s really important to her that we build in some more work-life balance into her actual space. Now, she is one of the hardest workers I’ve ever met so this is really important to me that I get it right. I’ve thought a lot about it and this is what I’ve come up with. Deepica has that huge white book case but right now the baskets are just a bottomless pit for makeup.
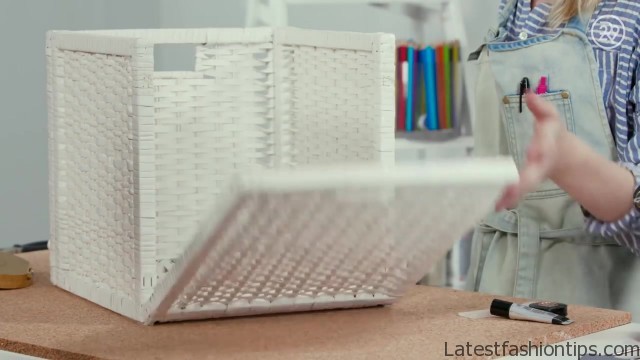
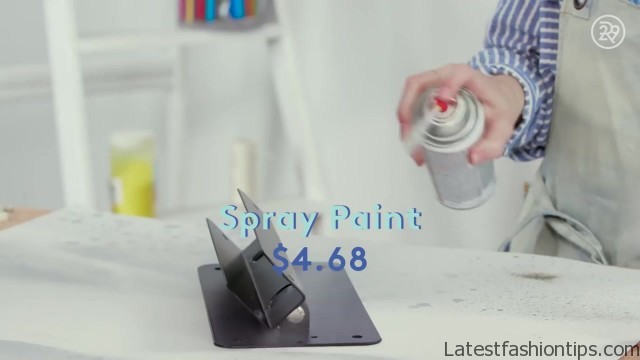
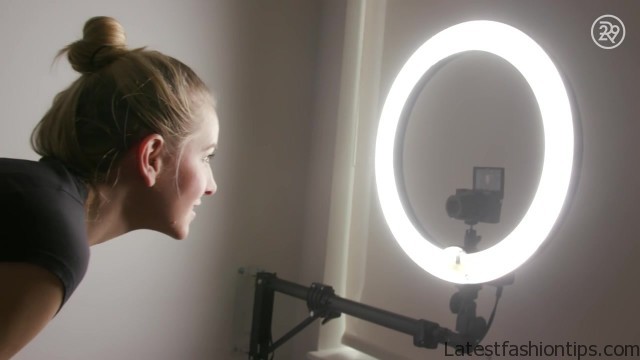
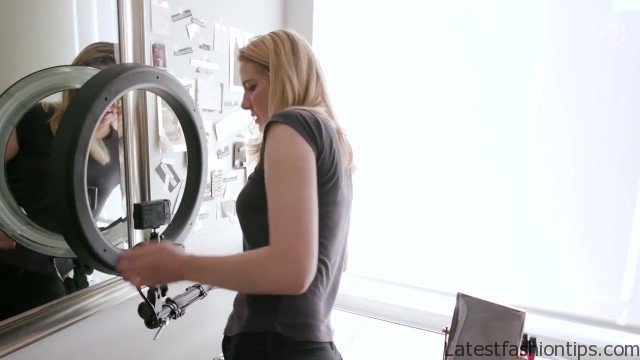
First, I’m going to take off the side so I can reattach it as a hinged door. I’m adding velcro to the top corners so they stay up when the bin isn’t in use. The last touch is adding acrylic organizers that are great for makeup because you can see right through them to the product. Okay, now things are gonna get a little bit messier. I’m making custom embossed labels for Deepica’s new bins. I printed out a font I thought Deepica would like and I’m tracing over it with an embossing pen. The next step is covering the text in gold embossing powder and finally, heating it with the heat tool. I’m cutting them down to the perfect size so they fit on the front of the baskets. I found this great wall-mounted arm that is going to hold Deepica’s ring light and camera for her beauty tutorials. I’m just doing a quick fix of spray painting base so it blends into the wall nicely. Two coats and this is good to go. Alright, now that I have my hacks I’m ready to go move them into Deepica’s apartment. Let’s go. Oh no! This is not working. This arm was going to rotate flush against the wall so that she could hide her ring light right against the wall. It’s not closing flush so that is a big problem.
I need to think about this. I need to figure out a better solution. I found a solution. It’s this new arm. It goes flush against the wall which is exactly what I was looking for but it was double the price of the other arm so I have to tell Deepica it’s really eating into the budget. But for now, I’m ready to install it. Is this thing on? Okay I’ve officially installed your light. I’m almost ready to bring you in. Alright, I’m done. It’s time to go get her. Can I guide you in? Yes! Oh my gosh. Come with me. Just like, yeah. You know you’re bookshelf. I know my bookshelf, okay. Bookshelf’s still there.
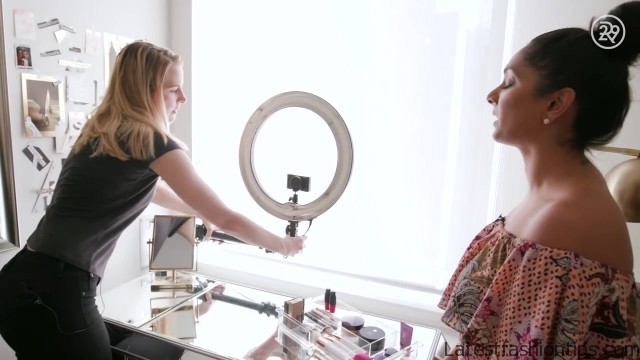
Alright, stop right there. Okay. When you’re ready. I’m not. I’m not mentally ready for this. I’m excited. Okay. Mentally prepare. Okay. And take it off. Oh my god. Wait, are you serious right now? This is crazy! So wait. Like, that’s like permanently gonna be there? So that is like your studio setup. All you need to do is press power on your camera and you’re ready to make a tutorial. This is out. We’re kind of in makeup setup right now, right? Right.
Deepica Mutyala Video Desk Organization Tips
We just slide this away. Stop it! Put it over here. I can even take it a step further. Like fully make it go down? Oh yeah baby. This thing can disappear. All the way down. More than half the work was just the setup. I mean now, matter of seconds. Oh my gosh. I’ve never seen this so clean. I don’t like, understand. You have your inspiration board that you crafted. It’s beautiful. There’s more. And then here. This is your wall of product.
We, you know, we got some glossy gold. I know! They look so embellished! They’re embellished, it fits with your metallic, glossiness. And then inside, you know- And it just like flaps down? Totally. That was so smart. You can see everything you’ve got. Genius. And like the ones that are sets are together! Not only is this tutorial zone, but this is also storage. I mean, this is your go-to. But it’s still beautiful enough to where, if it’s the backdrop of posts, it’s actually cool. Like, it is my life. Multi-purpose. I actually didn’t think this would be possible without living in Los Angeles. All I really did need was just some dedicated space. Okay so I have to tell you something. Oh god. We talked about budget in the beginning and you gave me a budget of $400.
Yes. And so I took that and I went to town- This is..Like, the fact that this could even be $400 makes no sense to me. Well, okay. I ran into engineering issue with this amazing light. Okay… And basically, this one cost double what I was expecting but it meant so much to me to get this right for you so I splurged on it, I went for it, and I think you’re going to be happy with it. I went $67 over budget. Oh. I don’t even care! I live in a studio and most people have like full offices and this is my office. To be able to budget out $450 to create an office space? It’s worth it. Yeah. Perfect. I honestly like, can’t thank you enough. You literally changed my life and you didn’t even know it! Like you really did. Thank you! Bea, you just left my apartment and I just had to send this post to tell you, you’ve changed my life.
That’s me turning on the ring light because I’m going to start posting a post right now. I feel so motivated and so excited. Thank you, thank you again. You’ve changed my life. Thanks for reading. Thanks for reading. Comment below with any DIY hacks you want me to make in the studio. click on comment button to comment to my blog and click on comment button to see more posts. Bye!.
Maybe You Like Them Too
- Stephen A. Smith A Biography
- Steny Hoyer A Life in Public Service
- Sheryl Underwood A Life in Music and Comedy
- Scott Walker A Life in Song
- Sara Evans A Biography

