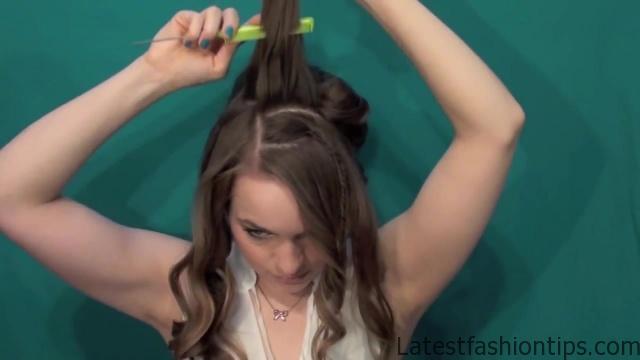
Hey girls Keely here with another wedding inspired style. I really like this one cut that’s really easy but it looks hard. So you can kind of trick people into thinking that you did more than you really did it is always good um, and then. I think it is good for either if you are just a guest on a wedding or if you are a bridesmaid or if you are a bride it fits a lot of different scenarios. So I think it is really good. And I hope you guys try it out. Because it is a lot easier than you think. I did derive some inspiration from a picture. I saw online but the is not anywhere near to the original style but just further accurate. I did get inspired by a picture that. I saw online to create this. Because. I figured life you guys have probably seen the picture that, I will talking about. So that’s that. And I hope you guys like this. And I will see you in my next tutorial what bye first you are going to bump it take a section at the apex of your head, and go ahead, and tease up the hair shaft just a bit, and then take a corresponding section on either side, and tease up that as well that way you get a nice full bump, and then go ahead, and smooth it back.
Easy Vintage-y Updo Photo Gallery


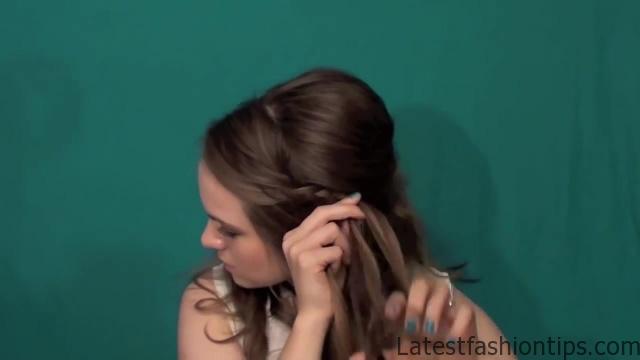
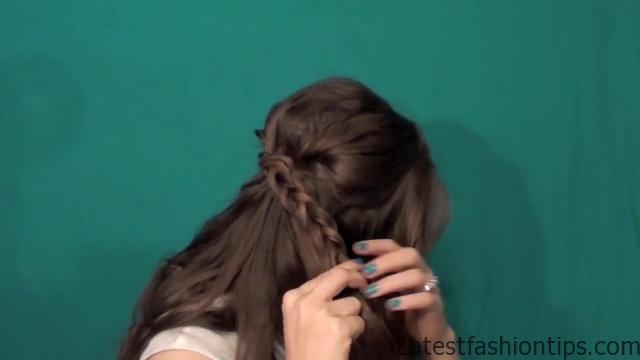

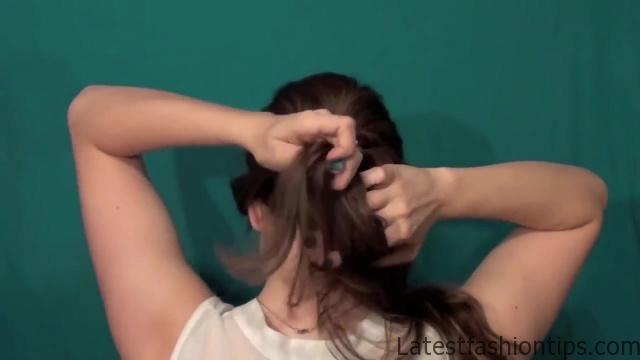
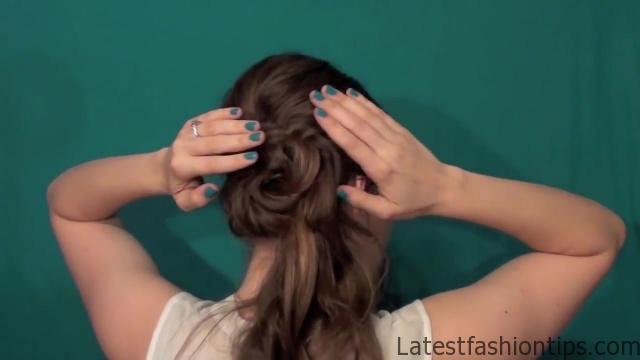

So that it does not look messy but it still looks nice, and voluminous, and then pull it together, and bobby pin the base of the bump somehow. I miss getting footage of that then you are going to braid it now basically you are going to take a small section from the front basically all the hair in front of your ears, and you are going to start Dutch braiding backwards, and we are going to Dutch braid only including your hair from the top, and you are going to follow the outside line of that bump. So you can see right here we are kind of Dutch braiding backwards, and keeping that right along the edge of where we have put that little bump, and then you are going to actually start Dutch braiding with the hair that comes out of the bump, and now you want to be really careful here not to accidentally pull the bump out. Because that’s really easy to do. So make sure that you gently separate the hair before you braid it in, and do not pull it on it at all then just spray maybe two inches past where you have the bump, and then braid normally down the hair then pin into that braid just to give it some stability. So it does not end up pulling the bump out as well, and that’s it for our braiding step next step is to loop it, and the is going to get all those little loops that we see at the bottom take about a two or three inch section wrap it around the two fingers, and then just roll that up against your head kind of like your hair is on a roller, and pin it into place, and that’s really all we are doing in this step is creating these little rolls up against your head, and you can see here, I will taking another section, and then you want to position it right next to the previous section, and just continue that until you have all the hair except for the hair that’s coming out of the braid incorporated.
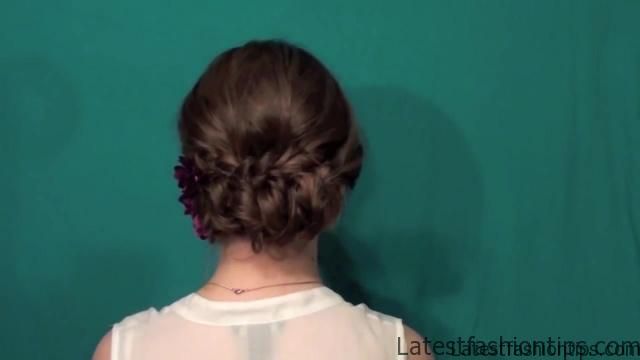
So you have got this one, and then pinning that into place, and then we are going to go ahead, and arrange the hair from the front. So take the hair that’s left on the front that hasn’t been incorporated yet. I went ahead, and stuck a bobby pin halfway through it kind of picked up the hair, and put it underneath, and pin it in place that way it comes back really nicely, and seamlessly now with the hair from the braid you are going to go ahead, and take it back, and create little loops going back into the loops that we already made it is going to create a little bit of texture, and also it is going to help us to get more hair on that left side. Because the right side is very heavy. Because we braided all the hair over to there. So the is going to kind of help to even things out a little bit. So here, I will creating my last loop, and just placing it you want to be watching yourself in the mirror as you are doing this. Because you need to place each of these loops very carefully. I had to do this without a mirror, and then. I went back, and repeated these same steps with the mirror. So that you can see the is a little bit my end product is a little bit neater than the first one that. I did. Because. I could actually see what. I was doing but when you are watching what you are doing it is actually quite simple. Because you are just looking at it placing a chopper needs to go, and pinning it in place, and it stays really nicely, and here are some more hairstyles that corresponds to the one that. I just showed you. I think these all go really nicely with it. So if you like the style you will like those also if you are trying to plan like some bridesmaid hairstyles these all go really well together. I hope you guys like this, I will see you in my next tutorial bye.
Maybe You Like Them Too
- Celebrating Natural Black Women’s Hair: A Guide to Gorgeous Hairstyles
- Short Hairstyles For Women Over 60
- 20 Thrilling Twist Braids Style to Try This Season
- The Top 10 Asymmetric Hairstyles
- 10 Gorgeous Shaggy Bob Hairstyles To Get You Out Of A Style Rut


