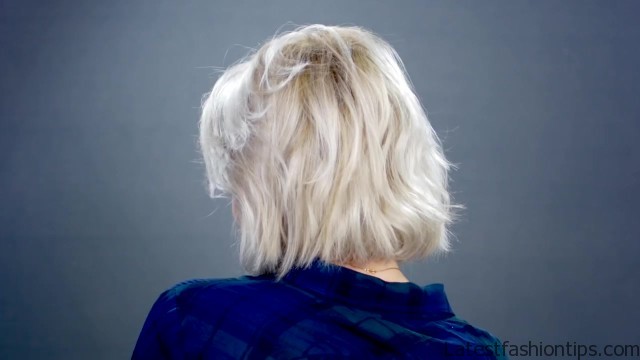
Well hello, I see you made it back for some more hairy posts today we are doing or talking about 10 different ways to part your hair sounds very exciting, I know today, I have compiled 10 different ways to part your hair some of which will help enhance your natural face shape and features and then some others will add a little bit of mystery to your hair life. So overall these are super easy to accomplish there’s so much fun to see your face and hair transform to like a whole different other person hello, I’m Alana and I’m Sally the pretty one it is a blast and you guys will love it alright. So the first part is the middle or the center part and this is like that classic natural way of where your hair falls.
HOW TO 10 Ways To Part Your Hair Photo Gallery
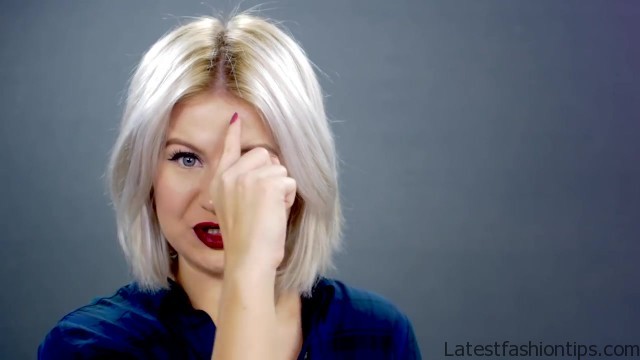


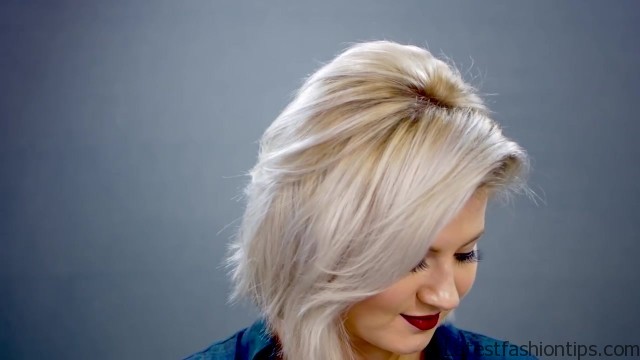
So the center part is a very Universal part. Because it looks good on majority of the face shapes. But you can really transform these 3 face shapes round oval and oblong. So obviously now everybody falls under the same face shaped category for example some days, I feel that my face is a little bit more round than usual. Because, I maybe ate like 10 cakes the previous night or it just depends on how, I did my makeup. So let’s say for example I’m feeling a little bit more round, I will take these front fringes and literally lay it as close as possible to my cheeks on the really outer portions on my eyebrows and this will create like that shadow cast on my face giving that illusion that my round face is a little bit longer than it actually is and this helps give my face a little bit more symmetry and it just overall helps me feel not as round. So for the oval face shape that’s what, I usually have I’m good days.
So what, I like to take these front pieces and just slightly open up my face just a little bit. So there’s not as many harsh shadows right around the cheek area. So let’s say you fall under the O blog face category this is where your face is a little bit longer vs. browned, I just love taking these front hairs and just taking them a little bit back and exposing and opening up my face all the way this just helps make your Oh Blanca face features more proportional and more Electrical without making your face look too long. If you are already parting your hair in the center give this one a try this is the off-center part where it kind of gives a nice play off the center part with a more modern chic look and also it gives a little bit more volume to the roots of your hair which is awesome are you guys ready this is very difficult take a finger any finger and go either on right or your left side guys I’m kidding it is super easy take your finger just a little bit off-center click an inch or. So and then take it to the other side. But leave the rest of the hair right to the center and this just gives a play off the center part with a more modern chic look.
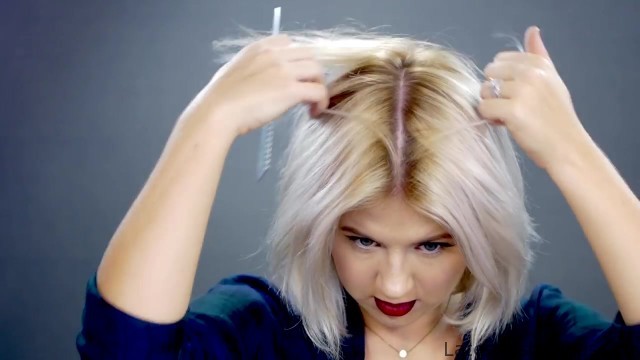
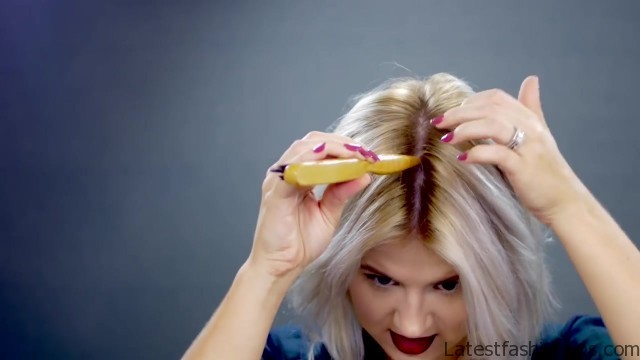
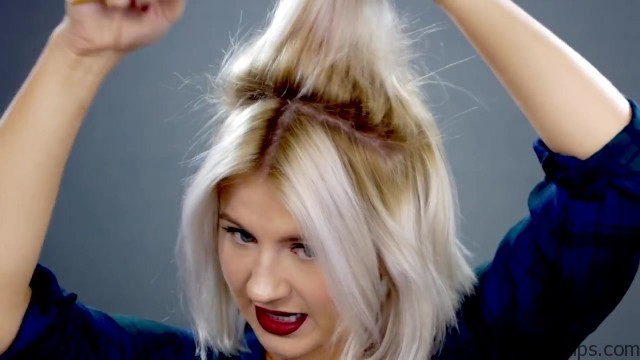
So this next hair part, I like to call it the tee part and this is kind of the opposite of when you have banks. So when you have bangs you usually have your hair centered right in the middle and then you have your banks full on right here right let’s create that tee part take your finger or your rat tail comb, I like to take a rat tail calm sleep a little bit easier to control and then I’m gonna start about like halfway on the top of my head and I’m just gonna drag it down straight take this hair back and then do exactly the same thing on the other side just follow the same line and then take the hair back. So let’s bang it from the back. So instead of having bangs in the front we are gonna have bangs in the back. So it creates that nice t part. So I’m going to take this section have a teasing comb on hand and I’m just gonna tease this hair just a little bit to give it more volume and create that shape and hold I’m just going on each side you can go as big or small as you want I’m just gonna call my back just a little bit to get rid of some of those knots take some hairspray and set it in place and I’m using the Loreal Elnett satin hairspray extra hold unscented you can take a little bit of hairspray dry shampoo or dry texturizing spray just to add a little bit more hold to your little bank portion in the back this just gives your hair that 1950s 60s vibe, I love it. If you wanted to dress it up just a little bit more get like a silk scarf and do a really it and just place right here kind of like underneath your hair looks super cute.
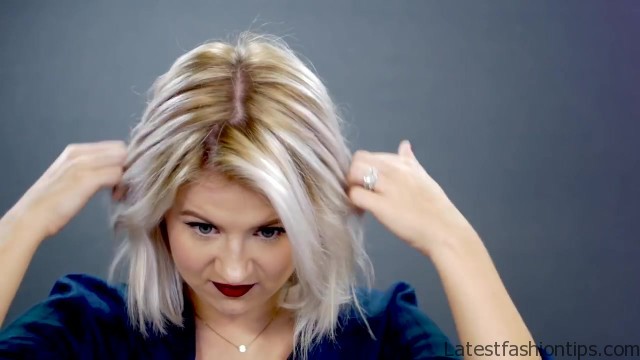
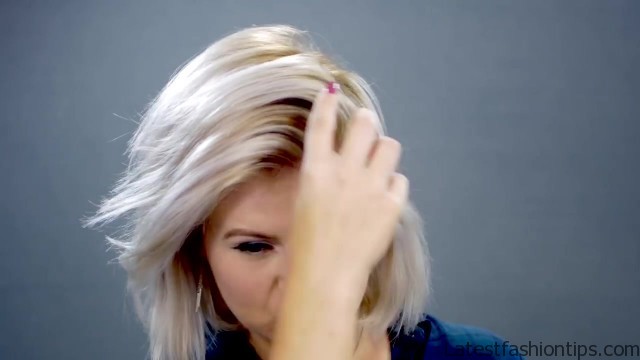
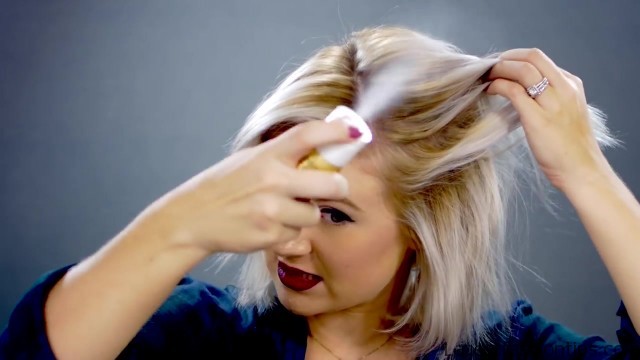
So this next part is like my signature look it is where, I feel my hair looks best is the deep part either side will work I will show you on both what it looks like. So I will just go on the right side first and, I like to take it as far as possible as, I can as my hair will allow let’s put it that way. So, I just take my fingers and, I do not make it perfect whatsoever, I just take my fingers all the way to the crown of my head and, I take it as deep as, I can. So you see all of that a volume love it my favorite. So the reason why, I part is. So flattering and every face shape is. Because it helps highlight and expose your face features for example your eyes and your cheekbones and what, I like to do an extra step is take the hair that’s on the parted line take it right behind the ear and, I like to take all of it that’s in the front and this just help expose my cheekbones even more in my eyes and it just looks.
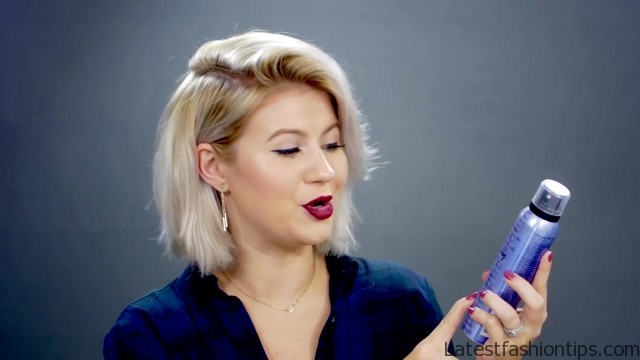
So flattering. So to help you achieve this look that will last all night long is, I like to take some kind of volume thickening spray and this is one of my favorites the bumble and bumble thickening dry spun finish, and it is really great product where it adds a little bit more volume and hold to your roots. So when, I make a nice deep part, I take this spray and, I take it to the hair that’s lighting down the other way, I hope that makes sense and then just kind of working it with my fingers. If you want you can tease it a little bit underneath to add a little bit more volume as well just like. So just take it in little sections and then for this side to make it nice and smooth just take some hairspray on your teasing comb and just brush the side down and, I like to play with my different sides, I do not always part it to the left or to the right, I like to play with my hair same thing. But it still looks totally different right taking it to the other side. So for this next deep side, I like to call it the mysterious side the reason why is.
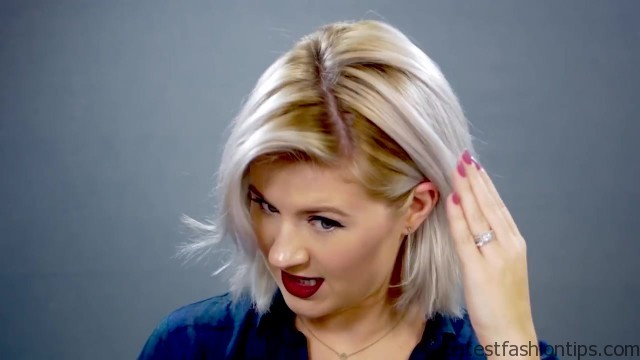
Because some of the hair is going to lay across one of your eyes that’s on the opposite side of the part. So I’m starting the deep side on my left side and instead of the hair kind of laid towards the back or towards behind of the ear I’m gonna take these front hairs just gonna take a brush I’m gonna brush them forward on top of my face I’m gonna take this behind the ear just to kind of open up the other side. So it is not closed off and just maneuver your hair a little bit. So your face is not totally closed off take a little bit of hairspray. So, I just love the way this looks it is deep. But it is kind of going on top of my forehead and a little bit of my eye just adds a little bit of mystery and kind of suspense to your look and your face and, I love this for like a date night you can leave it like this nice and straight. But I’m going to do a little bit something extra I’m going to take my curling iron this is a point seven five inch.
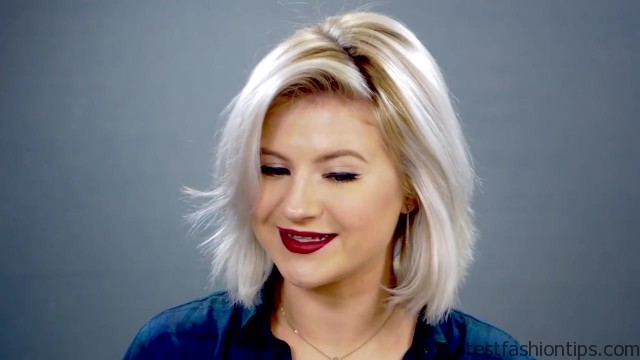
So as a three-quarter inch and I’m going to take this like front section right here kind of like this fringe I’m gonna do it very lightly kind of give it a little bit of a vintage wave and there you have it it is a little bit different take on the deep side this part is really great. If you have a cowlick instead of taking your hair up you want to take the hair going a little bit down towards your face and this just helps hide it and kind of make your hair lay a little bit better this next part, I like to call it the deep Hollywood soft glam look. So it also plays off with your hair going sort of down towards your face. But it is not as intense. So, I what, I like to do is just pick up this side just a little bit and to help maneuver, I just use a little bit of hairspray and, I like to spray it right in the front take any comb this is my teasing comb and, I like to kind of comb it back into the side just like that and hold it while I’m combing take a little bit more hairspray just to the very front you can go up as high or as little as you want. But it gives a little bit more sophistication less mystery. But it still enhances your features on your face that’s why it looks great on.
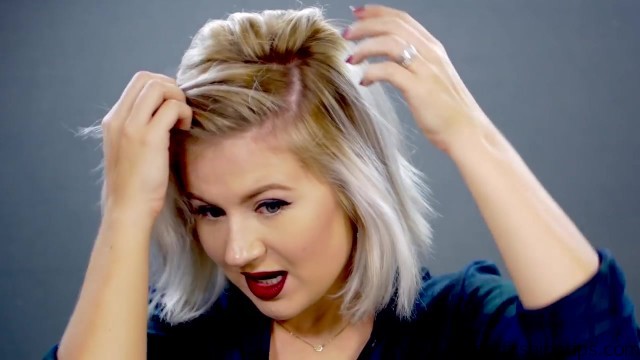
So many face shapes. So these next two parts take me back to the 90s and early 2000s. Because they were super popular the first one is the W part and this is literally where you create a W on the top of your head. So both of these parts are really fun to wear and they are really practical. Because they give your roots lots of volume and. If you are blonde like, I’m or you color your hair a different color than your roots and they are overgrown it will help them hide a little bit better you can go an extra week without getting your roots done that’s my secret right there. So I’m going to start off with the W part first and I’m gonna do it on a more deeper side it does not matter which side go on about it on the other side of my.
So a rat tail comb comes in handy. Because you want to be a little bit more precise or maybe you do not go to other side. So I’m gonna start off here with the ends right from the front hair I’m a cricket idea at all just gonna fix it and then do exactly the same thing as a diagonal to the other side and as you can see it creates that W shape one two three four and it just gives your roots dimension and it gives a nice playful look to your hair overall. If you have side bangs, I think this part looks. So beautiful. Because it adds a playful romantic look to your roots. But in general it looks great and every face shape.
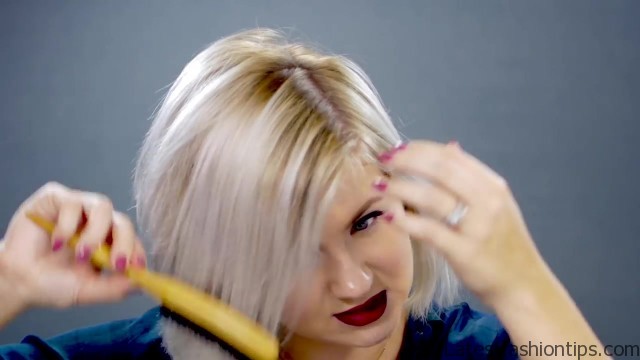
So the zigzag part it is super simple you just follow your part with a zigzag I’m going to do it right in the center you can do it either Center or really deep parts as well take a rat tail comb I’m going to start off just a little bit off the center part and go diagonally back and for this you do not want to pick up your comb at all until you get to the very back. So as you can see, I went back and I have cleaned up my hair I’m just gonna clean it up a little bit. So it does not look too crazy and. If you want you can spray some hairspray on top. So it stays in place and there you go it is super easy it is fun it is playful. But yet. If you have crazy roots like sometimes, I do you just go in there create a zig zag and it will look much better my hair is looking all sorts of crazy right now alright.
So the next part is what, I like to call the number 7 part. Because you are literally creating a number 7 in your hair line. So what, I do is, I take a deeper side does not matter which side to go and then, I take it about like 3/4 of the way in and then from there I’m gonna do it straight across to the other side creating a number 7 and then taking that hair I’m taking it towards the back of my head and this just gives more volume to my crown and it does something different to the side and do the same thing to what, I did to the tee part tease your crown hairs a little bit to give a little bit more volume and then to secure it add some hairspray this part it gives a nice modern spin on the tea part where it kind of reminded me of like a 50 60s housewife where you feel like that scarf around your head, and it is like nice voluminous crowd that’s what that reminds me of last. But not least, I call this the diagonally centered part kind of resembles the Leaning Tower of Pisa. So what, I do is, I start on a deep side and I’m going to start right in the front and I’m going to diagonal it right to the other side of my head take that hair and bring it over and, I like to make this one as straight and clean as possible. Because it gives a very nice look to help this diagonal part stay nice and sharp I’m gonna take some hairspray and then just take these hairs and kind of comb them towards the back take a brush and just polish it up, I love that it is so simple. But yeah it looks.
So cool and it looks like a completely different hairstyle look at that volume that it gives, I mean yes yes please. If you want to take this part to the next level go to the side where it is nice and deep take this hair behind your ear and this will just help flatter your face features a little bit more like your cheekbones and your eye and it will exaggerate the diagonal even more. So easy but. So effective and there you have it the Leaning Tower of Pisa part. So there you go my ten ways to part your hair, I want to challenge all of you out there for the next 10 days part your hair differently and let me know how it goes and have fun with it thank you so much for spending some time with me and reading this post, I hope you guys enjoyed it. If you did give it a thumbs up and I will see you guys very soon in the next one, I love you all very much bye.
Maybe You Like Them Too
- Tamar Braxton A Life in Music
- Sunny Hostin A Biography
- Steve Coogan A Life in Comedy
- Sterling K Brown A Biography
- Stephen A. Smith A Biography
