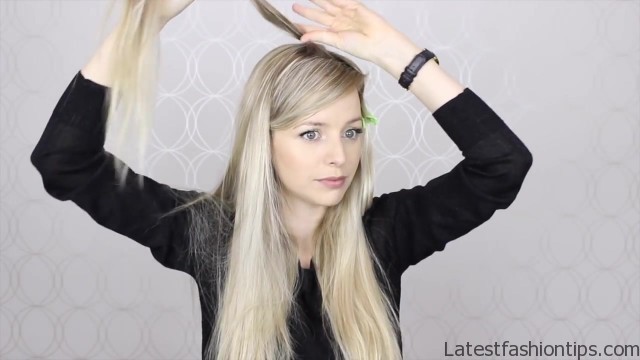
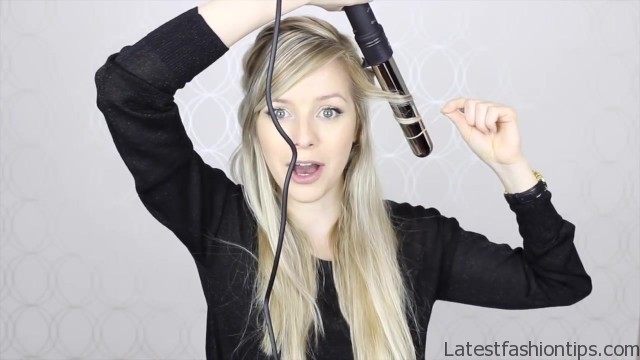
Everybody how’s it going.. I’m so excited to share this haired Shore with you guys today because this is my favorite hairstyle for summer and, I do not probably say that with every single one of my tutorials but this one really is it just looks. So difficult and different and, I love it and, I’m going to show you guys how easy it is to recreate. So before we get started you are just going to need a handful of these clear elastics probably about five or six of them and then you are going to need a hair clip that can clip out large sections of hair now you wanna make sure that your hair is brushed free of knots or tangles curly wavy hair does not matter mine just happen to be straight today. So you want to pull your hair on the side slightly deep and then the side that has the most hair is the side that we are going to make the braids go down. So we are going to be creating four sections on the back of our head and for our first section you just want to follow your part down and then along the side of your scalp like this. So that’s our first section.
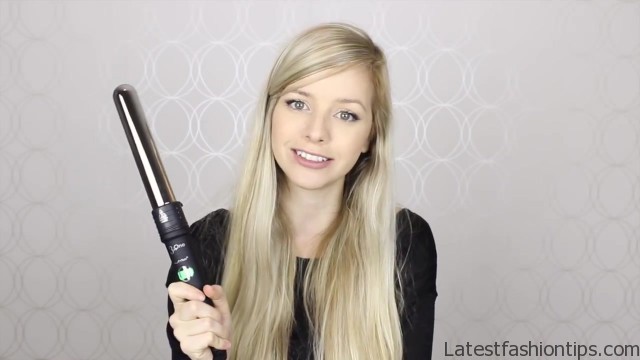
HOW TO Pull-Through Braid Photo Gallery


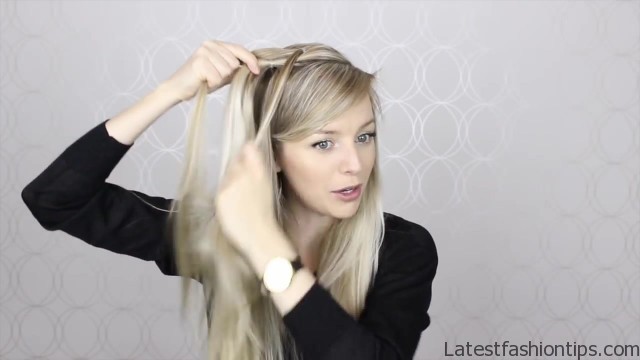

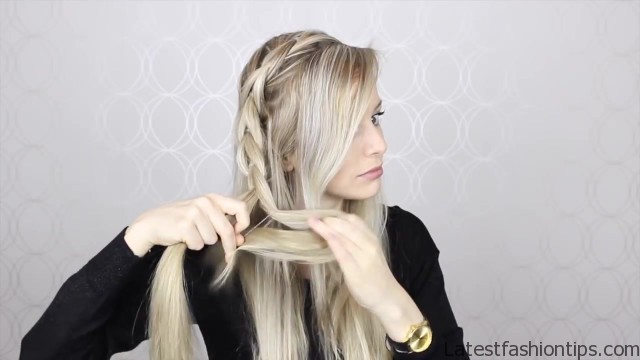


So, I’m going to have to turn around to show you guys where to secure these ponytails and how. So oh one thing alright. So for our first section you just want to separate your hair at about a quarter of the way across and you want to make sure that you separate it well. So it does not get tangled wrapping my hair elastic around three times and as you can see my pony’s about an inch high from my neck and just want to tighten it nice and secure. So it is right against your scalp our second section just draw a line right down the center of your head pretty straightforward and make sure that it is at the same height as our first section and secure it off and tighten it now with that first section you want to divide this into two even sections and we are going to pull the second section through and clip it away it is pretty easy once you get the hang of it. So now grab those two pieces that we split in half and we are going to combine that into the third section make sure when you are doing your third section that you are pulling hair from the top of your head as well and try to grab those neck hairs. I clearly missed mine this time around but it didn’t have a mirror.
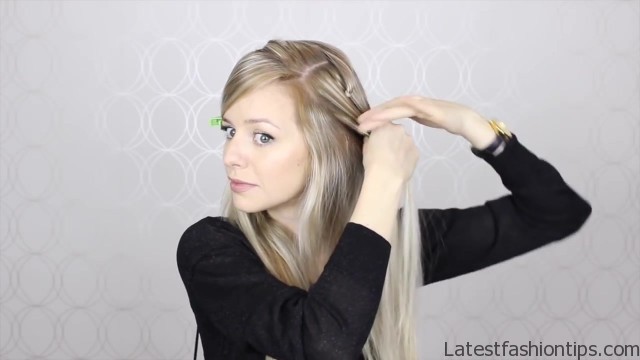
So, I’m sorry. So you just want to tie these ones off with your clear hair elastic and make sure everything is nice and smooth and flat against you. So including our second section divide that into two and we are just going to hold those two pieces around our third section and then what you want to do is clip that third section out of the way. So now with this last section. I’m pulling all the hair from around my face and we are going to secure it with those two pieces, I’m leaving the hair behind my ears down if you find this part confusing feel free to join it into the ponytail but. I want to leave my down and you will see why. So unclip that last section divide it into two pieces and, I’m just pulling it underneath that ponytail you can flip that ponytail out of the way but.
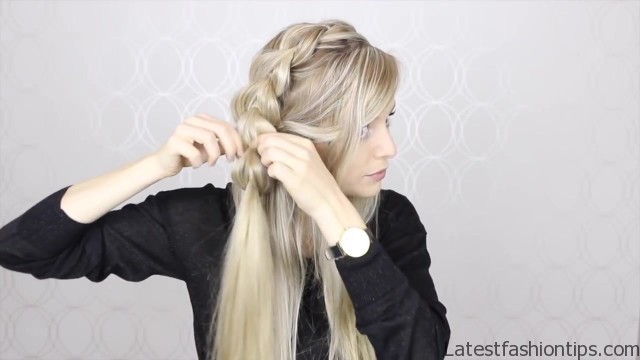
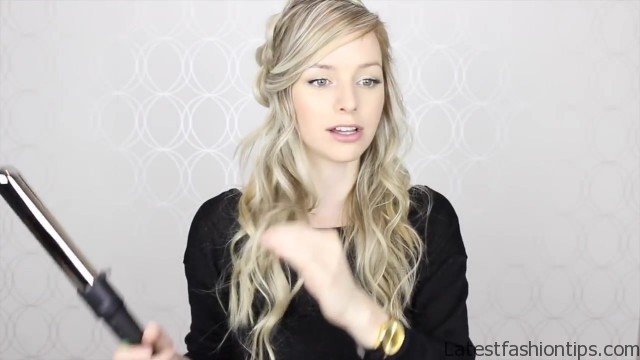
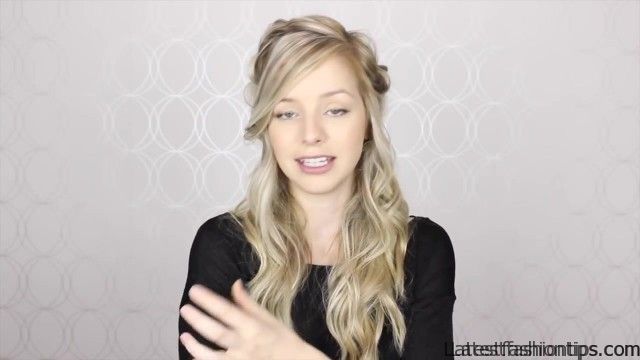
I find at this point it is easy just to leave it out now very less time we are going to do this this part is not secured against our head and, I’m going to join this in now with all that hair that was behind my ear. So, I’m just going to tie that off again if this parts confusing just make one big ponytail and you can go from there when you are finished you should have two pieces like this you will have one underneath and then we have one over top what, I’m going to do before we pull apart our hair is, I’m actually just going to pull out some pieces around my face just to frame it. So it does not look. So big and round if you want to curl these pieces you definitely can it looks amazing if you do and, I’m just going to pull up my hair a little bit just to create more volume as well all right we can keep playing with this after and, I turn around and we are going to pull apart or pull through and this is my favorite part you guys it really makes the look it is awesome okay. So once you are having everything and the way that it looks we can start our fishtail. So the pullthru actually kind of looks like and cheating fishtail. So we just want to continue that look.
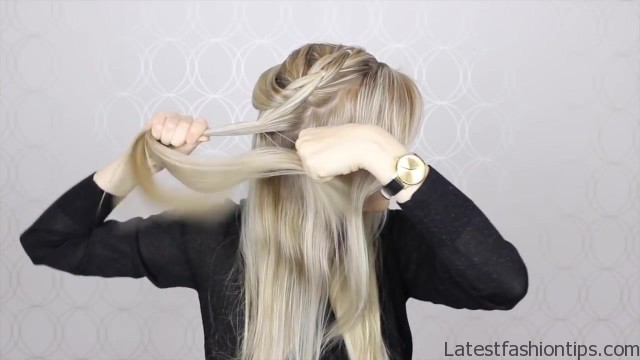
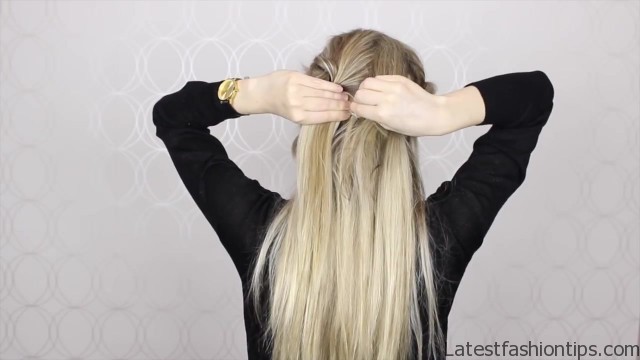
So, I’m going to grab that top section the bigger one and divide that into two equal pieces and you want to try to start the fishtail as high as you can just let the whole thing flows together and we will be joining this bottom section in a bit now because our Poulter’s are so large when you begin the fishtail you want to grab large sections at first and the closer you get to the bottom just grab some the smaller ones. So you scribe outside piece put it into the next section all right. So you can see it is starting to form now what you want to do is we are going to combine it with our bottom piece and, I’m just going to tighten that piece a bit there you go.. So I divided that bottom piece into two and just doing them together and then continue the fishtail you do a couple more large sections and then start doing some smaller ones. So once you into the bottom before you tie it off we just want to pull it apart and, I’m going to start with the top and just pull on the outside pieces just do a little bit at a time if your layers pop out or anything.
So case a Messier is the better. I really hope you guys enjoy this tutorial. I love this hairstyle once you get the hang of it it is so easy to do and lately you guys have been sending me your recreations of my hair tutorials and, I have loved it. So please do not forget to share them with me on Instagram and I will be setting up my Facebook and website very shortly. So you can share them with me there too. So thanks again. So much for reading and, I will see you guys in my next post bye.
Maybe You Like Them Too
- Stephen A. Smith A Biography
- Steny Hoyer A Life in Public Service
- Sheryl Underwood A Life in Music and Comedy
- Scott Walker A Life in Song
- Sara Evans A Biography


