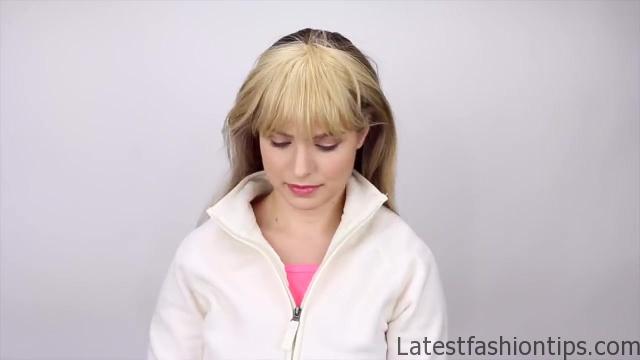
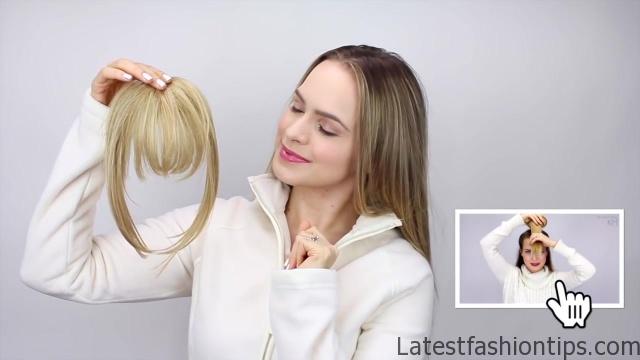
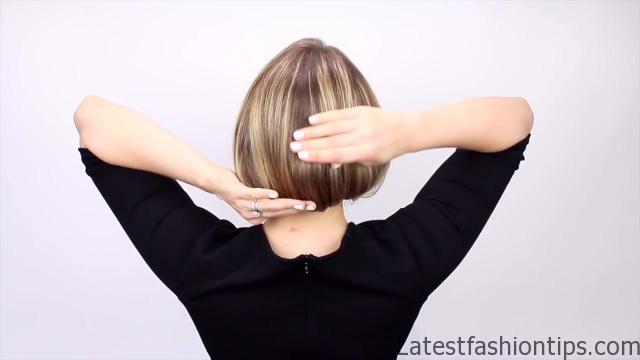
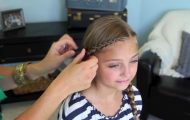
We’re going to be starting with her signature straight hair and then I’m going to be adding in fake bangs to my look you can buy these at Sally’s or even online but if you want to also use my post on how to fake bangs with your own hair it will work for this you are going to start by splitting your hair in half and then you are going to use these clips to secure the bangs in place the two bottom ones go against your hairline the back one goes on top of your head then all that’s left is to pull your hair into kind of a middle ponytail and then after I did that I added in a headband to kind of hide my fake bangs a little bit and because Alison wears headbands a lot once that is done you have your complete soccer mom Alison look together now here’s how to fake Rachel’s stacked Bob start by making a slightly side part and then separate your hair in half from just above your ears to the middle of your head clip the top half out of the way and make a bun with the bottom half you want this bun to lay as flat to your head as possible and actually.
I recommend making a long oval rather than a circle because I had to read you the one that I did here it would stuck out a little bit too much your primary goal here to see this is flat to your head as you possibly can then let the top down tease the under part of that and get it nice and smooth then pull everything into a ponytail right where you want the bottom of your bob to be now I will get it from the front and loosen the hair up so that it looks like a bob rather than a ponytail from the front once that’s done you are ready to go ahead and hide all the hair that’s left over I decided to do that by first braiding all the hair that I had left and securing it with an elastic because I still had kind of long hair left I went ahead and folded it up till I was in a little kind of packet almost and I Bobbi pinned it like that this is going to make it way easier to hide later then all you have to do is fold it underneath and look up so that all the hair falls nicely over the bun and everything then all you have to do is pin it in place.
Orphan Black Clone Club Hair Tutorial Photo Gallery


And you have a nice faux bob if you have any layers that are hanging out go ahead and tuck those up and pin them in place once that is done you are done with your Rachael look for Sara I decided to go with her braided under cut from the first season it started by making a really deep side part and then making a part right around my ear kind of in a circle around my ear and separating that hair out then you should be left with the hair between the two parts that’s going to be what we braid with go ahead and clip everything else out of the way so does it end up in the braid and then French braid that section that.
We have left out that’s really all there is to it just doing a French braid all the way down that section until you have all the hair into your French braid then braid a couple of inches normally and secure it with an elastic now I’m going to curl the hair in alternating directions with a one inch wand I’m going to start by going away from my face once that’s done I’m going to do a curl toward my face then I’m going to keep repeating that going away and then toward my face until all the hair is curled I started on the shallow side of my hair and then on the deep side I’m separating it into two sections and curling the bottom section first and the top section last now that all the hair is curled we are going to go ahead and hide the end of the braid.
So pick up the hair that’s over your ear and the braid move the hair that’s on the top of your head over and pin the hair dress underneath that you can use as many pins as you need once that’s done go to let the hair down and it covers up the end nicely next I’m going to use some texturizing spray through my hair to make it look a little bit more natural and toss fold and I’m also throwing my hair around again natural and tasseled and finally I’m going to scrunch it with some gel I’m trying to get it as natural but also PC and messy as.
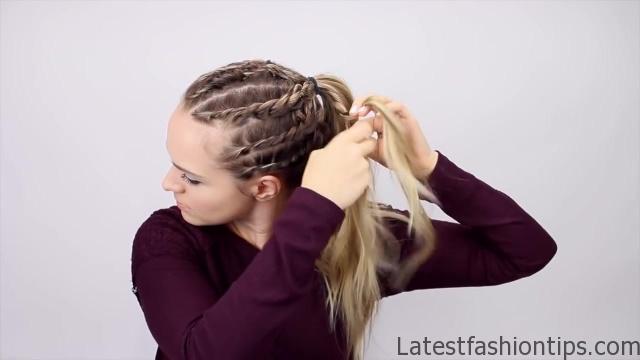
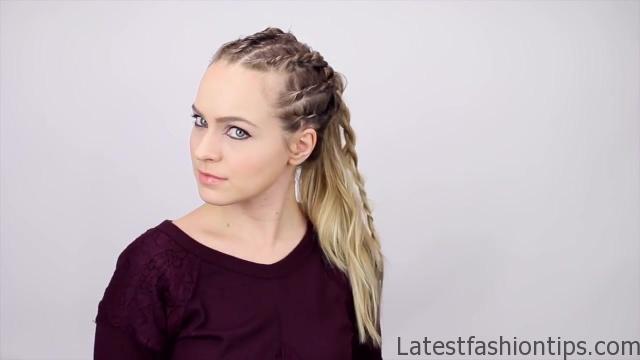
I can and I feel like we kind of nailed the sarah undercut and now it is time for Cosima who is one of my favorites we are going to start by making a row down the center so make a part on either side of where you want your row to be and clip all the rest of the hair out of the way now I’m going to make a flat twist by taking a section of my hair from the very front of that row split it into two and start wrapping it around each other then after you have wrapped it a couple of times you are going to start picking up new hair like you would in a French braid so right there on the bottom I’m going to pick up a new piece of hair join it with one of my sections and then I’m going to twist it over now I’m going to repeat that again I’m picking up another section of hair putting it with the bottom section of my twist and twisting it over and that’s what you are going to keep doing you are going to pick up more hair and twist pick up more hair and twist and that seems difficult to you just twist the hair what you really want to do is get a nice tight twist so that you can really clearly see those part lines at the back go ahead and secure it with an elastic now you want to do three more twists on either side of that middle section so go ahead and take another row clip everything out of the way and repeat everything again so you are taking a small section back splitting it in two and then wrapping the two sections around each other then pick up more hair twist the hair over pick up more hair.
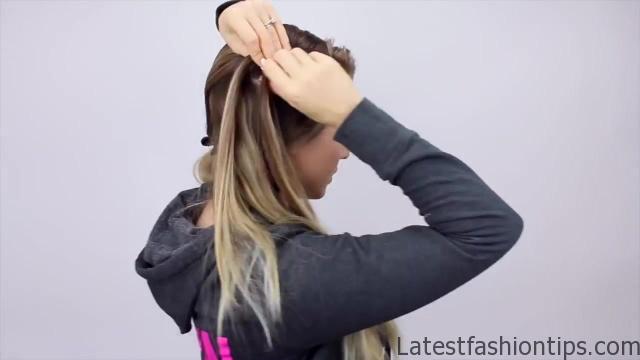
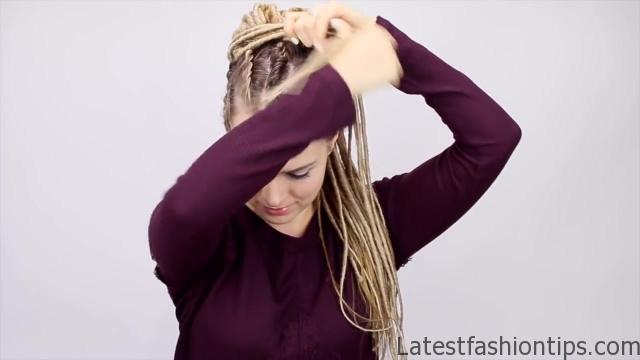
And twists as you go through those sections and that’s really all there is to it you just make these sections and you twist them whether you use the flat twist or you just do a really simple twist that’s all you really have to do is make rows and twist them one thing that did help me was when I got to the end of a row I would do a couple inches of rope braid that way I had a little bit of extra hair to play with when I went to put this hair into a ponytail later so here I’m on the final row on this side and then once this is done I’m moving on to the next side and making three rows once that’s done we are ready to move on to our little dreadlock ponytail collect everything into a super high ponytail and secure it with an elastic now.
I’m going to be using faux dreads to complete this look just because I like how they look but if you do not have that I would recommend doing rope braids and just messing that rope right up as much as you can by massaging it and pulling on it as you go and then once you get to the end you can actually secure it by teasing the end and that way you will have this kind of natural taper to it rather than using an elastic and I think that that looks sufficiently dred like without being as damaging as most of the kind of faux dread methods especially if you had a bunch of those in your ponytail if you want to do the faux dreads.
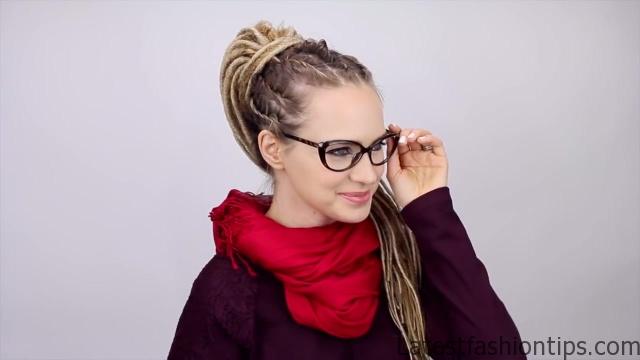
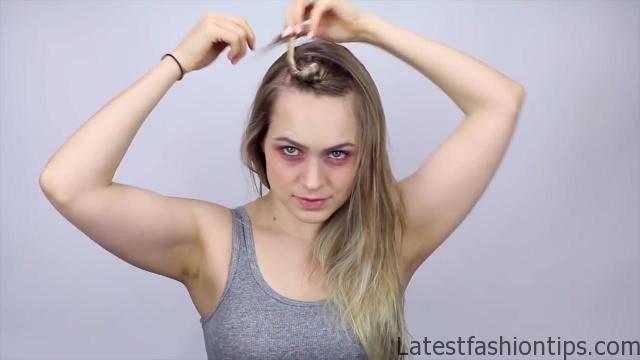
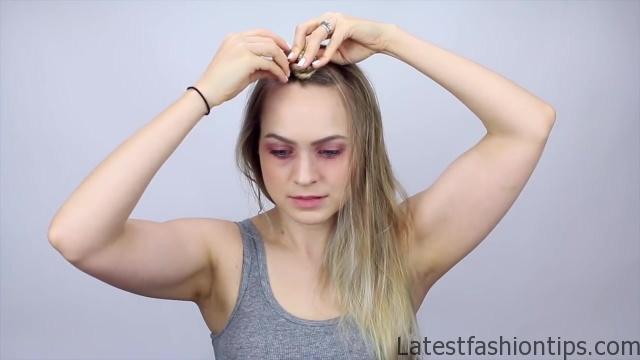
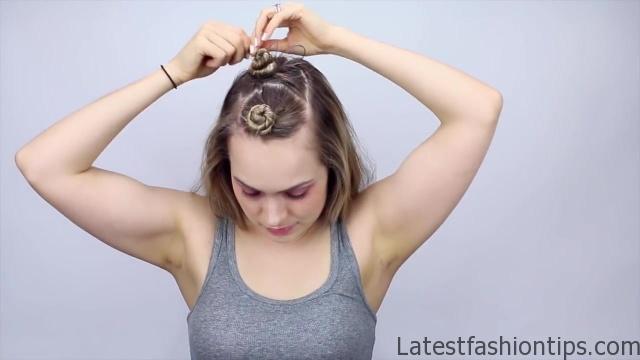
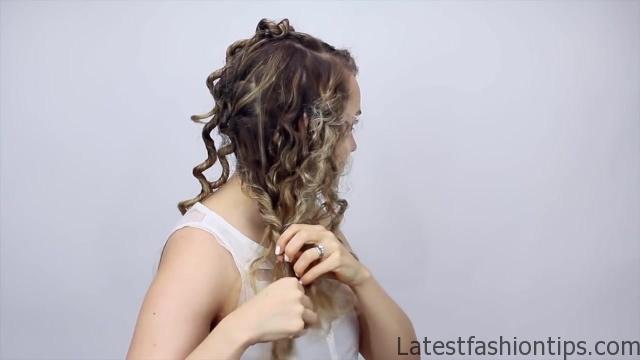
I went my hair into a bun and then I used my dread fall which is basically just an elastic with lots and lots of dreads on it and you wrap the elastic around the bun I’m going to put some information in the description box on these whether you want to make them yourself or buy them online if you want to really go full out on this costume it is a great way to go then you are going to wrap a couple the dreads around the base of the ponytail to kind of make everything blend and just add your accessories and you are done finally Hellena we are gonna get these crazy crazy curls I decided to go for a heatless method so i started by taking a section on the top of my head and wetting it down with a spray bottle then twisting the hair really tight and wrapping it into a bun and basically i continued to do that all the way throughout.
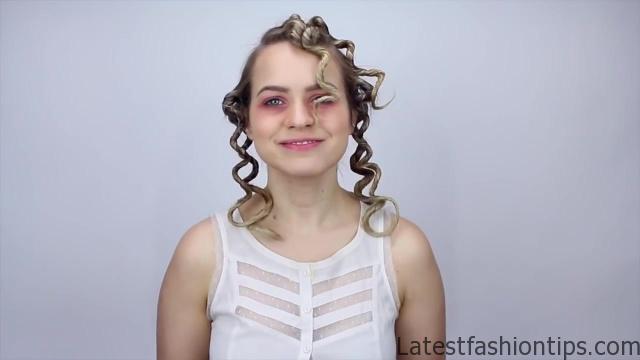
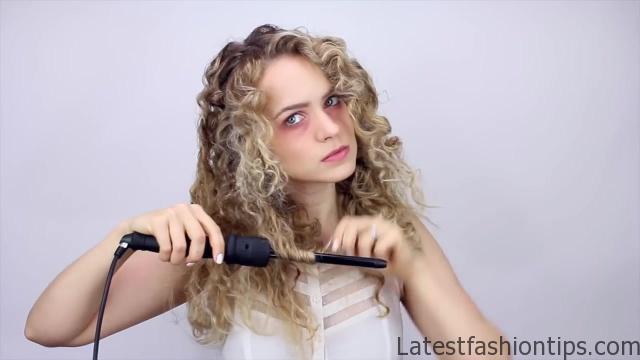
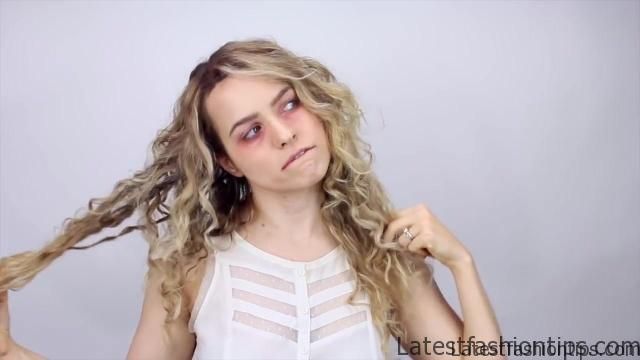
My hair make sure not to twist the ends just wrap them around the base of that bun that way they stay nice and curly I didn’t do that and you will see what happened it didn’t go well for me so make sure you do not twist the ends just wrap them then I did the same thing with another section of hair I sprayed it to get it wet and wrapped it into a bun you do have to get the hair wet and wait for it to dry for this method to work then I created two buns on either side now the more buns you do the tighter and frizzier these curls are going to be and in retrospect I probably could have just done one bun on each side instead of two in the back I went ahead and did two more and then I was terrified by how I looked and I just slept on it and waited for these to dry then once they were all dry I took them down and got these wonderful little curly Q’s from it thankfully that is not the final look you are going to go ahead and break these up now is where you can see that I made mine a lot tighter than I needed to it is still very Hellena but it could have been a little bit looser but I did find that really helped was to untwist the hair as I pulled it apart that made it a lot easier to pull apart and kind of poof out once I had all this apart you can see that my ends were quite quite frizzy so I used a little tiny iron and I rocked my hair around that just on the really craziest of the ends because Alana’s hair it is big and it is crazy but it is not like insane so you know you want to tame it a little bit then to make my roots look extra Rudy I took this blonde touch up powder for your roots and I made a really harsh line just a little farther out for my part and this stuff works really well so I got a really great line there then I added in some dark brown eyeshadow to my roots to really accentuate the rooted look that I had going on and once that was done my Hellena look was complete I do kind of wish that I’d thrown some fake blood or dirt on this because I mean but I do like how the hair turned out and that’s it for my orphan blacks tutorial I hope that you guys enjoy this I clearly enjoy the show and I had a fun time really transforming into all these characters if you have not yet make sure to click that subscribe button and I will see you in my next post well bye.
Maybe You Like Them Too
- Celebrating Natural Black Women’s Hair: A Guide to Gorgeous Hairstyles
- Short Hairstyles For Women Over 60
- 20 Thrilling Twist Braids Style to Try This Season
- The Top 10 Asymmetric Hairstyles
- 10 Gorgeous Shaggy Bob Hairstyles To Get You Out Of A Style Rut