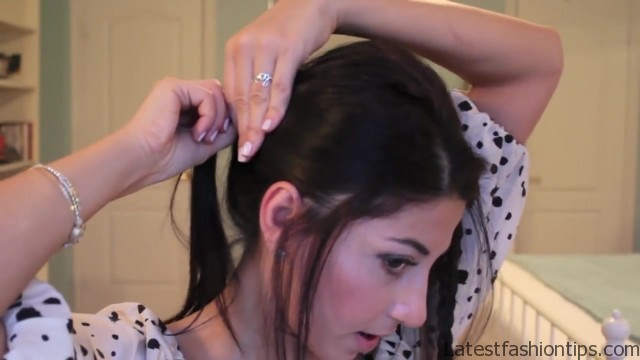
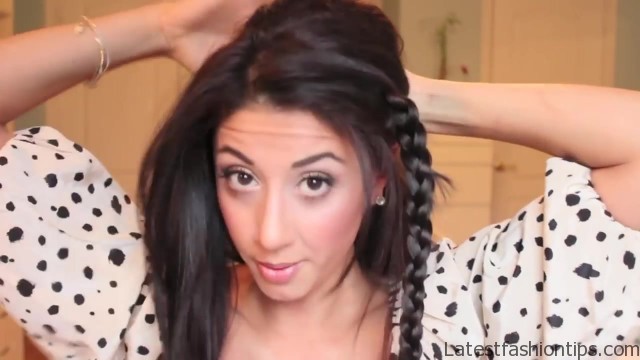
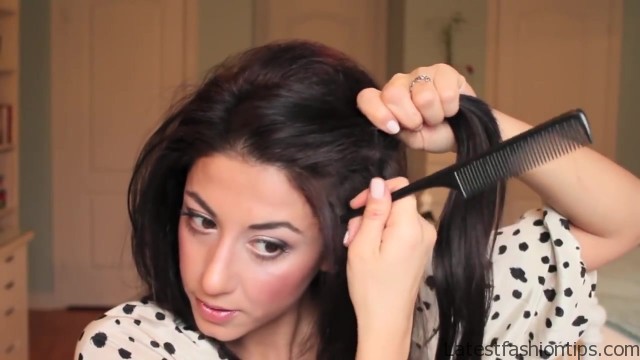
Hey guys today I’m going to be recreating a highly requested look that Bella Swan wore in the Twilight movie for her wedding day this is what the hairstyle looks like I will just quickly go around and show you what the hairstyle looks like from all sides. So if you guys want to know how to recreate it stay tuned and I will show you exactly what you need to do. So the first thing I’m going to do is like always just brush through the hair next you want to kind of bring all the hair back and we are going to be teasing this top section right here to create a bit of texture in the hair and before, I do that I’m just going to spray the strands and then tease the hair with the teasing brush.
So I’m just going to tease all of this portion right here. So, I just teased all of this portion basically from the crown to the top and I’m just looking at the picture and it looks like it is she does not really have a party it is kind of like the hair is just kind of pulled back just like this and then we have a side braid going from the like her right to the left. So I’m going to do the same thing.
Twilight Bella Swan Inspired Wedding Hair Photo Gallery

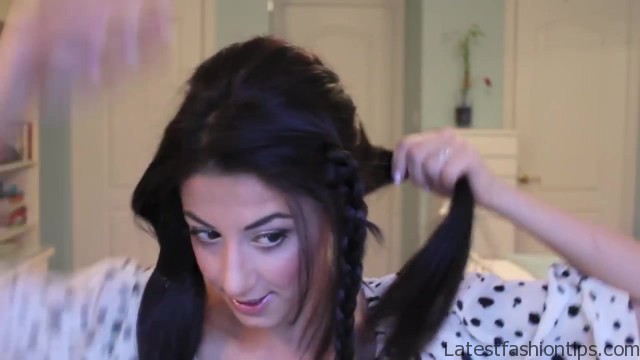

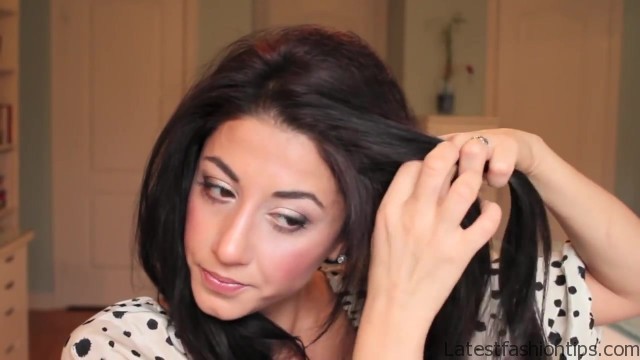
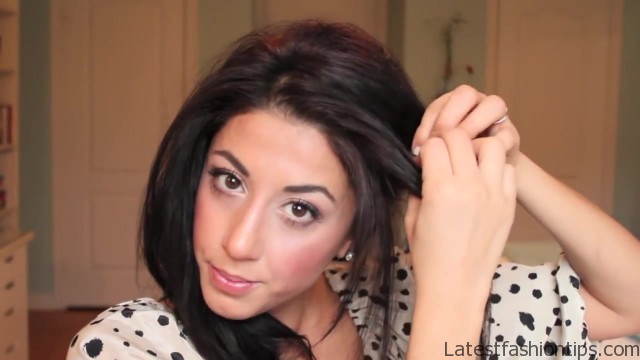
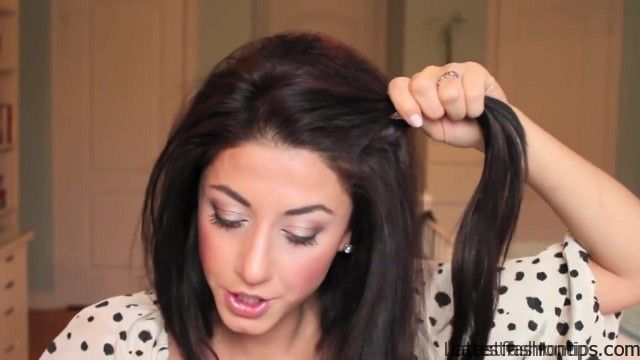
So I’m just going to separate this hair that’s where it is sort of separated and then what we are going to do is section off the part that we are going to break. So I’m just grabbing the section of hair from the hairline just kind of like on the side right here about this much and then before, I start braiding you want to just pull out very thin strands of hair which looks like start at about right here. So you want to just kind of pull them out and separate those pieces because those are going to kind of stay out of the braid.
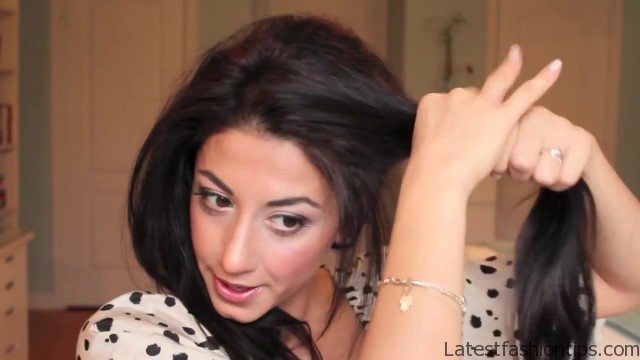
So once you have the sections pulled out and then you have your section ready all you want to do is just start braiding this section and it looks like uhm it starts off sort of loose and then Anning gets a little tighter. So that’s what we are gonna do as well we are going to start braiding the hair loosely and I’m bringing the forward strand over the middle and then the back strands over the top and then we are just going to braid that and go all the way to the end of the hair okay once you got the braids in and you just secure the bottom you want to separate the section from the front on the other side and just leave that and then we want to do is gather the hair in the back and we are going to be creating a sort of bun. So we are going to fix up the teased up portion and start to pin that section and I’m going to turn around.
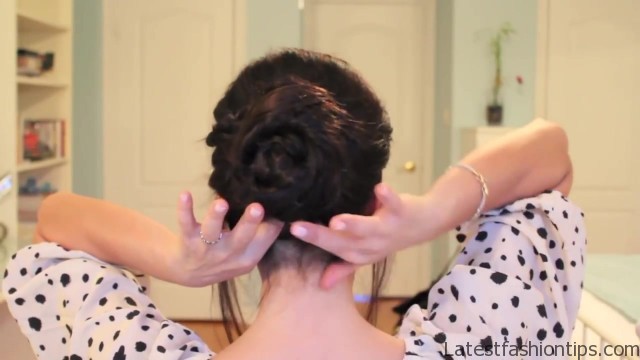
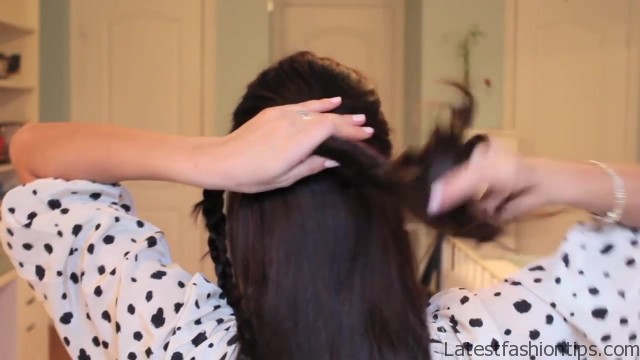
So you guys can see what I’m doing sort of half of the hair okay and. So the camera stopped recording there what, I was saying is you want to gather up the hair in the back from ear to ear and then just secure the section with lots of bobby pins. So once you got that in place what you are going to do is just pick up that section that you just hand and then we want to do is separate that from the rest of the hair and then you are going to start to twist there and just create a bun.
So what you are doing is just basically twisting the hair and then just wrapping it around itself just like this and then you want to tuck in the ends here’s what you can use the hairpins. So you just want to pin as many times as you feel you need. So you are picking up the hair from the bun and attaching it onto the head.
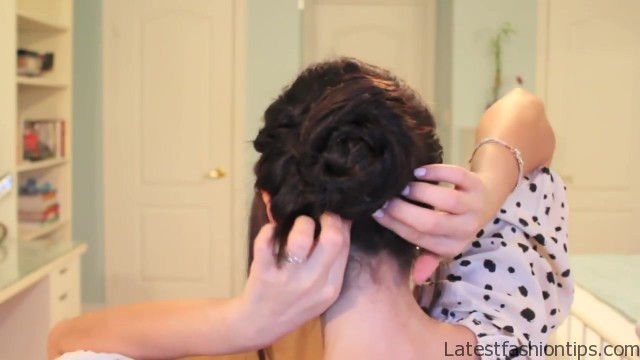
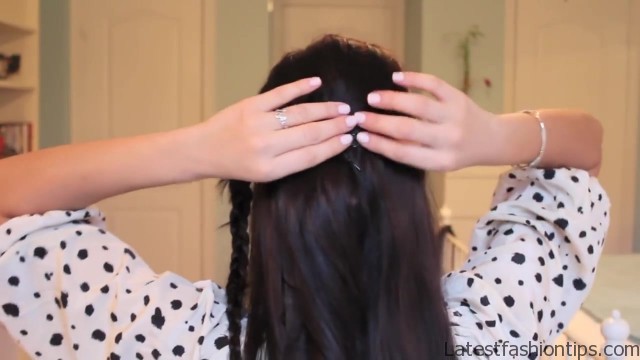
So once you have the bun in place which was the top portion what you want to do is basically do the same thing with the remaining hair but we are going to divide that into two sections and then what you want to do is start to twist the hair going on basically inwards. So this would be going outwards but we are going to twist a here going inwards. So we are going to twist and once you start to twist you kind of want to create another bun as you are twisting and just wrap the hair around itself to create another bun then we are going to grab the hairpins and start to secure the bond and then we are just going to repeat the process and do the same thing with this hair as well.
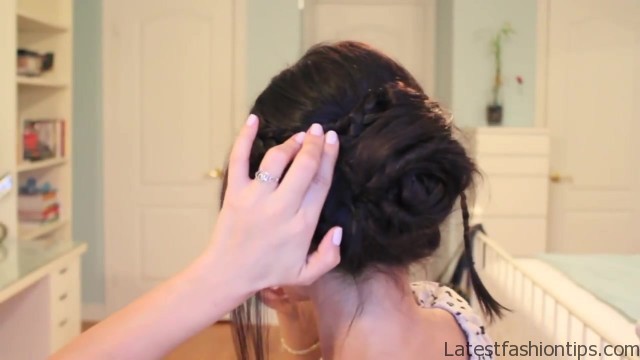
So what I’m doing is just bringing the hair back and then starting to twist it inwards and as I’m twisting it inwards I’m just going to kind of create a bun on top of the other two buns that we just created start to pin this in place using the hairpins. So once you have the hair pinned in the bag what you want to do is just separate the few strands of hair at the front before we start to pin this portion and you can just use your fingers or you can use the rat tail comb whatever is easier for you okay. So once you have separated the few strands at the front what you want to do with this section is kind of smooth it over with your fingers and bring it towards you your ear and then I will just turn around.
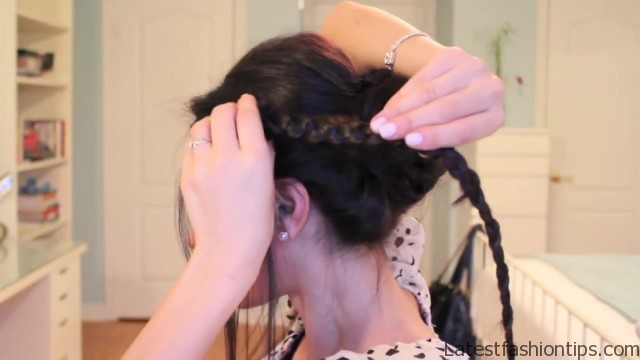
So you guys can see exactly what I’m doing. So what you are going to do is just hold the hair in place and then bring this hair basically around the bun and it is just going to create a really pretty effect. So once you position the hair you want to start to grab your bobby pins and just pin this in place then you want to go around and continue to pin this hair all the way around the bottom last thing we need to do is just secure the braid against your head and around the bun.
So what it is it is basically just you are going to flatten the braid against your head just like this and then you are going to position it all the way around the bun and then secure that in place. So I’m going to grab bobby pins and just go all the way around the braid and secure it against my head. So I’m just using a bobby pin right here to secure the braids around and then I’m going to bring it over and hide on the end there at the bottom of the bun and we are going to bring the bottom of the braid and just make sure that the ends are not sticking out and just sort of hide it underneath the bun and secure that in place.
So once you have secured the braid all the way around the bun the look is finished and I will just quickly go go around and show you guys what it looks like for all sides. So yeah, I hope you guys enjoyed the look and we will give it a try and if you guys are actually Twilight fans let me know in the comments below if you guys are Tim Edward or Team Jacob, I still can’t decide, I kind of want a pig both anyways, I hope you guys are having a great day. So far and, I will see in the next tutorial bye.
Maybe You Like Them Too
- Stephen A. Smith A Biography
- Steny Hoyer A Life in Public Service
- Sheryl Underwood A Life in Music and Comedy
- Scott Walker A Life in Song
- Sara Evans A Biography
