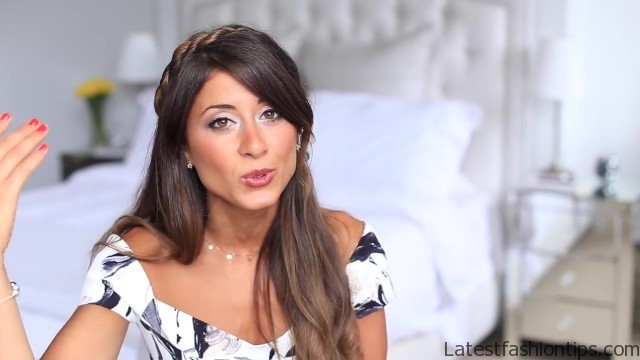
So excited to be here today because I’m gonna be showing you this new absolutely beautiful feminine sexy romantic hairstyle, I call it a twisted half updo which sort of ends in this headband it’s. So nice you guys it is my new favorite hairstyle. So, I can’t wait to show it to you.
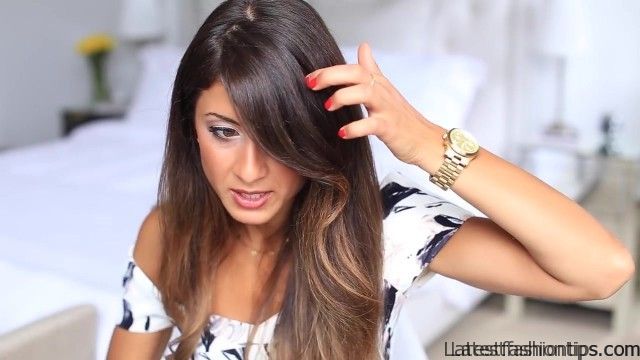
So let’s just go into what we are gonna need for this hairstyle alright. So we actually do need a lot of tools for this hairstyle we are only gonna need two things brush to brush your hair like always and then we are just gonna need a couple of bobby pins and that’s it let’s begin alright. So first things first I’m going to quickly brush my hair and as you can see I’m already wearing my lucky hair extensions and what.
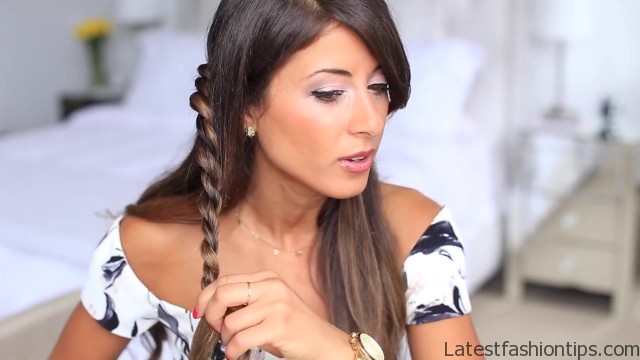
I’ve done, I actually I’m gonna lift myself. So you can see the ends of my hair, I just lightly curled the ends of my hair, I think for this hairstyle you obviously do not need to curl your hair at all it can look great on straight hair but, I think if you want to add that romantic touch then you want to curl or wave your hair of course. So ya quickly brush the hair and then I’m gonna turn around and show you what I will be doing alright.
Twisted Half-Up Do Hairstyle Photo Gallery
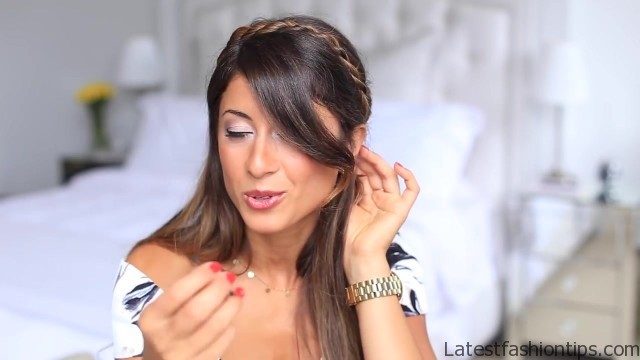

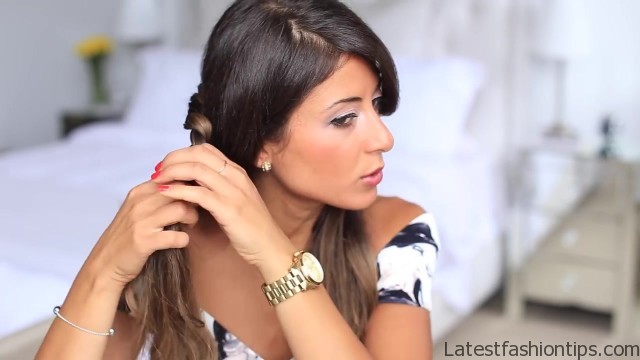
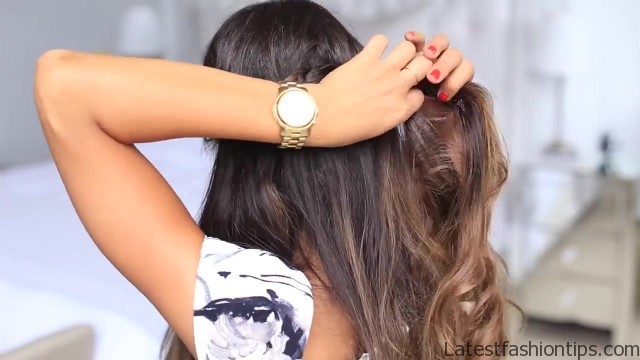


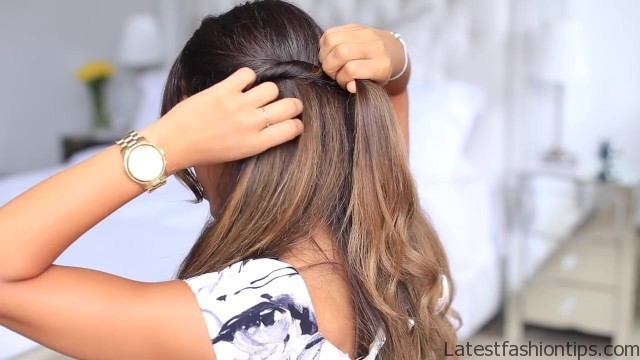
So I’m gonna start with just separating this bangs. So I’m just gonna separate this front section of my hair my side bangs again you can incorporate that in the twist if you wish, I personally prefer my bangs out of my face like that and then I’m gonna take this section and I’m gonna start twisting I’m going to start with a section from my left side quite a thick section like this, I think that truly is the trick in this hairstyle is that you want to work with thicker sections that’s what’s going to make the twist quite obvious and then I’m going to pull the section backwards and as, I pull it I’m going to twist it and then what I’m going to do next is I’m going to grab another section from underneath equally thick as the first one and then I’m going to twist the second section over the first and then as, I twist it I’m going to add just a tiny bit of hair to the section that’s under just a tiny bit and then I’m twisting again. So all that happening here actually is that you work with two sections and every time as you twist these two sections you add just a tiny bit more hair.
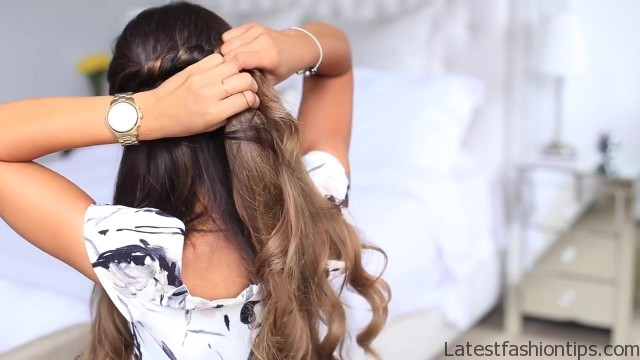
So it sort of like a French twist braid. So adding more hair to the second section twisting it again adding more hair twisting it and as you are twisting of course you are moving towards your right all right. So I’m just going to add another tiny section of hair to the twist twist it add more hair keep twisting and then after every twist, I just add more here for this section that’s underneath and then, I twist it again now when the braid reaches the right side what you want to do is actually start twisting it down as opposed to sideways all right.
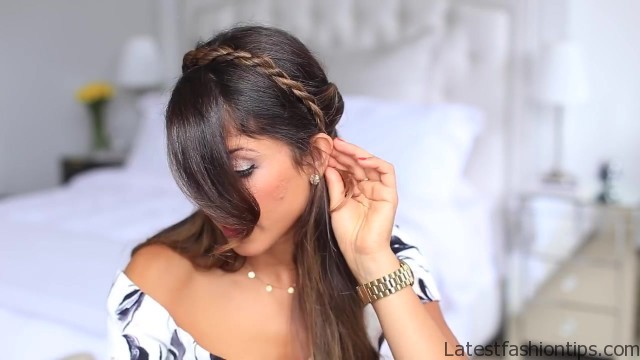
So I’m still working with the same two sections and all I’m doing is twisting the two of them around each other. So I’m twisting and just braiding it down now if you do not know how to do a row braid do not worry. I have done several posts on it before.
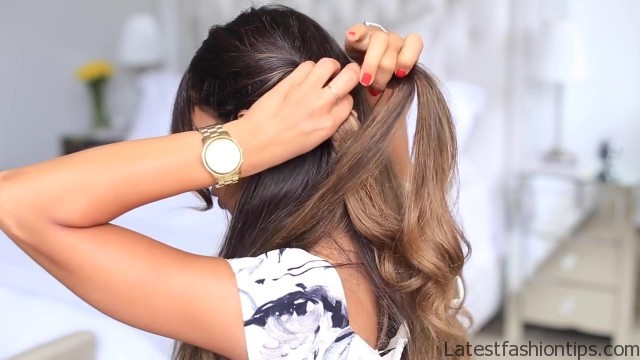
So I’m just gonna link them all down below and you can learn the basic steps and then this is gonna be super easy all right. So just braid it all the way down once you finish braiding this row braid or your twist braid all you want to do is just grab this braid and you go over your head. So you use the ends of this hair to actually create a nice headband.
So it is just gonna go over like that you are just gonna go all the way to the other ear and then you are just gonna kind of tuck it under the other section of hair grab a bobby pin and just slide it in there and then one is probably not going to be enough. So you want to use two or three just to make sure it is nice and secure there and just slide another one in there alright. So once you have pin this braid you are pretty much done and I’m just gonna turn on to show you guys what the hairstyle looks like now what, I really love about this hairstyle of course is that it does not take you a long time to create it took me right now about two minutes to create it because, I was showing it to you and, I was doing it slower normally it would take me about a minute to create a hairstyle that looks this awesome and just takes a minute that’s the winner in my books.
So thank you. So much for tuning in let me know how you enjoyed this hairstyle down below leave me a comment, I love reading your comments honestly you guys make my day I’m just gonna take this 30 seconds to talk and say thank you to you, I always get. So excited to post new posts I’m just like pumped and excited to share new hairstyle ideas with you guys because it just truly makes my day.
So thank you for reading thank you for commenting thank you for liking thank you for sharing my posts and supporting me it is been over four years and, I couldn’t be happier thank you. So much alright now back to the topic let me know how you like this hairstyle down below leave me a comment when you do recreate this awesome hairstyle make sure to put on your Instagram biloxi hair hash tag, I always feature my favorites on our Instagram thank you. So much for tuning in, I love you guys.
So much and I will see you next week bye never when you get.
Maybe You Like Them Too
- Stephen A. Smith A Biography
- Steny Hoyer A Life in Public Service
- Sheryl Underwood A Life in Music and Comedy
- Scott Walker A Life in Song
- Sara Evans A Biography
