In this tutorial, we will be showing you how to do the Pull Through Braid in a way that works with natural hair. This style is especially great if your hair is short, as it’s pretty easy to put together and doesn’t take too much time.
Introduction
Hello everyone! I’m so excited for summer and all the fun things that are going to happen. One of the things I’m most looking forward to is learning how to do a pull through braid! Today, I’m going to share with you my step by step tutorial on how to do this amazing hairstyle. If you’re looking for a easy, breezy summer hairstyle that will help you take your style up a notch, then this is the perfect style for you!
What You’ll Need:
-A section of hair that can be braided (I used about 2 inches)
-Scissors or a hair cutting tool
-Tape measure or ruler
-Bobby pins or hair clips (optional)
-Hair spray (optional)
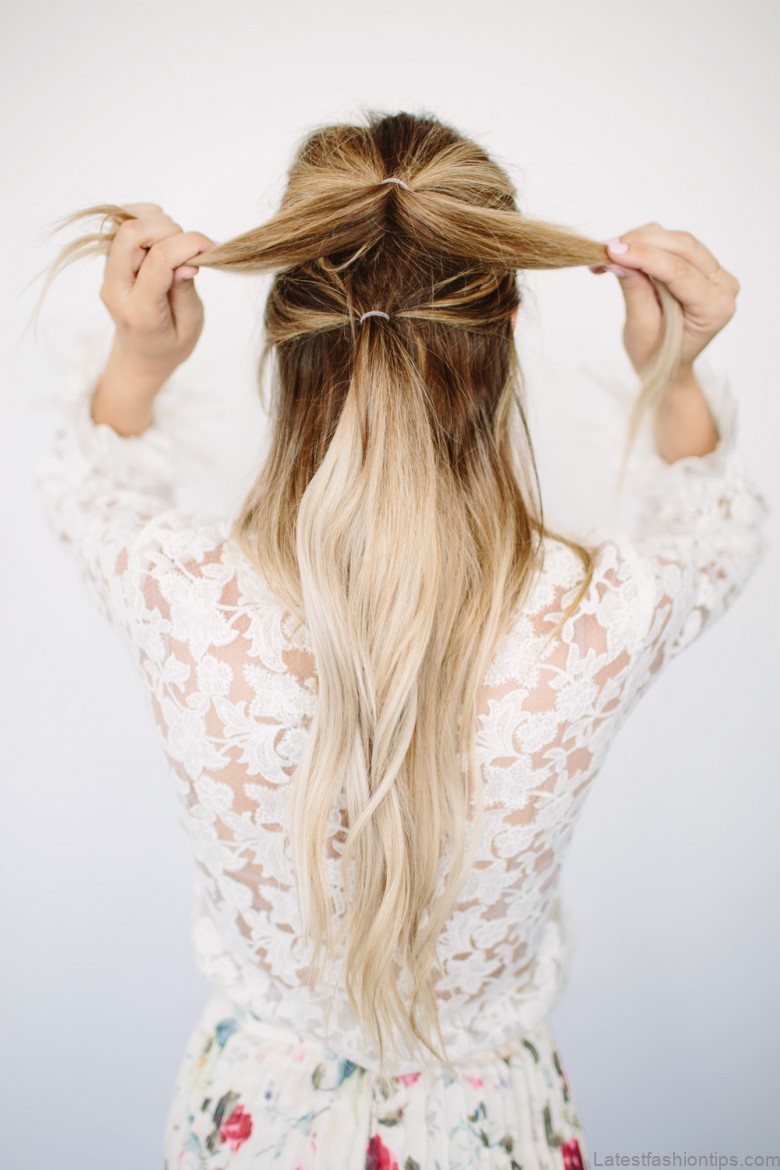
Step 1: Start by forming a small ponytail at the back of your head. Secure it with a bobby pin.
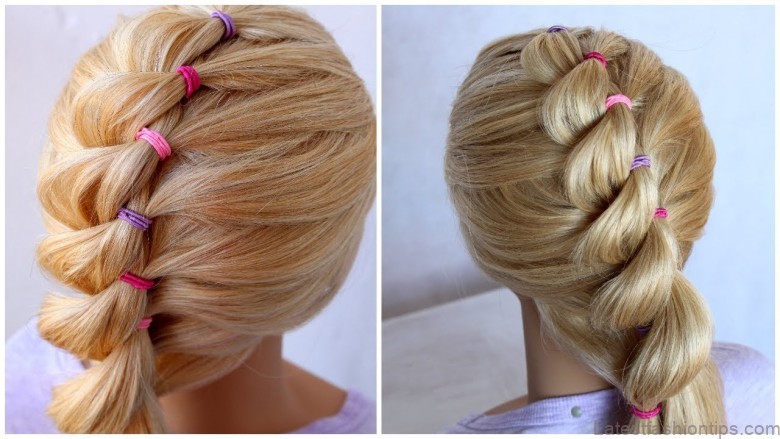
Step 2: Next, take the section of hair that you’ll be using to do the braid and make a small loop with it. Make sure the loop is large enough so that it will fit easily around your ponytail.
Pull Through Braid Tutorial: I’m Rooted (And Excited) For Summer! Photo Gallery


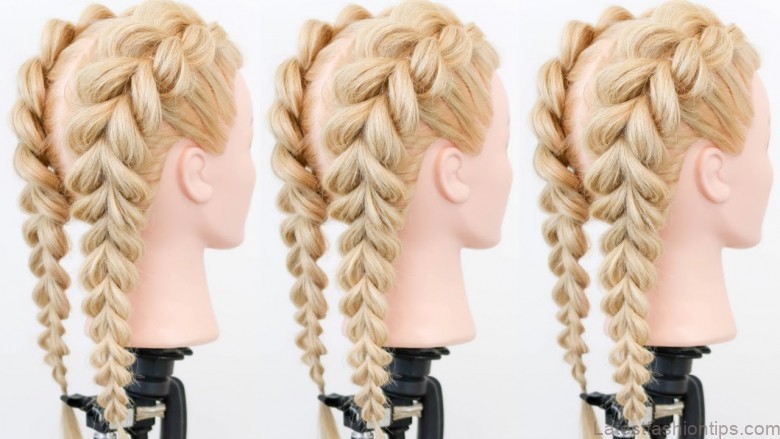
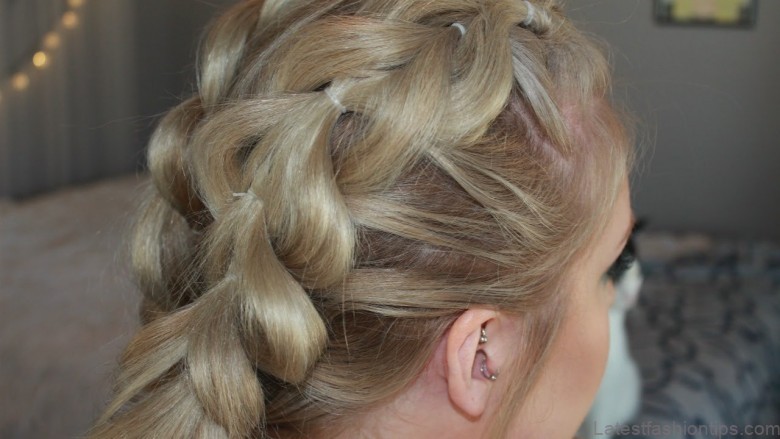
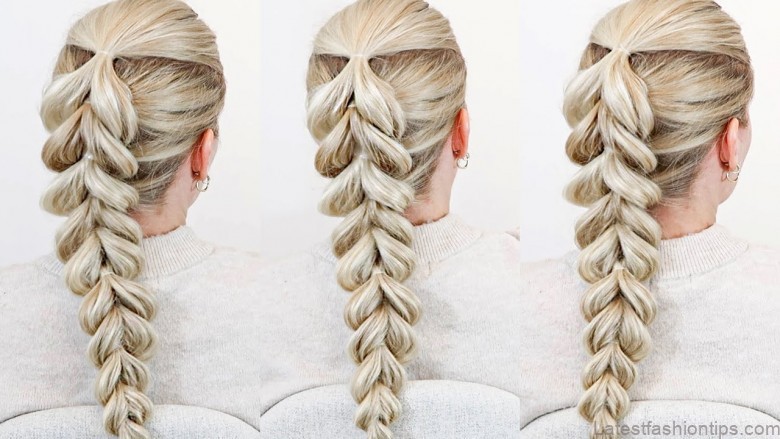
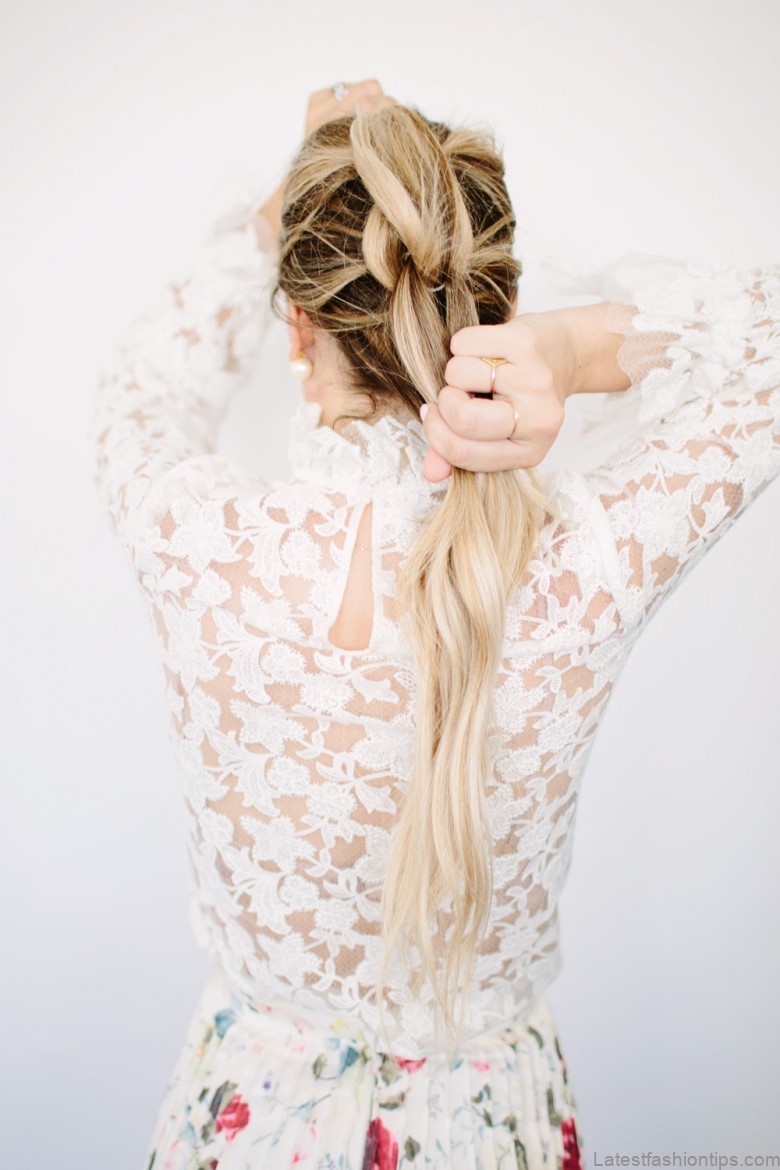
How to do a Pull Through Braid
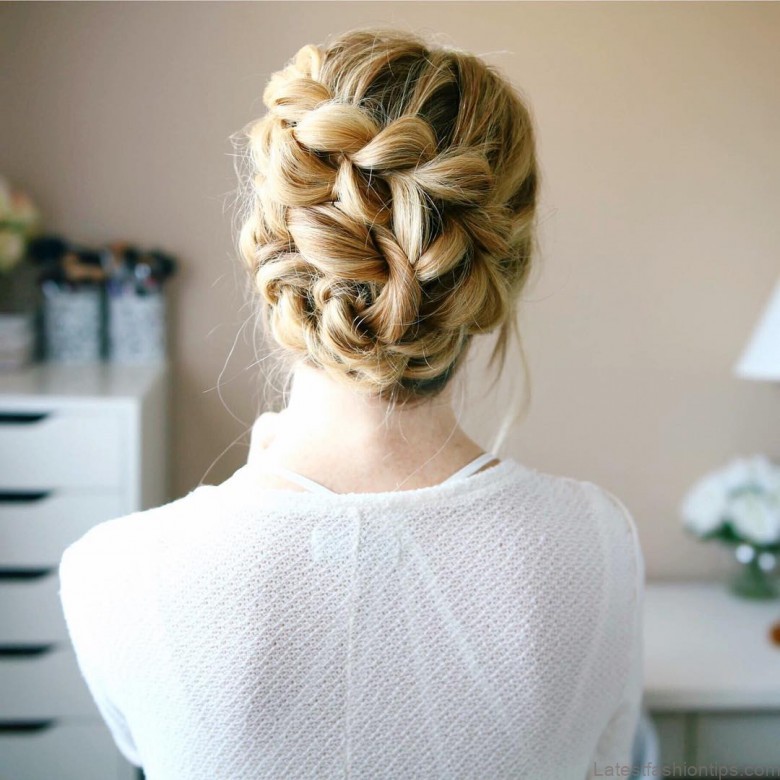
Pull through braids are a great way to add extra texture and interest to your hair. They’re also a great way to keep your hair out of your face during the summer. In this tutorial, I’ll show you how to do a pull through braid.

Tips and Tricks
Hey, lovelies! It’s that time of year where the sun is shining and we can’t wait to spend our days outdoors. But before we do, we need to make sure our hair is looking its best. And what better way to do that then by pulling through our braids?
This tutorial will show you how to pull through your braids quickly and easily. Plus, it’s a great way to add a little extra flair to your style. So if you’re ready for summer, be sure to check out this tutorial!

Makeup Look
Hello everyone! So, I know it’s been a little while since I’ve blogged, but that’s because I’ve been so busy! I am so excited for summer and all the makeup looks that will come with it. Today, I’m going to be sharing a tutorial on how to do a pull through braid. This is such a fun look and can be done with any hair type. If you’re looking for an easy summer look, this is definitely it!
To start off, take a section of your hair at the front and tie it into a bun. Then, take the remaining hair and braid it down the middle of your bun. Make sure to keep the ends of your hair tucked in so they don’t hang out. Next, take the left side of your braid and cross it over the right side. Now take the ends of both strands and tuck them underneath the cross. Do the same thing with the other side of the braid. You should now have two loops on each side of your bun. Take one loop from each side and pull through each loop until you reach the end. Reposition your loops if needed so that they are symmetrical. Finally, tie a half-hitch into each loop to hold everything in place.
Table of Contents
Maybe You Like Them Too
- The Kinky Twists Hairstyle Trend
- 8 Messy Updos That Are Literally Impressive
- The Right Way With Wavy Bob Hairstyles!
- 10 Lovely Hair Color Choices For Summer
- Justin Bieber: The Evolution of a Pop Music Icon


 For Summer!)