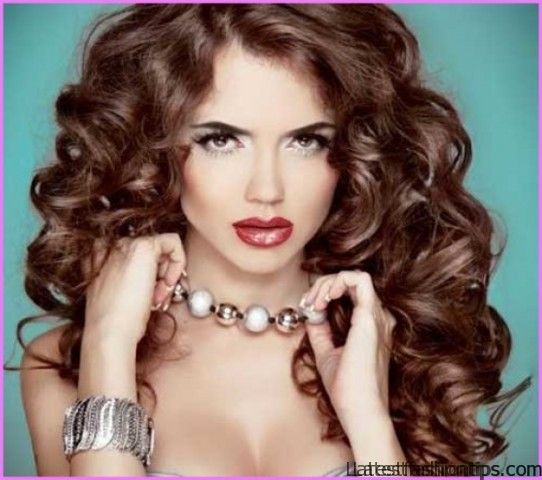
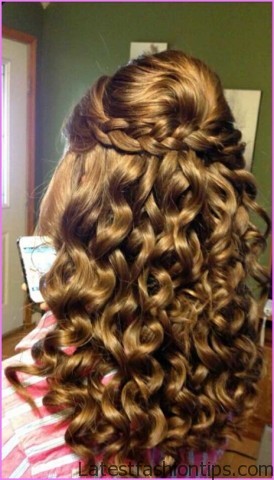
Hey guys I’m going to be showing you guys how to create party ready curls in just minutes with a few simple techniques that, I normally use there’s a few different ways that, I curl my hair and this one is my favorite one I’m sort of pressed for time and, I still want beautiful bouncy curls. So if you like this look of the curls and want to learn how to recreate them keep reading and, I will take you through all the steps okay.
So to create these party-ready curls we are going to need just a few basic styling tools I’m going to be using the one-inch cortex curling wand this is from the four in one set we are going to need just a basic brush to brush through the hair we are gonna need a few clips to just section off the hair and teasing comb at the end and some hairspray to set the curls and that’s pretty much all we need. So the first thing I’m going to do like always is just brush through the hair to make sure that there is no tangles once the hair is all brushed and ready to go I’m going to show you how to separate and section off the hair because really that’s kind of one of the main techniques of this particular curling style. So if you are sort of the head and we are going to do it in three rows.
So we are gonna have this row right here we are gonna have a middle row and in the bottom row. So the first thing you want to do is separate from Temple to Temple just going to section off the top portion and put it up into a clip. So the next section you wanna section up is from about middle of your ear to middle of your ears separate that section.
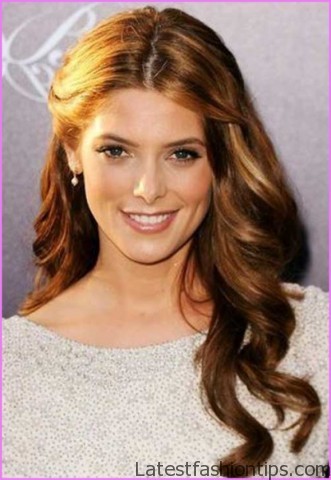
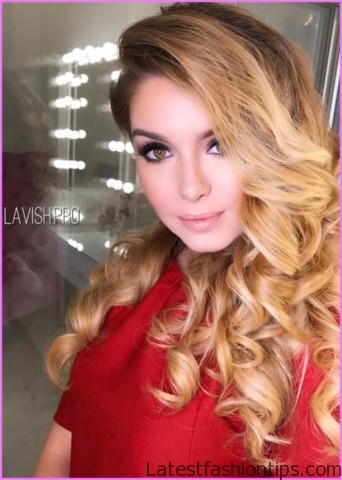
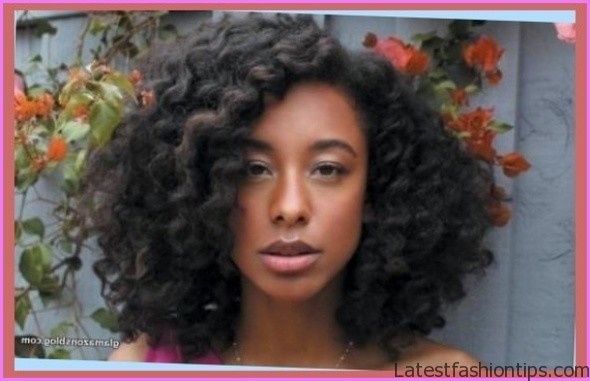
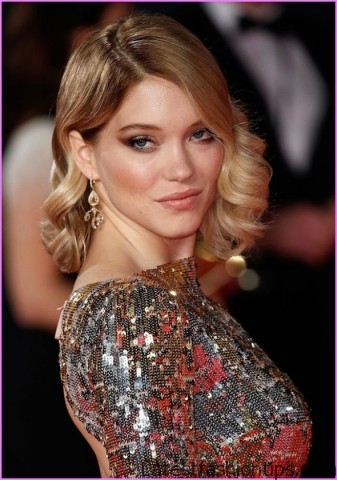
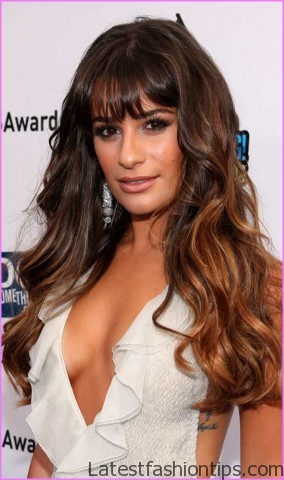
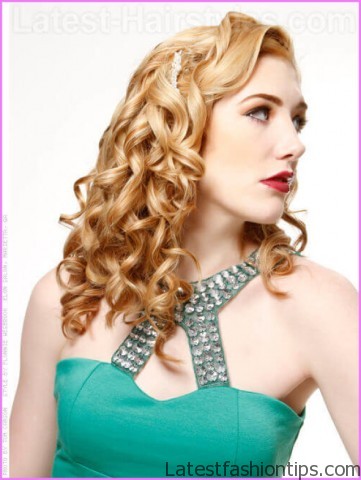
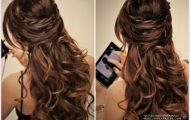
Party Ready Curls Hairstyles Photo Gallery


So we are leaving the hair right at the nape of the neck for the third section along secure it for now with a clip. So once the hair has been sectioned off it is time to start curling the hair and the best part about this look is that we are taking sort of medium large sections. So it takes a little less time than normally.
So here I’m sectioning off just in two parts and I’m gonna start with the left side. So the process is pretty repetitive. So I’m going to show you just on these two sections and the rest is going to be pretty much exactly the same thing we are going to be curling the hair away from the face that’s kind of very important.
So for this section we are just gonna grab the curling wand and gonna look down. So that’s going to create the curls going away from your face and I’m gonna start curling from God middle down or. So I’m not going to close to the roots start wrapping the hair and hold for about five to eight seconds and release.
So once we have the first section that I’m going to show you quickly what to do for the opposite side. So basically what you want to do is make sure you are holding the one looking down and instead of curling this way because that would be towards your face we are gonna do away from your face. So we are going to just hold the curling wand down and start wrapping the hair away from your face just like that.
So we are gonna hold for five to eight seconds and release. So for this second roll what we are gonna do is divide this section into four sides. So we are gonna have one side here and we are going to be curling one side over here and two in the back and again we are just going to repeat the same process and curl the hair away from the face okay.
So now that we have completed curling the first two sections I’m going to show you how many exceptions to separate the top portion into. So I’m going to release the hair and here I’m going to do one right here at the front um. So we are gonna have one section here one section up here and just mirror that to the other side and do exactly the same thing.
So one section here one section is gonna go right here and we are gonna do two in the back. So basically the same thing that we did for the section underneath. So the process is the same curl away from your face and I will be back once the hair is all curled okay.
So now that we are finished curling the hair this is kind of an important little step here. So normally what, I would do is separate the curls with my fingers or just kind of like brush them out for a more volumize defect. So for this one and, I do this quite often in some of my tutorials you might have noticed is flipping or upside down and sort of shake at the roots and it just separates the hair really beautifully naturally and gives you a ton of volume.
So we are just gonna do that right now okay. So as you can tell once you flip your hair back up you have like a ton of volume and of course it is not gonna stay like that unless we secure the style with some hairspray. So at this point I’m just going to grab a little bit of hairspray and this is also important you do not want to just spray all over what you want to do is kind of lift up the hair from the bottom and hold it spray a little bit further not too close because then it is gonna be it is gonna not have that movement.
So just hold the spray a little bit from far and start spraying at the ends by lifting the hair up and that’s again just gonna give you a ton of volume just like that. So now that this the curls are set, I want to add a little bit of volume at the UM at my roots at the crown here I’m gonna spray the roots a little bit with some hairspray and keep a little bit. So once you are done teasing just sort of brush it out for a more natural effect and to finish up again just spray at the top and this is it guys these are my most favorite technique to do for party ready curls and they are bouncy and.
So pretty. So, I hope you guys enjoyed this tutorial and the techniques and definitely give it a chance you will see how fast and easy it is and it is just such pretty curls. So, I hope you guys enjoy the tutorial if you are gonna recreate it do not forget to share with us on instagram with hashtag lexi here for your chance to be featured on our her account.
So thank you. So much for reading and, I will see you guys in the next post bye.
Maybe You Like Them Too
- Stephen A. Smith A Biography
- Steny Hoyer A Life in Public Service
- Sheryl Underwood A Life in Music and Comedy
- Scott Walker A Life in Song
- Sara Evans A Biography