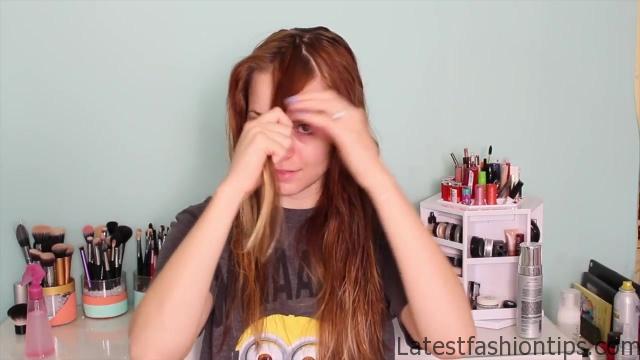
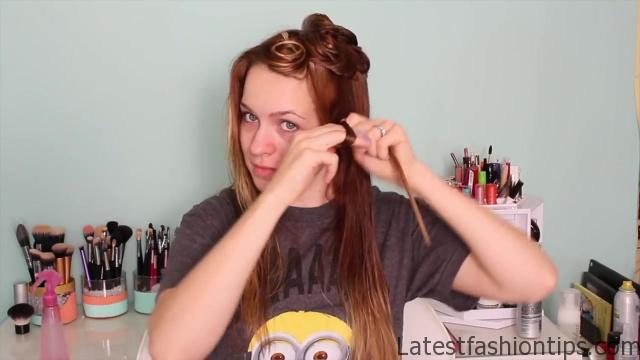
With a heatless curls tutorial for you guys today this is my favorite method. Because it is really easy to control, and get any size of curl or kind of curl you want. So let’s go ahead, and get started first of all you are going to want your hair to either be damp or use a spray bottle to dampen your hair you are going to take a two-inch section in a little square, and go ahead, and comb it forward toward your face, and then what you are going to do is wrap the end around your fingers to create a little circle, and then you just walk that circle all the way up your hair until you get to the section where it is parted, and that little square, and basically what you are going to do is put the circle of hair on top of that square, and pin it in place you can either use a single prong clip or bobby pins depending on what you have, and then you just continue that.
Back to School Heatless Curls Photo Gallery
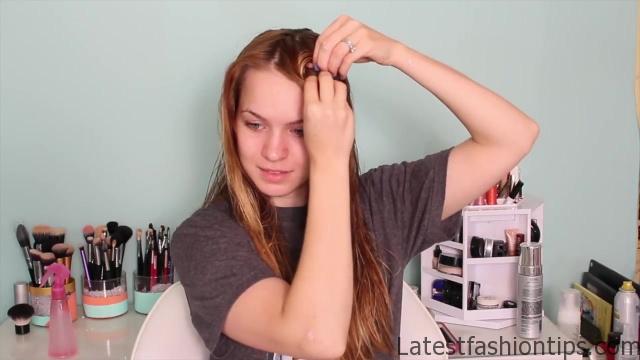
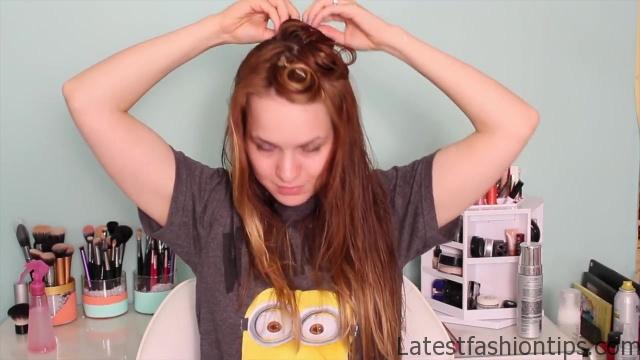
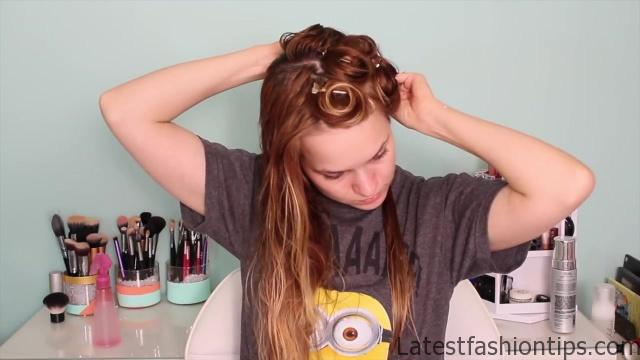

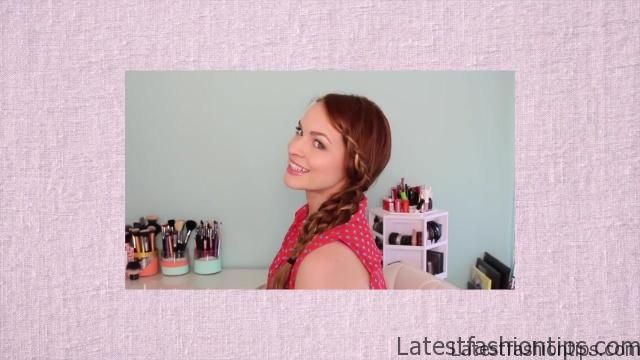
I’ll go ahead, and do it in one line all the way down the top of my hair, and then kiss new working gown. So basically you wrap it around two fingers wrap it back up place it against your head, and in it in place these are called pin curls, and this is actually how people used to curl their hair or curling irons, and it is really effective what. I like about it is that you can make it as big or as small as you want, and you can make them going in any direction that you want. So you can basically recreate any of my curl patterns with this technique now if you do not want to have to roll it up at the end you can also wrap it around two fingers right next to that square section, and then just rotate the circle until it is sitting on top of the square, and pin it in place that might be a lot easier especially if you have longer hair. So if you have a little bit of a hard time with that go ahead, and do it this way now this takes me about minutes it is not the fastest method that. I like it. Because you have the most control over the end result. So like. I said you can make any look you want with this it is not just limited to having curls that start at the nape of your neck or curls that are way too voluminous to deal with. So once you are done you are going to look awesome, and then optionally you can use a really big headband to go ahead, and protect your pin curls overnight you could also use a bandana if you prefer. I do this just to make sure that. I do not mess these up while.
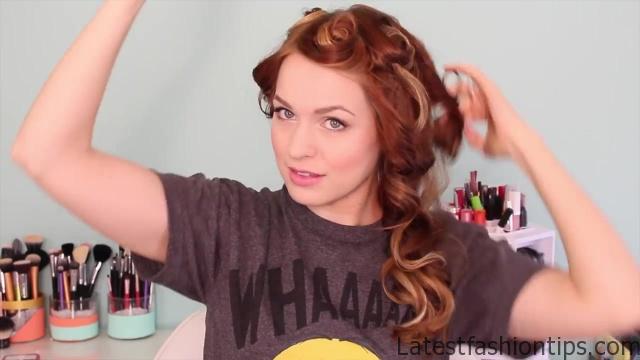
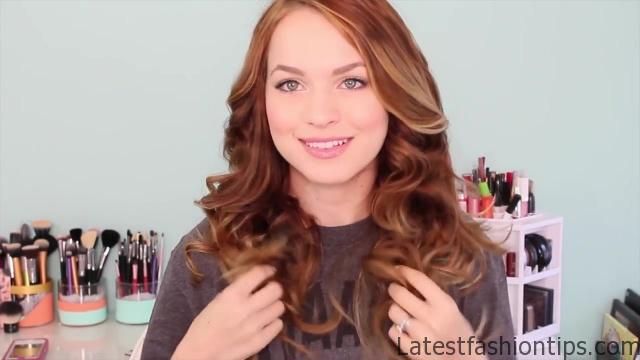
I’ll sleeping but it is definitely not necessary you do not have to do it if you do not want to, and then you are going to go ahead, and go to sleep, and then when you wake up in the morning your curls are all dry, and then you just go ahead, and take them down, and the best way to keep from having any little dents in your hair whenever you take it down in the morning is to make sure that you do not pin over top of the entire curl but pen kind of in the middle of it. So you catch the hair on the bottom it will keep the curl up but you won’t end up with any weird little dents on top of your curl. So once it is all down you can kind of play with it, and do what you want you could either put it into some kind of side pony or half up style or leave it down if you are going to leave it down. I recommend just kind of breaking it up with your fingers, and then using a light hold hairspray to go ahead, and hold that throughout the day but that’s it. I find these curls lasts really well on me they lost better than when. I use a curling iron, and they look really great, and a lot more like you had used a curling iron rather than a heatless tutorial. So I hope you guys like this make sure to check out yesterday’s post, and come back tomorrow for our next hairstyle see you then oh I.
Maybe You Like Them Too
- Celebrating Natural Black Women’s Hair: A Guide to Gorgeous Hairstyles
- Short Hairstyles For Women Over 60
- 20 Thrilling Twist Braids Style to Try This Season
- The Top 10 Asymmetric Hairstyles
- 10 Gorgeous Shaggy Bob Hairstyles To Get You Out Of A Style Rut
