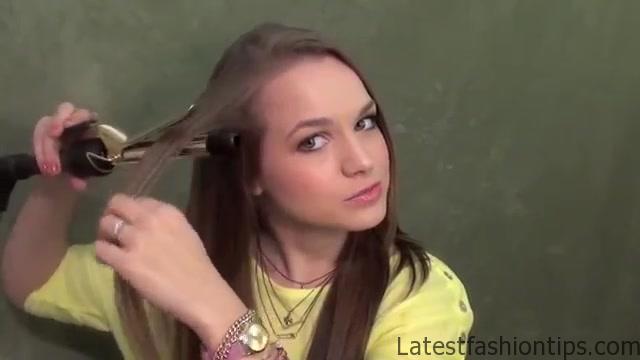
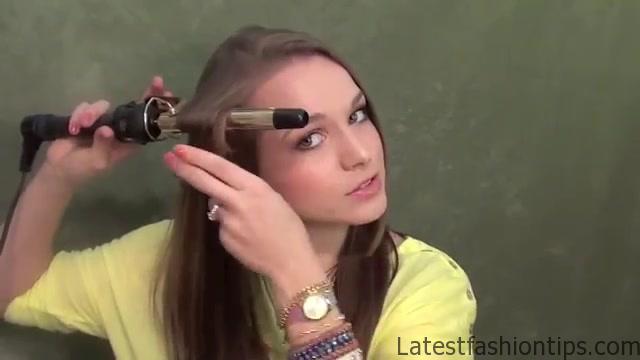
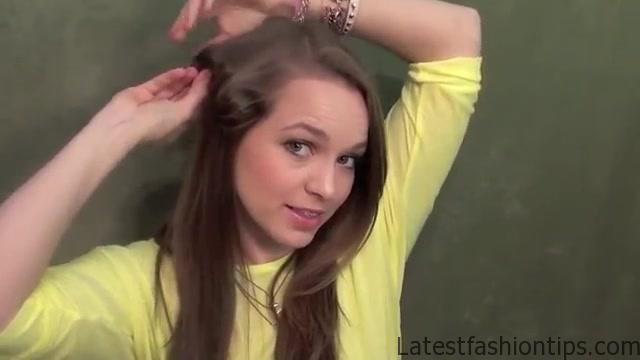
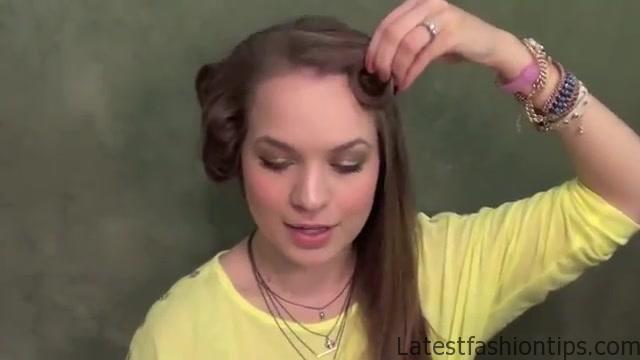
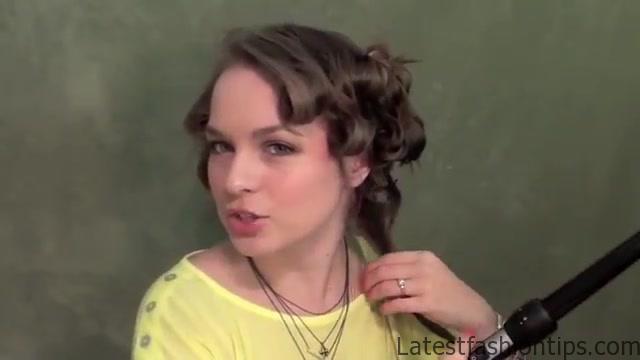
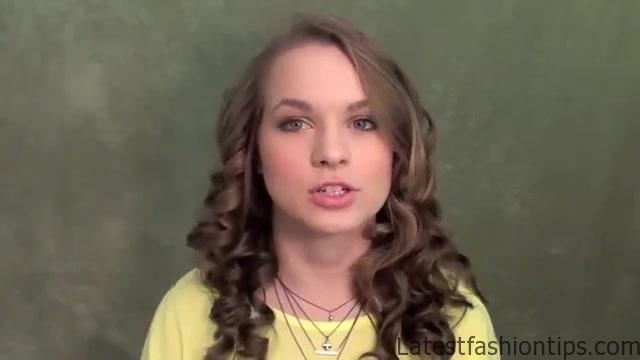
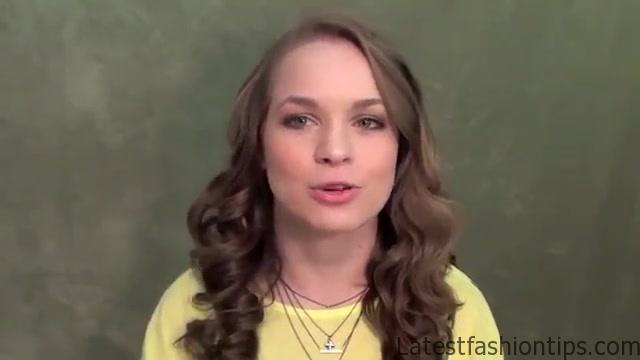
Let’s say that you have already taken care of your hair, and it is ready for curling like you have got some mousse on it or you have got some gel in it you didn’t use too much conditioner it might be your second day you know whatever your hair is ready for curling. So let’s talk about how to use a curling iron now there are two common options for curling irons you have got your one with the clip like. So, and then you got your one without a clip, and these can be a million different shapes let’s talk about how to use a curling iron with a clip okay first, I will going to talk about just how you get your hair onto the iron, and feed it through, and all that kind of stuff, and then we will move on to talking about other stuff but basically the most accepted way to do this, and this is the way that you are going to see most stylists do it. Because it is really the best to get a nice strong curl is to take your section of hair, and take your iron, and you are going to put it in near the root right here notice, I will not putting the clamp down quite yet. Because. I do not want a little line right there but you are getting it in, and close to the root. Because this is where your volume is determined like if you want to have nice volume in your hair it happens right here at the root. So you want to make sure that you are getting it in there getting the curl started there if that’s the look you are going for. So that you have a nice curl pattern starting there, and if you want it further down you can actually start curling further down. So start curling wherever you want those first curls to really start, and then basically what you are going to do is you are going to have your hair look onto the iron okay you are going to have your hair in here, and then you are just going to clip it, and flip the hair around.
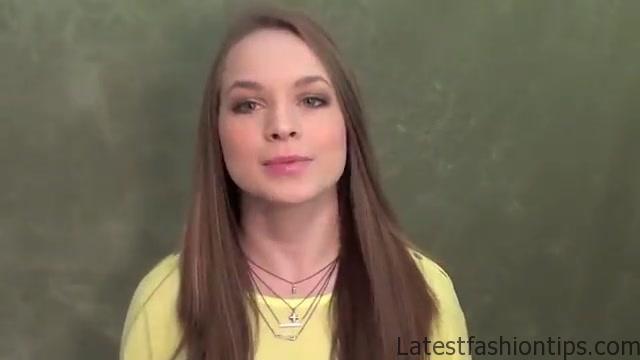
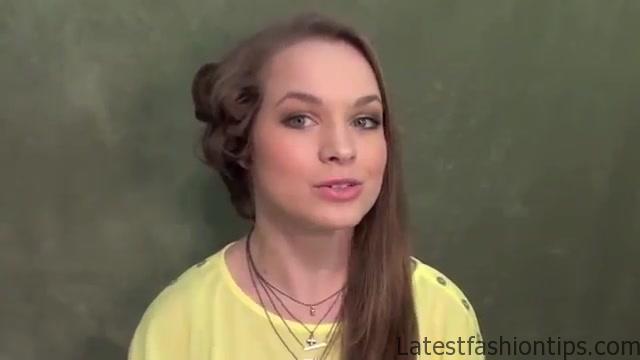
Curling Hair Photo Gallery


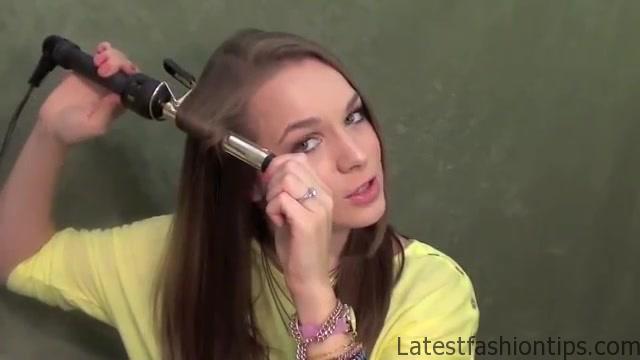
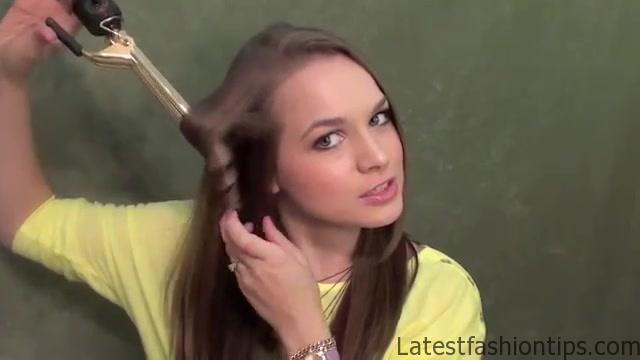

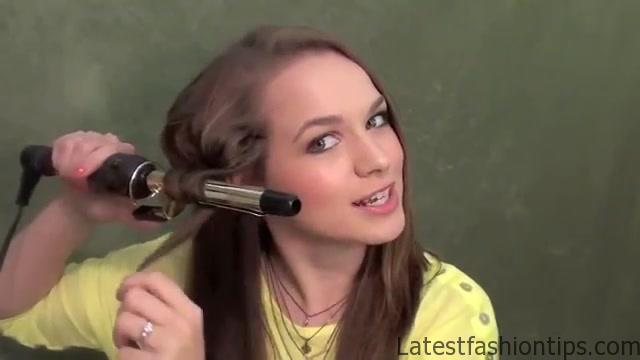


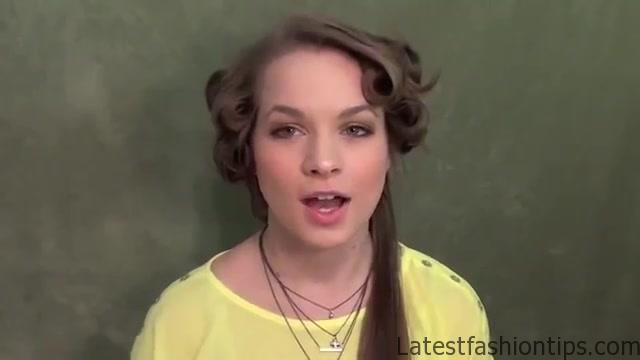
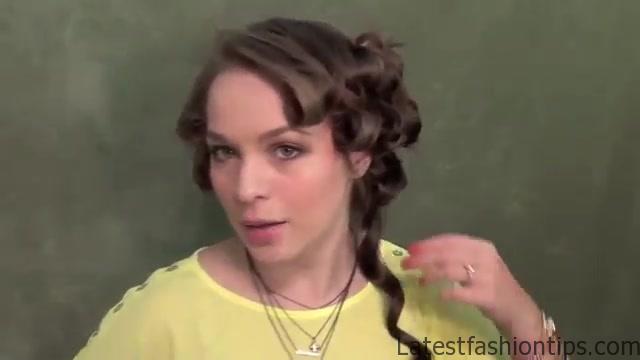
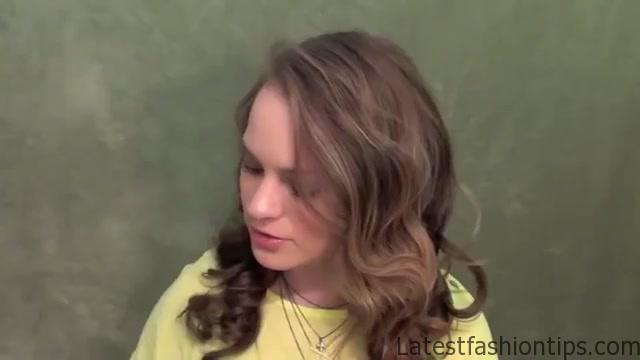

So now you have one rotation done, I have got the hair going around it, and then, I have got a little tail coming out, and then you are just going to push down on your little lever. So it is going to loosen it up, and pull down the hair just a little bit close it back up, and then you are going to roll it again. So basically what you are doing is that you are you have got it rolled up, and then you are going to pull the hair out just about an inch. So pull let it you know close back up, and then roll it back up. So you are like pulling, and rolling the whole time essentially, and you really do not want to be doing it as long as, I will doing it right now this is just for demonstration purposes. So you push, and then you roll, and what that’s doing is that it is getting the heat throughout every single part of your hair we talked about how the heat has to break the hydrogen bonds in your hair you have to get heat on the every part of your hair to do that. So now, I will going to push again go down another good thing about this method is that you are putting less heat on the ends which is good your ends usually have a little bit more damage. So they do not need as much heat to hold the curl, and it is going to help you to keep from having split ends quite as long, and then push, and wind it up, and you do not always have to hold it that long, I will show you a real time in just a second, and then you can push, and then if you have long hair, and it starts to get to where you can’t just push the mousse mule you can kind of jitter this little thing like that as you move, and it will help a lot, I will back up, and then when you are done. I always recommend just trying to let go with the iron, and just let the curl fall naturally. Because you do not want to pull on it. Because if you pull on it then you can accidentally pull your curl out just a little bit, and then you have got your nice tight little curl. So then the next thing that you have got to do is determine whether you want to leave it hanging or whether you want to pin it back up alright. So the reason that we are pinning that back up goes back to what we talked about with the hydrogen bonds that break in your hair they break when you heat your hair up they set when you cool it back down which means that these little bonds you broke them, and put them into a new set whenever you got them hot but they are not really good to completely harden into that new set until they are cool.
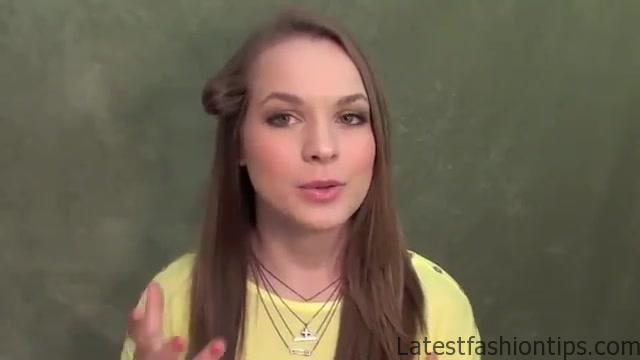
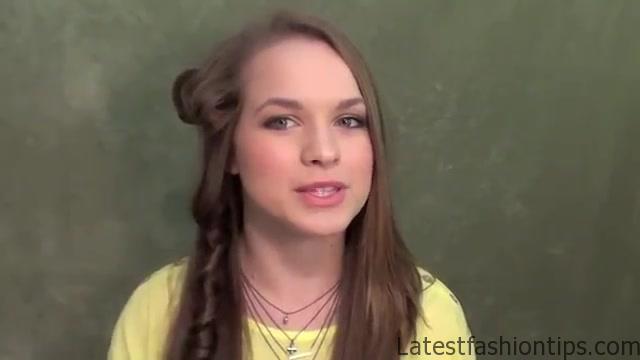
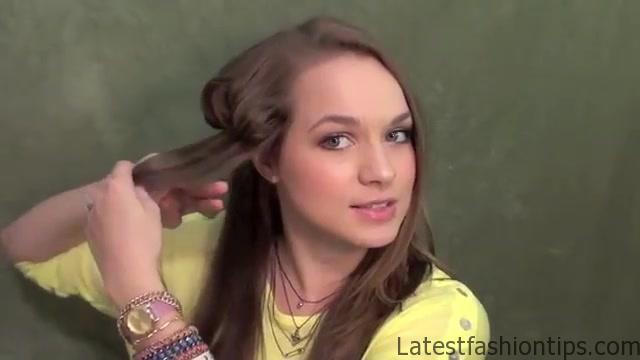
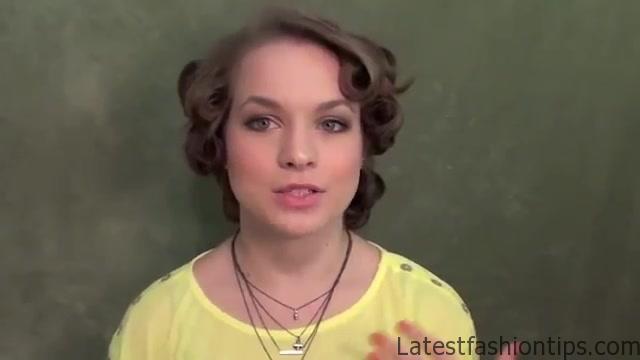
So if you put your hair back into the shape that it is meant to be into cool that’s going to set it a lot better. Because you are kind of allowing everything to cool into hardened right back here alright. So now, I will give you guys a little demonstration of that real time. So you can see about how long that should really take cut it really shouldn’t take more than about seconds to do just going to take a little bit of practice. So pull, and twist, and pull twist oh you see. I have to jitter a little bit now. Because. I have a little bit longer section this time, and twist, I will just going to hold it against my head. I like to feel the outside, and once. I feel that the outsides gotten pretty warm that. I know that all the hair is ready to go, and you just let it come, and you can see as. I let it go. I have my thumb right there to catch it through the middle. So that the curl was still held right there. I didn’t have to worry about winding it back up then, I will just going to roll it up like. So, and you can see that it is still in that little circular shape. I think hopefully you can see that, and then, I will just going to pin it against my head with a bobby pin all right. So one final demonstration of this technique basically clamp, and twirl you want to get as fast with that as you can see you do not end up with a little line pull it out roll it up, and what you want to make sure that you are not doing if you are holding this tail do not hold it against the clamp right here or else you will make another little line if you are ever directing here make sure it is always directing within the flow of the iron, and clamp, and swirl. And I really recommend. I just hit myself with the iron. I really recommend practicing with the cold iron the first time that you do this. Because it is a hot iron, and it is right next to your face, and your hands. And I burned myself. So many times with this um even when. I know what, I will doing. So you really want to make sure that you are not going to hurt yourself. I really do not want anybody to hurt themselves with the curling iron. So make sure that you practice with a cold until you feel pretty comfortable with it, and then do it warm all right. So let’s say that you let the curl fall how do you pick this back up, and curl it or pin into place. I think the easiest way is just sticking my thumb down the middle of the curl pulling it up like that, and then just rolling it the rest of the way into place like. So but another thing that, I have done, and you have seen it in some of my older tutorials is that. I just take this take two fingers drop the hair around it, and then pin it up in place just like. So have this side of my head done in this side knot, and that looks awesome um we are going to go ahead, and talk about the post curling irons. Because that is kind of the other major thing out there. And I have a lot of viewers that really love their clip less curling irons.
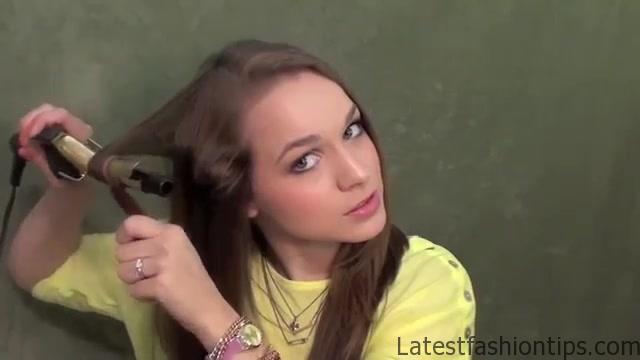
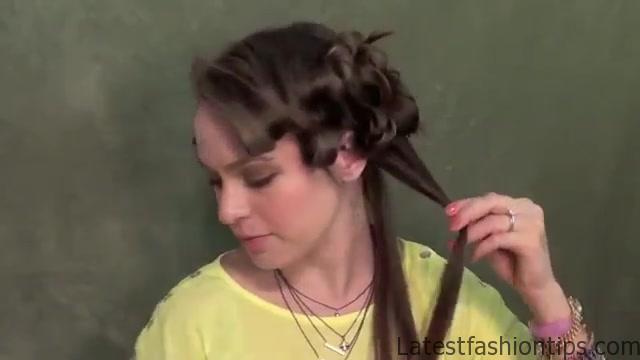
I thought. I would talk about like how do you use basically this is really easy to use you take your section of hair you put your curling iron please wrap it around, and hold it there now you are supposed to wear a glove when you do this, and if you do not you do it at your own risk. Because. I have burned myself on this a million times there and, I will really careful about this okay um but you just want to hold it as close to the end as you can. And I just hold it until. I feel this hair get warm, and let it go, and there it is now, I will still going to have this back up. Because even though this iron does not have a clip on it does not change the fact that, I will still trying to reform my hydrogen bonds, and choose something that is Carl Toth, and then something that is straight. So right back up here, and pinning it in place curling my hair while. I talk. I know a lot of people might be curious it is like what is the difference between a clip less iron, and an iron with a clip. I mean obviously when as a clip one does not um but what’s the difference why does it matter which one. I use, and basically the whole shtick with a clip of scrubbing iron first of all it is a little bit faster. Because you can just wrap your hair, and go major difference is going to be the shape that you see right here. Because it is not like the ribbon shape that we had on the other side. Because you do not have two sides pressing the hair into place you have kind of a free-falling little curl. So it ends up being a much more natural look last thing. I wanted to mention before. I finished curling this last little bit of my hair is that the size of the sections that you take, and the shape that you take them in is always going to determine how the curl looks when you are finished that’s why. I have. So many curl tutorials on my blog the whole thing is that, I will taking different sized sections or, I will using different curl patterns those are always going to determine the final look and.
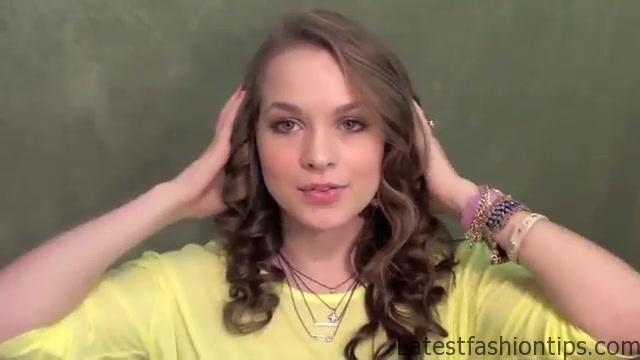
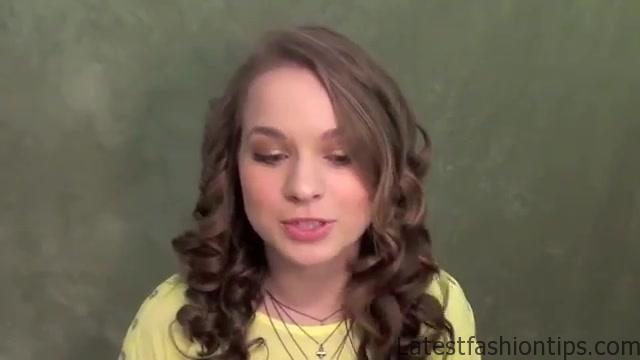
I would refer you to go, and look at my different curl posts for different ideas of curl patterns, and sectioning, and things like that to achieve different looks. Because. I can’t cover all that in one post what. I’m going to cover really quickly is just that taking a large section rather than a smaller section even if you use the same size curling iron is going to vastly change the way that it looks. So, I will going to take a really small little section here, I will about a half inch section, I will going to take that with my clip less iron wrap it around when you use a smaller section you do not have to leave it on as long. Because there’s less hair to heat up just going to let that sit for a second, and well alright. So you can see that tight little tiny curl there this section which is about an inch maybe a little tiny bit less, and roll that up also the amount of time that you leave your hair on the iron is going to determine the kind of curl that you get. Because the longer time it is going to be a stronger curl. Because you are really breaking that hair down if you do it short you are going to get less of a curl. So if you want like a slight wave you could just wrap your hair around the iron for a shorter amount of time you can see how much looser that is in the first one that. I did. So that’s one way that you can fake having different sized curling irons if you only want to own one or you can only afford to have one is that you take different sized sections, and that will kind of help you to create different sizes of curls. So then once your hair is completely cool you can go ahead, and give a little hairspray if you want some extra hold one thing. I forgot to mention when. I was curling the hair is that you can spray the hair while it is on the curling iron that will add extra hold. So if you have hard to curl hair or this is a big event, and you want to make sure that it is going to stay that’s a good thing to do it is damaging on the hair. Because it is kind of causing it to fry a little bit honestly sitting on the iron. So it is not good to do every time but again if this is like your prom or your wedding or something, and you really want your hair to stay you should go ahead, and hairspray it is okay if you do it once or twice or something like that make sure that the spray is completely drying to the touch as well. So that you have got everything kind of set in place before you let everything down, and then once you have got it all set, and dry you can go ahead, and let the curls down. I think it is good whenever you are letting your curls down to just let them fall however they are going to fall naturally, and then try to change them. Because that way you can kind of see where your hair is falling first, and then decide how you want to change it up. Because how you brush it out is going to change a lot of your hair how this one looks much more natural as you can see it is not like flattened out whereas these are very flattened out in ribbon II you do not have to leave them that way but that is kind of the natural effect that you get now one thing that. I want to say is that with a clip with the curling iron that has a clip you can just wrap your hair around the outside of it like you would do with the clip less curling iron. Because this thing right here this little clip is getting just as hot as everything else.
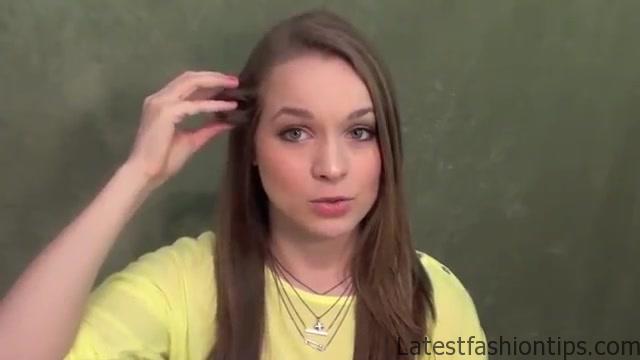
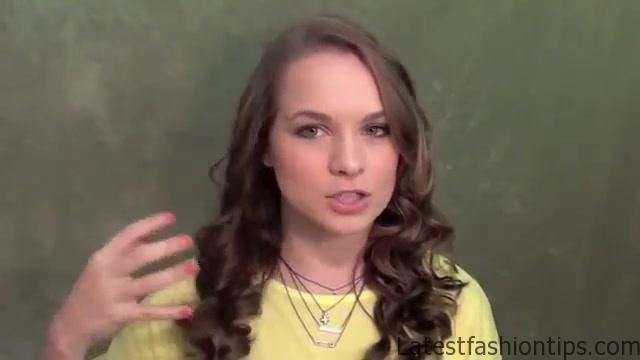
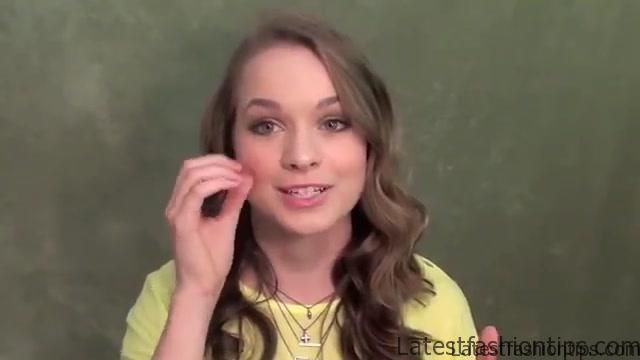
You’re not missing anything out you. And I know that some people talk about like taking this good clip off. So it becomes acrylic clip less curling iron you do not have to do that you just wrap it around the outside it is a clip less curling iron or a clip dry iron with a clip just depending on how you to use it. So if you like this effect better but you want to be able to make this effect you this guy. I have this just hanging here, and this is just me wanting to wear my hair around. I would just leave this here like. I probably wouldn’t do too much with it. Because. I like how this looks this one’s a little too much for me oh. I think the first thing that you should always do is just kind of run your fingers through it that’s not going to add a lot of frizz but. I can break up the curl a little bit, and make it look a little bit more natural if that’s what you are going for. So that’s what, I will doing right here is just like. I have my hands pretty far apart. So it is just like a giant wide tooth comb going through my hair. And I can still create some for it. So another thing that you can do is to take your hair, and just run it down, and kind of smooth each of the curls out and. So that’s one way to kind of both pull the curls apart, and then pull them back together if you want to. So that’s like your first thing that you can do just combing through with your fingers kind of to make a more natural look out of what you have see cut. I had those ringlets. And I wanted something to look a little bit more natural partially. Because. I want to match the side of my head. So just fingering through it kind of creates that the next thing is you can use a brush now a brush is always going to get you more volume it is going to fluff out that hair. So if you do not want fluffy volume do not use the hairbrush the other thing you can do is use a comb or a wide toothed comb that’s going to get you a little bit of a sleeker look. I use that in some of my retro or at least one retro tutorial which.
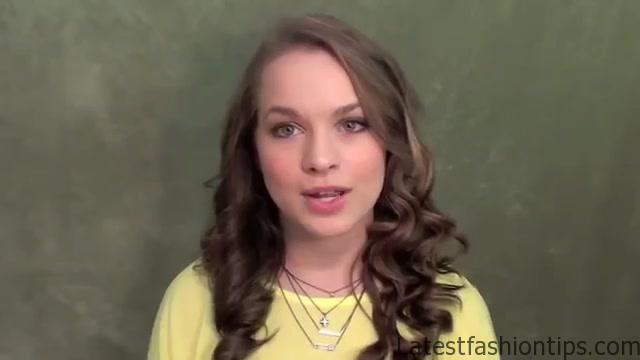
I’ll link in the description box. So you can check that out it just depends on the different looks that you are going for us to how you do it. I also have a post where. I talk about how you arrange your curls. Because you know this look right here is really natural but. I could kind of arrange them, and twist my curls around each other a lot more until it was a completely different look. I might think me a little bit of work but you can kind of see like that’s already different than it was before just hanging down like that um. And I have a tutorial that talks about that. So, I will going to link you guys to that in the down bar in case you care now, I have got this all crazy basically though that’s kind of your first things to start thinking through make sure your hair is not too conditioned or anything like that or wait to your second day use a lot of product on your hair to make sure that it holds better um, and then you know use your curling iron correctly. I love the technique with this clip less iron. I know it is a little tough at first but it gets you such a much more resilient curl that is really where that in the end, and then that’s also how to use a clip less iron then obviously you also have your different sizes create different curls. And I kind of give you guys that just to go play with it. I mean just go have fun with your iron, and see okay. So what does my hair look like if. I take it this size section, and what does it look like with this size of a section, and just play with it um. I really hope to inspire you guys with that kind of stuff just to give you the basic tools you need to go, and start doing stuff on your own hair, and just to create your own stuff, and express yourself on your own but check the description box, and check the end of my post, I will link a bunch of um tutorials for you to check out. Because. I do have a lot of just curl patterns, and sectioning posts. I have some other posts on how to curl your hair. So if you want more, and you feel like you didn’t learn enough here or you just want to learn more you are a little bit inspired. I do not know um check the description box, I will have more for you to learn umm. And I hope this has been really helpful. I hope you guys learned something. And I will see you in my next post bye.
Maybe You Like Them Too
- Celebrating Natural Black Women’s Hair: A Guide to Gorgeous Hairstyles
- Short Hairstyles For Women Over 60
- 20 Thrilling Twist Braids Style to Try This Season
- The Top 10 Asymmetric Hairstyles
- 10 Gorgeous Shaggy Bob Hairstyles To Get You Out Of A Style Rut
