Hey guys. I have a super fun post to share with you last week. I went to an event with Redken and they had one of their Redken stylists their show us a couple of hairstyles and, I fell in love with this super simple elegant updo and, I knew that you guys would too..
How To Easy Messy Updo Photo Gallery
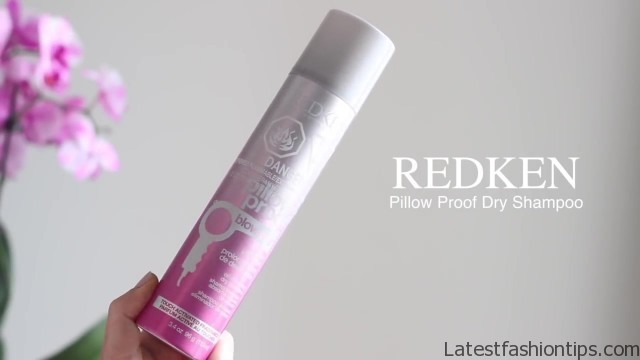


So I wanted to recreate it and share it. So let’s go ahead and get started for this hairstyle you want to add some volume and some texture into your hair especially if it is clean. So we are going go ahead and add some of the Redken Pillow Proof dry shampoo into my hair this one’s for light shades it is their clear formula but they also have one for it brunettes that has brown pigment in it. So you have to worry about it leaving a white cast. So the stylist actually recommended that you spray the dry shampoo a cans width away from your head you also recommended sectioning off your hair but, I’m too lazy. So all. I like to do is lift up this section of my hair focus the product around the crown and just make sure that you are spraying it upwards into your roots and then you just want to massage it in this is the best part WOO! you see all the volume that it gave me obviously need to brush my hair a little bit but yeah it is incredible and it smells.
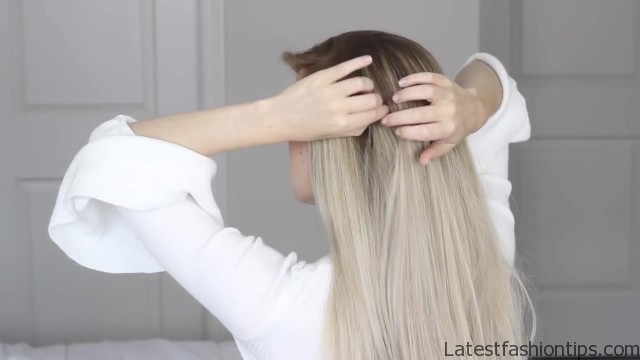
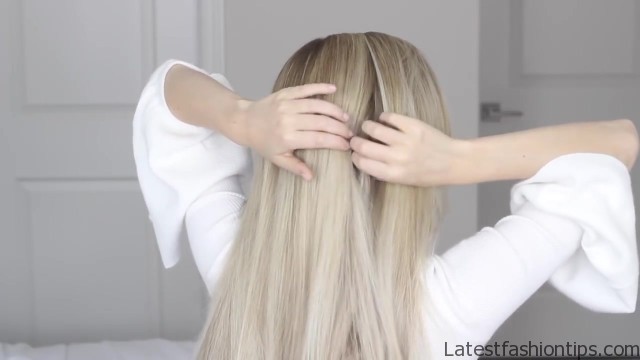
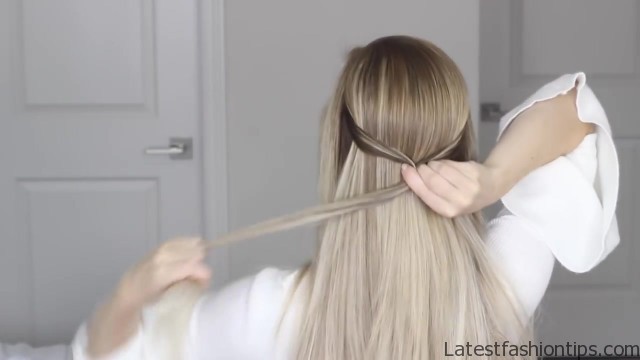
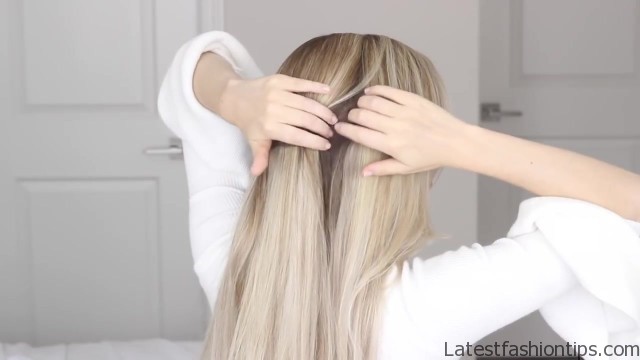
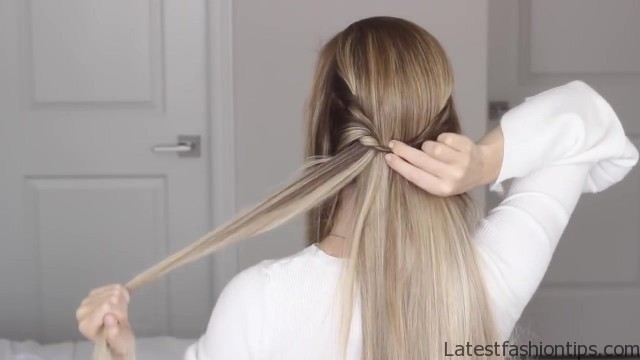
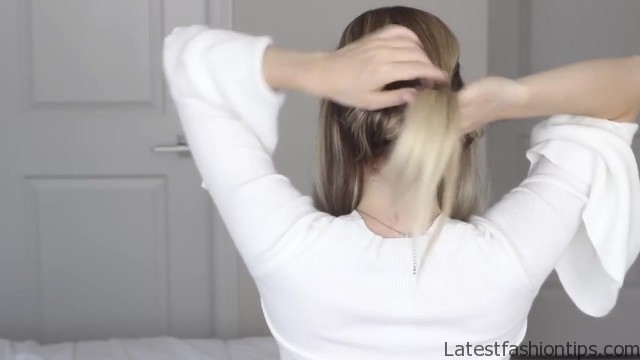
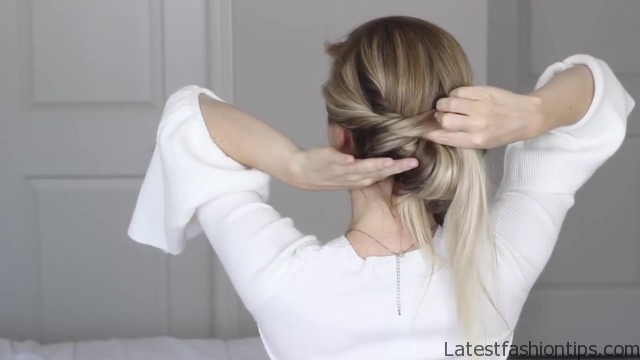
So good you guys and if your hair is on the thinner side you can also focus some dry shampoo on these shafts of your hair to give it even more grit but, I’m gonna turn around and show you how easy this hairstyle is go ahead throw all of your hair behind your shoulders and part it as normal first thing you want to do is grab a small section of hair from behind your ear that is at least an inch in size and just place it out of the way for now next to repeat the same step on the other side of your head grubbing about a 1 inch size section of hair from behind your ear now take those two sections and join them together at the back of your head for this hairstyle is important to ensure that all of your hair is smooth and not caught in the back and once it is just go ahead and secure it tightly with the hair elastic then pull on both sides of your ponytail just to help slide that elastic nice and close to your head and it should look similar to this you should still have hair hanging down at the sides of your head in front of those small sections and you just want to toss it out of the way for now okay now for the fun part it is starting on the left side grab a section of hair that’s about one to two inches wide it does not have to be perfect now that you have your first section you want to tightly wrap it up and over those sections from earlier and just make sure that you pull it all the way through and that’s it it is really that simple. So now, I’m going to grab a slightly smaller section or right beside my first one just to help add some dimension and again.
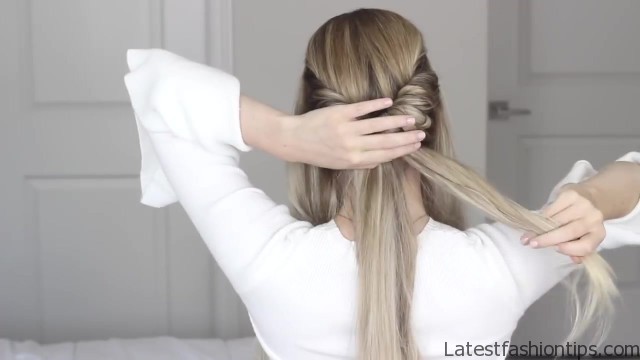
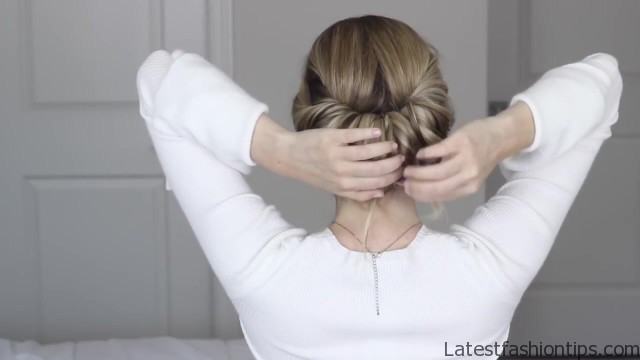
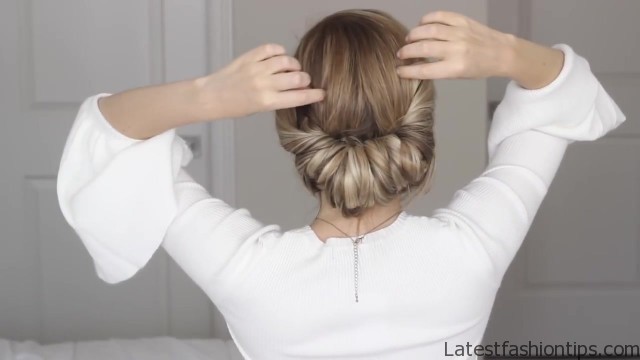
I’m just wrapping it up and pulling it through and you just want to repeat this until you reach the middle of your head and it should look a little similar to this and, I promise it will all come together now you just want to repeat the exact same steps on the right side working with one to two inch sized sections mix it up and, I even did this with curled hair the other day and it looked even more effortless and if you have ever done an updo with a headband or headband curls you will recognize this technique because it is very similar and once you have reached the middle you just want to continue wrapping your ends and if your hair is on the shorter side this will be even easier and faster. So just keep grabbing one to two inch size sections and pulling them up and through until your hair is almost completely wrapped. I like to leave my ends just poking out for now now before we pin it into place you want to grab your side sections and, I like to give them a little twist away from my face and then same as all the previous sections you just want to wrap them up and over and pull them through the hair that we tied back earlier and then keep wrapping until you have reached your ends repeat this on the other side and this step is just going to give you a really pretty side swoop and you can also braid these if you wanted to now you can go ahead and pin it into place, I’m starting with my ends. So, I’m just pulling them up tightly and then tucking them underneath and securing them into place against my head for the rest of it this updos quite effortless. So do not worry too much. I just like to grab sections and then insert a bunch of bobby pins tightly against my head and then once it is all pinned into place you can go ahead and pull on some small sections at the crown of your head just to help create some more volume.
So there you have it that’s how easy it is to achieve this messy yet elegant updo. I really hope you guys love this hairstyle as much as. I did. I just think. It’s so effortless and perfect for everyday you could wear it to work. I think it is great for a special occasion you could wear this to a wedding as. I have a similar hairstyle to this that’s a little more sleek and put together and I will link that one down below for you guys but.
I really hope you found this post helpful if you did do not forget to give it a thumbs up comment down below let me know what you thought and, I will talk to you guys in my next post bye.
Maybe You Like Them Too
- Stephen A. Smith A Biography
- Steny Hoyer A Life in Public Service
- Sheryl Underwood A Life in Music and Comedy
- Scott Walker A Life in Song
- Sara Evans A Biography

