Hey guys I want to share with you this really a beautiful undone twisted updo hairstyle this is one of those hairstyles that looks way more difficult than it is.
So, I’m going to break down all the steps for you guys that you can easily recreate it. So let’s go ahead and get started all you need for this hair tutorial are four hair elastics. I like to use these a little clear ones and then like any good updo you will want to have some bobby pins on hand oh and, I’m starting off with my hair in this undone wave you guys know how much. I love that effortless appearance but you could also do this with straight hair first thing first. I need to pop up the sleeves on my off the shoulder top or else we will just keep popping up throughout the tutorial and distracting me and then. I like to ensure that my hair is free of any knots or tangles before. I begin the first step you want to create a half up ponytails.
HOW TO Messy Updo Hair Tutorial Photo Gallery
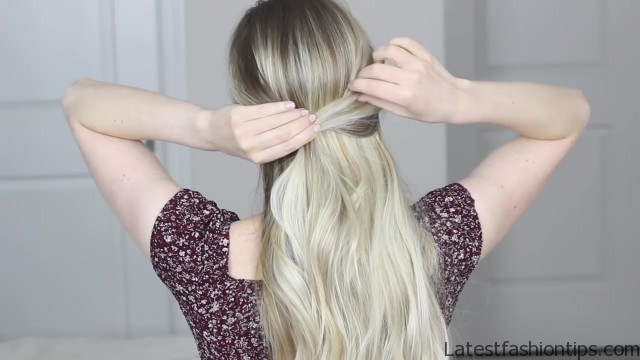
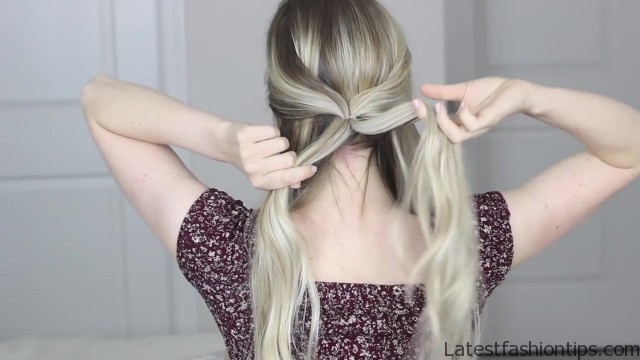
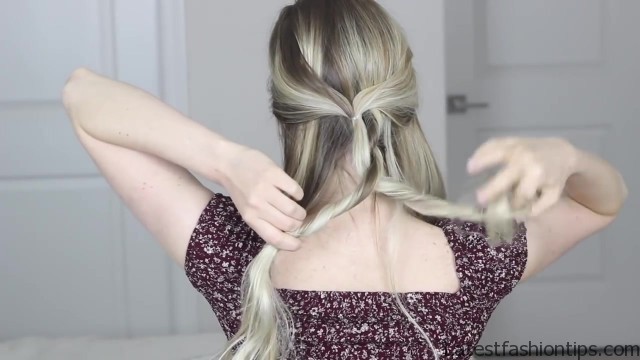
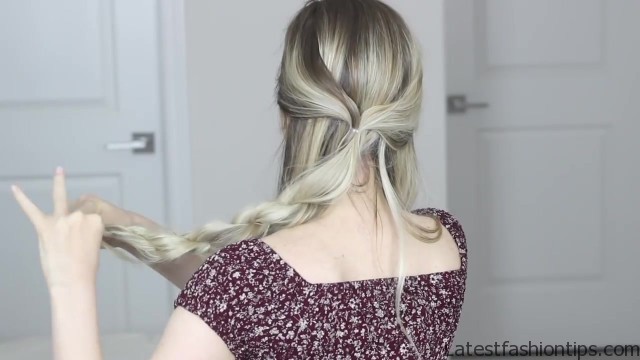
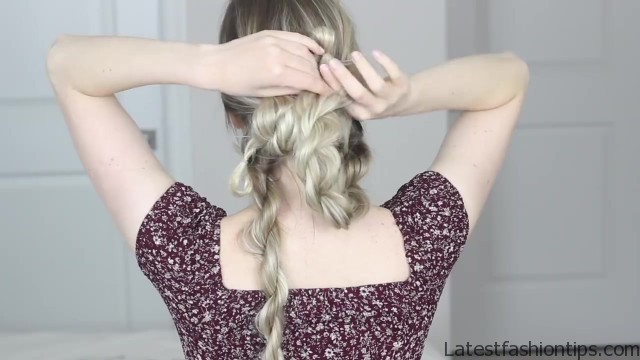
So what you want to do is just roughly section off both sides of your hair keeping your part intact and leaving all of your hair down in the back and any pieces to frame your face and then just secure it with a hair elastic at the back of your head and for that effortless vibe, I’m just going to gently pull on small sections of hair to give it a more lived in appearance now you want to section all of your hair into three equal sized pieces and, I like to just toss the outside sections of the way in front of my shoulders for now, I’m going to begin in the center but it does not matter where you start and what you want to do is divide this section into two equal sized pieces. So we want to loosely twist these two sections around one another and what. I like to do is take the right section and twist it away from the left and then crossing it over top just like you would a rope braid and then we are just going to repeat that. So taking a new right section twisting it away from the left and then bring it over top this can feel a little bit tricky at first especially because your hands are behind your head. If you are having a hard time you can just wrap the two sections around one another as normal that’s what’s. So great about this hairstyle it does not have to be perfect once you have twisted all the way to the and you just want to pull apart these twists to give them a fuller thicker appearance. So hold the ends in your one hand and then.
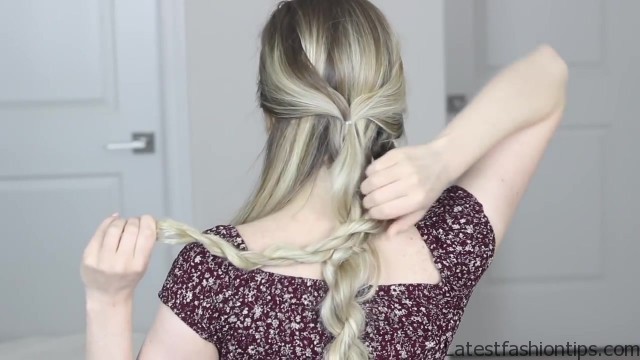
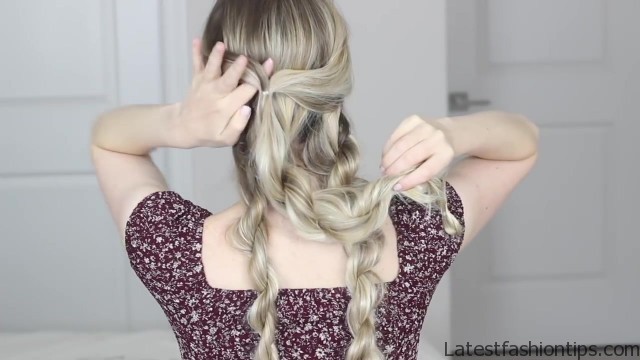
I just use my index finger and thumb and, I just pull on the outside of these twists until they are as big as. I want them once you have pulled apart two twists you want to tie them off with a hair elastic and, I like to leave a little bun at the end of mine. I find it is just easier to secure a later on once it is twisted pull apart and secured it should look a little bit something like this. So moving on to my next section on the right and just repeating the exact same steps as before you just want to roughly divided it into two equal sized pieces and then begin wrapping them around one another. I find this works best if you twist the outside section away from the inside and then cross it over and keep repeating all the way to the end if you want that more and done look then keep your twists nice and loose like. I’m but if you are looking for a more polished look then wrap them tighter and then before you secure remember to pull apart to twist to give them a thicker appearance and this will also add more detail and drama to the back of the hairstyle later on but you could also leave them as is if you prefer and then do not forget to secure the ends with a hair elastic once you have repeated this one last time on the left side you should be left with three twisted twist that look something similar to these now time for my favorite part of this hairstyle the looping of the twist. I like to begin with my middle section and we are going to wrap it around the half of ponytail that we created earlier.
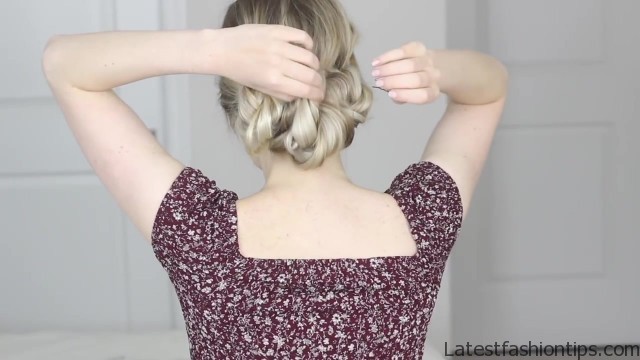
So, I’m just sliding my finger underneath that left section and loosely pulling through that twist you want to pull it too tight and then if you have shorter hair you can stop here but if you have enough hair to loop it a second or third time then go ahead. So now with my right twist same idea. So, I’m going to slide my finger underneath the right side of my half up pony tail and, I’m looping my twist through it two times remembering not to loop it too tight and then one more time on the left side. So now, I’m just sliding my finger underneath the left side of my half up ponytail and pulling through my twist looping it two times and then you just want to bobby pin all of your ends securing them to your neck. I like to create crosses with my bobby pins by inserting them diagonally. I find that they are way more secure this way and then once all of your ends are secure go ahead and just play with the final appearance for example the middle of mine was hanging a little bit lower than the rest..
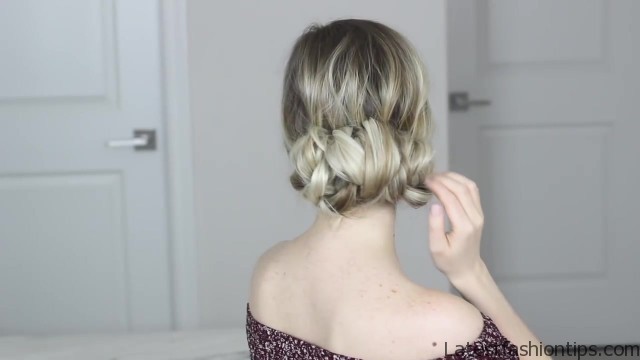
So I just pulled it up and bobby pinned it into place a little bit higher up on my head and then. I gently pulled apart to twist of course just to make them appear even thicker and less perfect but keep playing around with it until you are happy. So there we have you guys that’s how easy it is to achieve this twisted undone updo hairstyle. I just think this hairstyle would be. So perfect for any summer event whether its formal or casual it is just a really great way to swoop your hair up off your neck during those warm nights but. I really hope that you guys have found this tutorial helpful hopefully it inspires you to try something new with your hair if you did like it do not forget to give it a thumbs up and comment down below what you thought and what hairstyle you would like to see you next but thank you guys. So much for reading.
I hope you have the best day and i’ll talk to you guys soon bye!.
Maybe You Like Them Too
- Stephen A. Smith A Biography
- Steny Hoyer A Life in Public Service
- Sheryl Underwood A Life in Music and Comedy
- Scott Walker A Life in Song
- Sara Evans A Biography

