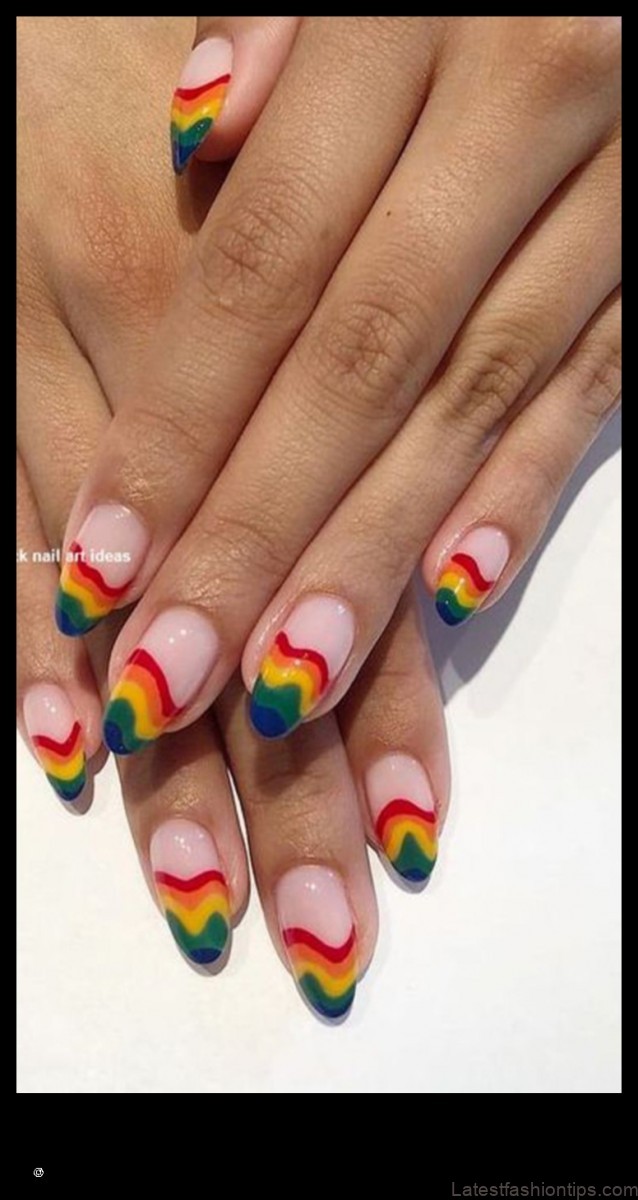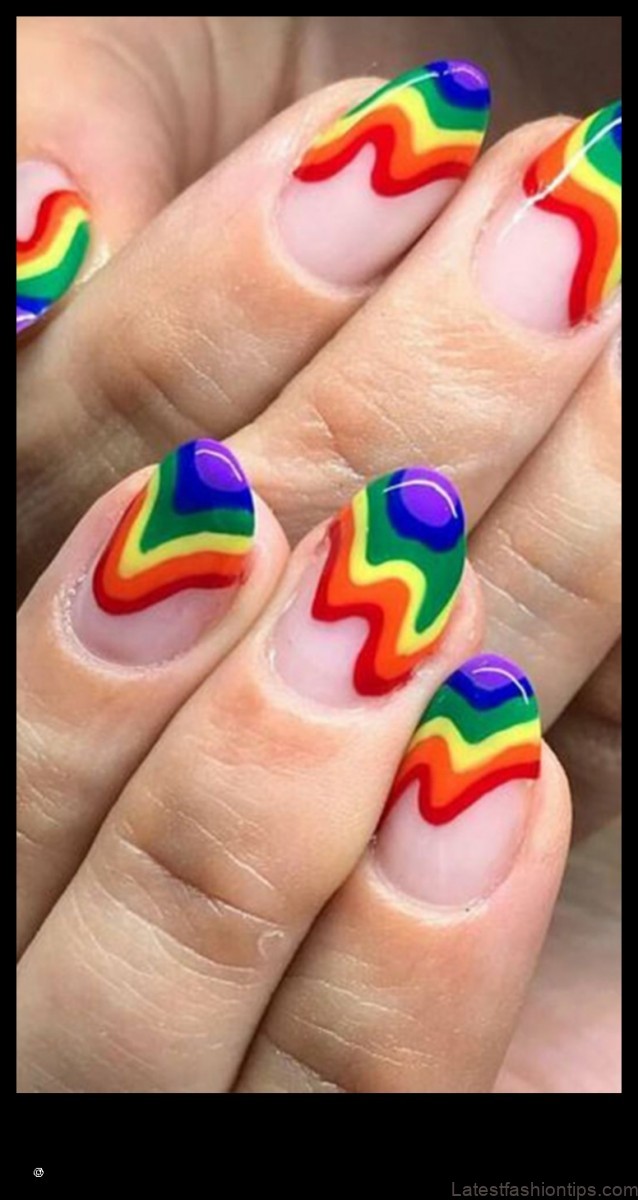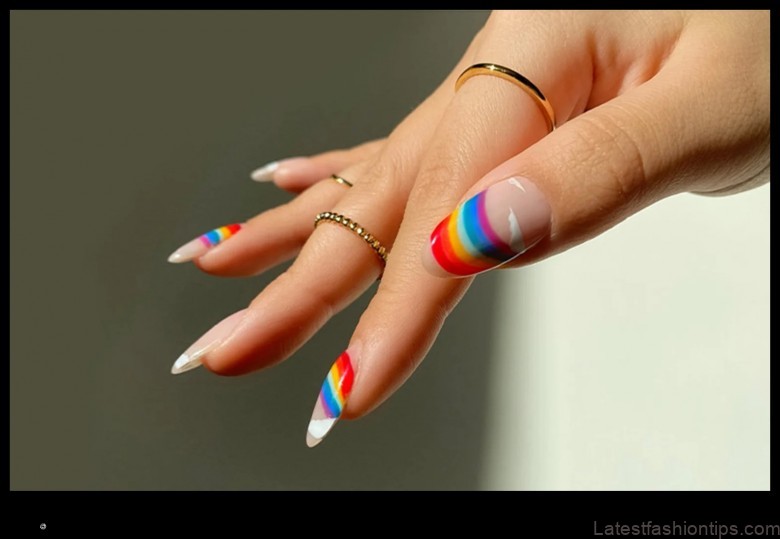
Introduction
Nail art is a form of self-expression that has been around for centuries. From simple designs to elaborate works of art, nail art can be used to show off your personality and creativity.
This article will provide you with a comprehensive overview of nail art, from its history to the different types of nail art that you can create. We’ll also discuss the tools and materials you’ll need to get started, as well as tips for creating your own nail art masterpieces.

History of Nail Art
The earliest evidence of nail art dates back to ancient Egypt, where women would paint their nails with henna. In China, nail art was also popular, and women would use lacquer to create intricate designs on their nails.
In the Middle Ages, nail art fell out of favor, but it made a comeback in the Victorian era. During this time, women would use a variety of materials to decorate their nails, including jewels, beads, and feathers.
In the 20th century, nail art continued to evolve, and new techniques and styles were developed. Today, nail art is more popular than ever, and there are endless possibilities for what you can create with your nails.
Types of Nail Art
There are many different types of nail art that you can create, from simple designs to elaborate works of art. Some of the most popular types of nail art include:
- French manicure
- Ombre nails
- Glitter nails
- Animal print nails
- Nail art decals
- 3D nail art
The possibilities are endless when it comes to nail art, so experiment with different designs and techniques until you find something that you love.
Tools and Materials for Nail Art
To create your own nail art, you’ll need a few basic tools and materials. These include:
- Nail polish
- Nail art brushes
- Nail art stickers
- Nail art gems
- Nail art glitter
- Nail art foil
You can also find a variety of other tools and materials for nail art at your local beauty supply store.
Steps for Creating Nail Art
Creating your own nail art is easier than you might think. Here are the basic steps involved:
- Start by prepping your nails by pushing back your cuticles and applying a base coat.
- Choose a nail polish color for your base coat. You can also use a sheer or transparent base coat if you want to create a design that will show through your nails.
- Paint your nails with your base coat and let it dry completely.
- Create your nail art design using nail art brushes, stickers, gems, glitter, or other materials.
- Seal your nail art design with a top coat.
Once you’ve finished creating your nail art design, you can enjoy your new look for up to a week.
Design Tips for Nail Art
If you’re new to nail art, here are a few tips to help you create your best work:
- Start with a simple design.
- Use a steady hand.
- Don’t be afraid to experiment.
- Have fun!
With a little practice, you’ll be able to create beautiful nail art designs that will turn heads wherever you go.
There are a few common mistakes that people make when doing nail art. These include:
- Not prepping your nails
Nail Art Nail Polish Introduction History Types Tools and Materials Steps Design Tips Mistakes How to Keep Fresh Inspiration FAQ II. History of Nail Art
Nail art has been around for centuries, with evidence of nail decoration dating back to ancient Egypt. In ancient Egypt, nail art was seen as a symbol of status and wealth, and only the wealthy and elite were able to afford to have their nails decorated.
Nail art became more popular in the West during the Victorian era, when women began to wear longer, more elaborate nails. In the early 20th century, nail art was popularized by Hollywood actresses, who often had their nails painted in bright colors and intricate designs.
Today, nail art is more popular than ever, with a wide variety of styles and techniques available. Nail art is no longer just for the wealthy and elite, but is accessible to everyone who wants to express themselves through their nails.

III. Types of Nail Art
There are many different types of nail art, from simple designs to more complex ones. Some of the most popular types of nail art include:
- French manicure
- Ombre nails
- Glitter nails
- Marble nails
- Animal print nails
- Geometric nails
- Drip nails
- Negative space nails
- 3D nails
Each type of nail art has its own unique look and feel, so you can choose the one that best suits your personality and style.
IV. Tools and Materials for Nail Art
There are a few basic tools and materials that you will need to get started with nail art. These include:
- Nail polish in a variety of colors and finishes
- A nail art brush
- A toothpick or other small tool for creating fine details
- A topcoat to protect your nail art
In addition to these basic tools, you may also want to invest in some more specialized tools and materials, such as:
- A dotting tool for creating polka dots or other circular designs
- A striping tape for creating clean lines
- A stamping plate and stamper for creating intricate designs
- Adhesive gems, glitter, and other embellishments for adding a touch of sparkle to your nails
You can find all of these tools and materials at your local beauty supply store or online.
Once you have gathered your supplies, you are ready to start creating your own nail art masterpieces!
V. Steps for Creating Nail Art
Creating nail art can be a fun and creative way to express yourself. Here are the steps involved in creating your own nail art masterpiece:
- Prep your nails by cleaning them and applying a base coat.
- Choose the colors of nail polish that you want to use.
- Apply the nail polish to your nails, starting with the base color.
- Add any desired nail art designs, such as stripes, dots, or flowers.
- Seal the nail art with a top coat.
Once your nail art is dry, you can enjoy your new look!
VI. Design Tips for Nail Art
Here are some tips for designing your own nail art:
- Start with a clean, well-manicured nail bed.
- Choose a base color that will complement your nail art design.
- Use a variety of colors, shapes, and sizes to create a visually interesting design.
- Don’t be afraid to experiment with different techniques.
- Seal your nail art with a top coat to protect it from chipping.
Here are some additional tips for creating more complex nail art designs:
- Use a toothpick or thin brush to create fine details.
- Use a stencil to create a symmetrical design.
- Use a stamping tool to create a repeated pattern.
- Add glitter, beads, or other embellishments to your design.
With a little practice, you can create beautiful and unique nail art designs that will turn heads wherever you go.
VII. Mistakes to Avoid When Doing Nail Art
When doing nail art, there are a few common mistakes that people make that can ruin the overall look of their nails. Here are some tips to avoid making these mistakes:
- Don’t use too much polish. A little bit of polish goes a long way, so be careful not to apply too much. This can make your nails look thick and bulky.
- Don’t over-paint your nails. When painting your nails, be sure to only paint the surface of your nails. Painting over the cuticle can cause your nails to look messy and unprofessional.
- Don’t use too many colors. When creating a nail art design, it’s important to use a limited number of colors. This will help to create a more cohesive look.
- Don’t use contrasting colors. When choosing colors for your nail art design, be sure to use colors that complement each other. This will help to create a more visually appealing look.
- Don’t rush the process. When doing nail art, it’s important to take your time and be patient. Rushing the process can lead to mistakes that can be difficult to fix.
By following these tips, you can avoid making common mistakes when doing nail art and create beautiful and professional-looking nails.
How to Keep Your Nail Art Looking FreshNail art can be a great way to express your personality and style, but it can also be a lot of work to keep it looking fresh. Here are a few tips for keeping your nail art looking its best:
- Use a good base coat. A base coat will help to protect your nails and prevent your nail art from chipping or peeling.
- Use a top coat. A top coat will help to seal in your nail art and protect it from wear and tear.
- Reapply your top coat regularly. As your nail art wears, your top coat will wear off as well. Reapplying your top coat will help to keep your nail art looking fresh.
- Avoid using harsh chemicals on your nails. Harsh chemicals, such as nail polish remover, can damage your nails and make your nail art chip or peel more easily.
- Take care of your nails. Eating a healthy diet and keeping your nails hydrated will help to keep them strong and healthy. Strong, healthy nails are less likely to chip or peel.
By following these tips, you can help to keep your nail art looking fresh and beautiful for longer.
IX. Where to Find Inspiration for Nail Art Designs
There are many places to find inspiration for nail art designs. Here are a few of the best places to start:
-
Online nail art galleries
-
Social media platforms
-
Nail art magazines
-
Nail art books
-
Nail art tutorials
Online nail art galleries are a great way to see a wide variety of nail art designs. You can find galleries on websites, blogs, and social media platforms. Some popular online nail art galleries include:
-
Nail Polish Gallery
-
Nail Art Gallery
-
Polished Nail Art
-
Nail Art Cove
-
Nail Art Ideas
Social media platforms are another great way to find inspiration for nail art designs. You can find nail art inspiration on Instagram, Pinterest, and YouTube. Some popular nail art hashtags include:
-
#nailart
-
#naildesign
-
#nailartinspiration
-
#nailartideas
-
#nailartaddict
Nail art magazines are another great way to find inspiration for nail art designs. You can find nail art magazines in most bookstores and libraries. Some popular nail art magazines include:
-
Nail Pro
-
Nail Artist
-
Nail Trends
-
Nail Design
-
Nail Art World
Nail art books are another great way to find inspiration for nail art designs. You can find nail art books in most bookstores and libraries. Some popular nail art books include:
-
The Ultimate Nail Art Book
-
Nail Art Design Bible
-
Nail Art Step-by-Step
-
Nail Art Color Craze
-
Nail Art Trends
Nail art tutorials are another great way to find inspiration for nail art designs. You can find nail art tutorials on YouTube, Instagram, and Pinterest. Some popular nail art tutorial channels include:
-
Simply Nailogical
-
Nail Career Education
-
Nail Polish Obsession
-
Nail Sunny
-
Manicured Muse
X. FAQ
Q: What are the different types of nail art?
A: There are many different types of nail art, including:
- French manicure
- Ombre nails
- Nail stamping
- Nail decals
- Nail art painting
Q: What are the best tools and materials for nail art?
A: The best tools and materials for nail art include:
- Nail polish
- Nail art brushes
- Nail art pens
- Nail art stickers
- Nail art gems
Q: What are some tips for creating nail art?
A: Some tips for creating nail art include:
- Start with a clean, dry nail bed.
- Use a base coat to protect your nails.
- Apply your nail polish in thin layers.
- Let each layer of nail polish dry completely before applying the next one.
- Use a top coat to seal your nail art.
Table of Contents
Maybe You Like Them Too
- 5 Tips for Healthy Hair Care A Guide for All Hair Types
- Revolutionary Cuts Transform Your Look with These Bold, New Hairstyles
- The Many Shades of Beauty
- Cutting it Right The Dos and Don’ts of Getting the Perfect Haircut
- Exceptional Elegance A Look at Unique Women’s Fashion Statements


