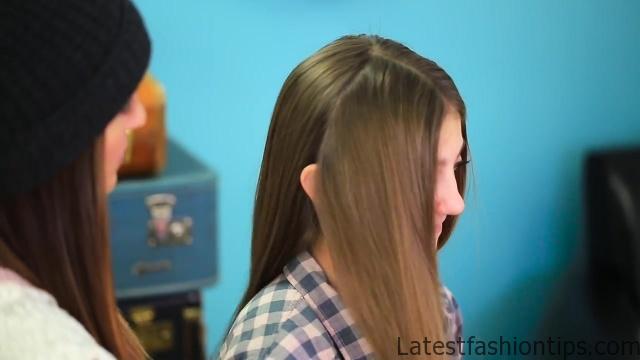
Hey guys! I’m Abby from LA and Camry’s here with me today. Hi guys! She’s gonna help me to show you guys the double-braid tie-back. Now, this hairstyle’s great for any occasion. I especially think that it is fantastic because It’s so simple and because you can definitely do it on yourself, which you guys are always asking for. Now, if you love these kinds of posts, be sure to give us a thumbs up. Don’t forget to enter the giveaway that’s still going right now. You can click the link in the description box right here and find it right here in this information button right there. So, do not forget! And, let’s get started.Kay, to begin the double-braided tie-back, we are gonna part her hair down the middle. And then, I’m gonna go from the top part just down, right by her ears, so you can see I have created a little section in front of her ears.
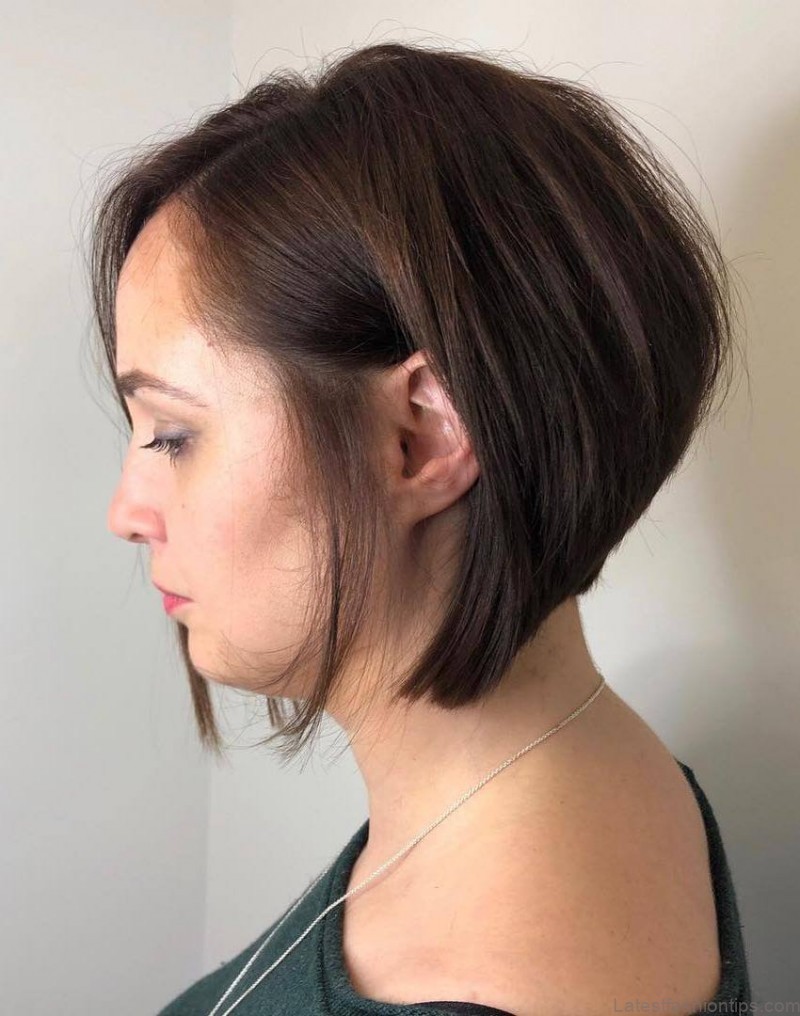
Double Braid Tieback Hairstyles Photo Gallery
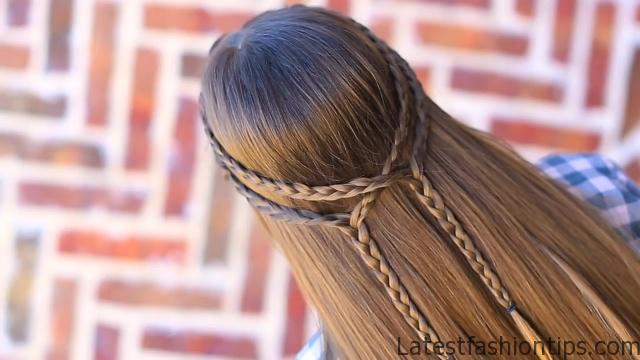
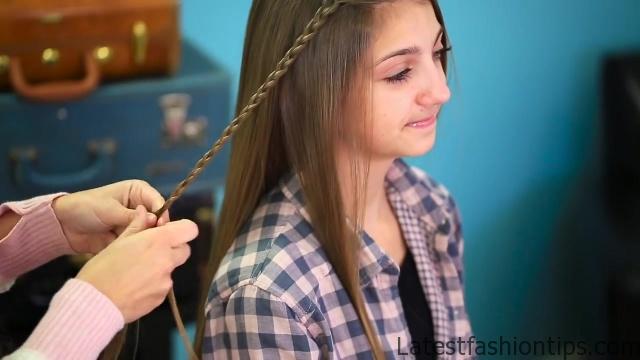
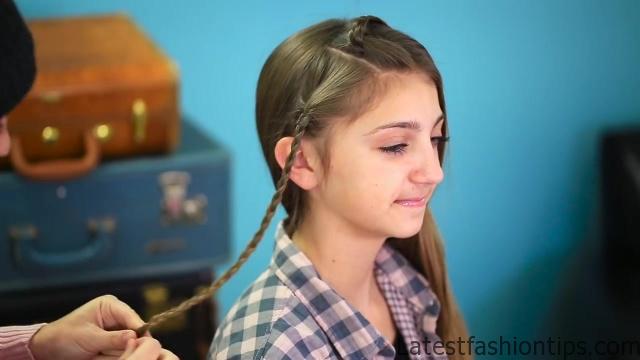
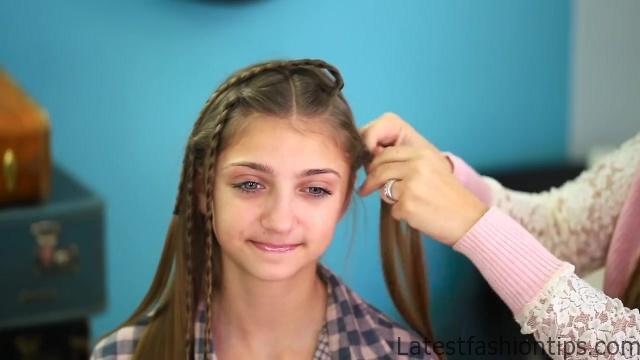
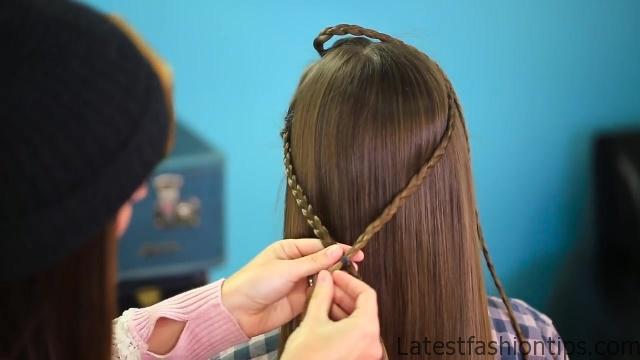

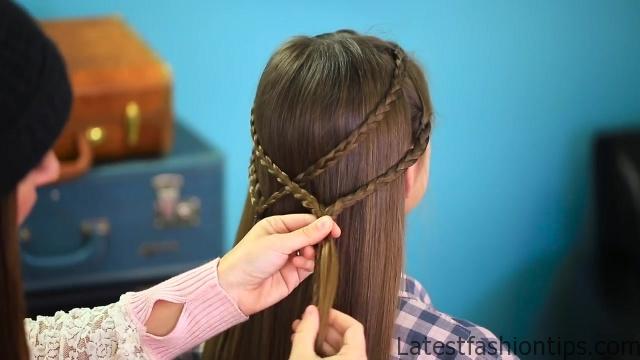

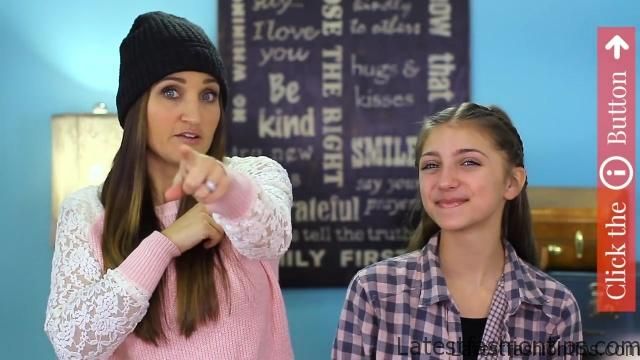
I’m gonna go just a little farther back so we are right at the top of her ears. Then, you are going to divide that section in half. Then, you are going to begin a braid. Just a basic, three-strand braid and each section’s going to become a braid. So, this is pretty easy. Certainly something you could do on yourself as well as somebody else. Then, we are going to make sure each piece is long enough to reach to the back of her head, right around here. So, when you get done braiding that far, you do not have to go any father, just secure it with a little elastic for the time being to hold it in place and repeat on the next section. (gentle airy music) And again, secure with an elastic. You’re gonna repeat this entire process on the other side. (light airy music ) Now, when you have all four of your braids done, what you wanna do is take the top braid right here, and you are gonna cross it over and connect it with the bottom braid on the left side. So, you can see I have left this top one out of the way. And, we are just gonna connect these two. I want it kind of on this left sidecause this one’s gonna come over and form a point on this right side.
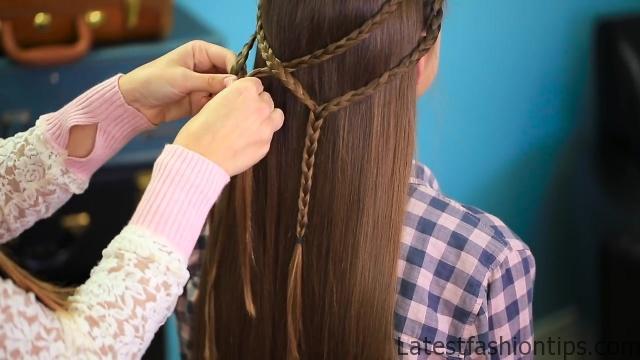
So, you kind of have to eyeball about where you want it to sit. And then, what I’m going to do is take one of these elastics that we already used and secure it together. For right now, just loosely so I can kind of get a feel for placement. Now, I’m gonna take this one and cross it over this way and secure it. So that you can get a feel for right where they are gonna sit. You can see that pattern that we are creating by doing that. Now, when you getem sitting where you wantem, then you remove both the elastics and you are going to form a braid right where they connect, so, like, right in there. And, we are gonna merge the braid. When you are getting to the end, then go ahead and re-secure the elastic. So, I’m gonna do this side now. Take out those elastics. And loosen those braids a little bit and we can mergeem together. Okay! And, you are all finished! And, you have these great, cute, crisscross braids! Totally looks like something you’d wear to Coachella to me. So pretty! Let’s do the final spin! You have these great crisscross braids. I think it’d be really cute to wear to a music festival or something where you are like, kind of in a romantic, gauzy outfit like a Coachella-type event would be great. If you guys likes this post be sure to give it a thumbs-up! Don’t forget that you can find our other posts by clicking the information box right here in the corner. And, do not forget to enter our giveaway! The link is in the description box below and we will see you guys next week. Bye you guys! Bye!.
Maybe You Like Them Too
- Celebrating Natural Black Women’s Hair: A Guide to Gorgeous Hairstyles
- Short Hairstyles For Women Over 60
- 20 Thrilling Twist Braids Style to Try This Season
- The Top 10 Asymmetric Hairstyles
- 10 Gorgeous Shaggy Bob Hairstyles To Get You Out Of A Style Rut

