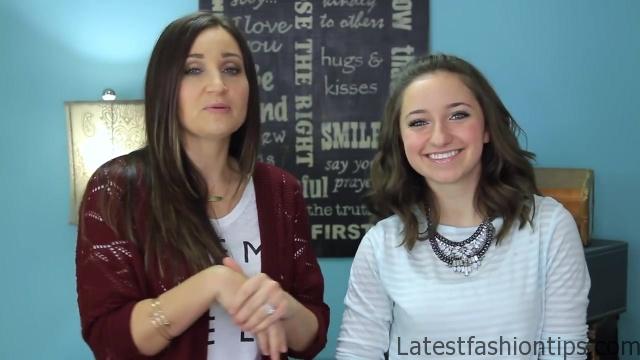
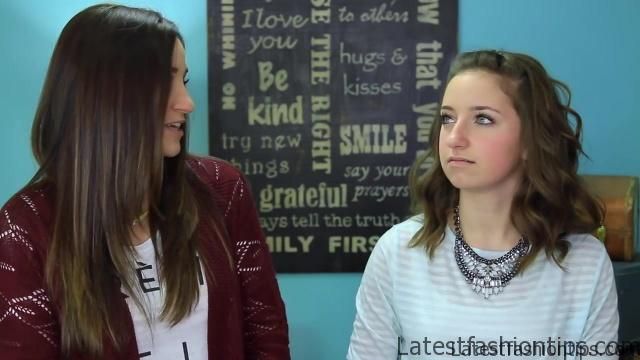
Hey everyone. I’m Abby, from LA. And today I’m here with Ms. Bailey BAILEY: Hi, guys. She is going to be showing you guys how to do a hairstyle that we are calling the CGH Faux Waterfall Headband. And it is a DIY. It is a DIY. You guys will love it, even for short hairstyles. But before we move on to the hair, we are so excited to announce our first Dallas Meetup. Yay! You guys have been asking forever. The meetup is going to be located at the P.S. from Aeropostale store at the Grapevine Mills Mall, on February th which is this coming Saturday from until. We would love to see you guys, love to say hi, give you big hugs. Now for those of you that get to come into the store, they are offering off anything you buy in the store, which is awesome. But for those of you who can’t come to the meetup, because you live too far away, they are still offering a coupon code for online shopping. And it will be in the description box below, so be sure to check that out. Yes. We’d love to see you guys.
DIY Faux Waterfall Headband Hairstyles Photo Gallery
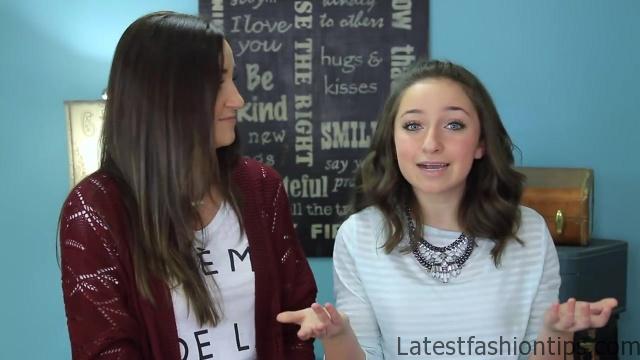
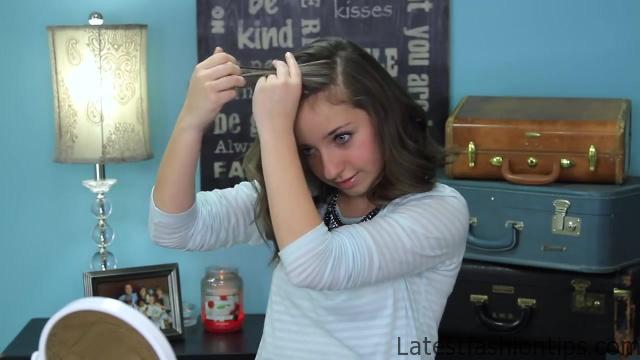
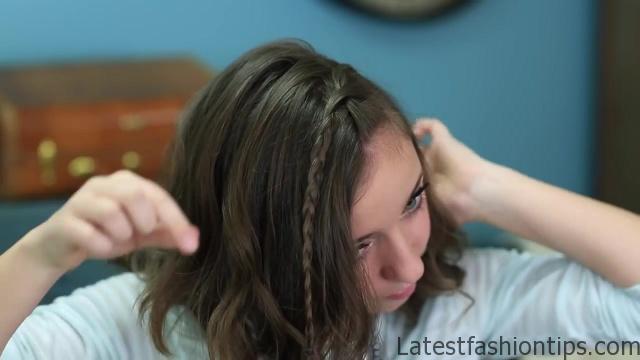

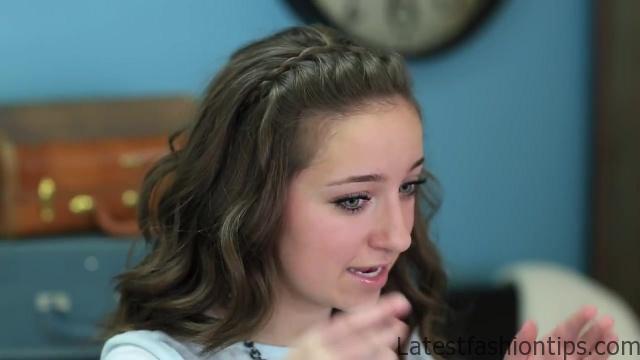

Love, big hugs, big kisses, see you soon. And Bailey will take over on the hairstyle. To start off, I curled my hair with a flat iron. And then the very first thing I’m going to want to do, is part a very, very deep part on either side of your head. But I’m going to do it on the left side. And basically it is going to be so deep, it is going to be like in line with the end of my eyebrow. So that’s where I’m going to part my hair. It’s going to look a little funny at first. OK. So now that we have got our part down, to start the braid, you are going to want to take a piece not too big, but not too small you just want it to be a perfect braid let’s see if we can here we go. OK. So once you have your piece, you are going to want to begin braiding your hair just as a normal braid. We’re not doing anything too fancy, just a three-piece braid. This hairstyle works for any type of hair. I found out that it works really well for like when you are growing out bands, or with your short hair.
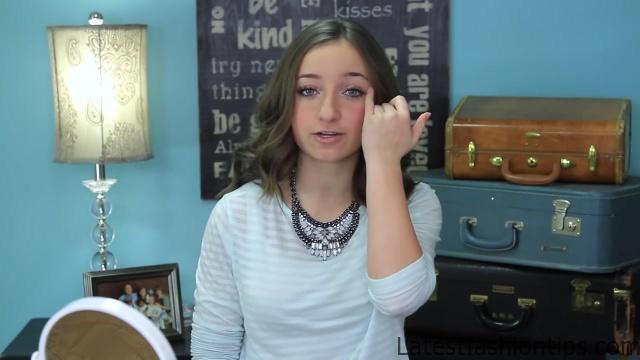
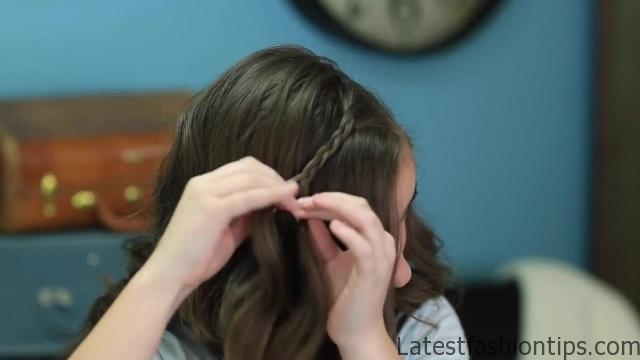
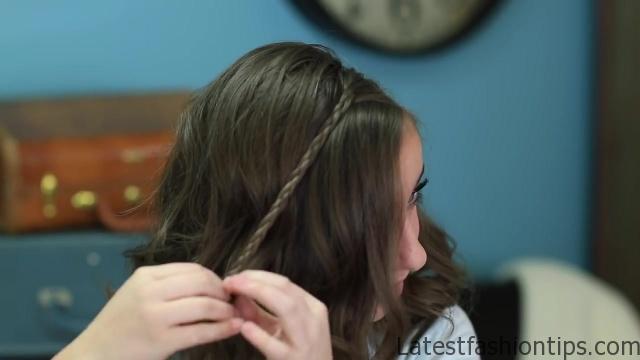
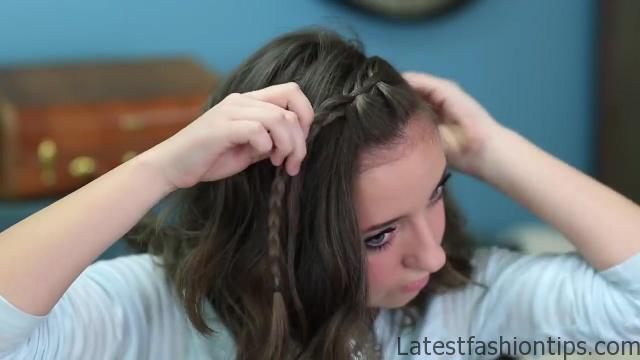
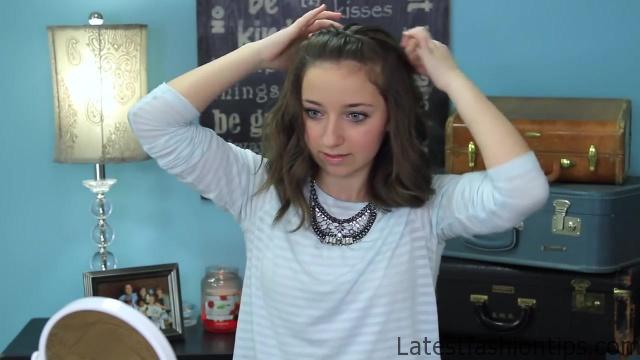
Or if you just want the front pieces out of your face. It works perfectly for any of those kinds of things. And it also works for when your hair is up. If you want to put it up in a ponytail, or down. So it is a very, very simple and easy hairstyle that goes with everything. OK. So once you have finished braiding your piece, go ahead and take a rubber band, and rubber band it. OK. So as you can see on the braid, the outside bumps, those are what we are going to be working with, with this braid. So I’m going to go back to the very top, and you can see the very first outside loop. I’m going to go ahead and pull it out, stick my fingers through, like this. So now I have my fingers through. I’m going to take a piece from the top, the front you do not want it to be too big just a small piece from the front, and pull it through the loop. So there’s our first stitch of the braid. Now we are going to move on to the next outside bump. I’m going to pull and stick my fingers through. I’m going to take a small piece, pull it through the loop, and there’s our second stitch. And now we are just going to continue this all the way down. So as you can see, I have done a couple of the stitches. But we are not actually going to go all the way down the braid. We’re just going to go down so it is even with the part on the other side of the head. So that’s what I have done. So now that the stitches are finished, I’m going to go ahead and take the end of my braid and pin it, kind of bury it underneath my hair. And you cover it up. And now we will take the stitches, and just pull them back. Now the next step I’m going to show you is very important.
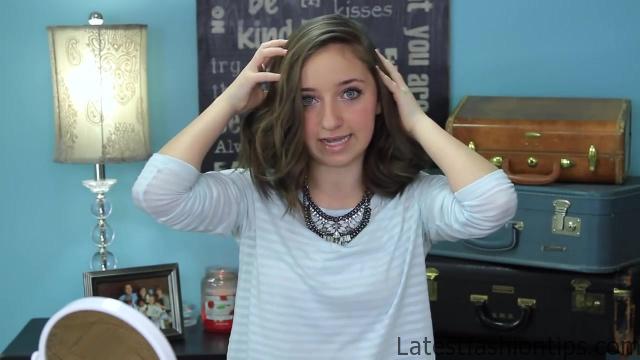
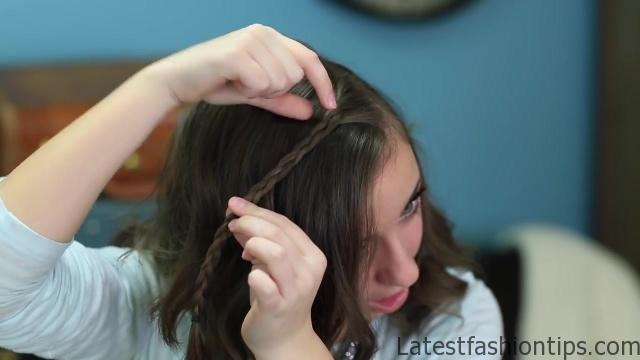
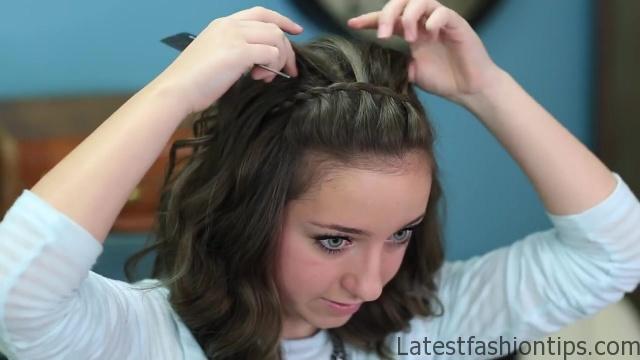
It will take the hairstyle from being good to like, great. So as you can see, I have pulled all my hair, my strands back, but sometimes they will lay funny. Well, most of the time, actually. So the way to fix this is to take a comb, and you are going to want to take your strands like so, and tease them. So we are going to take our comb, take a strand, and comb downwards. Just tease them a little. You can do more teasing or less teasing, depending on how you like your hair. As you can see, the teasing in the back helps accent the waterfall effect. For the last step, we are going to go ahead and pancake those ridges in the back. Just so you can see the braid from the front. You do not have to do too much, just a little is perfectly fine. And there you have the CGH Faux Waterfall Braid. Now I’m going to do the final spin, so here we are. Here we go. This hairstyle is literally super easy. It took me like two minutes to do. And it is just a basic braid. Even dads can do it, like I mean my dad can do it, which is huge. So it is super easy. And give this post a thumbs up if you have liked it. Don’t forget to leave a comment below if you guys are coming to the Dallas meetup. We’re super excited to see ya’ll. So we really want to know if you guys are coming. And I think that’s all we have. So I will see you guys next week. Bye. If you need to just get a little more curl in the front, you could always turn your blow dryer back on really low, and go ahead and just work some more right in the front. And kind of take your hand and scrunch it Yes. It is so much harder to say thansiin Spanish, do not you think? Si, yes. Like when I was taking Spanish classes, I would always be like, si, si. It’s so much easier than yes. Yes does take a lot.
Maybe You Like Them Too
- Celebrating Natural Black Women’s Hair: A Guide to Gorgeous Hairstyles
- Short Hairstyles For Women Over 60
- 20 Thrilling Twist Braids Style to Try This Season
- The Top 10 Asymmetric Hairstyles
- 10 Gorgeous Shaggy Bob Hairstyles To Get You Out Of A Style Rut
