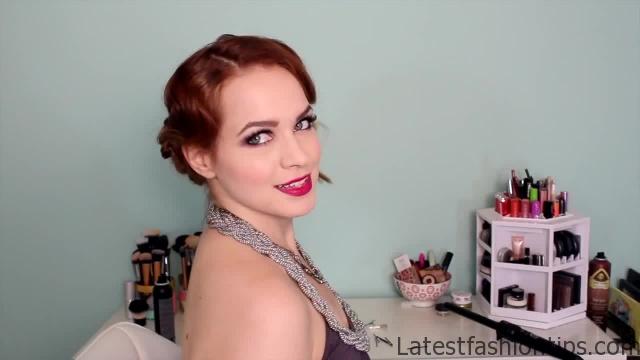
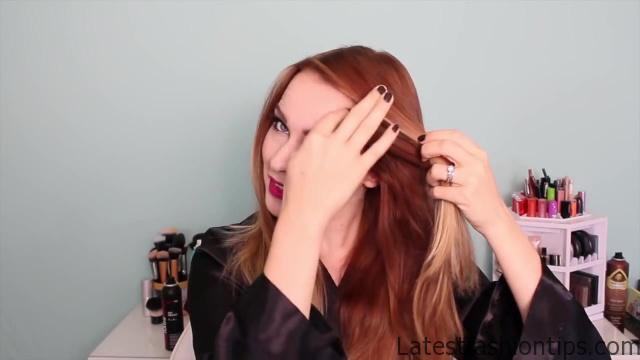
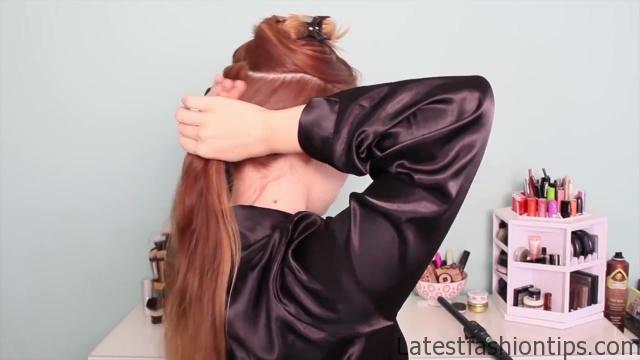
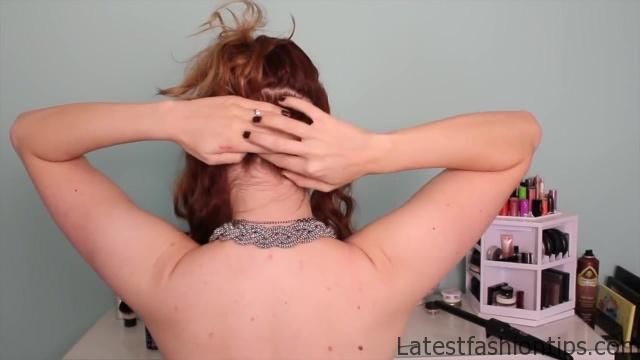
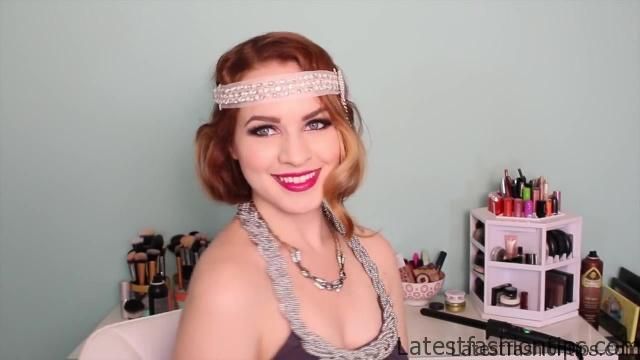
With some inspired hairstyles this first one is a gently finger waved up do which is very wearable for multiple occasions, and then the second one is a faux bob tutorial. So that you can get that really kind of accurate flapper hairstyle for any of you guys who are dressing up as something from the s for all these sides you are going to start out by separating your hair from the temples up all the way around your head go a little bit further down if your hair is a little bit more thin then take the rest, and secure it at the nape of your neck in the ponytail this provides a base for us to put into later whether you are doing the bob or the up – this going to be very pivotal to the rest of the hairstyle. So make sure you definitely get that ponytail in there well. Because it helps the rest of it to be a lot easier.
1920s Faux Bob, and Up do Tutorial Photo Gallery
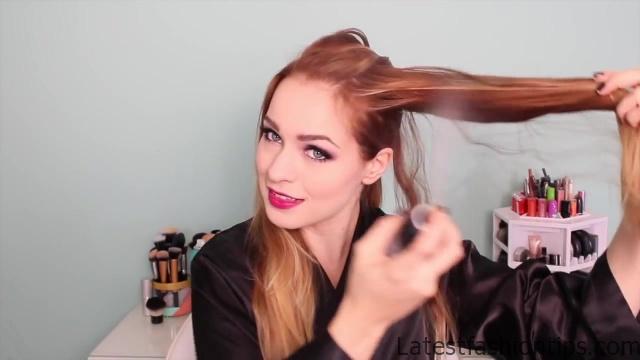
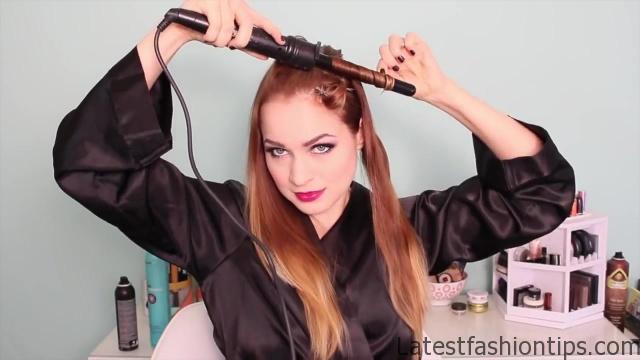


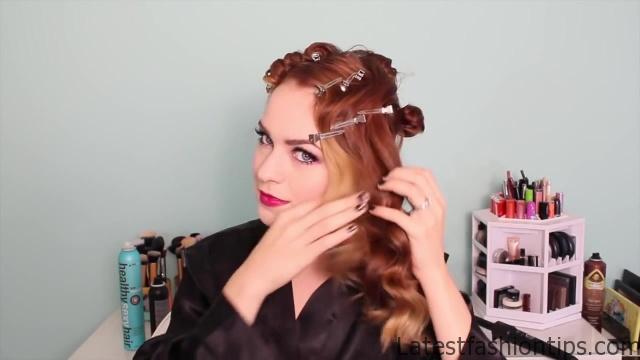

Now we are going to work on finger waves go ahead, and separate about of an inch for your first section we are going to start curling at the bottom. So let that free, and pin the rest up, and now, I will going to use some heat protection spray just to make sure my hair is extra safe. Because we are using a lot of heat for this, I will taking a three quarter inch iron, and curling my hair in small sections toward my face muscles have been curled by wrapping them back up, and setting them a place to cool with a clip you could also use a bobby pin if you do not have small Clips like these, and then, I will going to continue through the rest of the section doing the exact same thing these are no longer or wider than my iron they are little square sections that are about of an inch long, and wide.
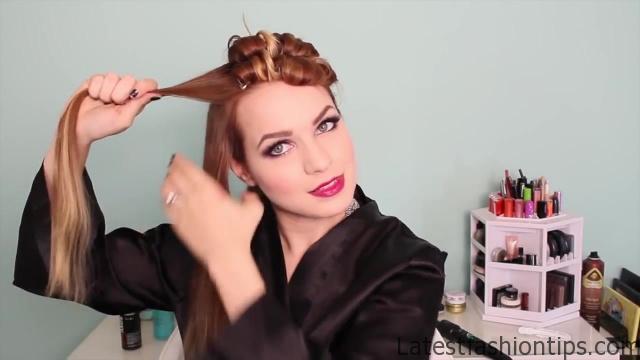
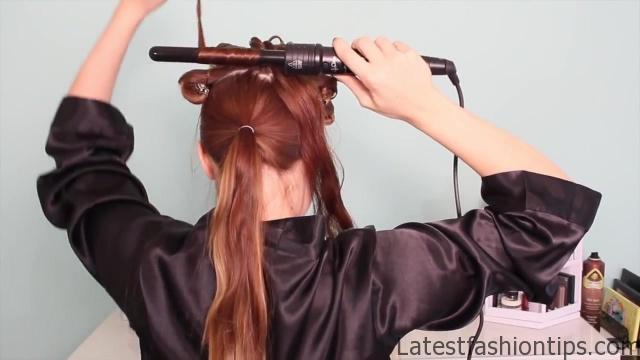
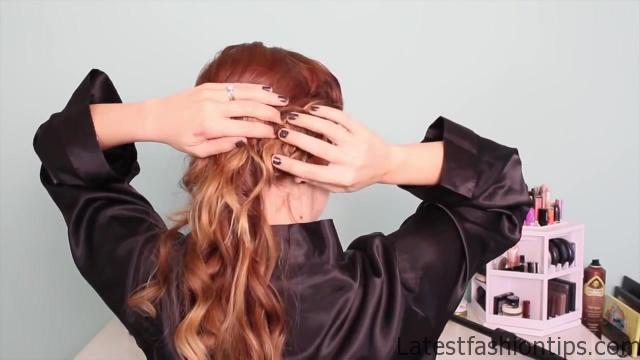
It takes a long time to do that. Because it is a very small section of hair but you absolutely need it to get these finger waves right, and then continue by taking another of an inch section, and dropping it, and curling that toward your face as well the reason that we are taking small pieces, and curling them, and setting them. Because you need really strong curls for this we are going to be combing them a lot, and they need to be able to stand up to that once you are done with that second section go ahead, and drop the last section, and again curl it toward the base, and fit into place we are going to use the exact same thing on the second side starting with the bottom curling towards the face, and securing it with pins, and then we are going to move to the back, and the back really just needs to have some curl to it does not need to be finger waved. I think that you are waving the back of your head way too difficult to try to do on yourself. So basically what you are going to do is just curl downward, and you can either let these fall or pin them up just depending on what you want if you are doing the Bob, and your hair does not curl very well or very easily. I would recommend to pin them up then you are going to go ahead, and let the curls down once they are completely cool now for finger waves you make half circles the first half circle goes away from your face the second goes toward your face.
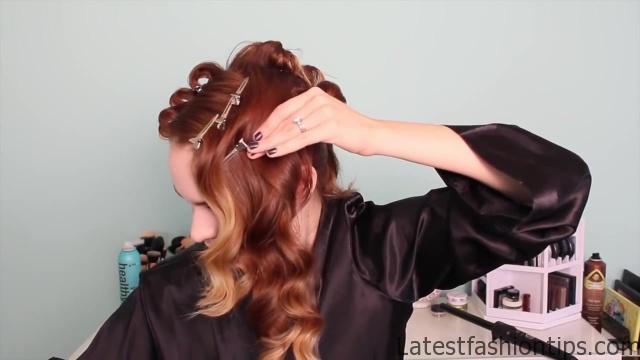
You’re going to take a comb, and start combing your hair away from your face on a degree angle. Because the hair is already curled it actually goes ahead, and completes that half circle for you as you can see right there. So all you have to do is go ahead, and pin it to hold that half circle in place then you are going to look right underneath that, and you see this Ridge that forms. Because the hair is already curled normally you have to like work a comb, and your fingers to make that happen with this all you have to do is take your fingers, and push up, and pin underneath that to hold that Ridge in place which is. So nice. So right here we are working on this half circle that goes toward your face. So if you are finding any hair that’s being a little unruly go ahead, and comb it toward your face before pinning it in place, and you can see that, I will doing that here, and then, I will going to do it in the front as well you especially want to focus on the front to make sure that it looks really nice right around your face this method is really helpful. Because your hair is basically already making the wave all you are really doing is coaxing it into place which is really nice. Because you are not forming the wave yourself. So we are going to finish off this wave that goes toward our face by just picking your hair, and pushing it up. Because it is already curled into place you do not really have to work that hard you just have to push it up, and it finishes that set for you, and you want to pin just underneath that Ridge those little bumps that you see right there they are called ridges, and you want them they are a definite part of finger waves.
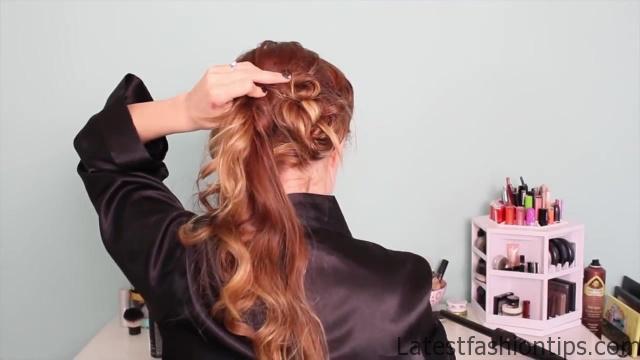
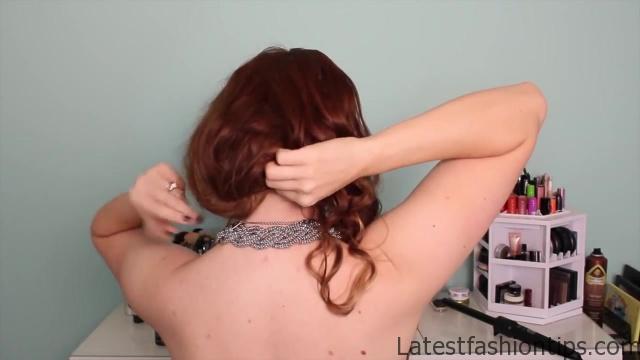
Go ahead, and do the same thing on the second side starting by going away from your face, and then completing the next steps like we did on the first side then give it a really good hairspray. Because you do not want this to go anywhere. So now let’s move on to the updo this is actually really easy once you have got those finger waves in place the finger waves are the hardest thing of this whole entire thing you are going to go ahead, and take the back of your hair, and pin it right over that ponytail, and then you are going to take the hair from the front, and pinned them back over the ponytail as well. I recommend waiting to take the clips out until after you have this placed. I kind of in retrospect should have done that with my hair as well but basically just take the hair from the front, and pin it back, and if you want to you can leave a little piece down or not it really does not matter then once you have all the hair down go ahead, and twist it, and curl it against the head, and pin it in place, and you can see, I will being really messy with this, and it ends up making a really pretty little bun. I was completely surprised by this technique the first time. I tried it. I really liked it.
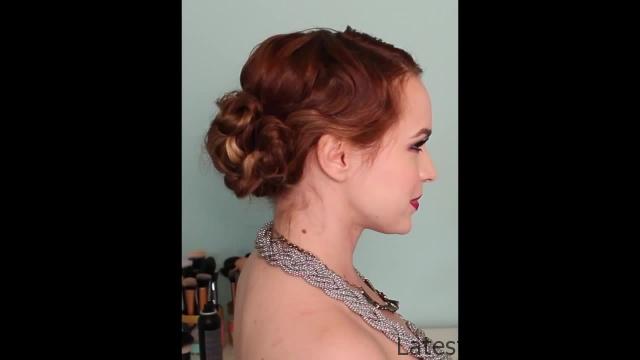
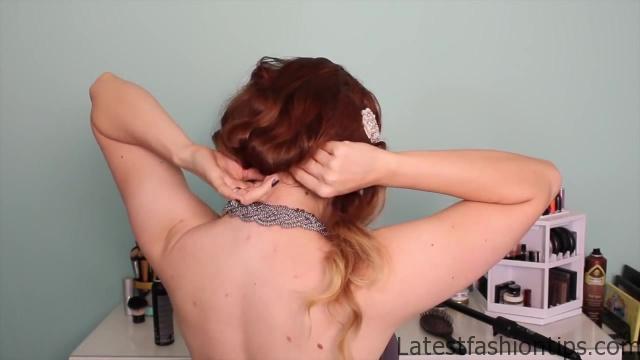
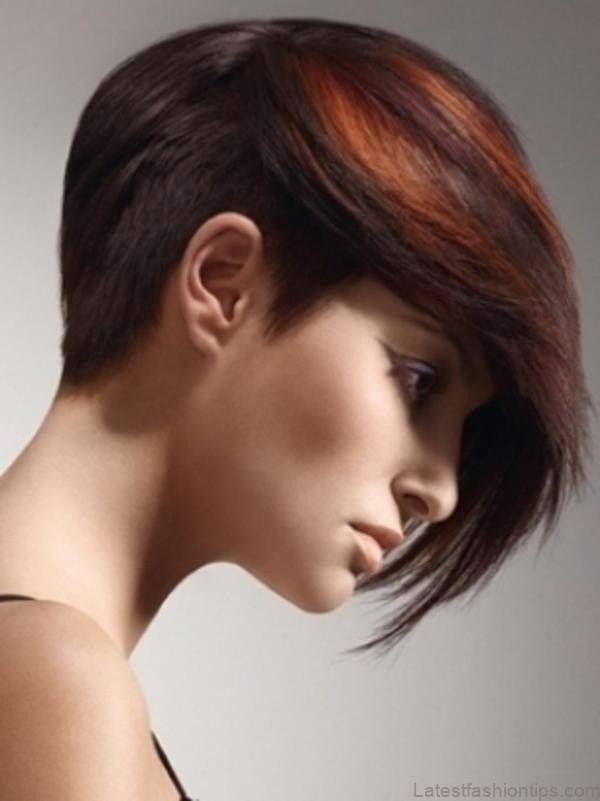
So basically you just take like an inch chunk of hair twist it, and. Because. I have long hair. I kind of twisted it, and put one part against my head, and pinned at a place, and then. I twisted the rest of the hair, and put it against my head again. I pin that in place, and you just kind of go around. I keep filling it out to make a nice bun shape you do not want it to be too heavy in one area versus another. So just keep checking yourself in the mirror as you go to make sure that you are building it up just the way it needs to be built up, and you are not making it too heavy, and that’s it for the update old you it was really simple now we are going to move on to the faux bob which is actually also pretty simple. So let’s go ahead, and get started first of all you are going to go ahead, and braid that ponytail that we did at the very beginning, and then create a very oval shaped bun at the base of your neck tie is going to be the base that we pin into with all of the hair that we take from the top it gives a lot of help to be able to pin those hair into something that’s already there it makes it a lot more secure, and likely to stay throughout the night.
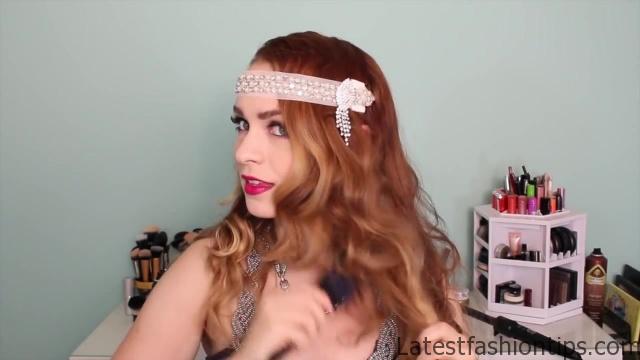
So then if you want to use a headband like. I did go ahead, and pin the back of your hair up put your headband across your forehead, and then let the hair in the back down, and it covers up the band in the back now you want to use a big brush to go ahead, and tease the bottom of your hair this gives you something to pin into, and also kind of helps the hair to keep from breaking to show that your hair is not actually nabob then twist the bottom of it, and place that twist against the nape of your neck or against that braid that we did at the back, and put it in place, and then keep doing that with small sections of hair just twisting the hair placing that twist against the nape of your neck, and pinning it in place, and that’s basically all. I did if you find that you are starting to kind of experience a lot of lumpiness or that the hair is breaking too much try taking smaller sections the more sections you take the better this will look also those of you guys with shorter layers. And I have are going to look a lot better with this style than. I did. Because long layers make it a little difficult to do this although it is definitely still doable you just want to have that back curled really nicely. So it looks pretty no matter what additional tip is to definitely make sure, and crisscross your pins to hold that in place at the nape of your neck. So that it does not fall out at all. Because you definitely do not that to happen. So that’s it for our’s inspired Styles. I know that there are a little bit more labor-intensive than a lot of stuff. I do but. I thought you guys would really enjoy them. And I hope you guys try them out make sure to tag them with hash tag let’s make it up one if you try them. I would love to see them. I will see you guys in my next post bye.
Maybe You Like Them Too
- Celebrating Natural Black Women’s Hair: A Guide to Gorgeous Hairstyles
- Short Hairstyles For Women Over 60
- 20 Thrilling Twist Braids Style to Try This Season
- The Top 10 Asymmetric Hairstyles
- 10 Gorgeous Shaggy Bob Hairstyles To Get You Out Of A Style Rut
