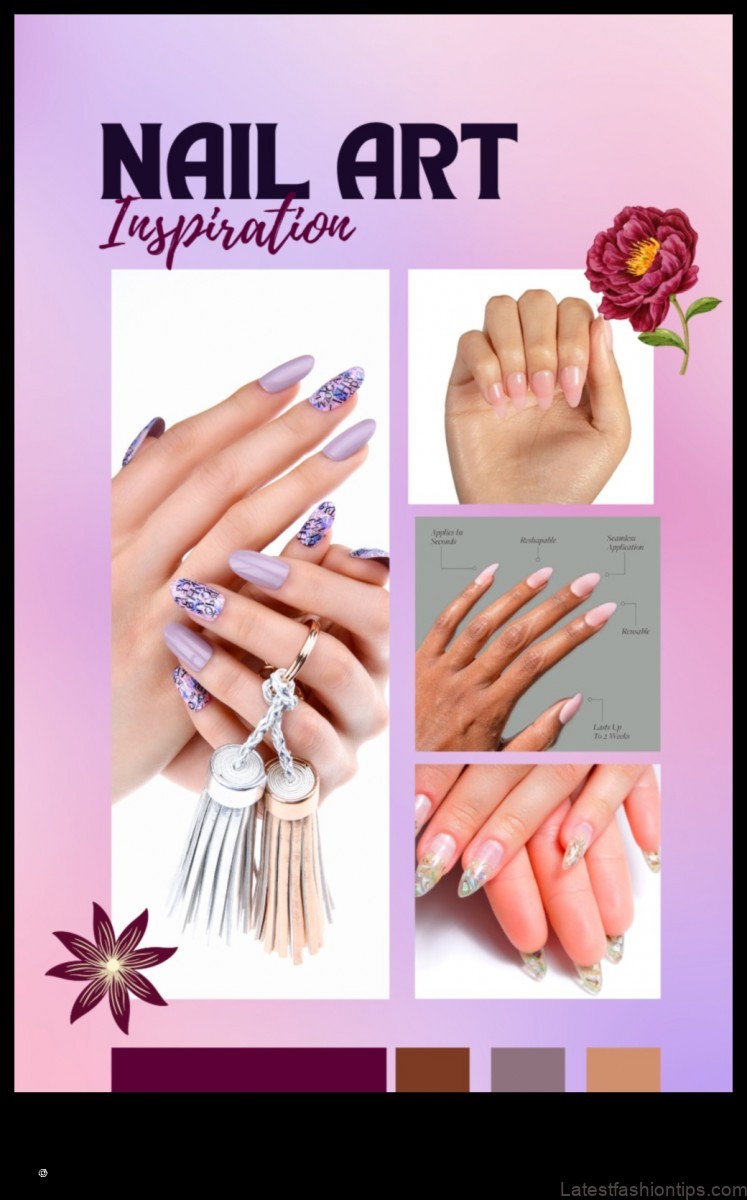
I. Introduction
II. History of Nail Art
III. Different Types of Nail Art
IV. Tools and Materials for Nail Art
V. Steps for Doing Nail Art
VI. Tips for Getting Started with Nail Art
VII. Mistakes to Avoid When Doing Nail Art
VIII. How to Keep Your Nail Art Looking Fresh
IX. Where to Find Inspiration for Nail Art
X. FAQ
| Topic | Features |
|---|---|
| Nail art | – Different types of nail art |
| Nail design | – Tools and materials for nail art |
| Nail art designs | – Steps for doing nail art |
| Nail art inspiration | – Tips for getting started with nail art |
| Nail art tutorial | – Mistakes to avoid when doing nail art |
II. History of Nail Art
Nail art has been around for centuries, with evidence of its existence dating back to ancient Egypt. In the Egyptian culture, nail art was seen as a sign of status and wealth, and only the wealthy and powerful were able to afford to have their nails decorated.
Nail art continued to be popular throughout the Middle Ages and Renaissance periods, but it was not until the 20th century that it truly began to take off. In the 1920s, nail art became more popular among women of all social classes, and new techniques and styles were developed.
In the 1930s, nail art was further popularized by Hollywood stars, who often had their nails decorated for the red carpet. In the 1940s and 1950s, nail art became more elaborate and creative, with new designs and techniques being developed.
In the 1960s, nail art became more accessible to the general public, thanks to the introduction of new nail polishes and tools. In the 1970s, nail art became even more experimental, with new colors, shapes, and designs being created.
In the 1980s and 1990s, nail art continued to evolve, with new trends emerging every year. Today, nail art is more popular than ever, with new designs and techniques being created all the time.
III. Different Types of Nail Art
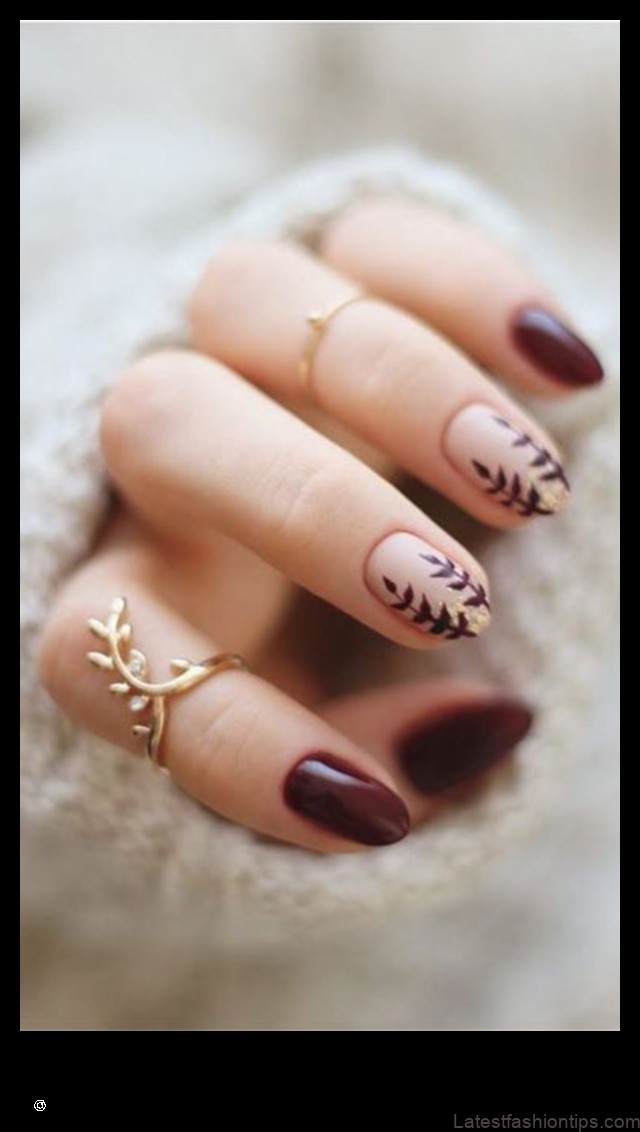
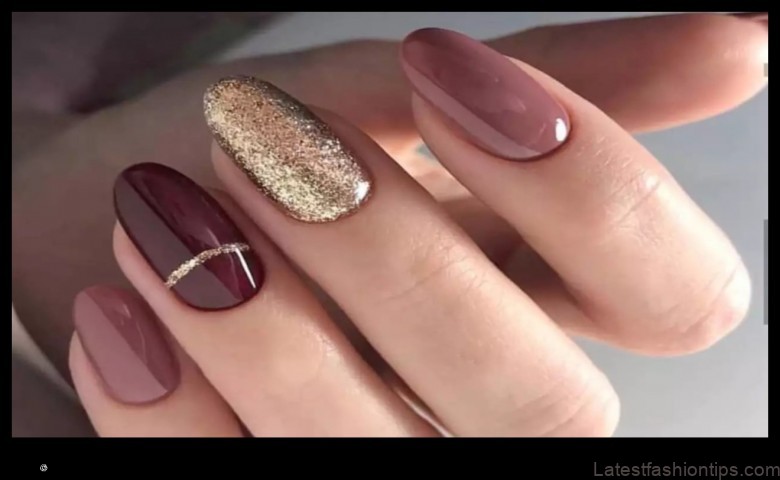
There are many different types of nail art, each with its own unique style and techniques. Some of the most popular types of nail art include:
- French manicure
- Ombre nails
- Nail stamping
- Watercolor nails
- 3D nails
Each type of nail art has its own unique set of tools and materials, as well as its own set of steps for how to create it. For example, French manicures require a white nail polish and a clear top coat, while ombre nails require two or more different shades of nail polish. Nail stamping requires a stamping plate, a stamping tool, and a clear top coat. Watercolor nails require a special type of watercolor paint and a sealant. 3D nails require a variety of different nail art tools and materials, such as acrylic paint, glitter, and rhinestones.
No matter what type of nail art you’re interested in, there are plenty of tutorials and guides available online to help you get started. You can also find inspiration for nail art designs by looking at pictures of other people’s nails, or by following nail art artists on social media.
IV. Tools and Materials for Nail Art
There are a few essential tools and materials that you will need to get started with nail art. These include:
- Nail polishes in a variety of colors and finishes
- A nail art brush
- A toothpick or other small, pointed object
- A topcoat
- Adhesive stickers or gems
- Adhesive tape
- Adhesive rhinestones
- Adhesive glitter
- Adhesive foil
You can also find a variety of other tools and materials specifically designed for nail art, such as stamping plates, stencils, and brushes. These can be helpful for creating more intricate designs.
Once you have gathered your supplies, you can begin creating your own nail art masterpieces!
V. Steps for Doing Nail Art
Nail art can be a fun and creative way to express yourself. Whether you’re a beginner or a seasoned pro, here are the basic steps for doing nail art:
- Prep your nails by filing and shaping them.
- Apply a base coat to protect your nails.
- Choose your nail art design and apply the appropriate polishes.
- Use a top coat to seal in your design.
- Let your nails dry completely before enjoying your new look!
For more detailed instructions on how to do specific nail art designs, you can find many helpful tutorials online and in books.
VI. Tips for Getting Started with Nail Art
Here are some tips for getting started with nail art:
- Start with a simple design. Don’t try to do anything too complicated until you get the hang of it.
- Use a good quality base coat and top coat. This will help your nails stay healthy and your nail art look its best.
- Practice makes perfect! The more you practice, the better your nail art will look.
- Don’t be afraid to experiment. There are endless possibilities when it comes to nail art, so don’t be afraid to try new things.
- Have fun! Nail art is a great way to express yourself and your creativity.
VII. Mistakes to Avoid When Doing Nail Art
When doing nail art, it is important to avoid making common mistakes that can ruin the look of your nails. Here are a few tips to help you avoid these mistakes:
- Don’t use too much polish. Applying too much polish can make your nails look thick and bulky.
- Don’t use too many colors. Using too many colors can make your nails look cluttered and confusing.
- Don’t use too many different designs. Using too many different designs can make your nails look too busy.
- Don’t use too much glitter. Using too much glitter can make your nails look tacky.
- Don’t use too much glue. Using too much glue can make your nails look sticky and messy.
By avoiding these common mistakes, you can help ensure that your nail art looks its best.
How to Keep Your Nail Art Looking Fresh
Once you have created your nail art masterpiece, you want to make sure it lasts as long as possible. Here are a few tips for keeping your nail art looking fresh:
- Use a good quality base coat and top coat. A good base coat will help to protect your nails from the damage of nail polish, and a good top coat will help to seal in the color and prevent it from chipping.
- Avoid using harsh chemicals on your nails. Harsh chemicals, such as nail polish remover, can strip away the color and damage your nails. Instead, use a gentle, acetone-free nail polish remover.
- Don’t soak your nails in water for long periods of time. Soaking your nails in water can cause the nail polish to chip and peel.
- Be careful when using your hands. When you are doing activities that could damage your nails, such as gardening or cleaning, wear gloves to protect your nails.
- Reapply your top coat regularly. As your nail polish wears off, it will start to chip and peel. To keep your nail art looking fresh, reapply your top coat every few days.
By following these tips, you can help to keep your nail art looking fresh and beautiful for longer.
There are many places to find inspiration for nail art, including:
- Online nail art galleries and tutorials
- Social media platforms such as Instagram and Pinterest
- Magazines and books about nail art
- Nail art products and tools
- Your friends and family
When looking for inspiration, it is important to keep in mind your personal style and preferences. What kind of colors and designs do you like? What kind of look are you trying to achieve? Once you have a good idea of what you are looking for, you can start browsing through different sources of inspiration to find the perfect design for you.
Here are a few tips for finding inspiration for nail art:
- Don’t be afraid to experiment with different colors and designs.
- Don’t be afraid to mix and match different styles.
- Don’t be afraid to take inspiration from your surroundings.
- Don’t be afraid to ask for help from friends or family.
With a little creativity and inspiration, you can create beautiful nail art that is unique to you.
FAQ
Q: What is nail art?
A: Nail art is the application of designs, patterns, and colors to fingernails and toenails. It can be done at home or by a professional nail artist.
Q: What are the different types of nail art?
A: There are many different types of nail art, including:
Stamping: This is a technique where a design is stamped onto the nail using a stamp and a stamping plate.
Water decals: These are decals that are applied to the nail after they have been soaked in water.
Gel polish: This is a type of nail polish that is cured under a UV light.
Acrylic nails: These are nails that are made from a type of acrylic resin.
French manicure: This is a classic nail art style that features a white tip on the nails.
Q: How do I get started with nail art?
A: If you are new to nail art, there are a few things you can do to get started:
Choose a simple design: When you are first starting out, it is best to choose a simple design that you can easily replicate.
Use quality tools and materials: Using good quality tools and materials will help you create better results.
Practice makes perfect: The more you practice, the better you will become at nail art.
Table of Contents
Maybe You Like Them Too
- Crowning Glory The Science of Healthy, Beautiful Hair
- The 5 Hottest Haircuts of the Season A Guide for Men and Women
- Beauty is in the eye of the beholder Exploring the many facets of beauty
- Vintage Woman Dresses A Timeless Classic
- Step into Style The Hottest Women’s Shoes of the Season A guide to the latest trends in women’s footwear.
