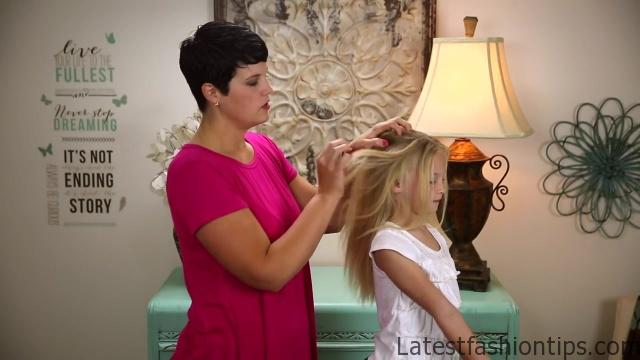
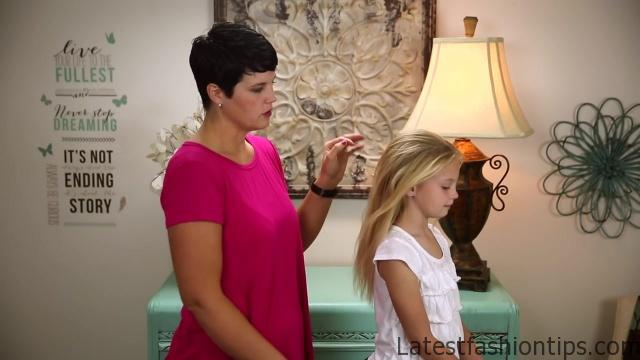
Hi I’m Jill. Hi, I’m Brighton, and thanks for watching. Yeah. Thanks for watching, and thanks Abby for having us back on cute girl’s hairstyles to show you another active hair style. Today, we are going to show you the Dutch D braid. So let’s get going. Brighton’s hair is super baby fine and normally really slick. So for this braid, you can either do it wet, which would hold really tight a sport to be active, or I have chosen to texturize it. And the reason we texturize it, one, it gives it more volume, but also gives it more grip.
Dutch 3D Braid Hairstyles for Sports Photo Gallery
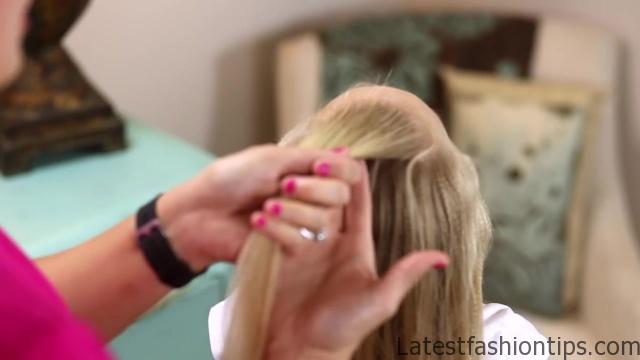
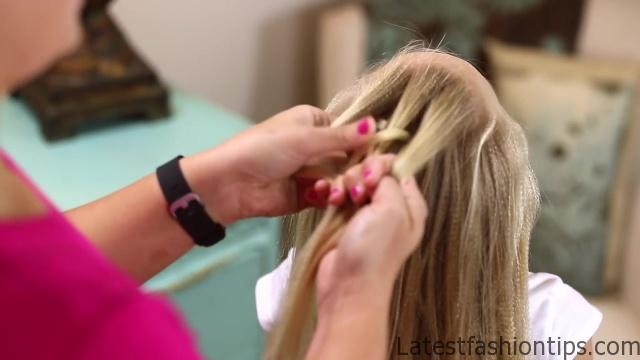
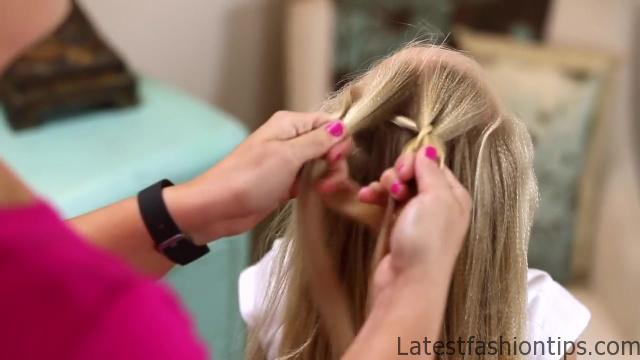
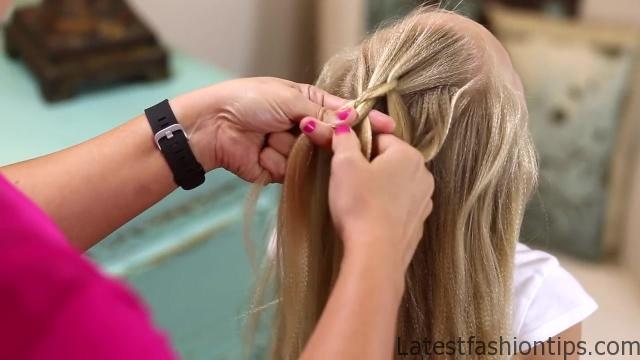
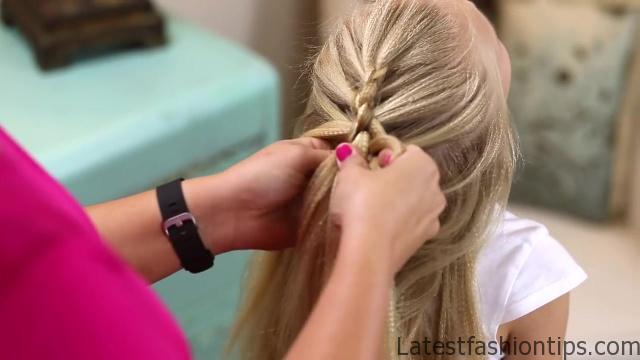
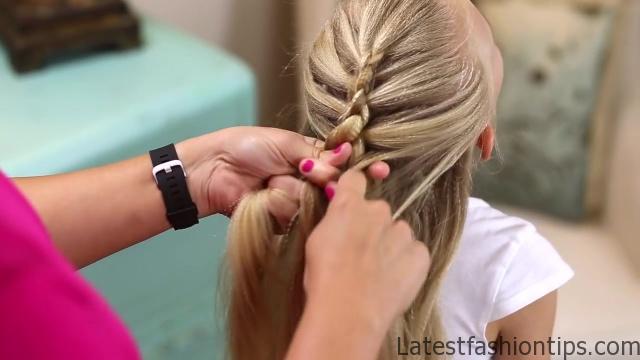

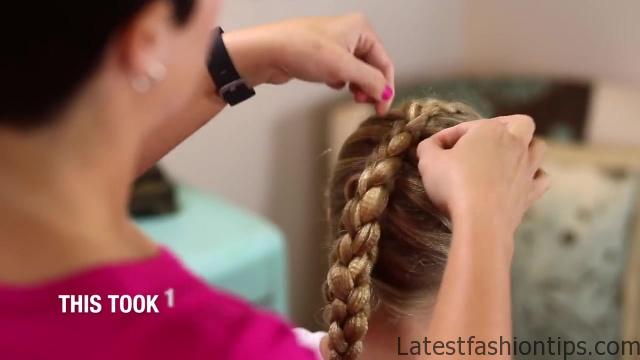

So when I’m braiding, it won’t slide out of the braid. And you can texture this one. It’s just like mini crimper, micro crimper. But you can also put their hair in really tight braids and then take them out, and you would have a lot of texture. You could do curls, which would add a lot of texture, or dry shampoo, or there’s even texture powder. Let’s get going on the braid. I’m just going to start with just the top section. Do three fingers into it, just to split it into four sections. Then we are going to start on the furthest left. Go under two, one, two, and then back over this one. So now see four. Now, we are going to do it with the right. Since the middle tier across it gets easy to go under two, and then back over one. So we have got one, two, three, four. Now at this point, I lay them in between my fingers. So one, two, three, four. Then we add a piece to the left side. And this is a Dutch, so we are going to go under, under two, over one. And then we are going to add hair to this side. Sorry. I’m just trying to straighten her out a little bit so we do not have a crooked braid. And we are going to go under two, over one, and then lay them in between my fingers. Add hair to this left one. Under two, over one. Then we are going to add hair to the right one. It’s easier if you grab under with this opposite hand. So I have got them laid between my fingers again. Add hair to the left one. I pull it with my pinky, under two, over one. Then the right side.
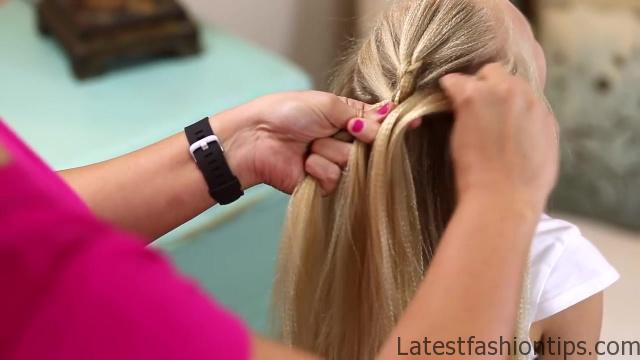
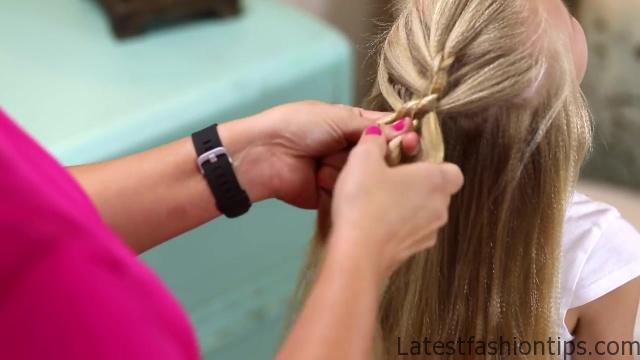
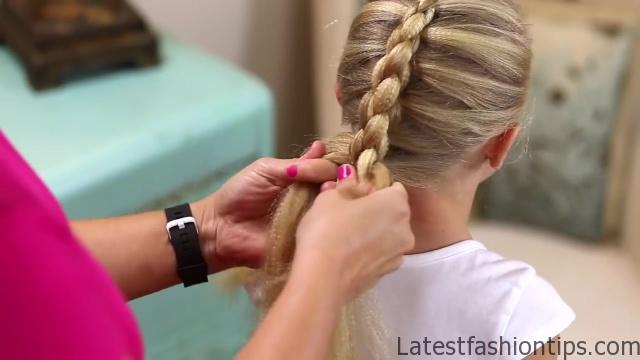
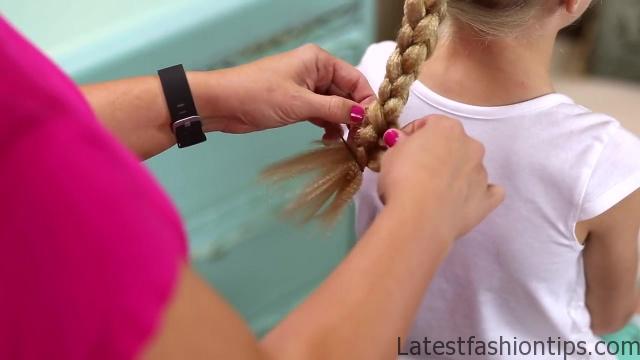
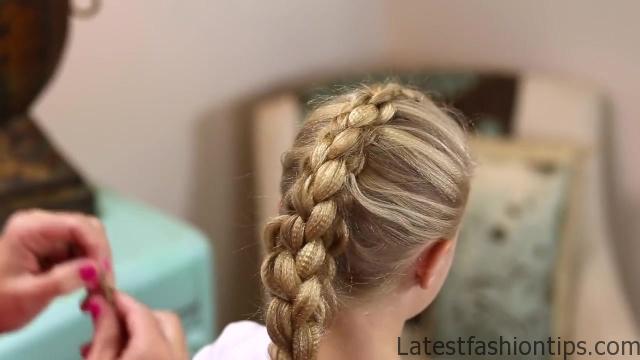
I’m going to grab these with this hand, because I want to pull under with this hand. So we were adding hair to this strand. Under two, over one. One, two, three, four. Pull with pinky, under two, over one. So now, we have got in all the hair. So we are just going to do the same thing. So under two, over one. Under two, over one. So when I get down to the bottom, you can just put an elastic in at this point, or you can pancake it a little bit. I’m just going to stick a bobby pin, just to hold this while I pancake it. So I’m just going to gently slide I like to do the opposite sides. Since it is D, there’s four pieces. So I like to start just pulling those, and then do the other side. And we are just going to put an elastic in. So you could see that I accidentally pulled that part out. So easy to fix. Take a bobby pin. And poke at it. Voile. So you can just pancake it as much as you want, or leave it as tight as you want. It’s up to your personal preference. Let’s do a final spin. This is the Dutch D braid. You can see the D effects. And it is great for sports, because it holds it out of the way, out of your face, and looks beautiful. Thanks for watching. Please give us a big thumbs up and comment below what your favorite sport is. What your favorite sport? Basketball and soccer. Basketball and soccer, for those of you that do not speak six-year-old. Thanks. Bye. Bye. And then I have put her hair in three ponytails one, two, three. And then I just section off each of these ponytails into three pieces.
Maybe You Like Them Too
- Celebrating Natural Black Women’s Hair: A Guide to Gorgeous Hairstyles
- Short Hairstyles For Women Over 60
- 20 Thrilling Twist Braids Style to Try This Season
- The Top 10 Asymmetric Hairstyles
- 10 Gorgeous Shaggy Bob Hairstyles To Get You Out Of A Style Rut


